

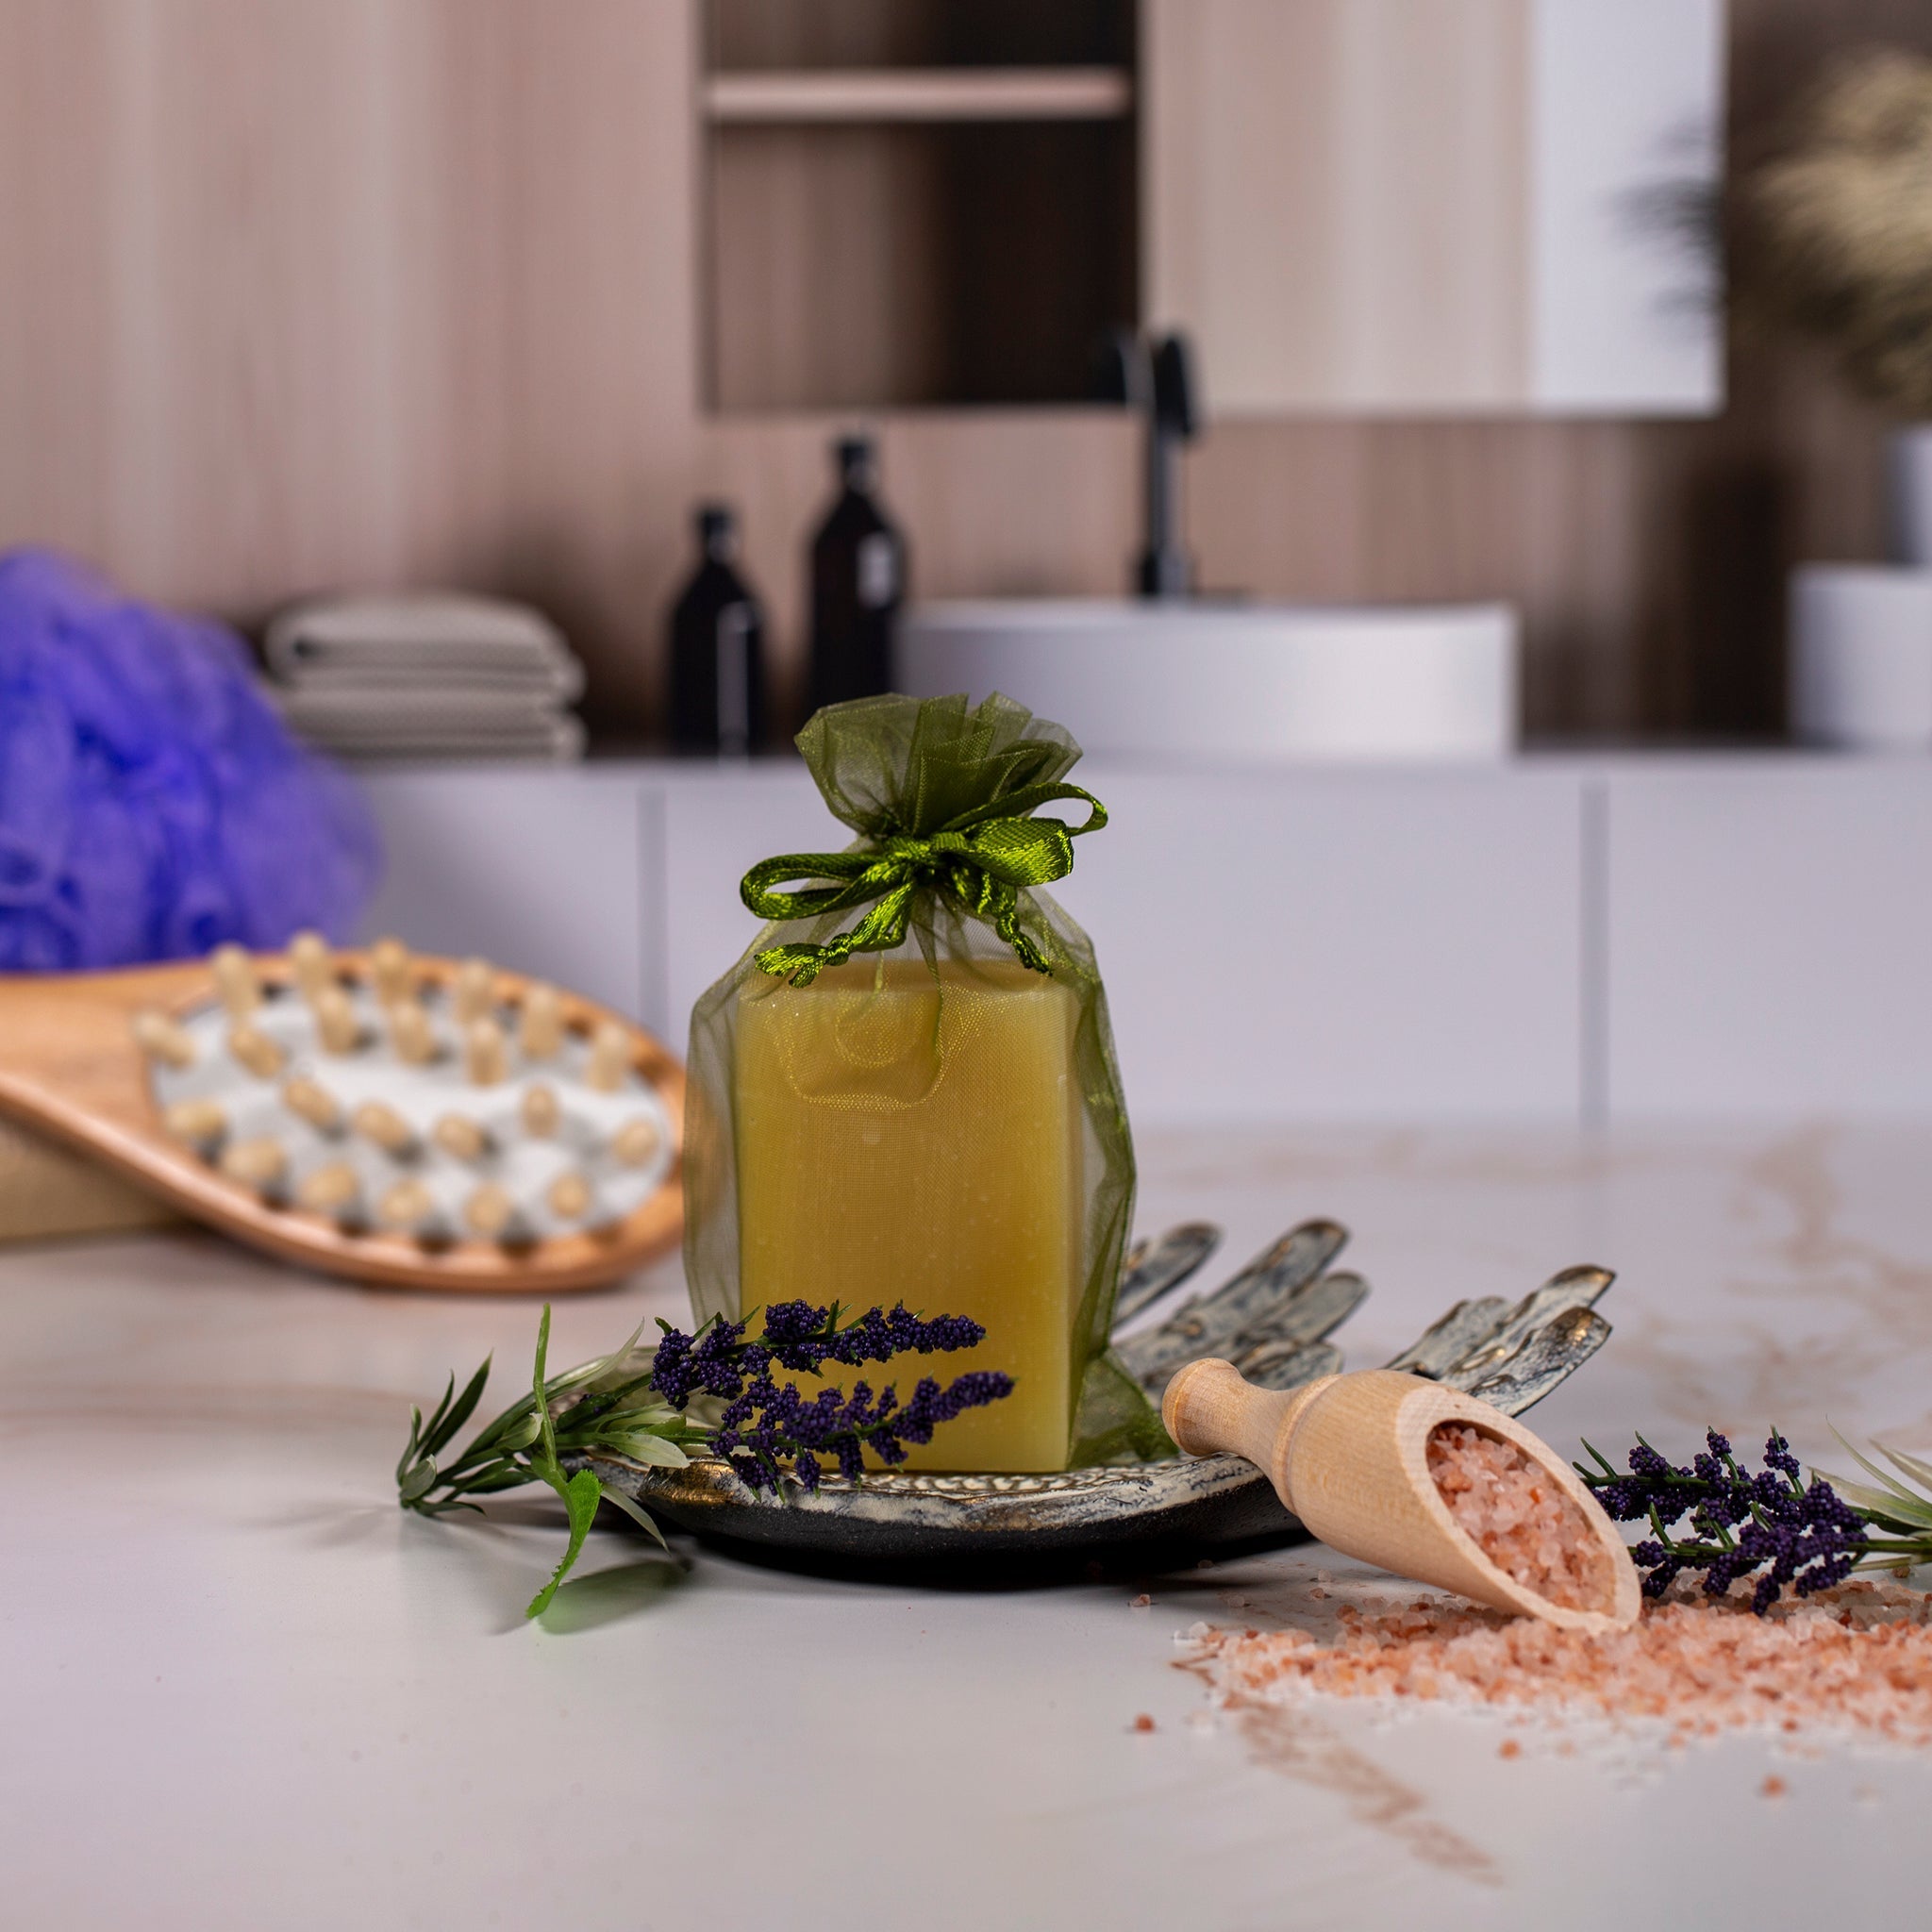


Sweet, colourful and almost good enough to eat, this 7 Layer Strawberry Soap Cake transforms simple melt & pour soap into a playful dessert-inspired creation. Alternating strawberry pink and soft orange layers create the colourful "cake," while hand-whipped melt & pour soap, strawberry embeds and optional sprinkles give the finished loaf its decadent dessert-style topping.
This project is a wonderful introduction to several creative melt & pour techniques, including layering, mica colouring, creating embeds and whipping melt & pour soap. Although the finished design looks elaborate, each element is created using simple techniques that can be recreated or customized with your own colours, fragrance and decorative details.
Makes approximately 4 large soap cake slices
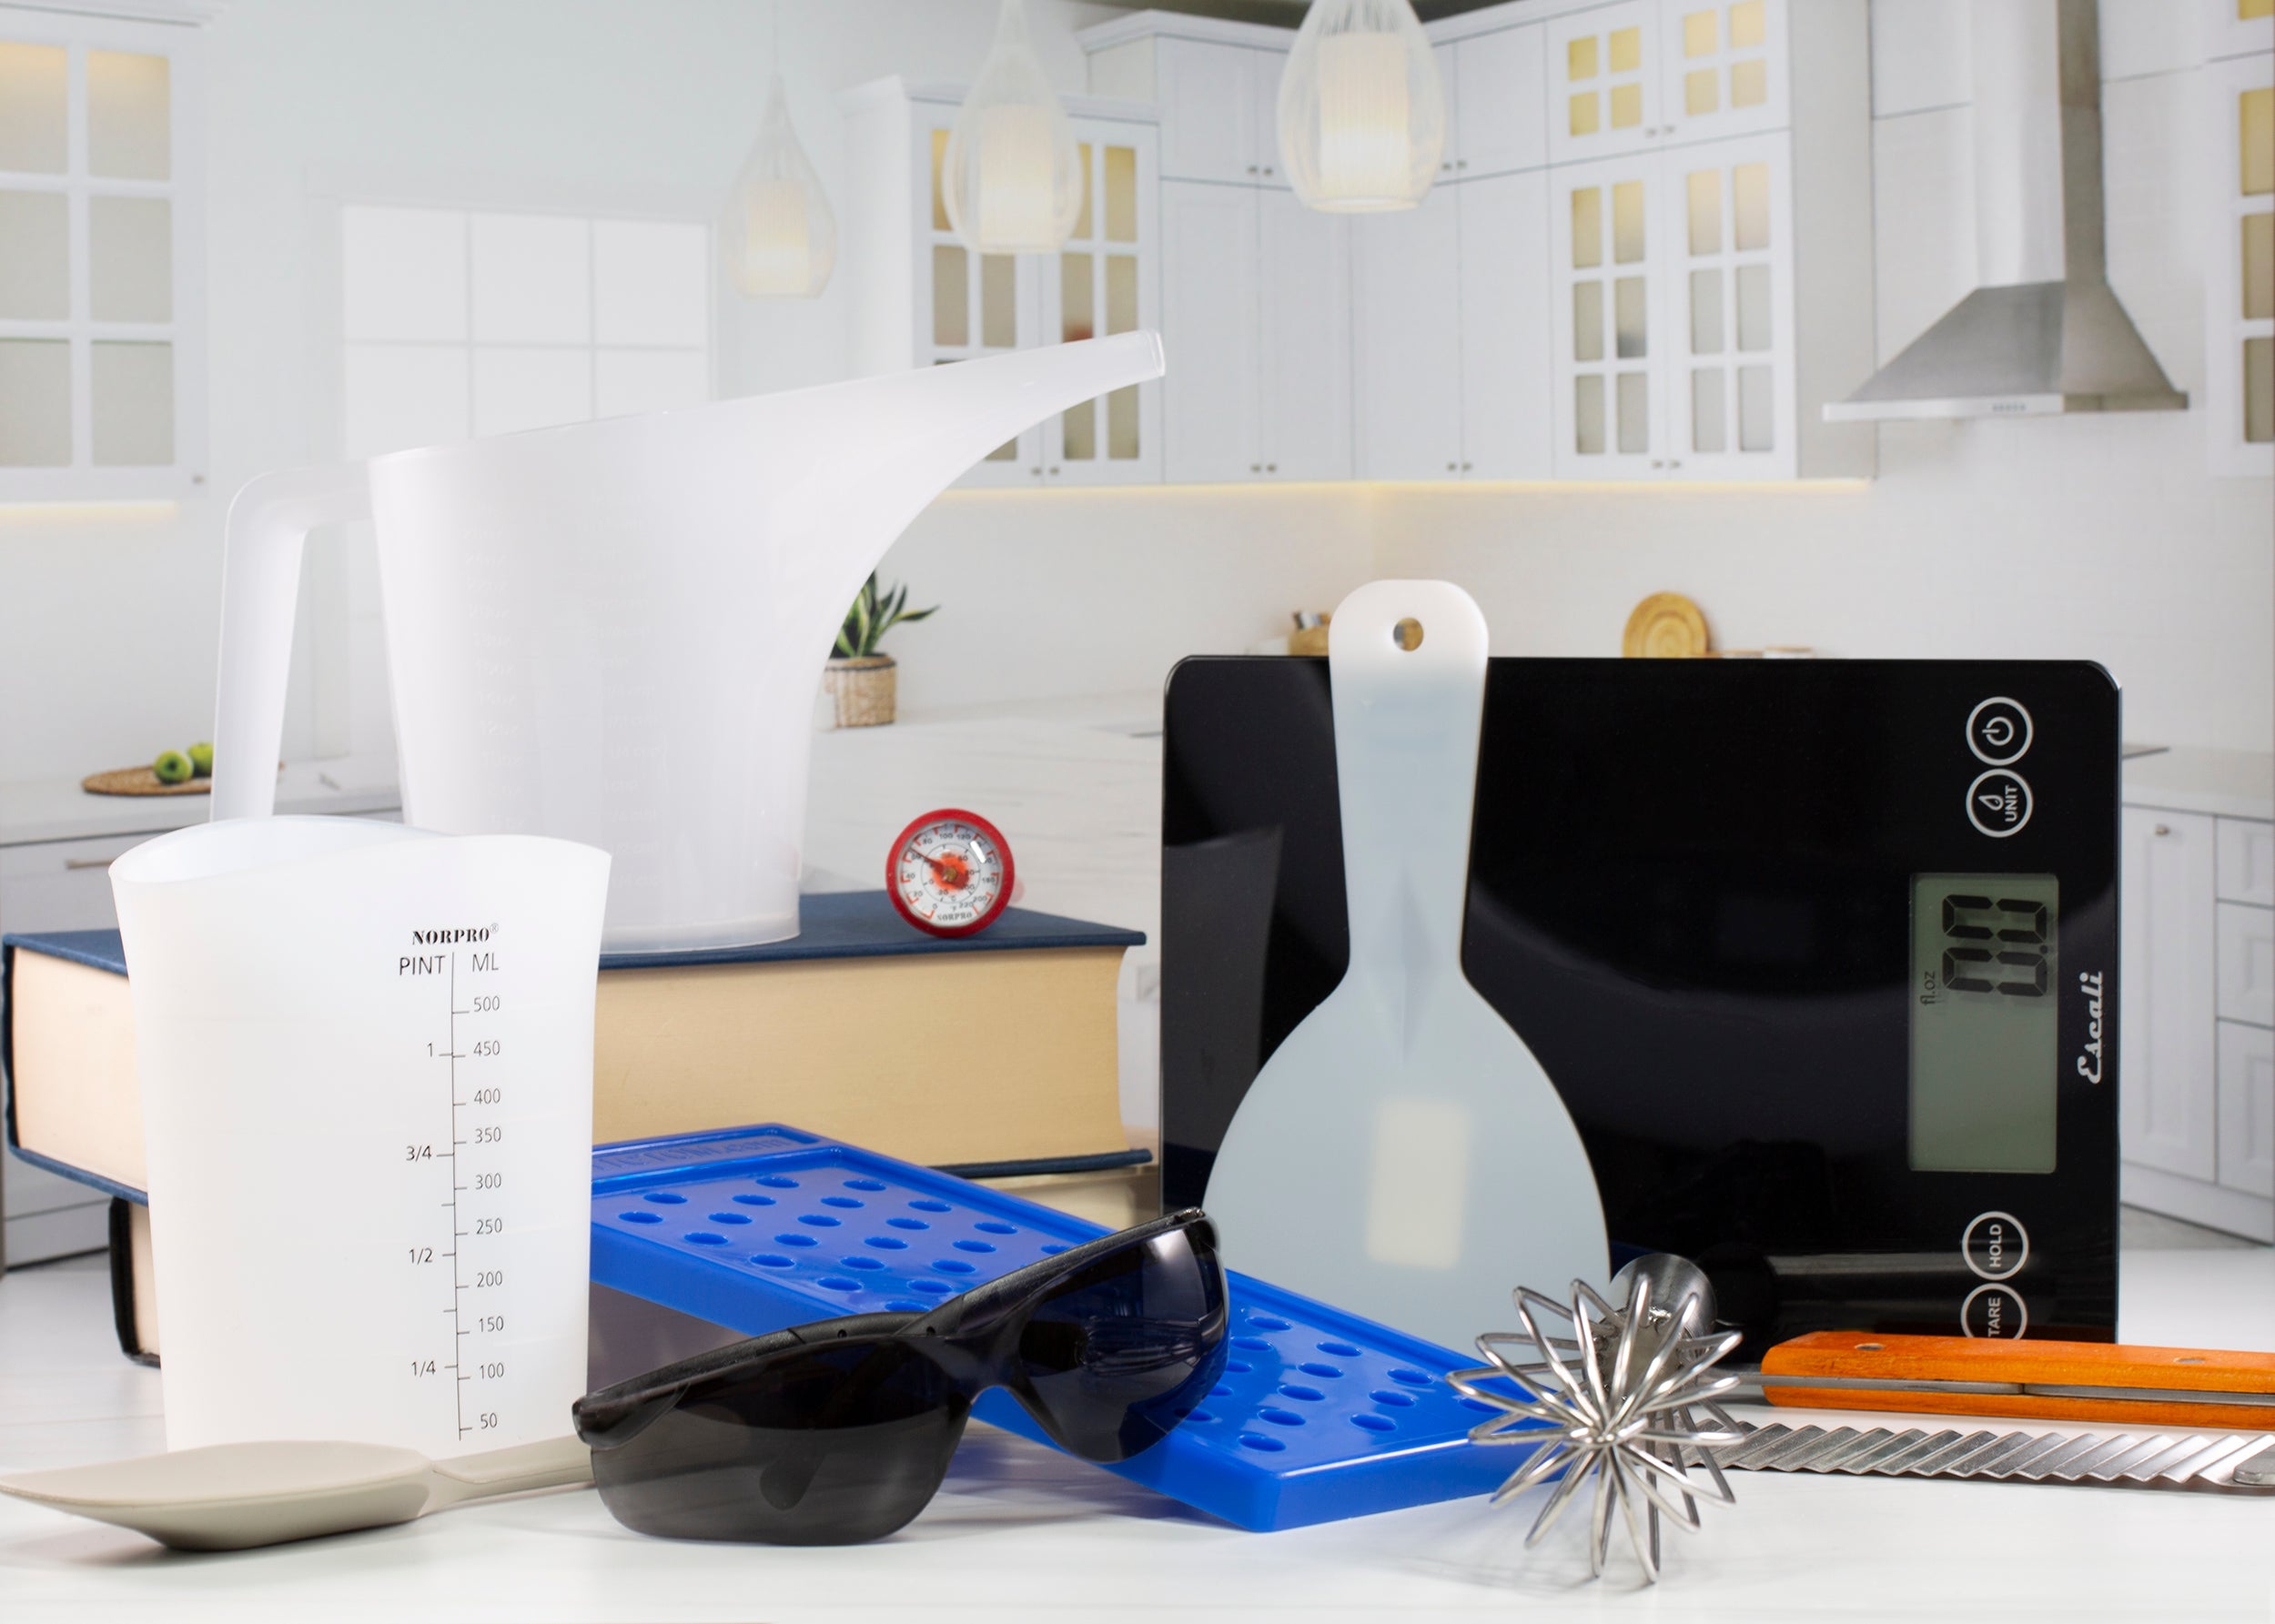
Recommended Equipment:
- Digital Scale
- 2 Heat-Safe Measuring Cups
- Small Mixing Cups
- Stir Sticks, Spoons or Silicone Spatulas
- 2 x 0.15 cc Measuring Scoops
- Spray Bottle with 99% Isopropyl Alcohol
- Short (Small) Loaf Silicone Soap Mold
- Strawberry Embed Silicone Mold – 4 Cavity
- Cordless Mini Mixer
- Knife or Soap Cutter
- Microwave or Double Boiler
- Gloves
- Optional: Popsicle Stick or Soap Detailing Tool for texturing the topping
Formula:
| Ingredient | Usage Rate (%) |
Weight (g) |
| Stephenson Natural White Melt & Pour Soap | 97 | 770 |
| Strawberry Fragrance Oil | 3 | 23 |
| Italiano Rose Mica |
as needed |
|
| Satin Orange Mica |
as needed |
|
| 99% Isopropyl Alcohol |
as needed |
|
| Decorative Sprinkles | Optional |
Soap Base Breakdown:
- 630 g for the seven cake layers, approximately 90 g per layer
- 50 g for the strawberry embeds
- 90 g for the whipped soap topping
Featured Ingredients:
Stephenson Natural White Melt & Pour Soap
Stephenson Natural White Melt & Pour Soap provides the creamy, opaque foundation for the cake layers, strawberry embeds and whipped topping in this project. This 99.9% natural soap base produces naturally white bars without the use of titanium dioxide and is free from sulphates and detergents. Its high-foaming, moisturizing formulation leaves skin feeling soft while providing a smooth, neutral canvas for fragrance and colour.
The naturally opaque base is particularly well suited to this design because mica colours appear softer and more pastel than they would in a transparent base, helping create the creamy, dessert-inspired appearance of the finished soap cake.
Strawberry Fragrance Oil
Strawberry Fragrance Oil brings the soap cake to life with the juicy aroma of fresh-picked strawberries and sunny peach blossoms, softened with sweet cotton candy and creamy coconut. The bright, fruity fragrance complements the playful dessert-inspired design beautifully.
With 0% vanillin, Strawberry Fragrance Oil does not carry the typical vanilla-related browning concerns found with many dessert fragrances, although it may cause some yellowing when used at higher concentrations. For this project, we use the fragrance at 3%, which is below its current 3.54% IFRA maximum for soap.
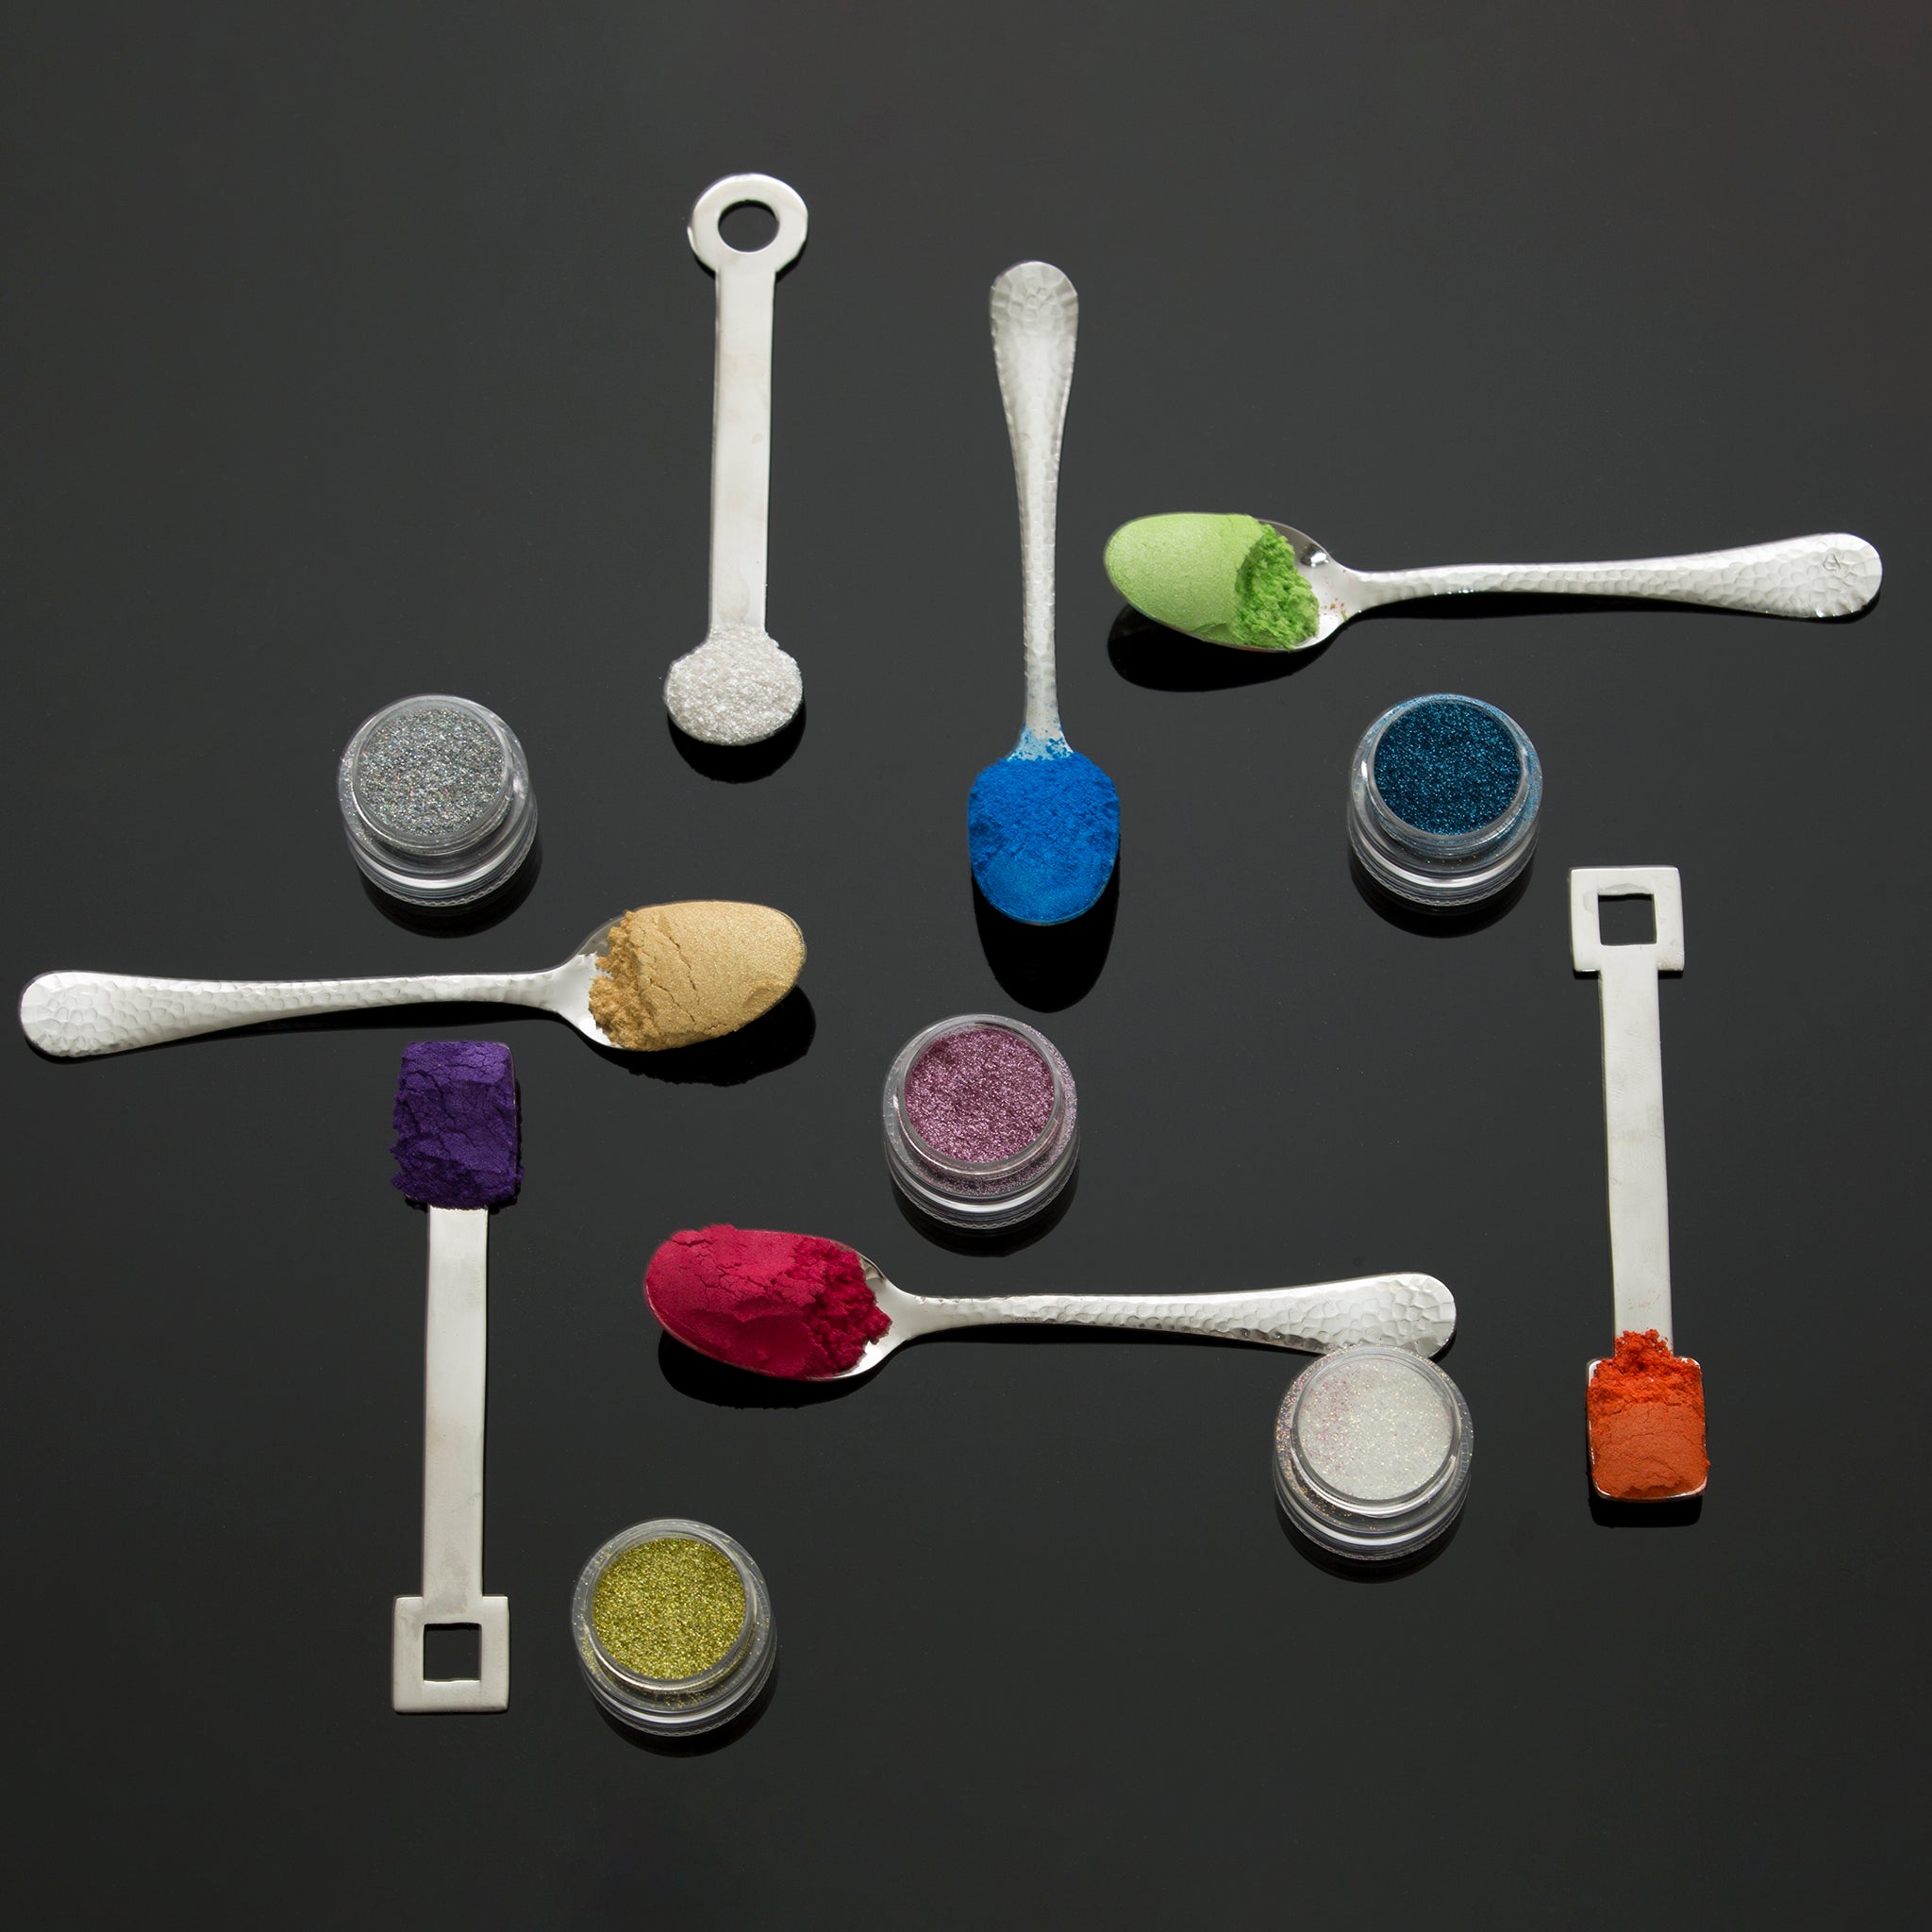
Italiano Rose & Satin Orange Micas
Italiano Rose and Satin Orange Micas create the alternating colours that give this soap its layered strawberry cake appearance.
Italiano Rose Mica provides the reddish-pink colour used throughout the strawberry layers and decorative strawberry embeds. When incorporated into the opaque Natural White Melt & Pour Soap Base, its deeper rose colour becomes a softer pastel pink that works beautifully for this dessert-inspired design.
Satin Orange Mica is used much more sparingly. Rather than creating distinctly orange layers, a very small amount is added to take away the stark white appearance of the soap and create a subtle warm, creamy tone reminiscent of the inside of a baked cake.
Both colours can be adjusted to suit your preferred finished appearance. Keep in mind that micas generally appear softer in white and opaque soap bases, while transparent bases allow their deeper, more vibrant colours and shimmer to show through.
99% Isopropyl Alcohol
99% Isopropyl Alcohol is an especially important tool in this multi-layered melt & pour project and serves several different purposes.
It is used to disperse Italiano Rose Mica before adding it to the melted soap, helping the powder blend smoothly and reducing visible clumps. A light spritz over freshly poured soap helps remove surface bubbles, while spraying each hardened layer before pouring the next helps the individual soap layers adhere securely to one another. With seven separate cake layers, good adhesion is particularly important to help prevent the finished bars from separating along the layer lines during cutting or use.
Instructions:
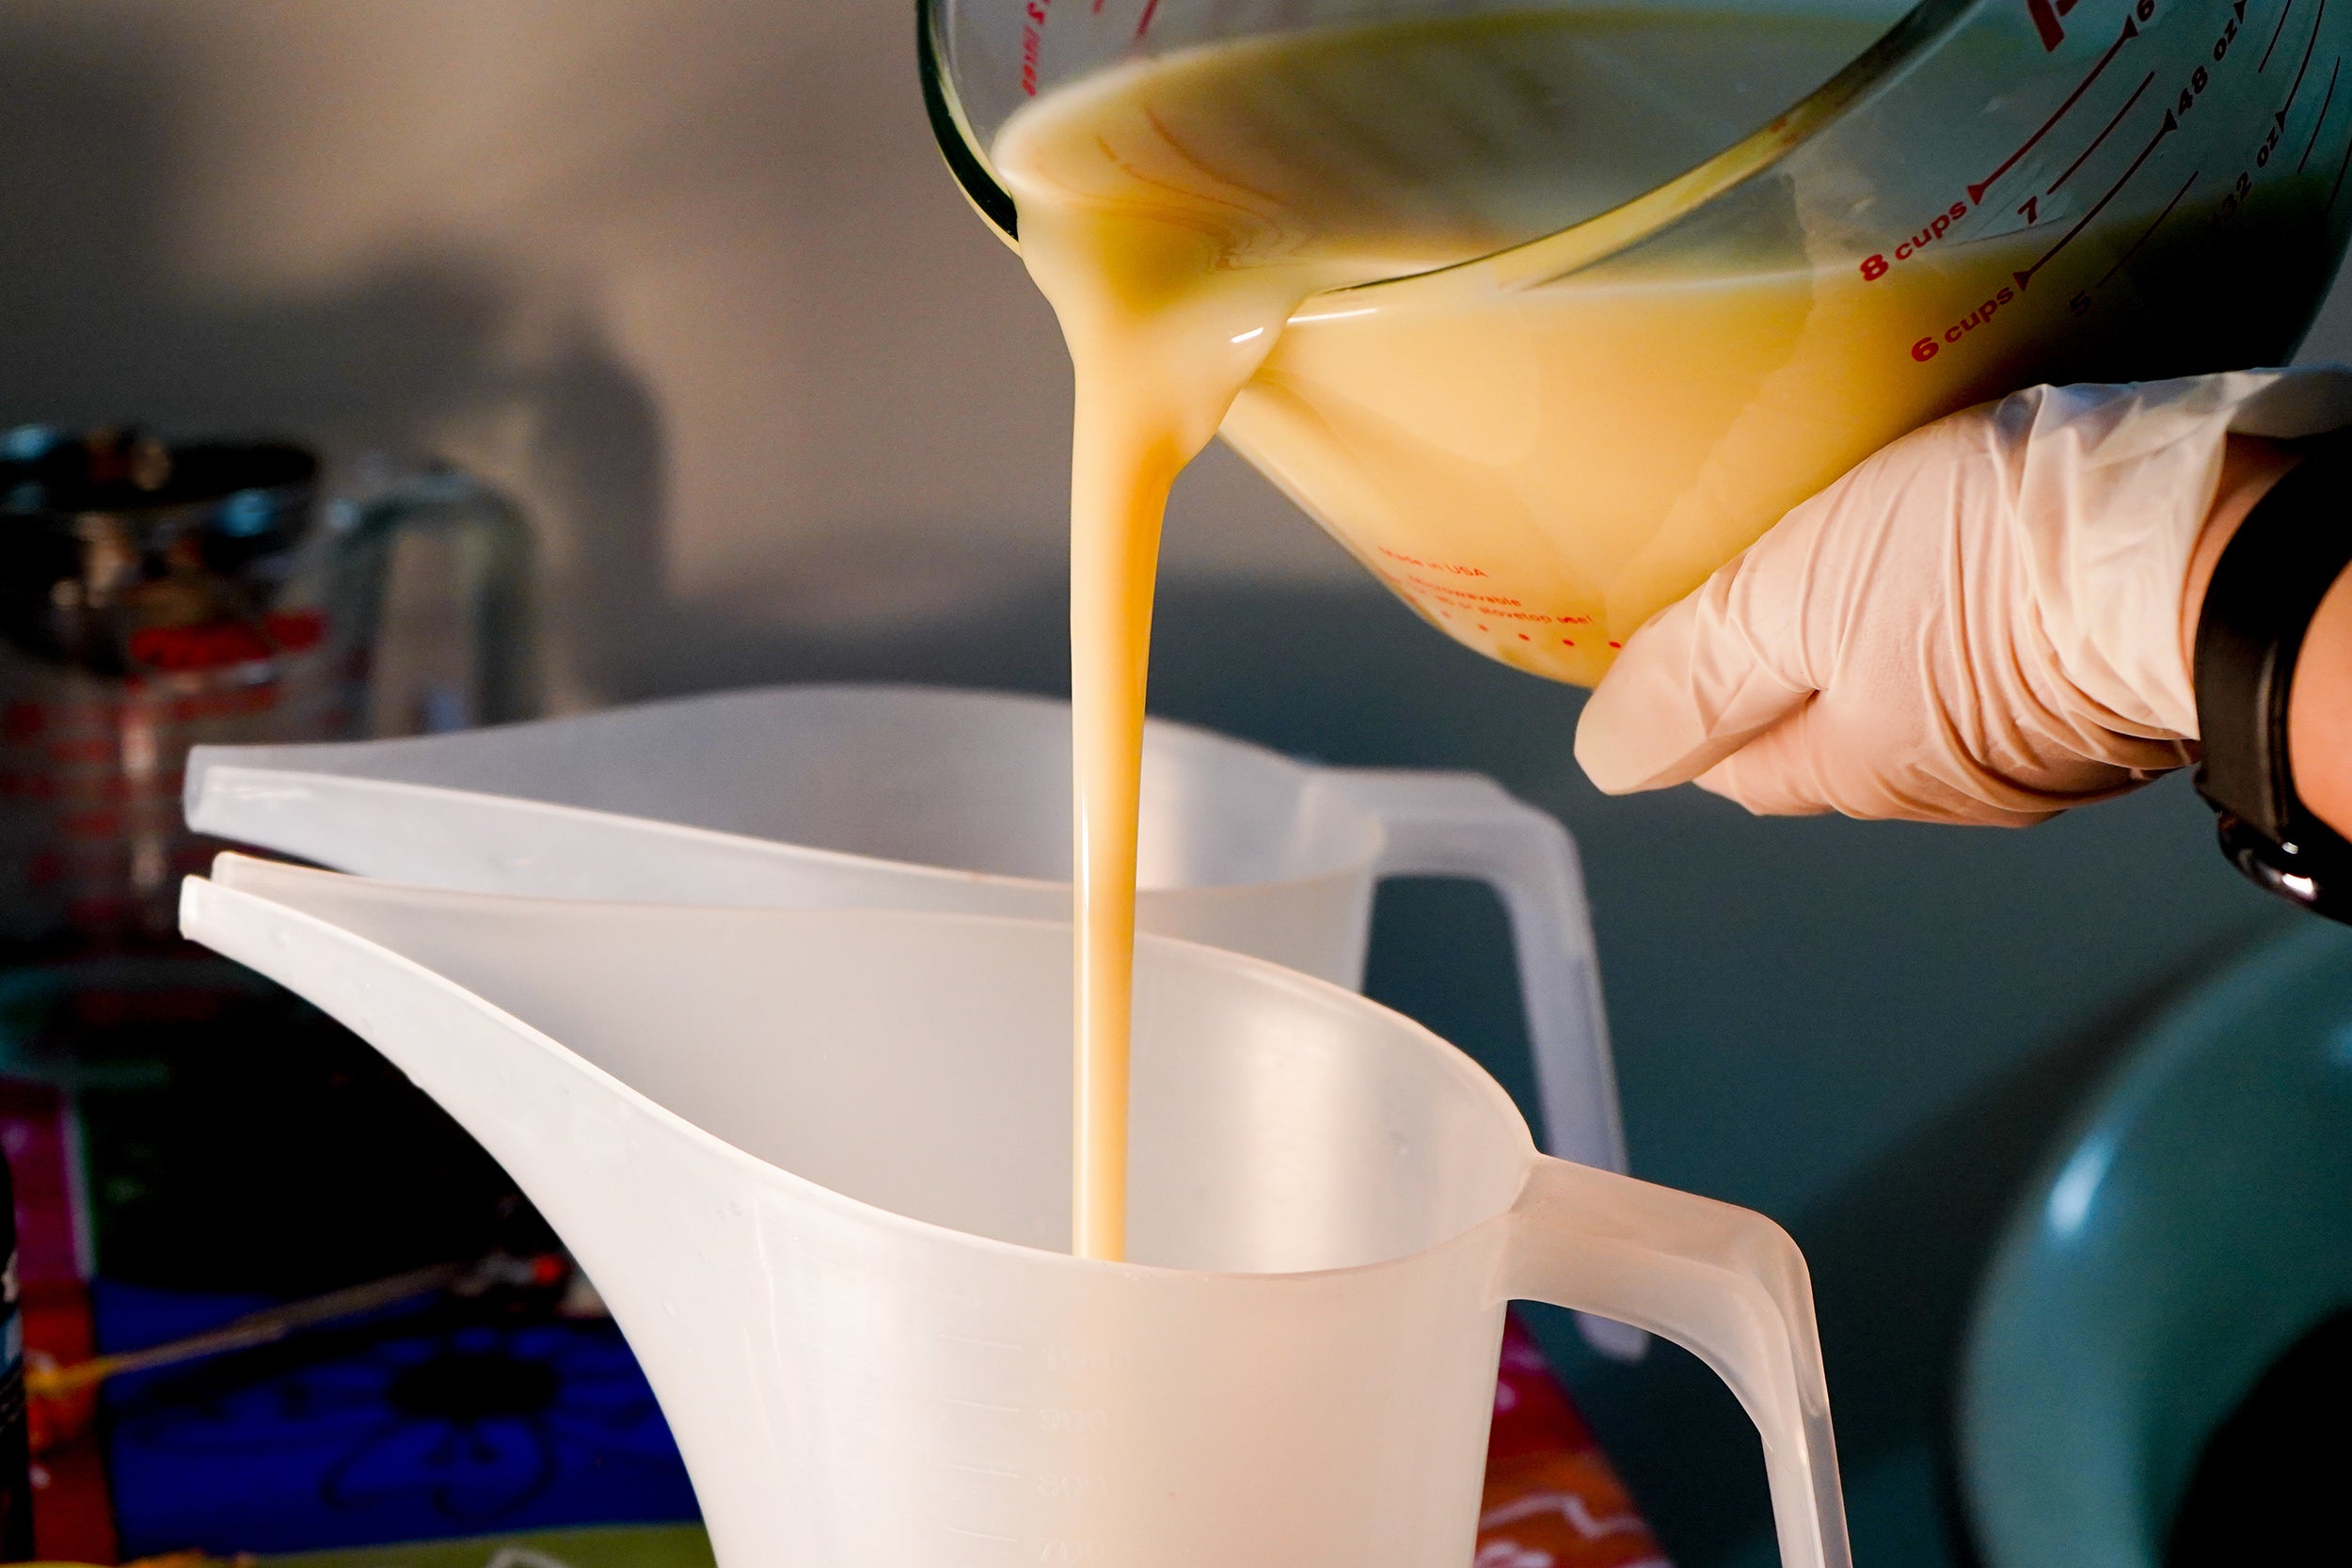
Step 1: Cut 90 g of Stephenson Natural White Melt & Pour Soap into small cubes and melt in the microwave using short 10–15 second bursts, stirring between intervals until just melted. Disperse 2 scoops (0.15 cc each) of Italiano Rose Mica in a small amount of 99% isopropyl alcohol, then stir into the melted soap until evenly coloured. Add 2.7g of the Strawberry Fragrance Oil and mix well. Pour into the Short Loaf Silicone Soap Mold and spritz the surface with isopropyl alcohol to remove bubbles. Allow the layer to harden completely, approximately 10–15 minutes.
Tip: Make sure each layer is firm before continuing. Pouring too soon can break through the previous layer and blur the clean cake-like stripes.
Step 2: While the first layer sets, melt 50 g of Stephenson Natural White Melt & Pour Soap. Disperse 3 scoops (0.15 cc each) of Italiano Rose Mica in a small amount of isopropyl alcohol and mix into the melted soap. Add 2.7g of Strawberry Fragrance Oil and stir well. Pour into the Strawberry Embed Silicone Mold, spritz with isopropyl alcohol to remove surface bubbles and allow the strawberries to harden completely before unmolding. Colour Tip: Micas appear softer and more pastel in white soap bases. For brighter, more saturated colours, try using a transparent melt & pour base for the embeds.
Step 3: Melt another 90 g of Stephenson Natural White Melt & Pour Soap. Add a very small amount of Satin Orange Mica, dispersed in Isopropyl Alcohol, to give the naturally white base a subtle warm cake-like colour rather than a noticeably orange shade. Add 2.7g of Strawberry Fragrance Oil and mix well. Spritz the hardened pink layer thoroughly with isopropyl alcohol to help the layers adhere. Allow the freshly melted soap to cool slightly, then gently pour it over the first layer. Spritz the surface to remove bubbles and allow it to harden completely.
Step 4: Continue alternating between the pink strawberry layer and warm cake-coloured layer, using approximately 90 g of soap base for each layer , until seven layers have been created. For each layer, melt the soap, add the appropriate colour and 2.7g fragrance, and allow it to cool slightly. Spritz the hardened soap in the mold with isopropyl alcohol immediately before pouring the next layer, then spritz the freshly poured surface to remove bubbles. Allow every layer to become completely firm before continuing so the colours remain clean and defined. Once all seven layers have been poured, allow the completed loaf to cool and harden for approximately 3 hours, or until completely cool and firm throughout.
Step 5: While the completed soap loaf is cooling, carefully remove the hardened strawberry embeds from their mold. In a small mixing cup, combine a small amount of Italiano Rose Mica with 99% isopropyl alcohol to create a concentrated mica paint. Using a small paintbrush, lightly paint the outside of each strawberry to deepen the colour and highlight the molded details. The mica paint does not need to completely cover the soap. Concentrating the colour around the raised and recessed details can help create more dimension and give the strawberries a richer, more finished appearance. Set the painted strawberries aside and allow the isopropyl alcohol to evaporate completely before using them to decorate the soap cake.
Step 6: Once the loaf is completely cool and firm, carefully remove it from the silicone mold and place it on a clean work surface. Melt 90 g of Stephenson Natural White Melt & Pour Soap. Leave it white for a whipped-cream appearance or add a small amount of Italiano Rose Mica dispersed in isopropyl alcohol for a soft strawberry-cream colour. Add 2.7g of the Strawberry Fragrance Oil and mix well. Allow the soap to cool slightly, then whip with a cordless mini mixer for approximately 2 minutes, or until it becomes lighter, thicker and visibly aerated. As the soap cools, it will begin to hold its shape. If it becomes too firm to work with, gently remelt it in a very short microwave burst and whip again.
Step 7: Lightly spritz the top of the loaf with isopropyl alcohol. For additional adhesion, gently score a few shallow lines across the surface with a soap detailing tool. Spoon the whipped soap over the loaf and use a popsicle stick, spoon or detailing tool to create peaks and frosting-like texture. While the topping is still soft, gently press the painted strawberry embeds and optional sprinkles into place. Position the strawberries with your final cuts in mind so each finished slice receives a decorative strawberry.
Step 8: Allow the topping and decorations to harden completely, then cut the loaf into approximately 4 equal soap cake slices. Looking directly down over the loaf while cutting can help keep each slice straight and even. If an embed loosens during cutting, use a small amount of freshly melted soap as a simple soap "glue" to reattach it. Melt & pour soap does not require curing and is ready to use once completely hardened. Wrap finished bars in plastic or shrink wrap if they will not be used immediately to help protect them from humidity and glycerin dew.
Tips for Success
Allow Every Layer to Harden
Patience is especially important when creating seven distinct layers. Pouring too soon can cause the fresh soap to break through the layer beneath it, creating blurred or uneven colour boundaries.
Don't Forget the Isopropyl Alcohol
Spritz the hardened surface before every new pour. Without this step, melt & pour soap layers may separate after unmolding or during use.
Watch Your Pouring Temperature
The next layer should remain fluid enough to pour smoothly but should not be excessively hot. Very hot soap can partially remelt the surface underneath and soften the crisp lines between layers.
Keep Layer Weights Consistent
Using approximately the same amount of soap for each layer helps create the even striped appearance of a traditional layer cake. A digital scale makes this much easier than estimating by eye.
Work Quickly With Whipped Melt & Pour
Unlike whipped soap bases or frosting formulations, whipped melt & pour soap begins hardening as it cools. Prepare your strawberry embeds and decorations before whipping so they can be added while the topping is still workable.
Advanced Maker Notes
Creating Stronger Colours
Opaque white soap naturally softens mica colours. If you would like brighter strawberry or orange accents, try creating the embeds with a transparent soap base while keeping the cake layers opaque.
Attaching Decorative Elements
Melt & pour soap can act as its own adhesive. Small amounts of freshly melted soap can be brushed or dripped between hardened pieces to attach embeds or repair decorations.
Preventing Layer Separation
For the strongest bond, the lower layer should be fully firm but clean and freshly spritzed with isopropyl alcohol before the next pour. Allowing a loaf to sit for an extended period between layers can make adhesion more difficult.
Preventing Glycerin Dew
Melt & pour soap contains glycerin, which naturally attracts moisture from the surrounding air. Once the finished bars have completely cooled, wrap them in plastic or shrink wrap and store them in a cool, dry environment to help minimize glycerin dew.
Note:
These formulations are provided as a guide and may be used for personal or commercial applications. Voyageur Soap & Candle Company Ltd. accepts no liability for the performance, effectiveness, or outcomes of products made using these formulations. Users are responsible for proper testing, safe formulation practices, and compliance with all applicable regulations.
If you have any questions regarding this recipe, please email us at customerservice@voyageursoapandcandle.com or call us at 1-800-758-7773.