Get ready for an unforgettable Halloween experience with our guide to making mind-blowing Zombie Bath Bombs using our White Cranberry Fragrance Oil and carefully selected ingredients!
Click Here To Follow Our Step-By-Step PDF Guide
Recommended Ingredients :
(makes 6)
Zombie Head:
Dry Ingredients :
- 387g Baking Soda
- 226g Citric Acid
- 10g Lathanol
- 10g Coconut Milk Powder
- 13g Corn Starch
- 14g Cream of Tartar
Wet Ingredients:
- 8g Avocado Oil
- 8g Polysorbate 80
- 1g Cocamidopropyl Betaine
- 13g Cranberry-White Fragrance
- 5x 0.15cc scoops of Yellow Bath Bomb Powder
- 6x 0.15cc scoops of Blue Bath Bomb Powder
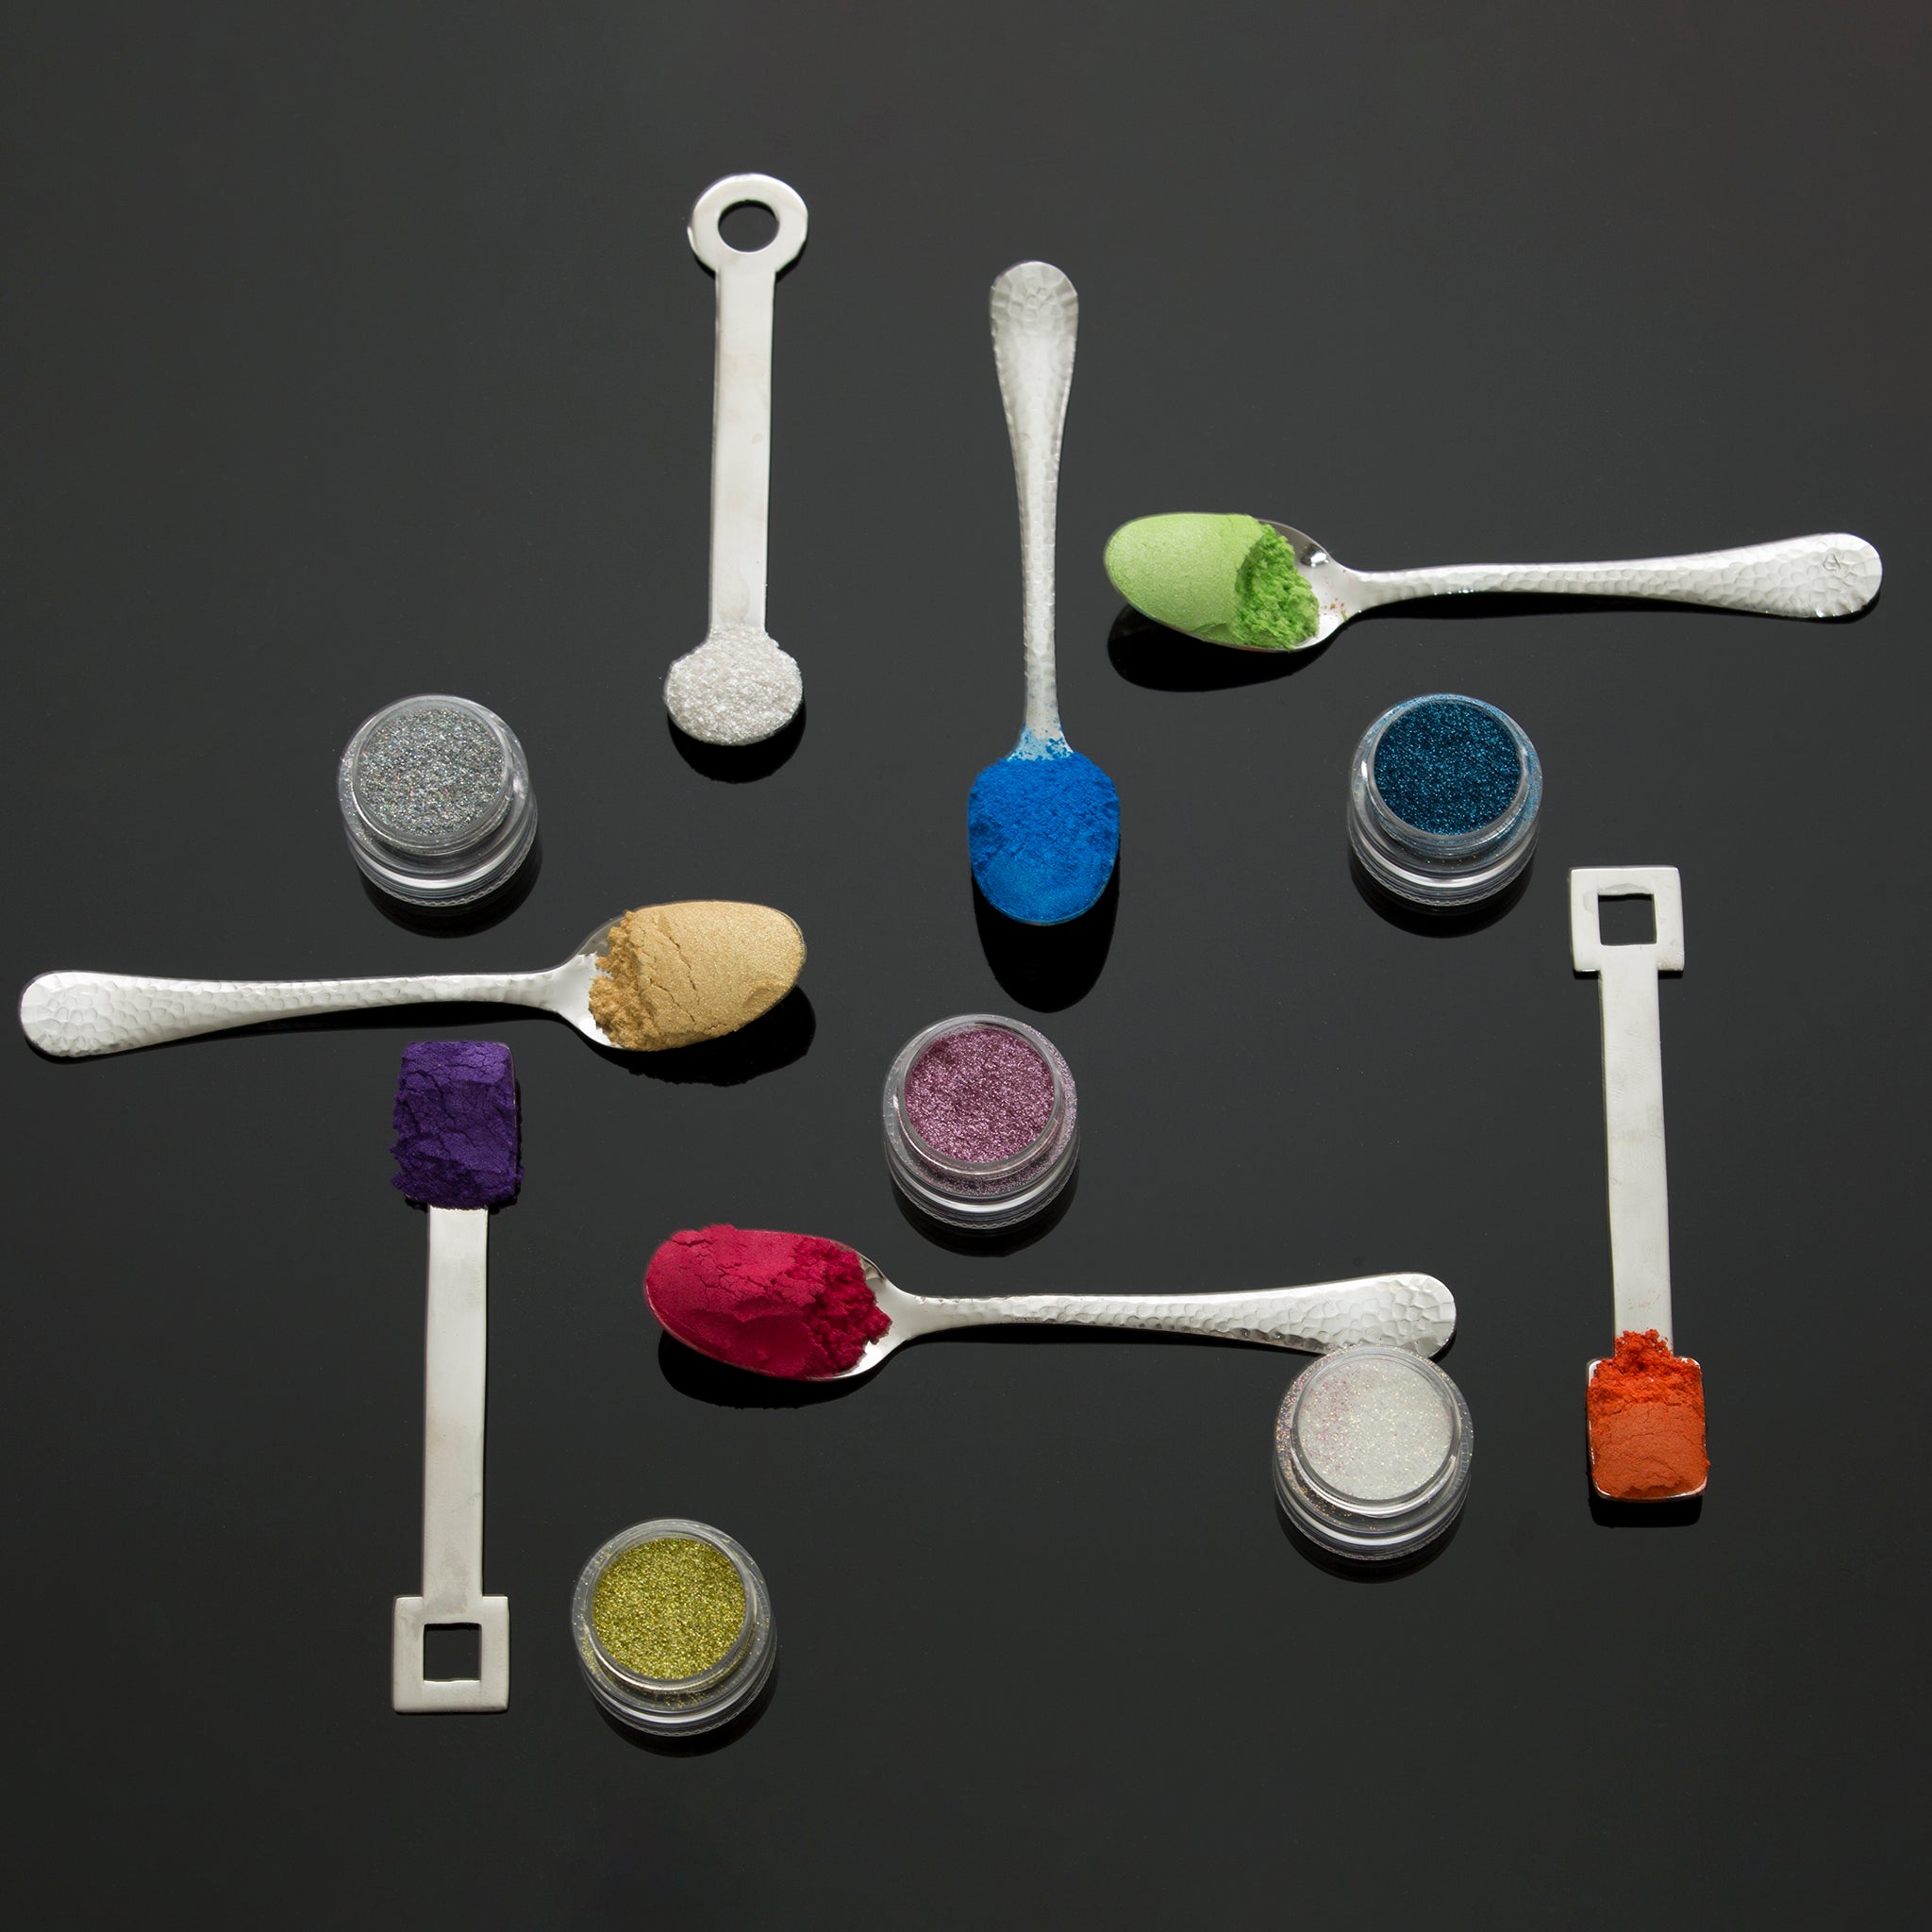
Zombie’s Painted Face:
- 1x 0.15cc scoop of Onyx Mica
- 1x 0.15cc scoop of Buttercup Yellow Mica
- 1x 0.15cc scoop of Chromium Oxide Green (Grass Green)
- 1x 0.15cc scoop of Wedding Veil White Mica
- 1x 0.15cc scoop of Rose Quartz Mica
Zombie’s Brains:
Dry Ingredients:
- 260g Baking Soda
- 30g Lathanol
- 16g Cream of Tartar
- 30g Cornstarch
- 2g White Kaolin Clay
Wet Ingredients:
- 36g Glycerin
- 12g Polysorbate 80
- 120g Cocamidopropyl Betaine
- 24g Cocoa Butter
- Isopropyl Alcohol
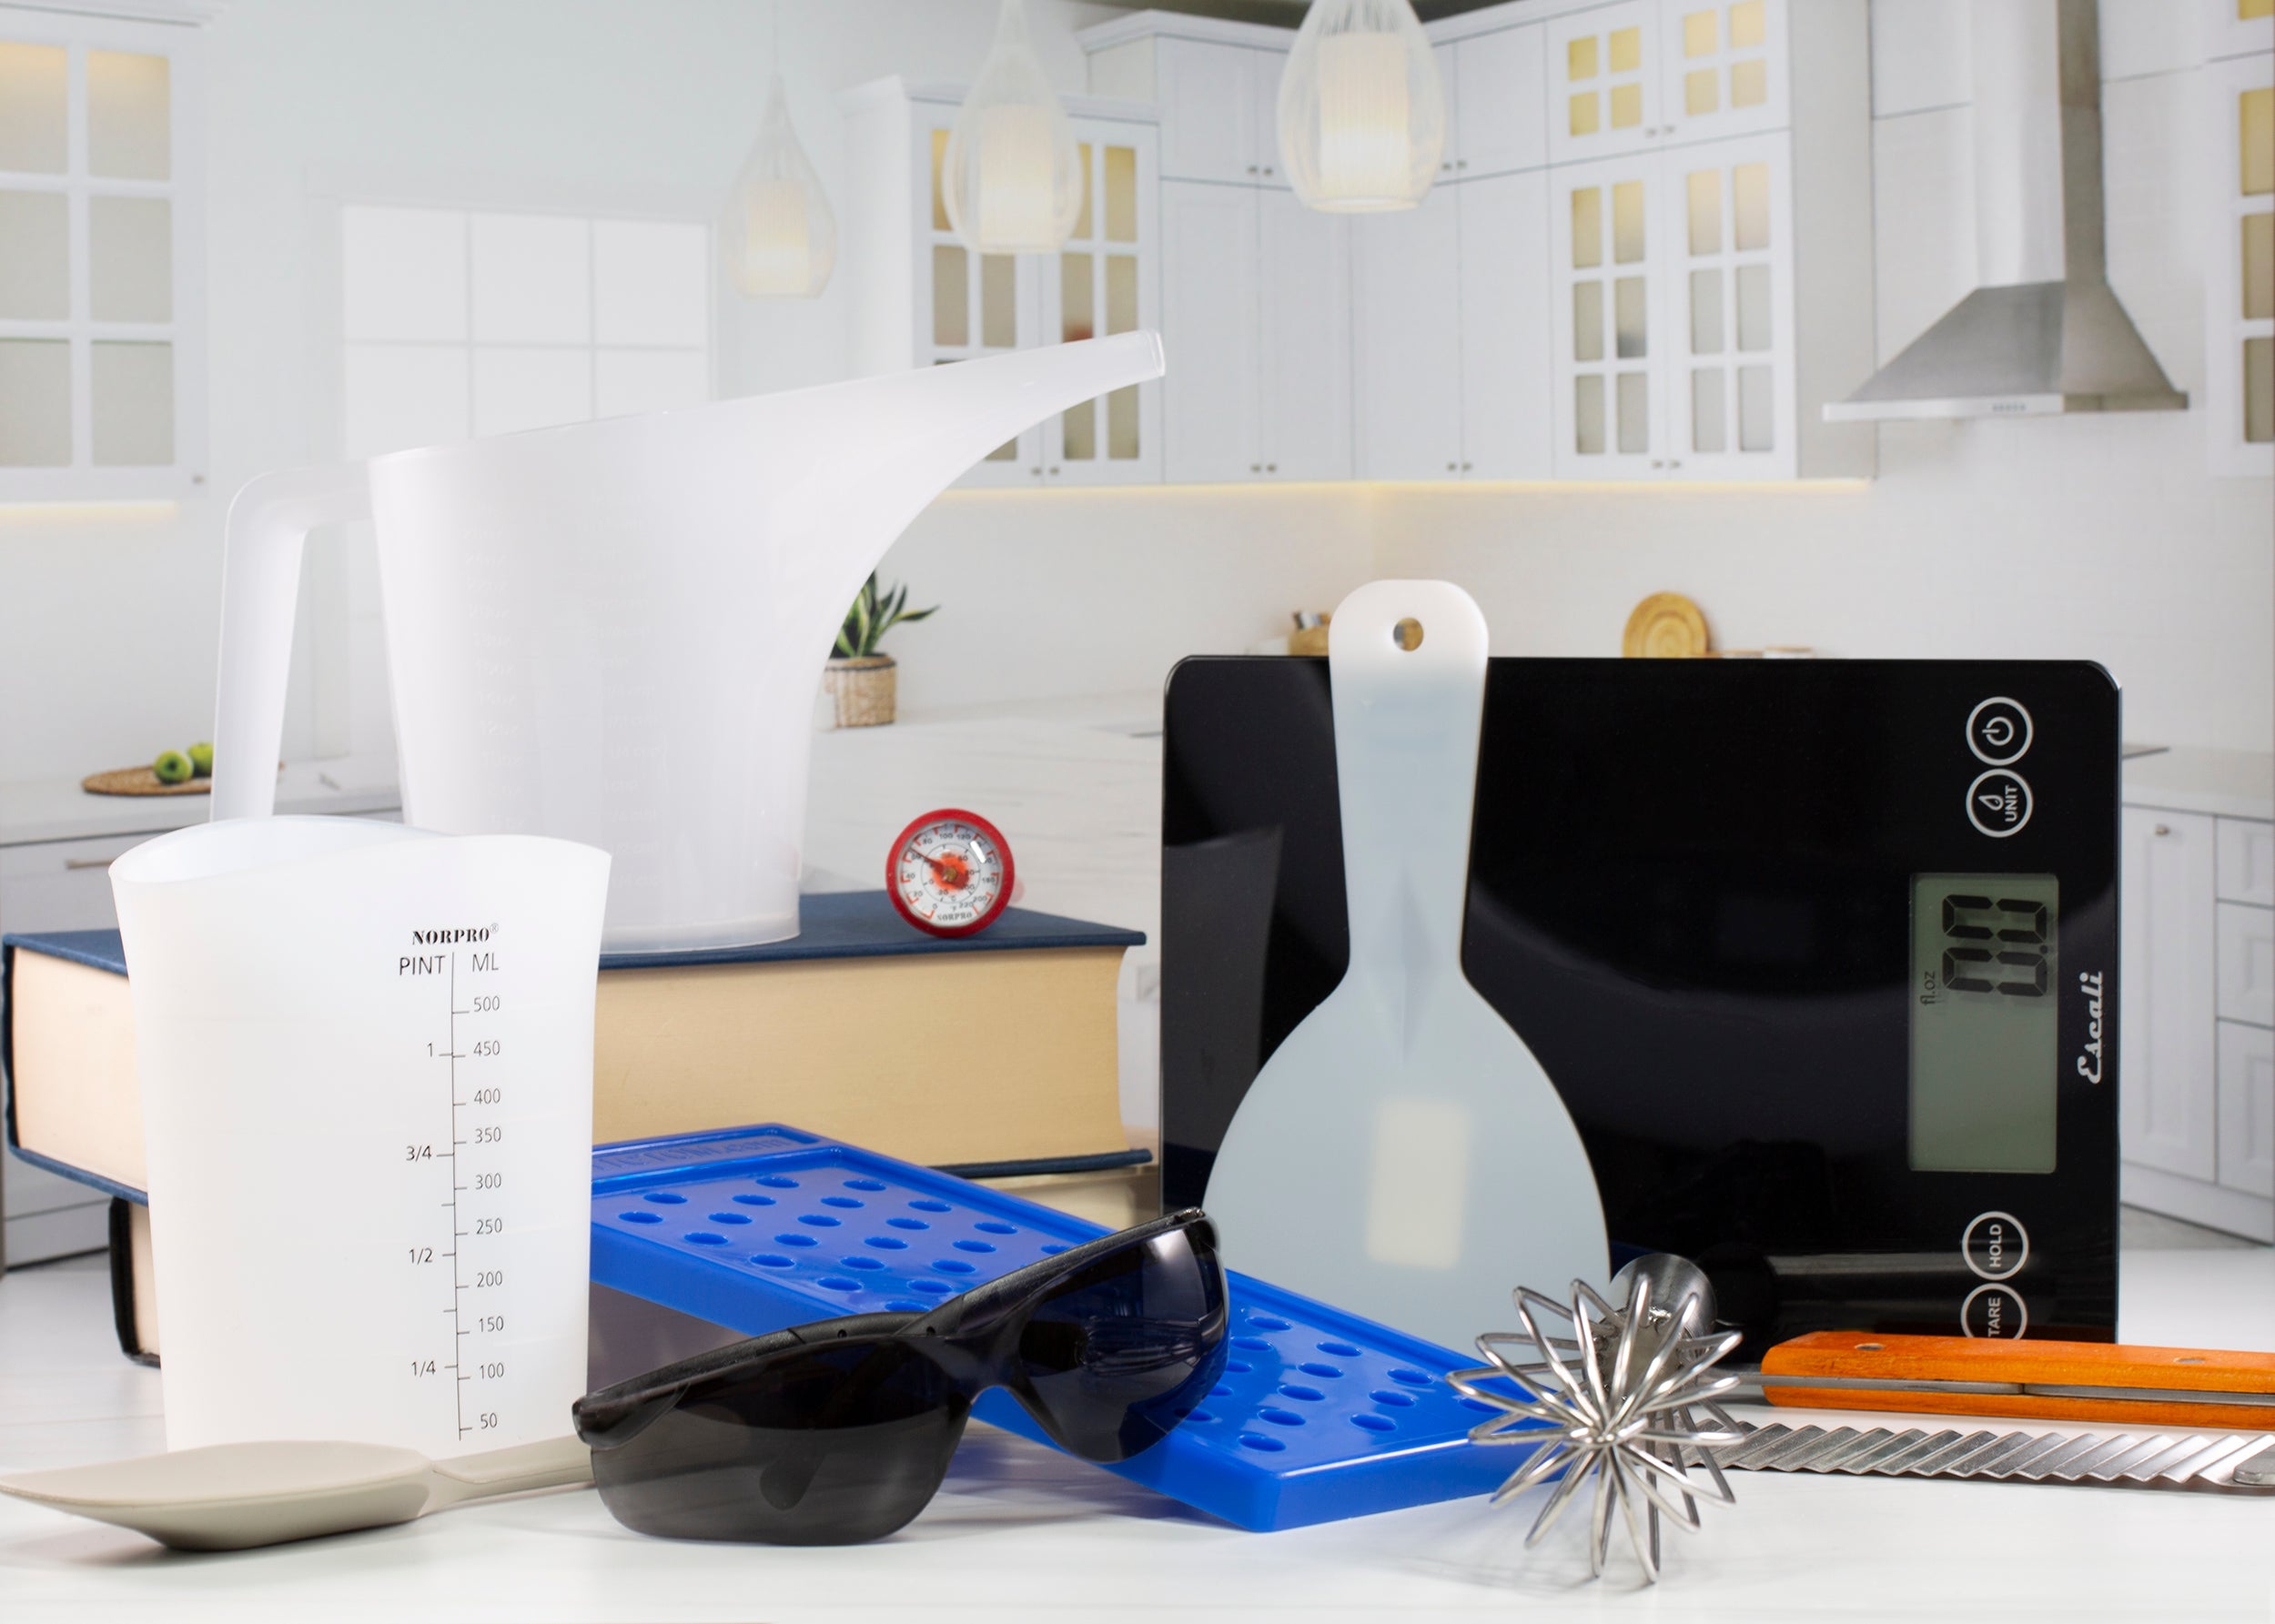
Recommended Utensils:
- 2x Mixing Bowls
- Small Mixing Cups
- Microwave Safe Cup
- Metal Bath Bomb Mold - 2"
- 2.5" Sphere - 3D Printed Bath Bomb Mold
- 9 Cavity Bath Bomb Drying Tray for 2.5" Sphere
- 0.15cc plastic scoop
- Whisk
- Scale
- Sifter
- Popsicle Stick
- Piping bag and small round tip
- Fine Paintbrush
- Metal Spoon
- Microwave
- Gloves
-
Facemask
Directions:
- Step 1: Weigh out and sift into a bowl the Baking Soda, Corn Starch, Lathanol, Cream of Tartar and Coconut Milk Powder(leave the Citric Acid out for now). Gently mix.
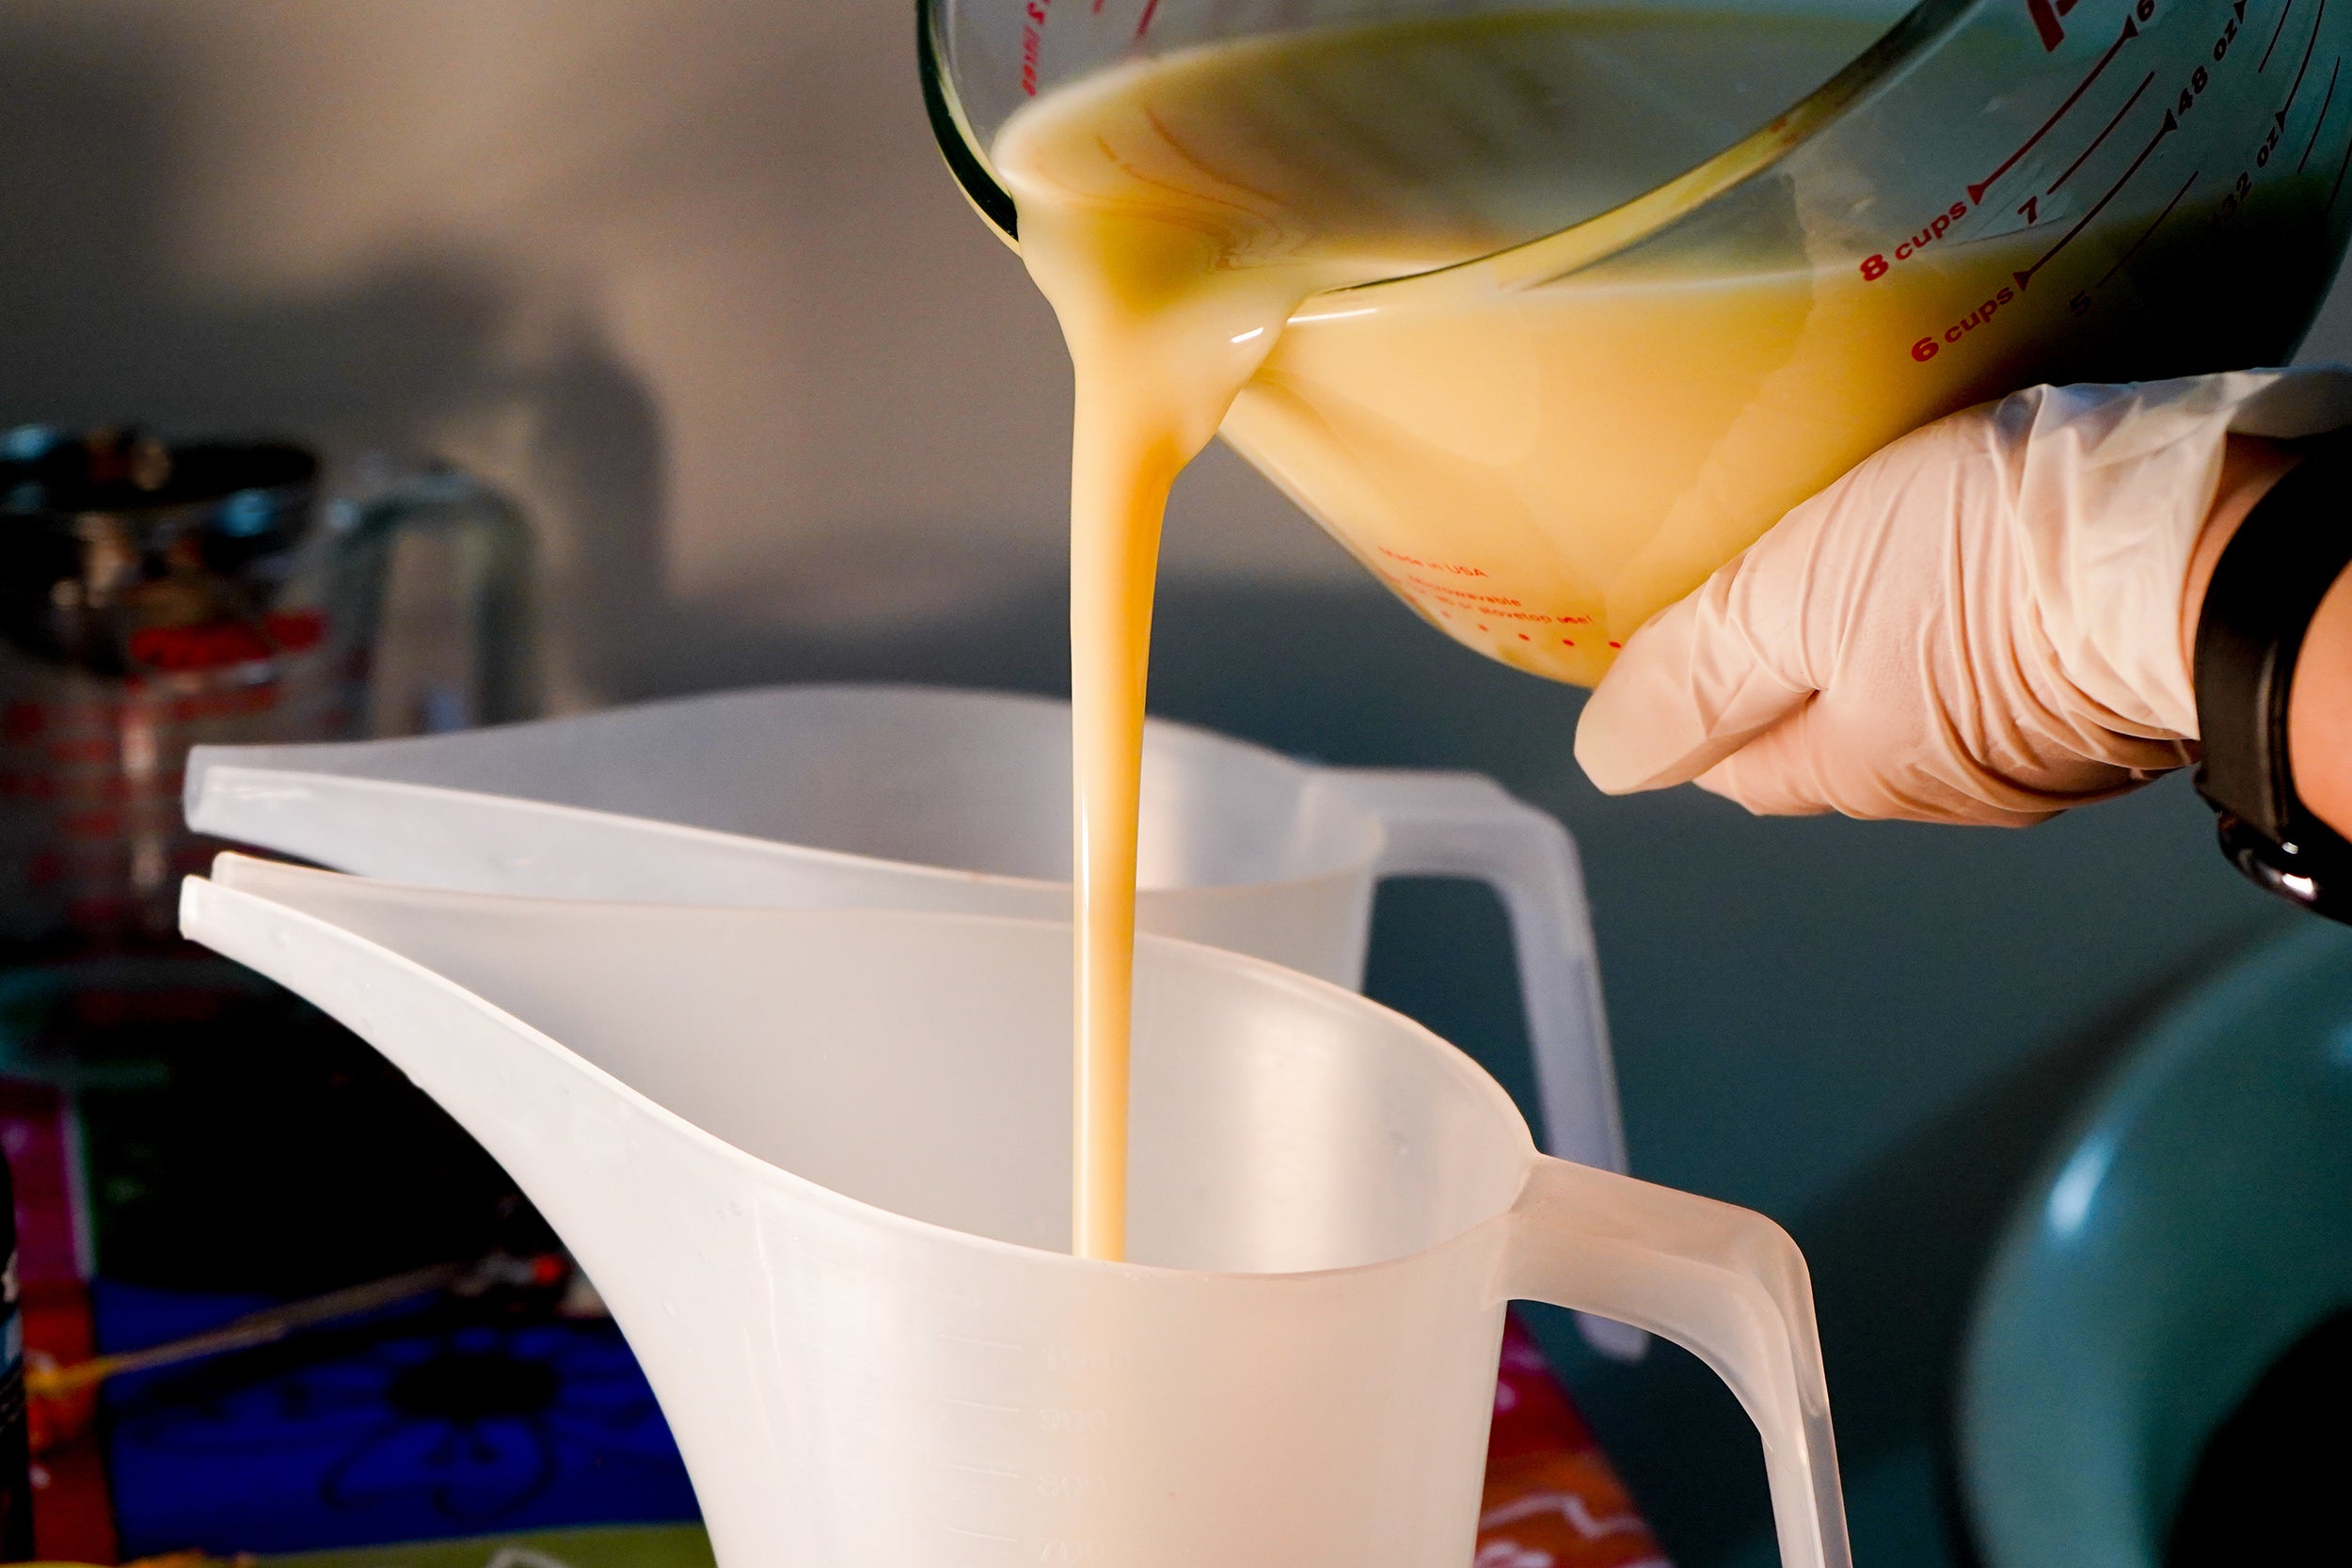
- Step 2: Weigh out in a mixing cup the Avocado Oil, Polysorbate 80, Cocamidopropyl Betaine and Cranberry-White Fragrance Oil.Mix until combined,then pour the wet ingredients into the dry ingredients. Mix well.
- Step 3: Now add the Yellow and Blue Bath Bomb Powder , mix well until you have a beautiful green shade for the Zombie's Skin Color.
- Step 4: Add the Citric Acid and mix once again.
- Step 5: Test Bath Bomb mix by pushing some in your hand together and dropping into the bowl. If it sticks together without breaking It's ready to fill the mix into the mold. If it doesn't hold together add some water using a spray bottle until the mix holds together when dropping.
- Step 6: Now fill the 3d printed Sphere Bath Bomb Mold, leaving about half an inch on top empty. Don't pack it tightly. Place the 2” Metal Bath Bomb Mold half into the mix with its round side facing down to create an indent in the Zombie's Head, which we will later fill with its Brain. Then place the second half of the 3d printed sphere Bath Bomb mold on top.
- Step 7: Now push down on the top part of the Mold either in your hands or on a table to form the Bath Bomb.
- Step 8: This will cause a bit of a suction between Mold and Bath Bomb which you can easily break by tapping the back of a metal spoon against the mold.
- Step 9: Once you tapped a few times against all sides, place mold on the table and push the sleeve up.
- Step 10: Remove the sleeve and brush with your thumb or index finger around the exposed ring of the Bath Bomb to smoothen it out.
- Step 11: Now use the spoon and gently tap against the top part of the Mold while holding onto it , to break the suction. Carefully pull the top part of the Mold diagonally up.
- Step 12: Hold onto the exposed part of the Bath Bomb, while turning it upside down so it won't fall out. Place over the drying tray and gently tap with the spoon to release from the mold.
- Step 13: Gently remove the Metal Bath Bomb half . Then repeat the process until you have 6 indented Bath Bombs. Let the Bath Bombs dry for 24 hours before painting and adding the Brains.
- Step 14: Now using some Chromium Oxide Green mixed in Isopropyl Alcohol, we painted on the Bath Bomb the round green face. Then the eyes, eyebrows and mouth using Onyx Mica mixed with Isopropyl Alcohol. We added 2 small white dots onto the eyes. Painted a tongue inside the mouth using the Rose Quartz mica and then added 3 yellow teeth using the buttercup yellow. Let the painted on details dry for an hour.
- Step 15: Now weigh out the Baking Soda, Lathanol, Cream of Tartar, Cornstarch and White Kaolin Clay. In a heat-safe cup measure Cocoa Butter , melt in the microwave and then add into your dry ingredients and mix until well combined.
- Step 16: Weigh out the Glycerin, Polysorbate 80, Cocamidopropyl Betaine and add into the mix and mix well.
- Step 17: Lastly add in the Neon Hot Pink Kisses Powder.
- Step 18: Now add Isopropyl Alcohol until you reach a pipeable consistency, like buttercream. If you accidentally add too much Isopropyl alcohol just let it sit for a while and wait for it to evaporate!
- Step 19: Once you're happy with the consistency add the mix into a piping bag with a small round tip.
- Step 20: Now place a Dollop into the middle of the indent. Even it out with a popsicle stick.
- Step 21: Now add the squiggly Brain on top.
- Step 22: Once you're happy with your piped Brains, let the Bath Bombs dry for another 24h and then package to keep humidity from activating the Bath Bombs.
Humidity
Humidity can cause Bath Bomb mix to become tricky. We prefer working with this recipe between 30% to 50% humidity.
We also found that adding clay to the recipe can help at a higher humidity. If the mix activates, try adding a little bit of clay.
This recipe was tested at 64% humidity in a room temperature of 19.3 degrees. We highly recommend working in a space with a humidifier.
If for some reason the Bath Bombs do crumble, do not throw out the mix(or any leftovers from making Bath Bombs, rather package it and sell it as a Bath Bomb powder).
Caring for your 3d printed Bath Bomb molds:
Do not submerge in water , as water can get trapped inside the plastic , causing Bath Bombs to activate upon making. You may wipe the mold with cold water and paper towel if needed, hot water can deform the plastic. Do not place it in a dishwasher!
If the mold was submerged in water accidentally, place it on a metal drying tray for at least 24h, to be sure the water fully evaporated from all sides.


