


Bring the fun of bubble tea into your bath routine with this playful Bubble Tea Melt & Pour Soap! Layered with swirls of purple “milk tea,” topped with handmade soap straws and icy cubes, and filled with juicy purple tapioca pearl embeds, this project is as beautiful as it is functional. Scented with Black Currant Rose & Vanilla, it’s fruity, floral, and sweet — perfect for gifting or treating yourself. Best of all, melt & pour soap is ready to use right away, so you can enjoy your bubble tea creation the same day you make it!
Click here to download the Step-by-Step PDF Guide!
Ingredients you’ll need:
- 1kg Stephenson Natural Transparent Melt & Pour Soap
- 1kg Stephenson Suspending Melt & Pour Soap
- 30ml Natural Black Currant Rose & Vanilla Fragrance Oil
- 250ml Isopropyl Alcohol
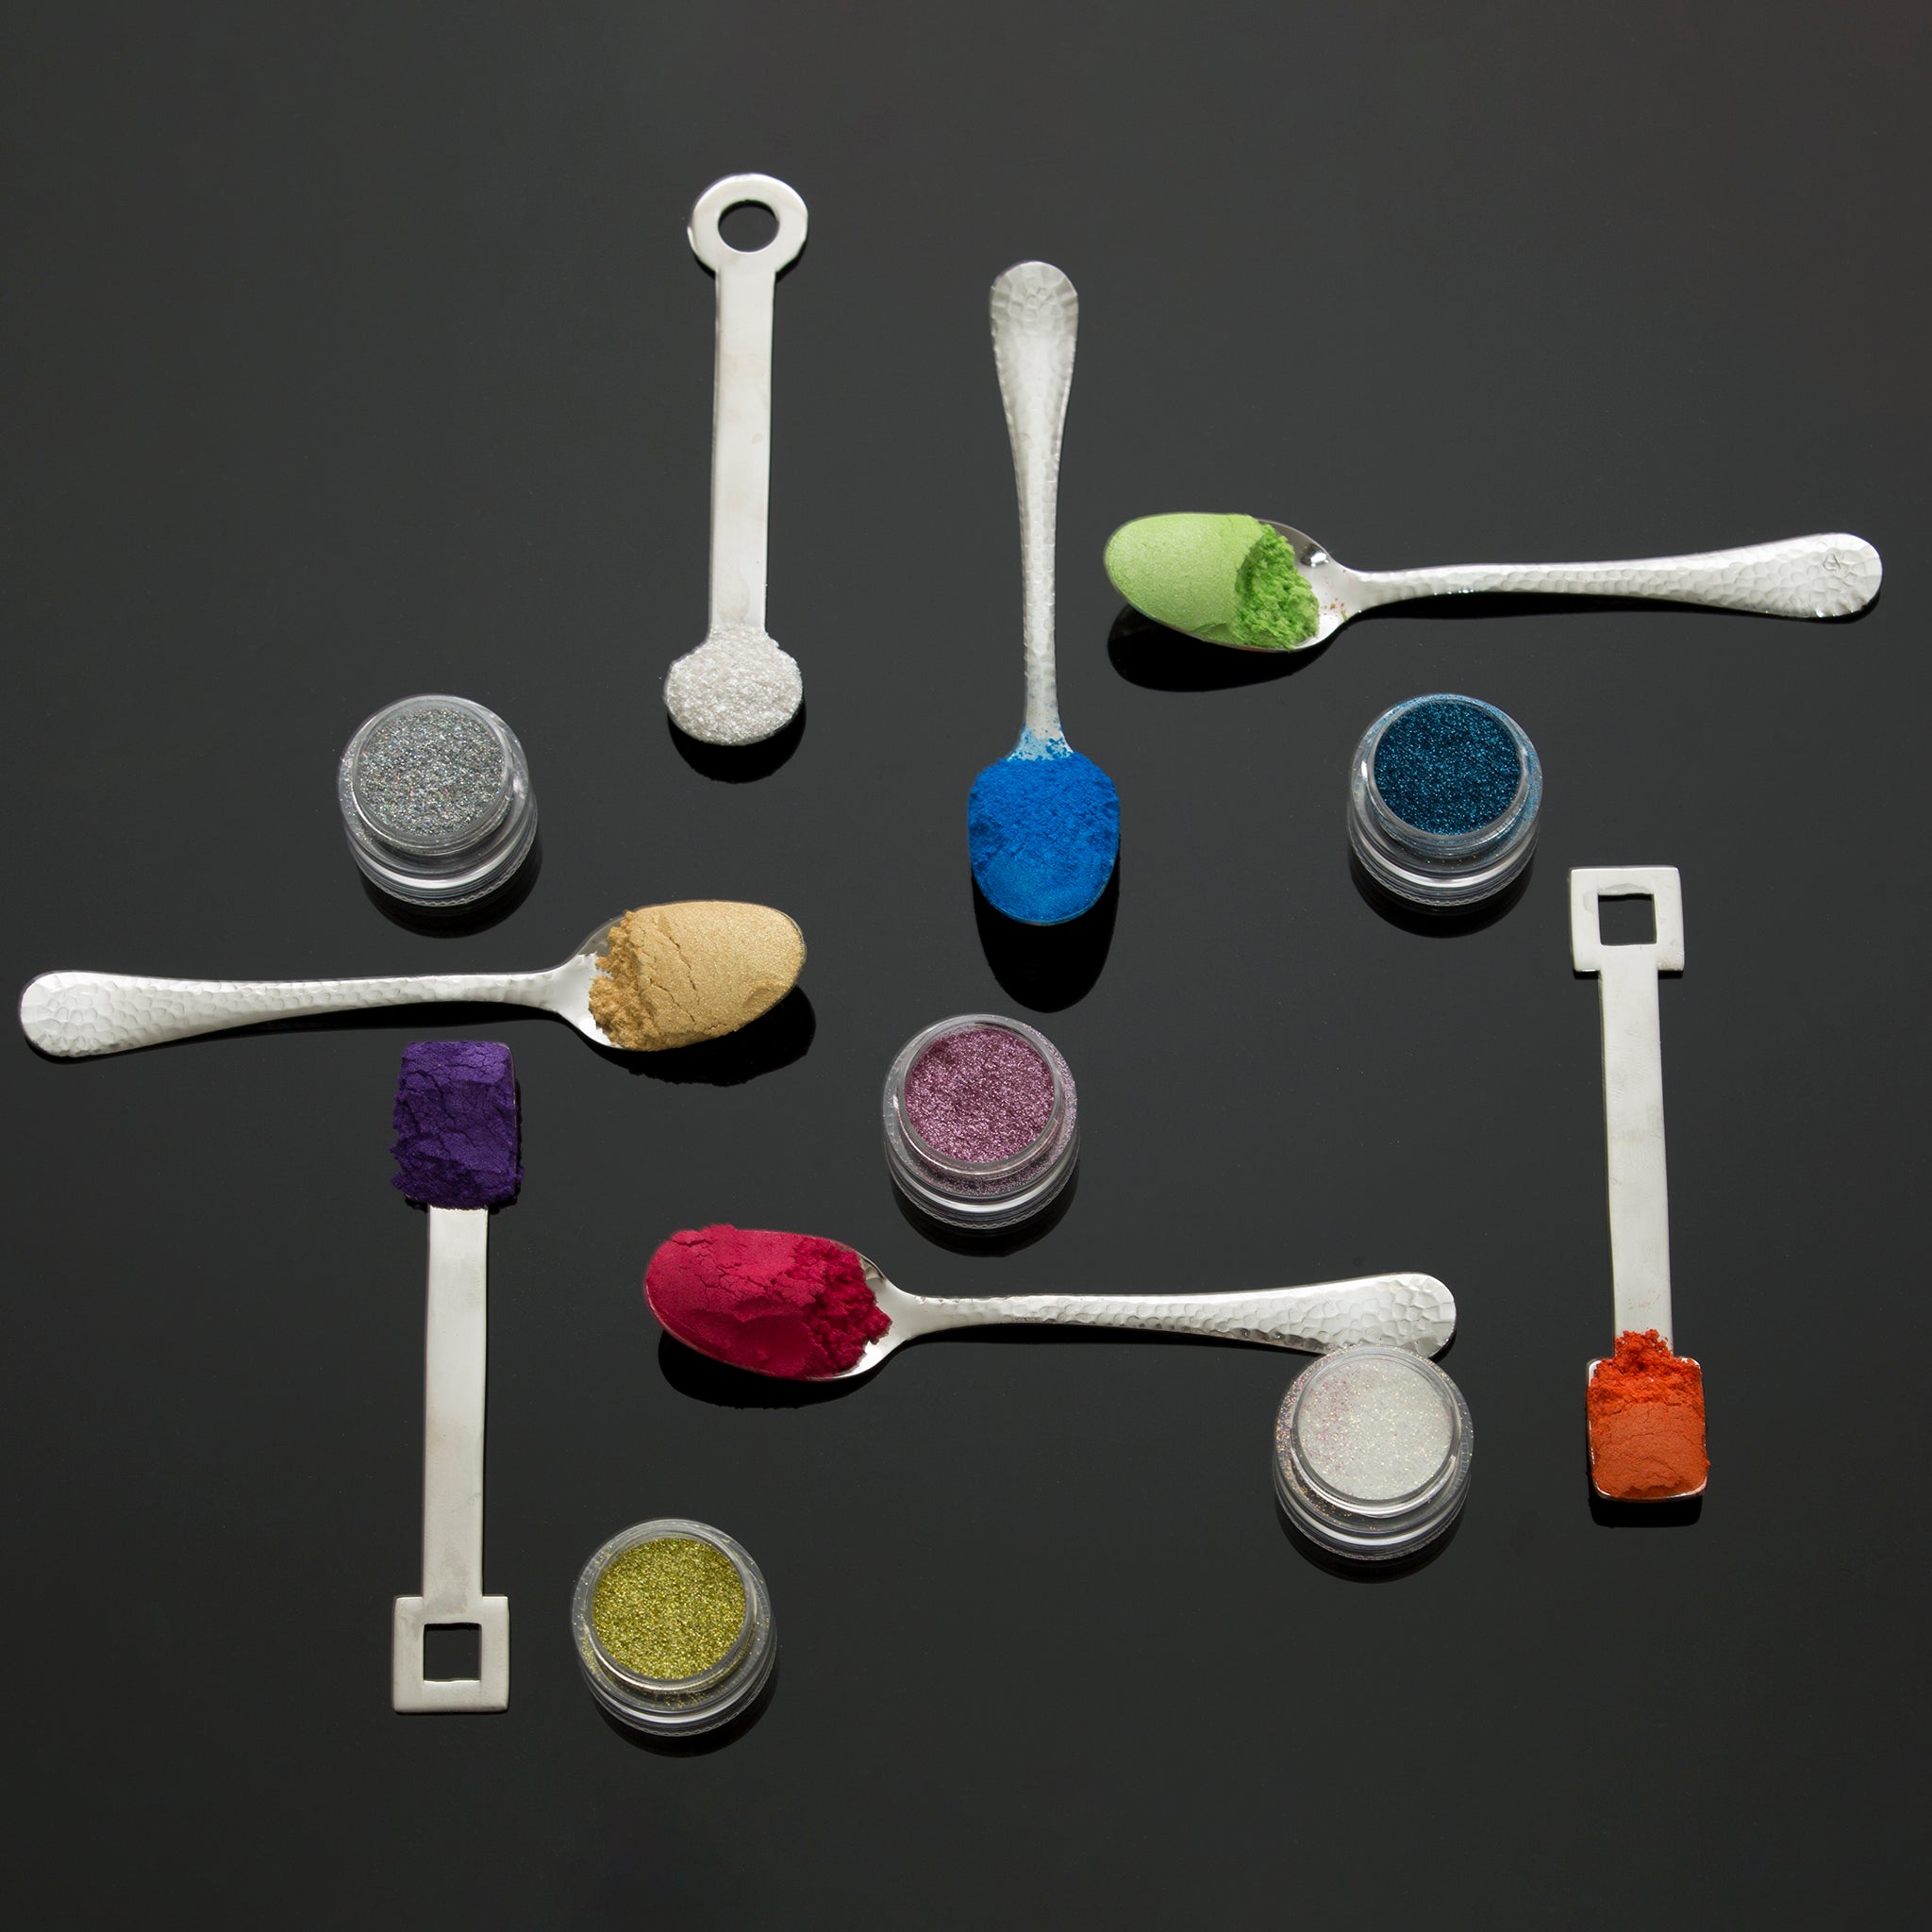
- Aubergine Purple Mica
- Majestic Violet Mica
-
Optional: Fuchsia Bio-Glitter Sparkle
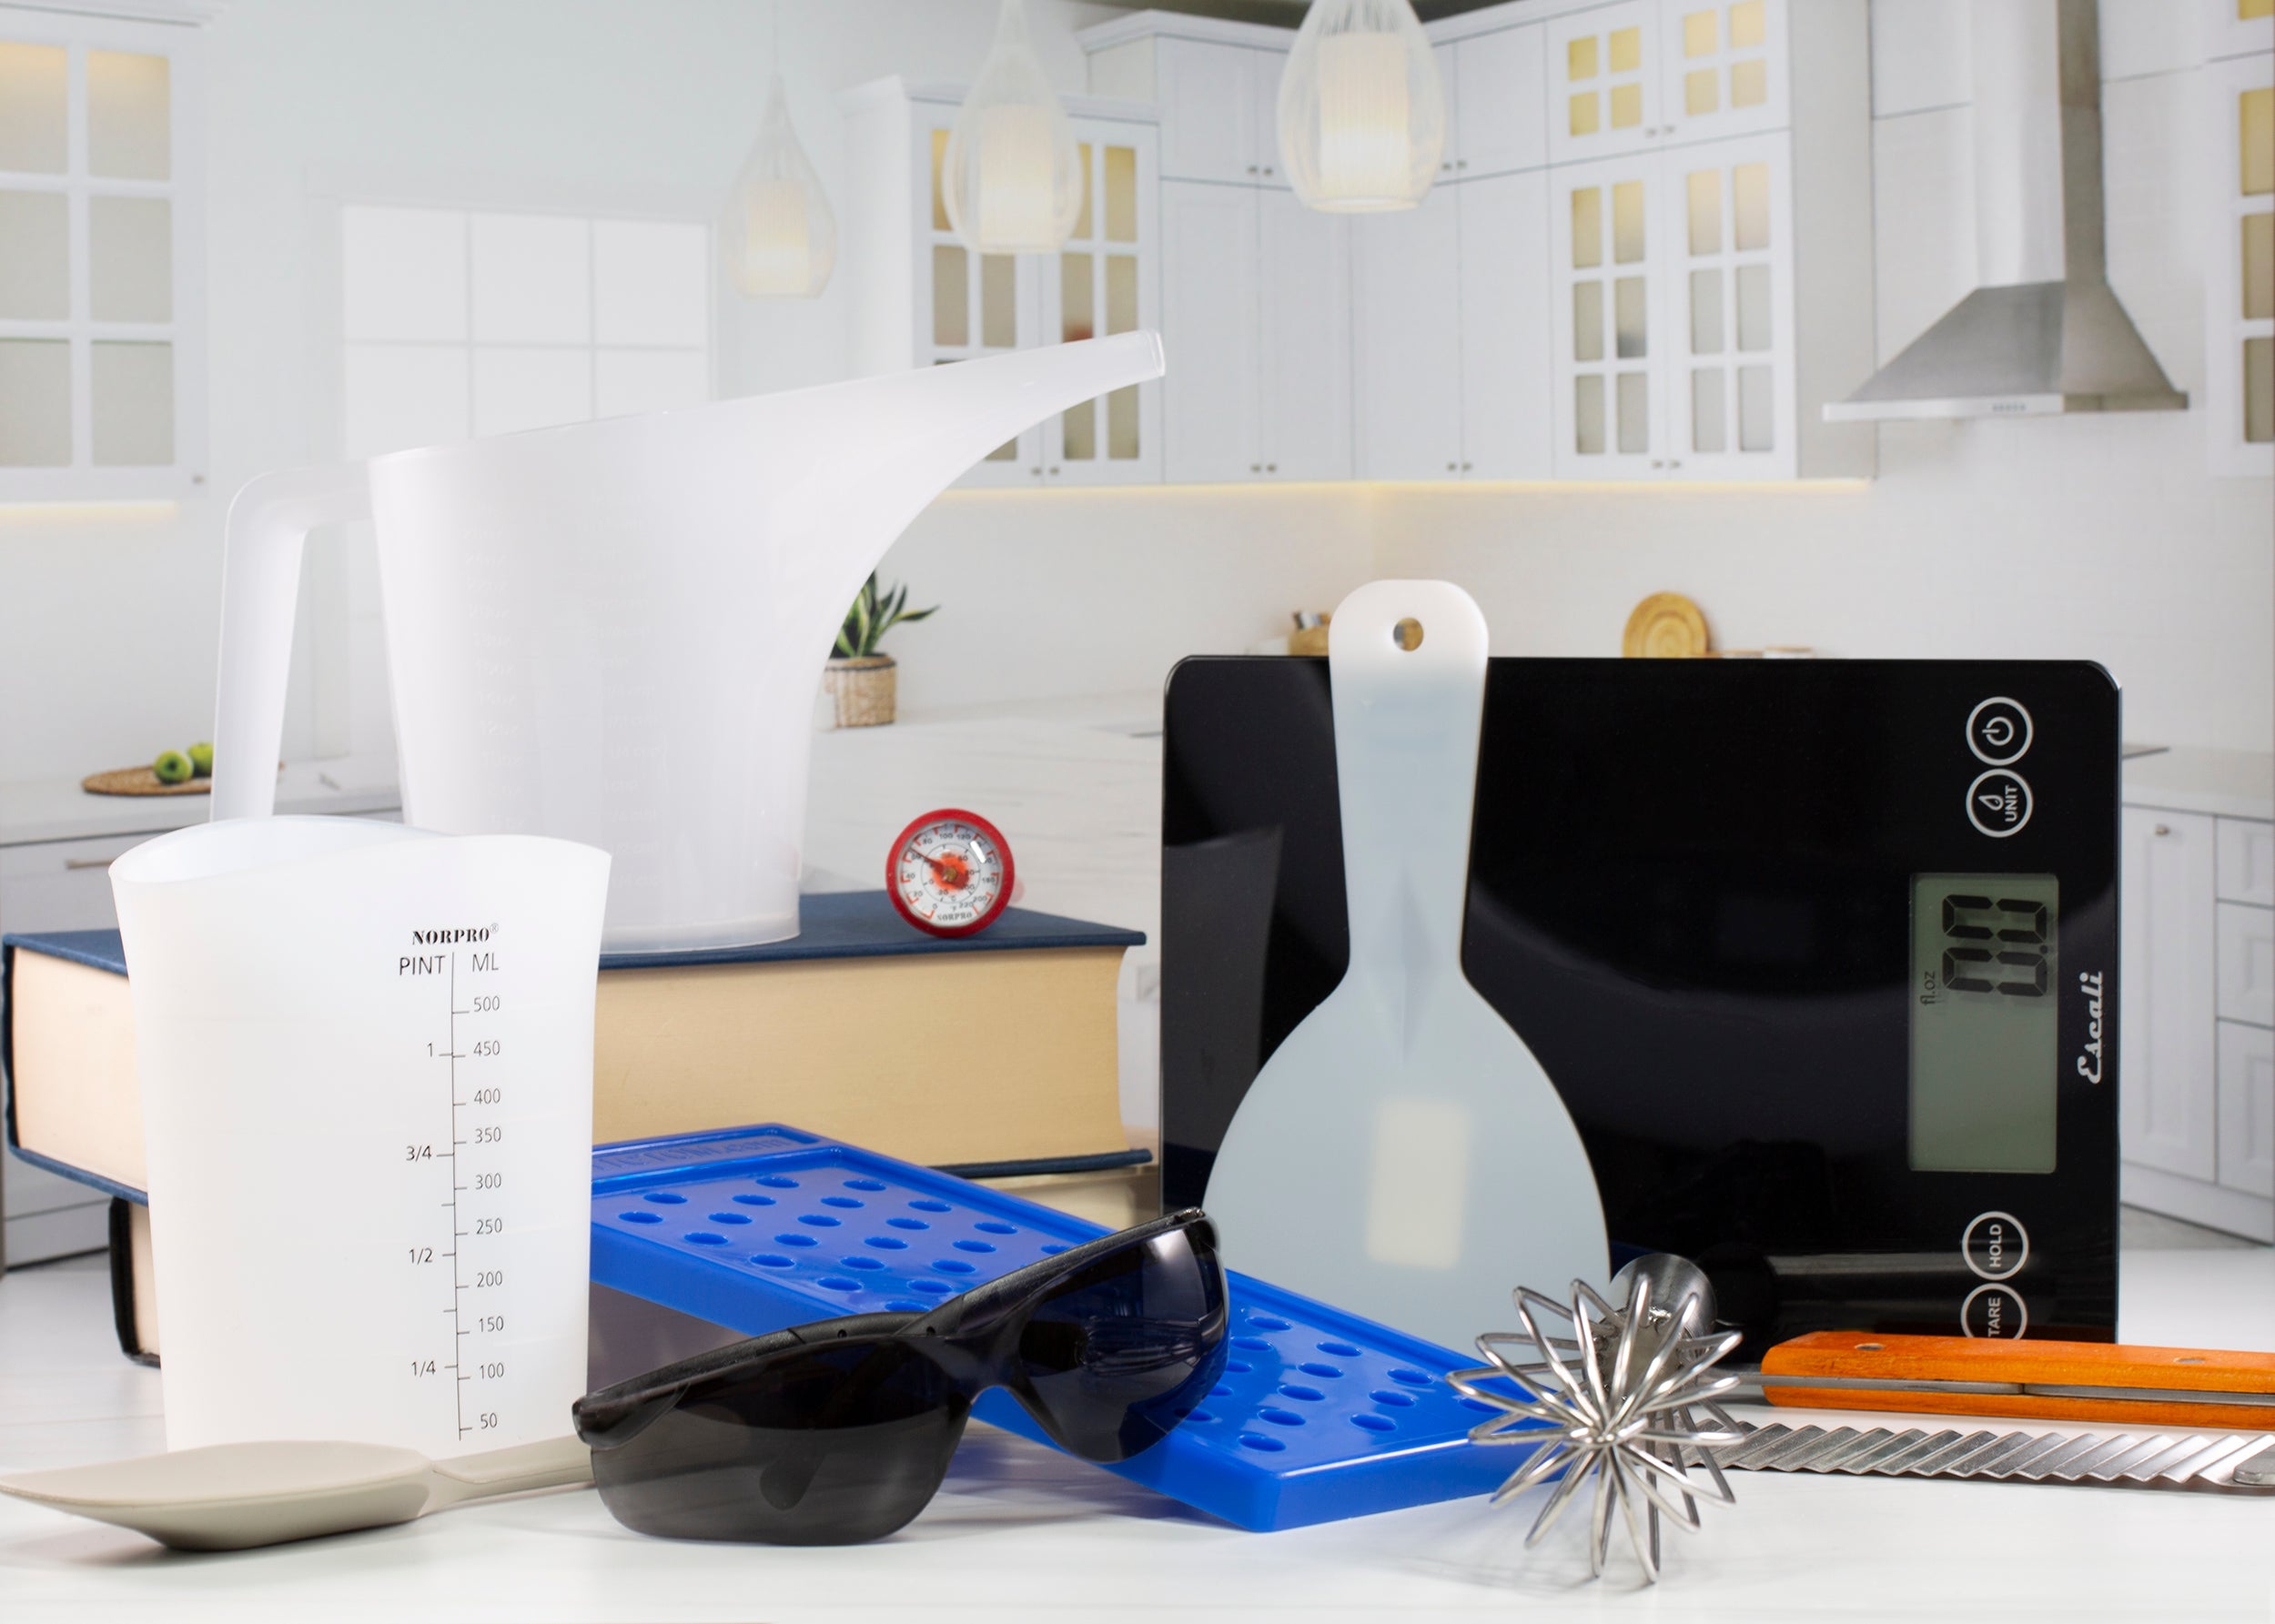
Tools you'll need:
- A scale
- Stainless Steel Heavy Gauge Soap Cutter
- 3 heat-safe measuring cups
- Microwave
- Stir sticks
- Plastic Mixing Cups
- Sheet of parchment paper
- 1 x Mini Tall Skinny Silicone Loaf Mold
- Blueberry Embed Silicone Mold - 12 Cavity
- Ice cub tray
More Inspiration Ideas:
- Blue Bubble Tea: Blueberry Fragrance Oil , Rocky Mountain Blue Mica
- Green Bubble Tea: Green Tea Fragrance Oil , Margarita Mica
- Yellow Bubble Tea: Citron Spritz Fragrance Oil , Buttercup Yellow Mica
- Orange Bubble Tea: Peachy Keen Fragrance Oil , Satin Orange Mica
- Red Bubble Tea: Strawberry Fragrance Oil , Rosy Red Mica
Directions:
- Step 1: Cut 100 g of transparent melt & pour base into small cubes and weigh.
- Step 2: Gently melt the soap in the microwave using 10-second bursts, stirring between each. Avoid overheating, which can cause sweating. Stir in 3 g fragrance oil. (Tip: use a fragrance with 0% vanillin to prevent discoloration.)
-
Step 3: Pour the scented soap into the ice cube tray. Allow to set for about 20 minutes or until firm.
- Step 4: Melt 25 g transparent base and add 1 g fragrance. In a small mixing cup, spray a little isopropyl alcohol and add 2 scoops of Aubergine Purple Mica. Mix thoroughly, then use a pipette or dropper to fill the blueberry mold cavities. These will be your “tapioca pearls.” Allow to set for about 15 minutes.
- Step 5: Melt 25 g of white melt & pour base, add 1 g fragrance, and pour onto a sheet of parchment paper. Spread into a thin rectangle and let harden for about 15 minutes.
- Step 6: Once solid, cut the white soap sheet into rectangles. Roll these into even, long “soap straws.”
- Step 7: Remove the purple tapioca pearls from the mold. Repeat Step 4 until all the purple soap is used up. You’ll want enough pearls to cover the bottom of the mold and an extra layer on top.
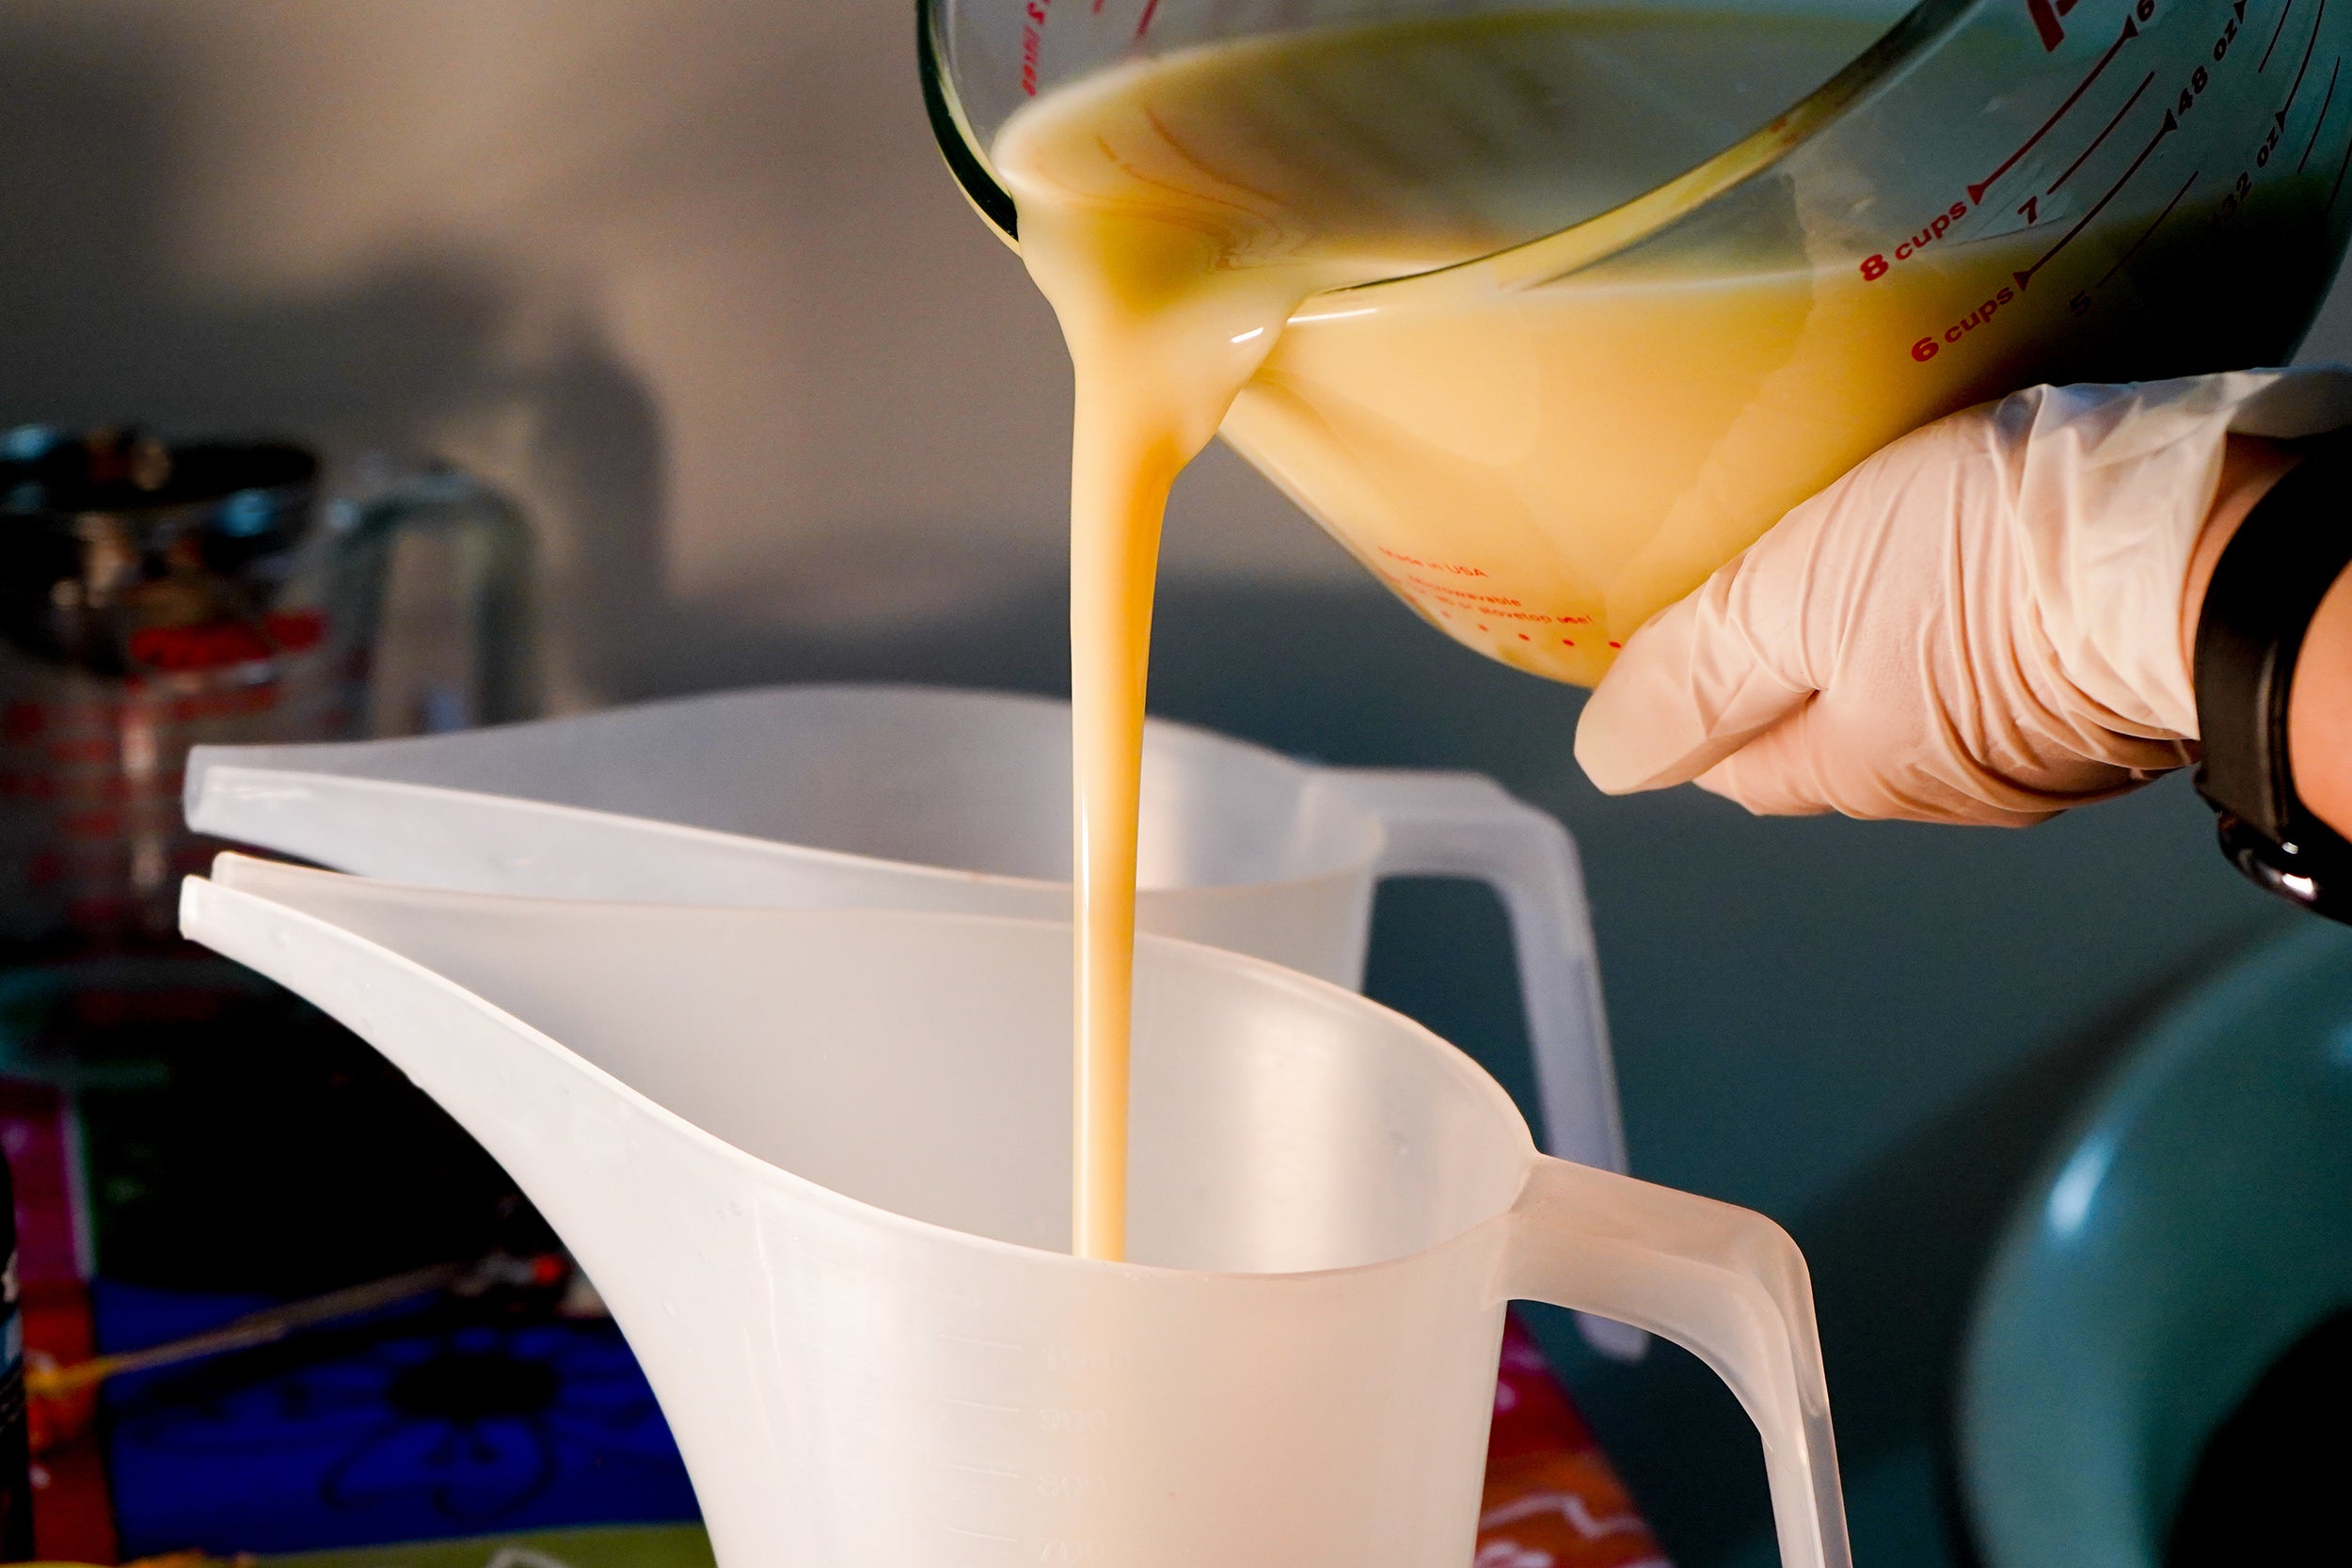
- Step 8: Melt 250 g of white base and 250 g of suspending base separately. Add 7 g fragrance oil to each and stir gently.
- Step 9: In the suspending base, disperse a small amount of Majestic Violet Mica (first mixed with isopropyl alcohol for smooth blending). Add gradually until the desired purple shade is reached.
- Step 10: Place the purple tapioca pearl soap embeds on the bottom of your loaf mold. Spray lightly with isopropyl alcohol to help adhesion, then pour the purple suspending base over them until the mold is about ¾ full.
- Step 11: Immediately pour the white base over the purple, moving the cup slowly from one side of the mold to the other. This creates a natural swirl effect.
-
Step 12: Once a thin layer forms, place the soap straws evenly across the top, about 1 inch apart. Gently press them in so they stay in place.
- Step 13: Arrange the ice cube soaps on top. Spray the surface with isopropyl alcohol, then carefully pour a small amount of cooled white base around the cubes and straws to secure them. Ensure the soap isn’t too hot, or it may melt through the top layer.
- Step 14: (Optional) Sprinkle a little purple glitter on the white layer for sparkle. Try to avoid the ice cubes. Allow the soap to harden for at least 4–6 hours.
- Step 15: Carefully remove the loaf from the mold.
- Step 16: Slice into even bars with a soap cutter or sharp knife.
- Step 17: Your bubble tea soap is ready to use! Melt & pour soap does not require curing and can be enjoyed immediately. If storing, wrap in plastic wrap or shrink wrap to protect from moisture.
Packaging Tips
- Shrink Wrap: Provides the best protection against moisture and gives a professional finish.
- Plastic Wrap: Works well for small batches; tie with raffia or ribbon for a fun bubble tea vibe.
-
Boxes or Sleeves: Soap boxes with windows or custom printed sleeves add branding while keeping the soap protected.
Safety:
- Work carefully when melting soap bases; they can become hot quickly.
- Always spray isopropyl alcohol in a well-ventilated area.
- Some fragrance oils may discolor over time; choose low-vanillin or vanillin-free scents for clear embeds.
- Keep finished soap away from humidity to prevent sweating.
Usage:
- Lather the soap under warm water and enjoy the sweet, fruity fragrance.
- For external use only. Avoid contact with eyes. Discontinue if irritation occurs.
- Suitable for hand and body washing.
Note:
All recipes are provided for the use of the customers of Voyageur Soap & Candle Company Ltd. Their electronic or print reproduction is strictly forbidden.
All formulas and recipes have been formulated by Voyageur but we accept no liability as to their effectiveness or the success of the formulas when being made. It is essential that good manufacturing practices are followed in their use, and it is the responsibility of the user to meet the appropriate regulatory requirements of their jurisdiction in all matters.
All formulas remain the property of Voyageur, and their reproduction or redistribution is strictly forbidden without our written consent.