


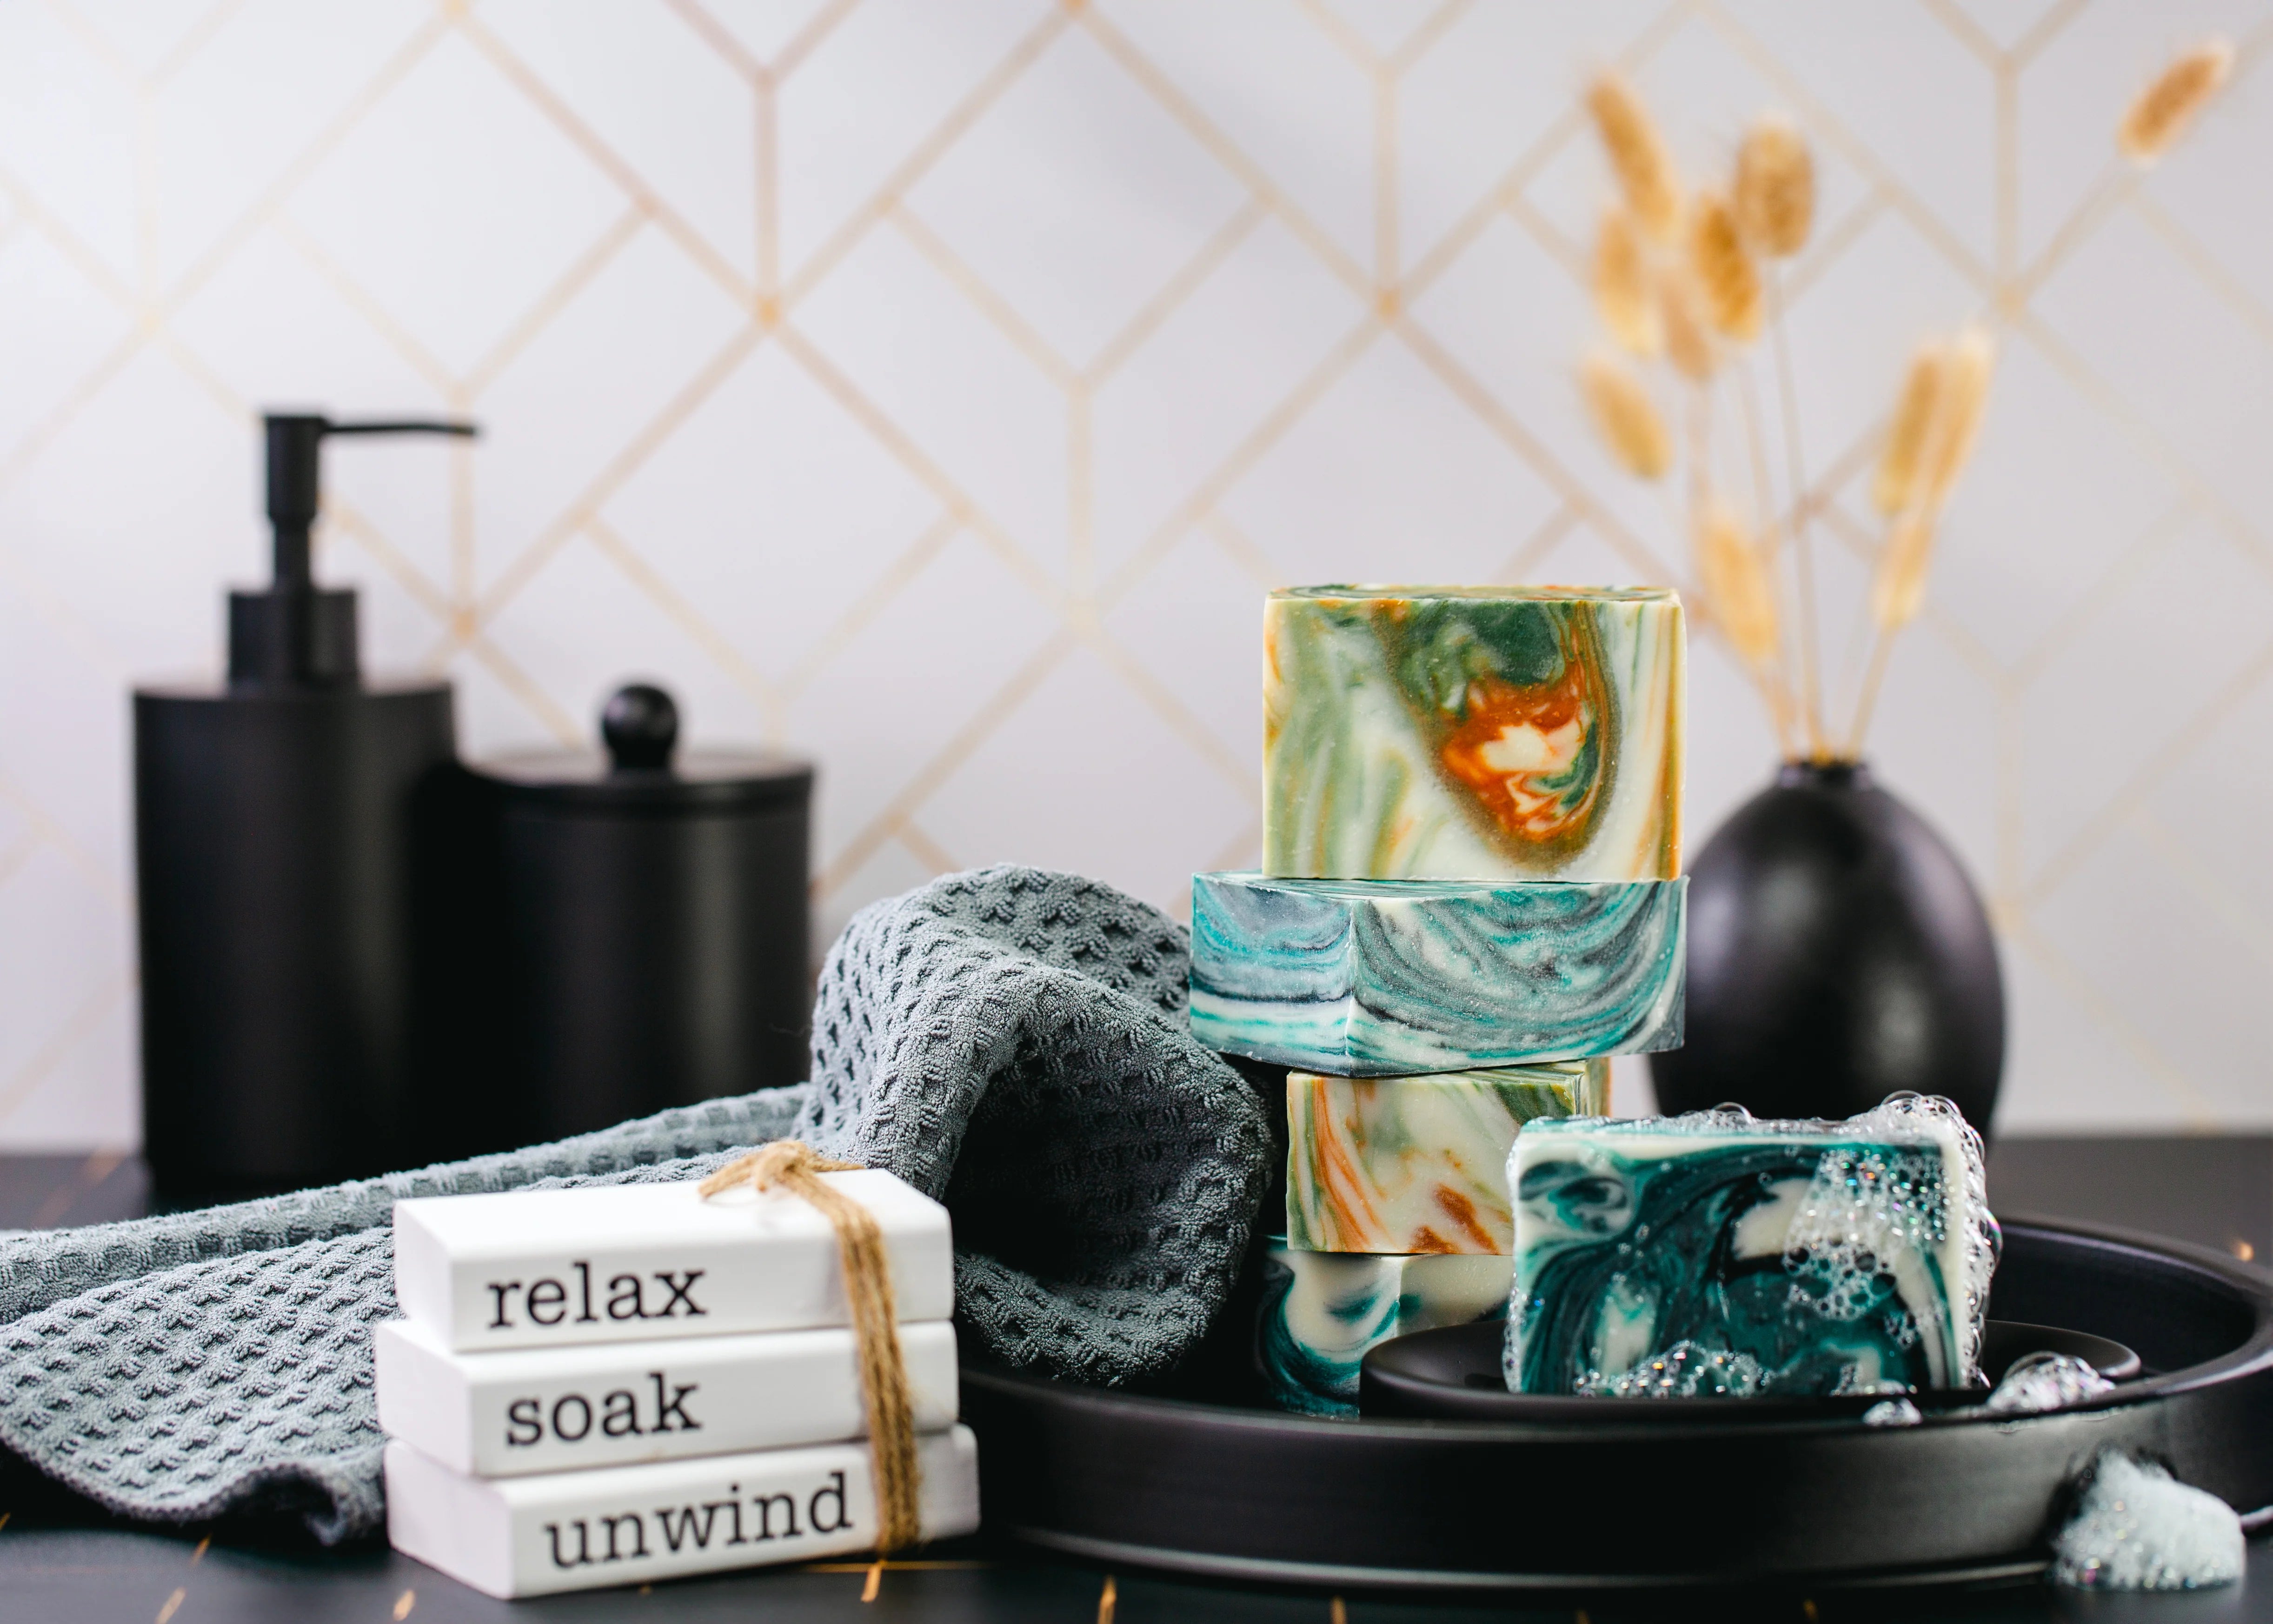

The Butterfly Swirl Cold Process Soap is a vibrant spring project featuring Pink Citrus Fragrance Oil, a fresh, uplifting scent that pairs beautifully with bold seasonal colours. This design uses a Springtime Green base with six alternating “wing” layers to create a striking butterfly swirl effect. Mica and biodegradable glitter add soft shimmer and dimension, making this an advanced technique best suited for experienced soap makers.
To achieve the perfect swirl, it’s important to use a fluid, well-behaved recipe and a fragrance that doesn’t accelerate trace. Pink Citrus Fragrance Oil works beautifully. Its long working time allows you to layer and swirl the colours with precision, giving your soap a stunning, professional look.
Click here to download the Step-by-Step PDF Guide.
Lye Safety First
Cold process soap making involves sodium hydroxide (lye), which is caustic and must be handled carefully.
Always:
- Wear long sleeves, Safety goggles, Gloves, Apron
- Tie back long hair
- Work in a well-ventilated area
- Keep pets and children away
Never add water to lye. Always add lye to water. Avoid breathing fumes. If lye contacts skin, rinse immediately with cool running water.
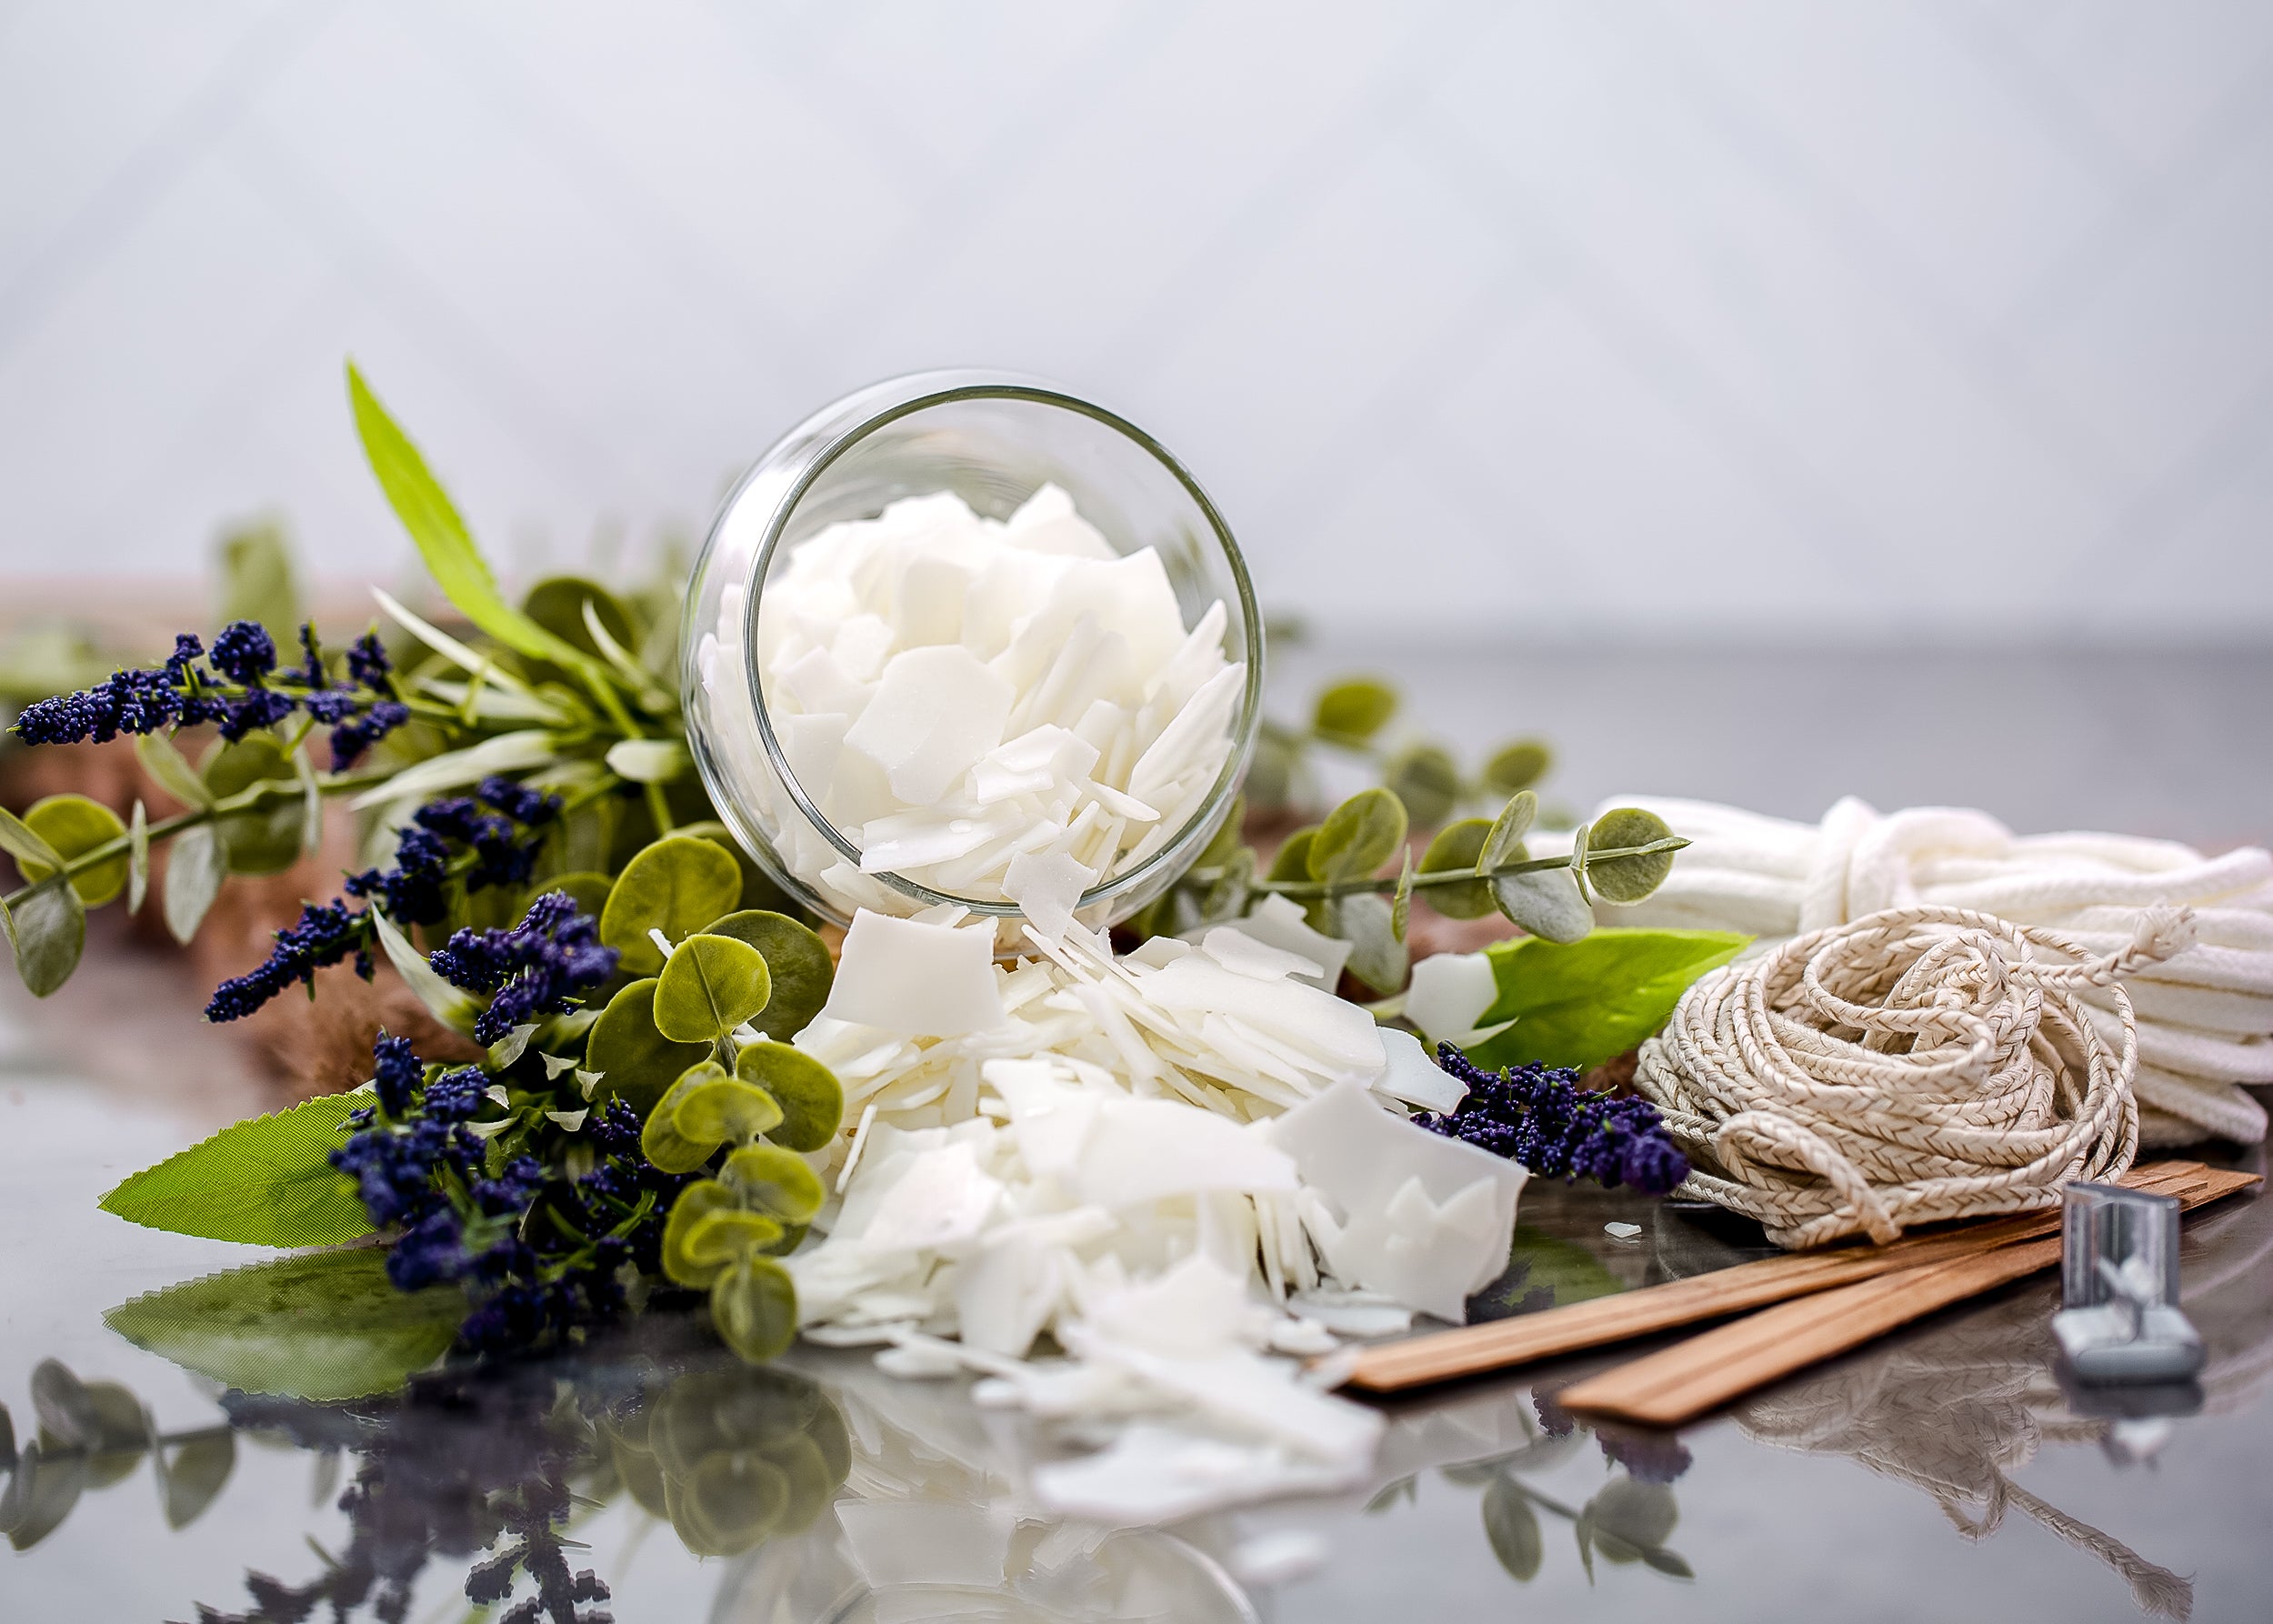
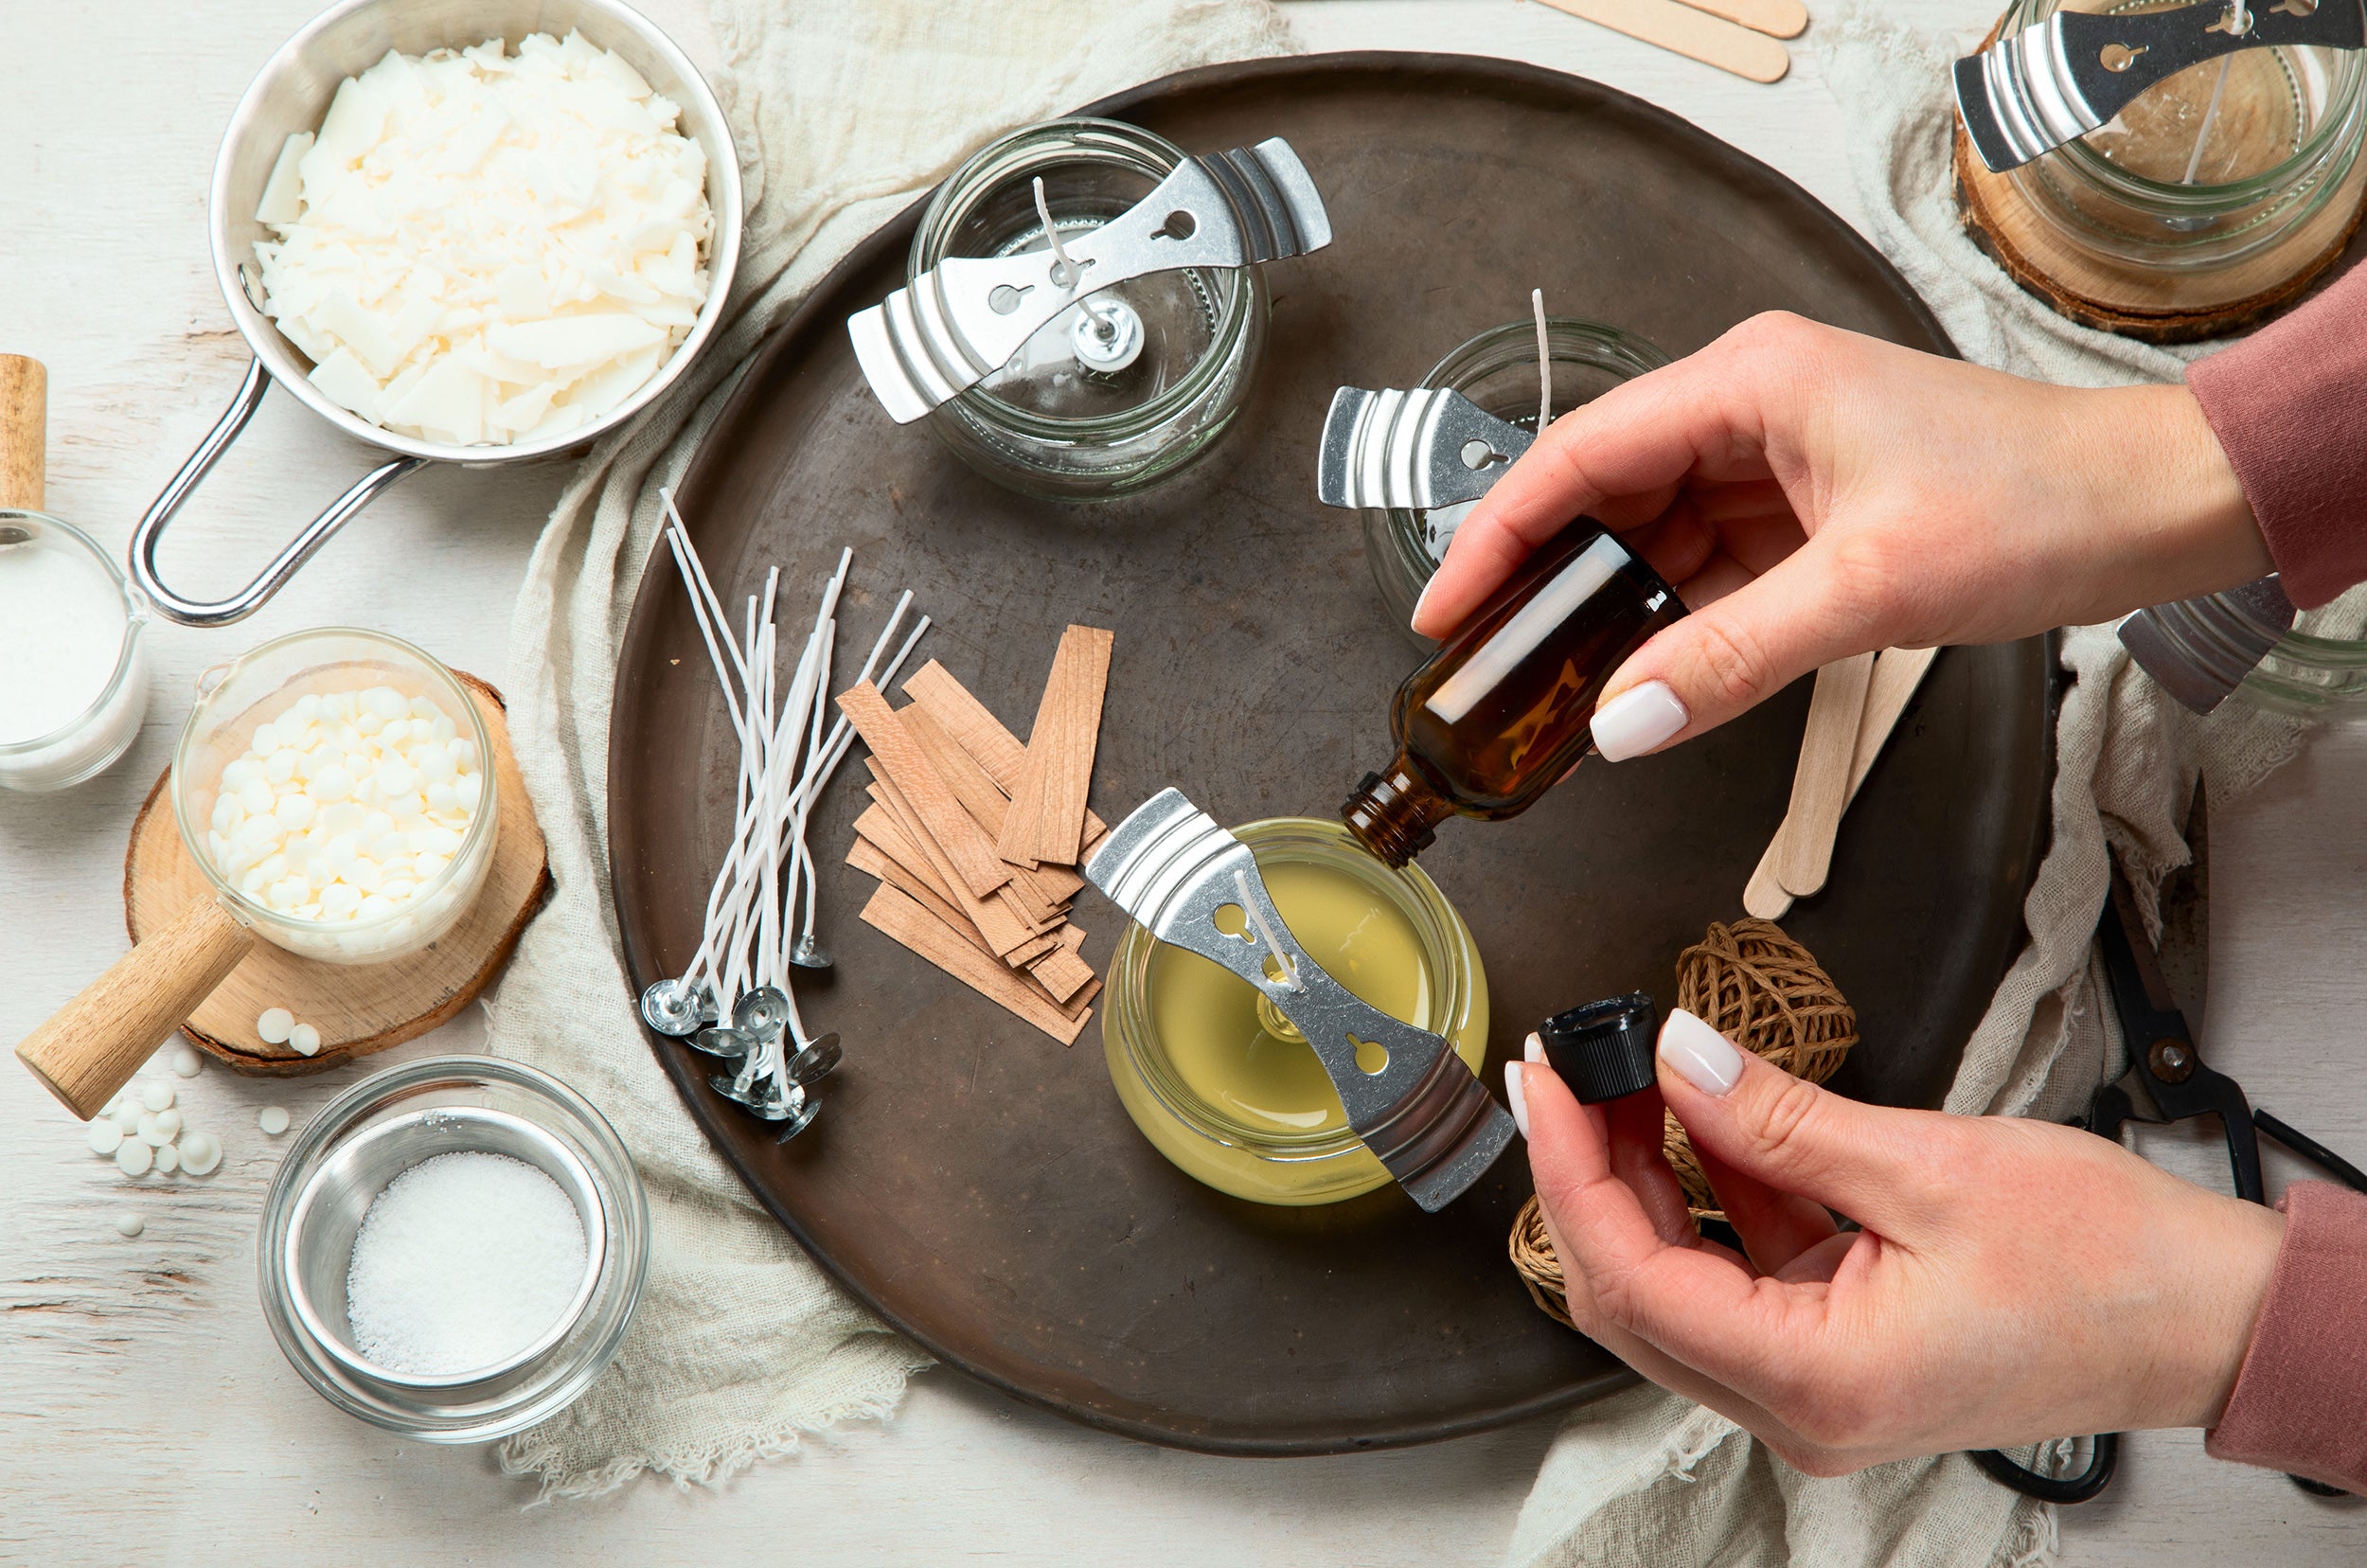
Recommended Ingredients:
Oils & Butters (5% Superfat)
- Olive Oil - Pomace 211g (15%)
- Coconut Oil 76 RBD 280g (20%)
- Lard 280g (20%)
- Sunflower Oil - High Oleic 85g (6%)
- Avocado Oil Refined 85g (6%)
- Shea Butter Refined 280g (20%)
- Kokum Butter Refined 139g (10%)
- Castor Oil - USP 41g (3%)
Lye Solution
- Distilled Water 350g
- Lye - Sodium Hydroxide 191g
Fragrance
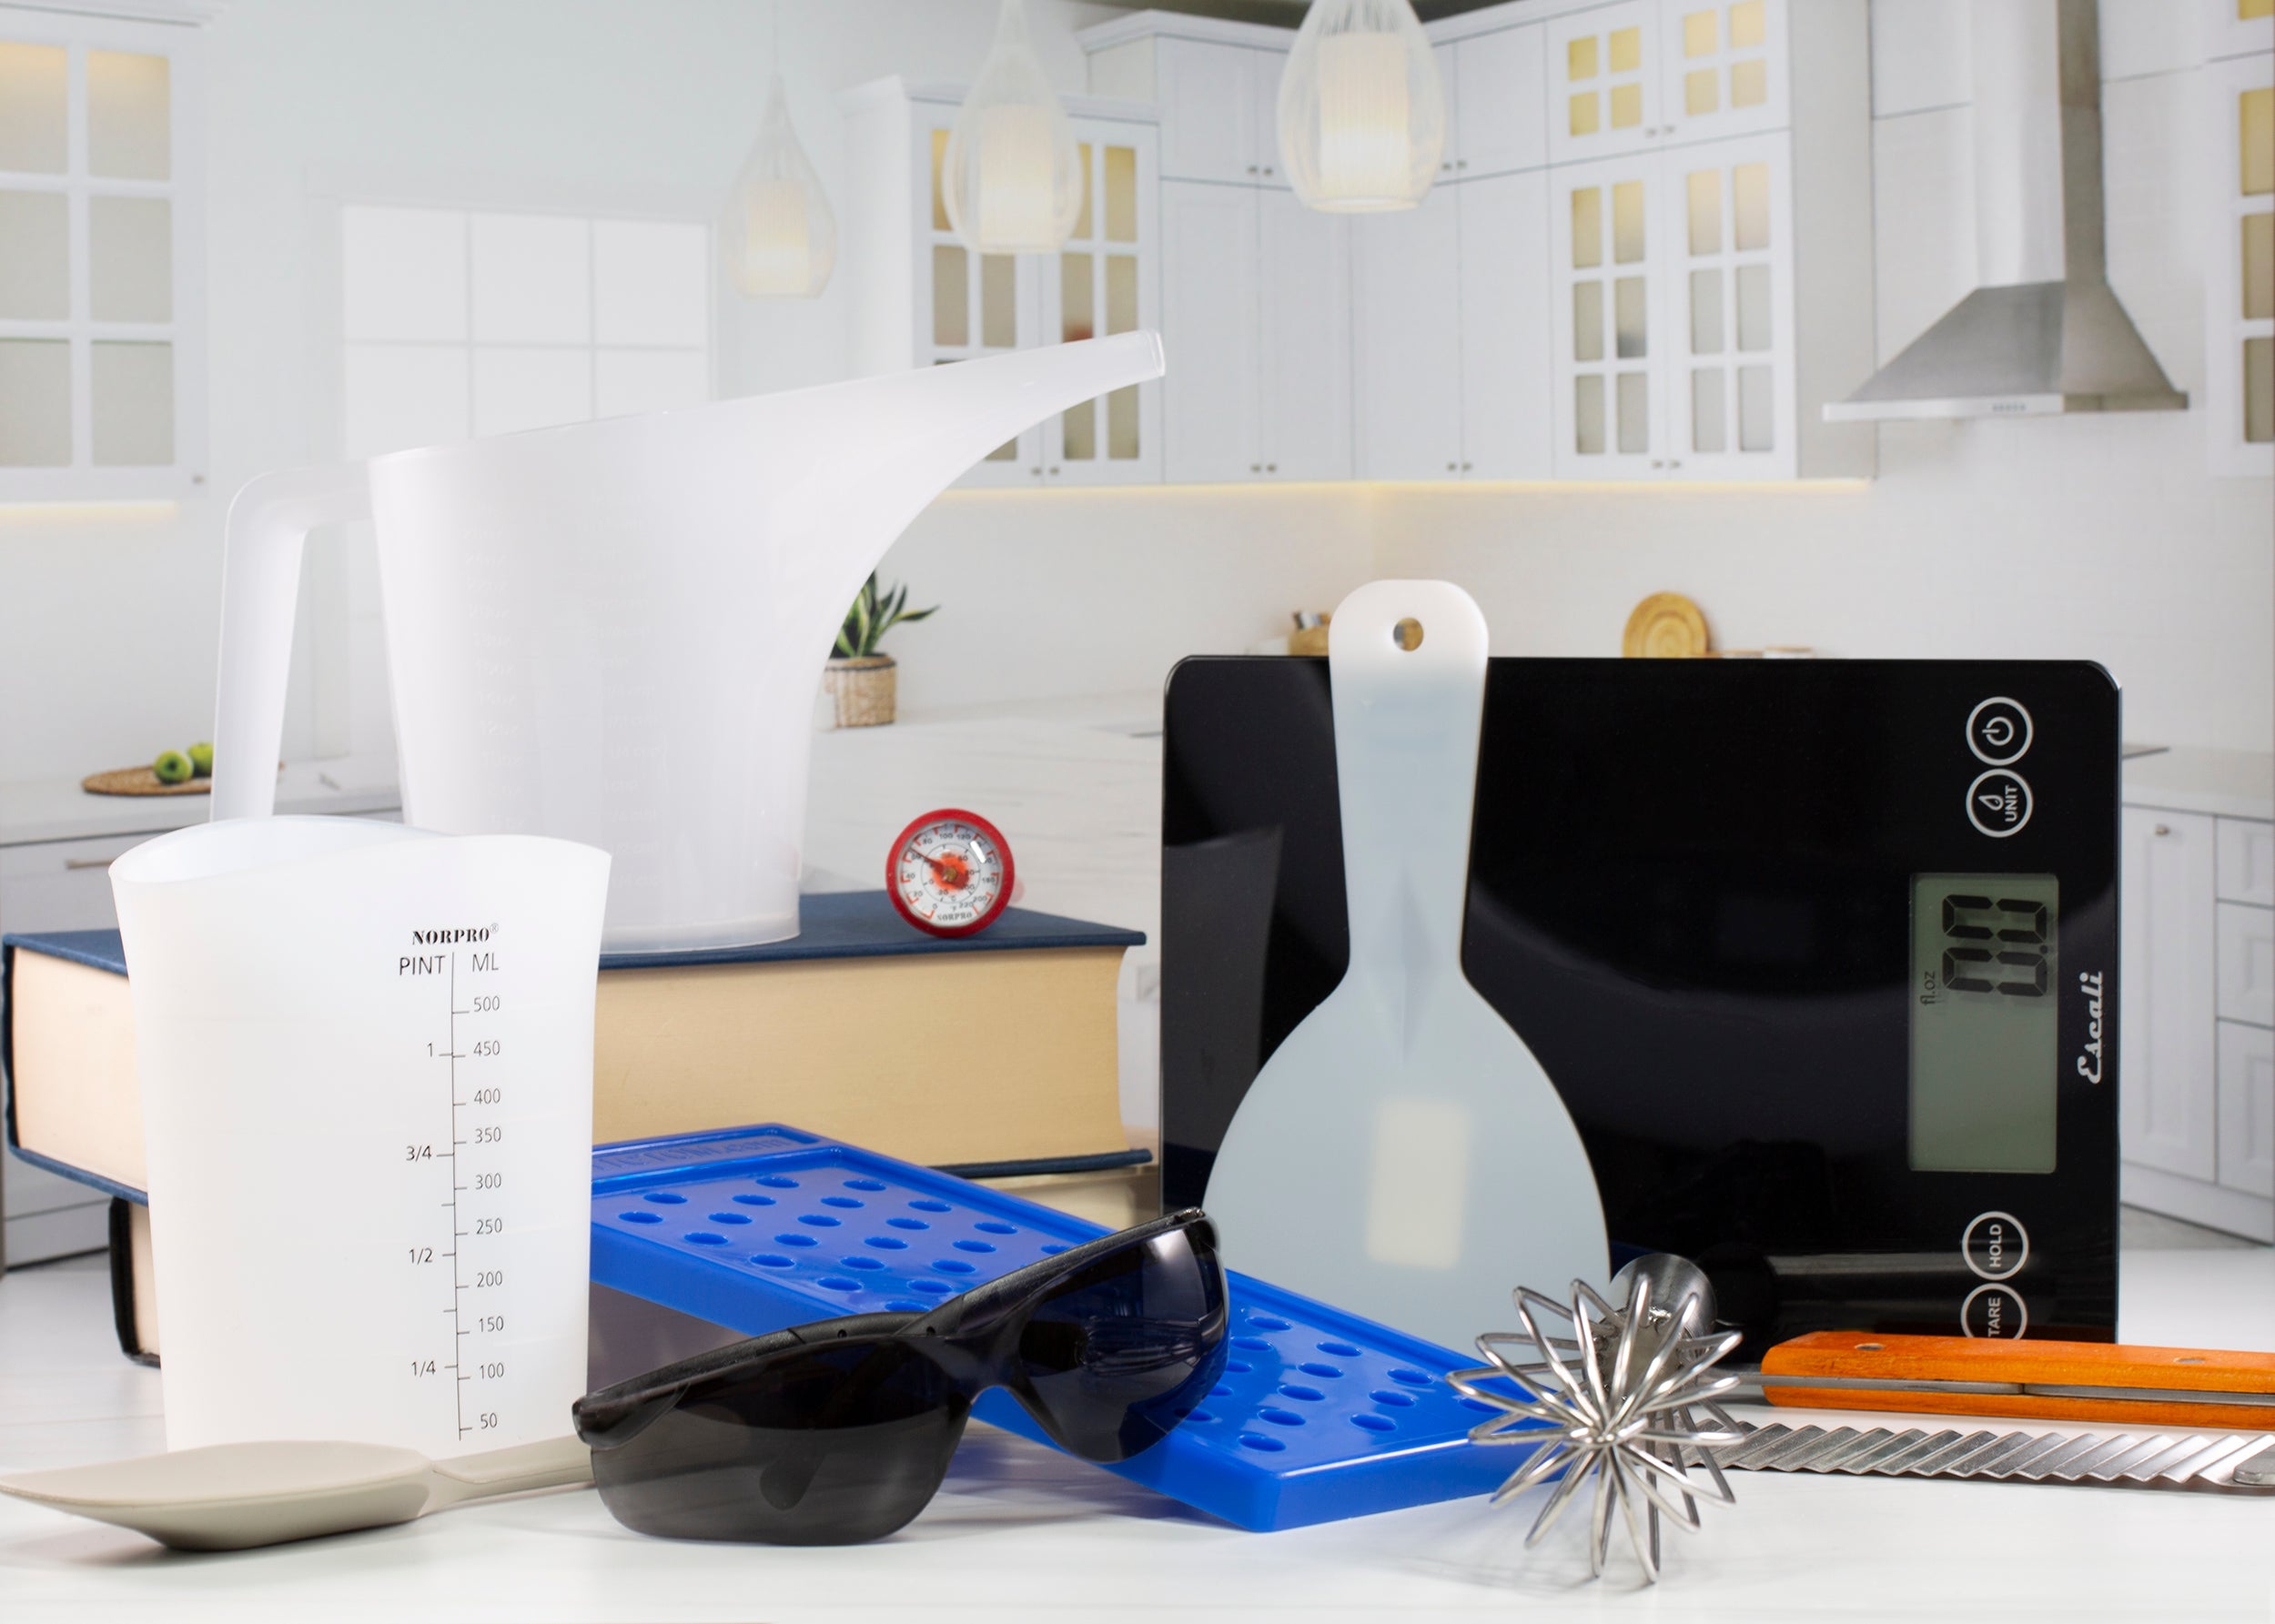
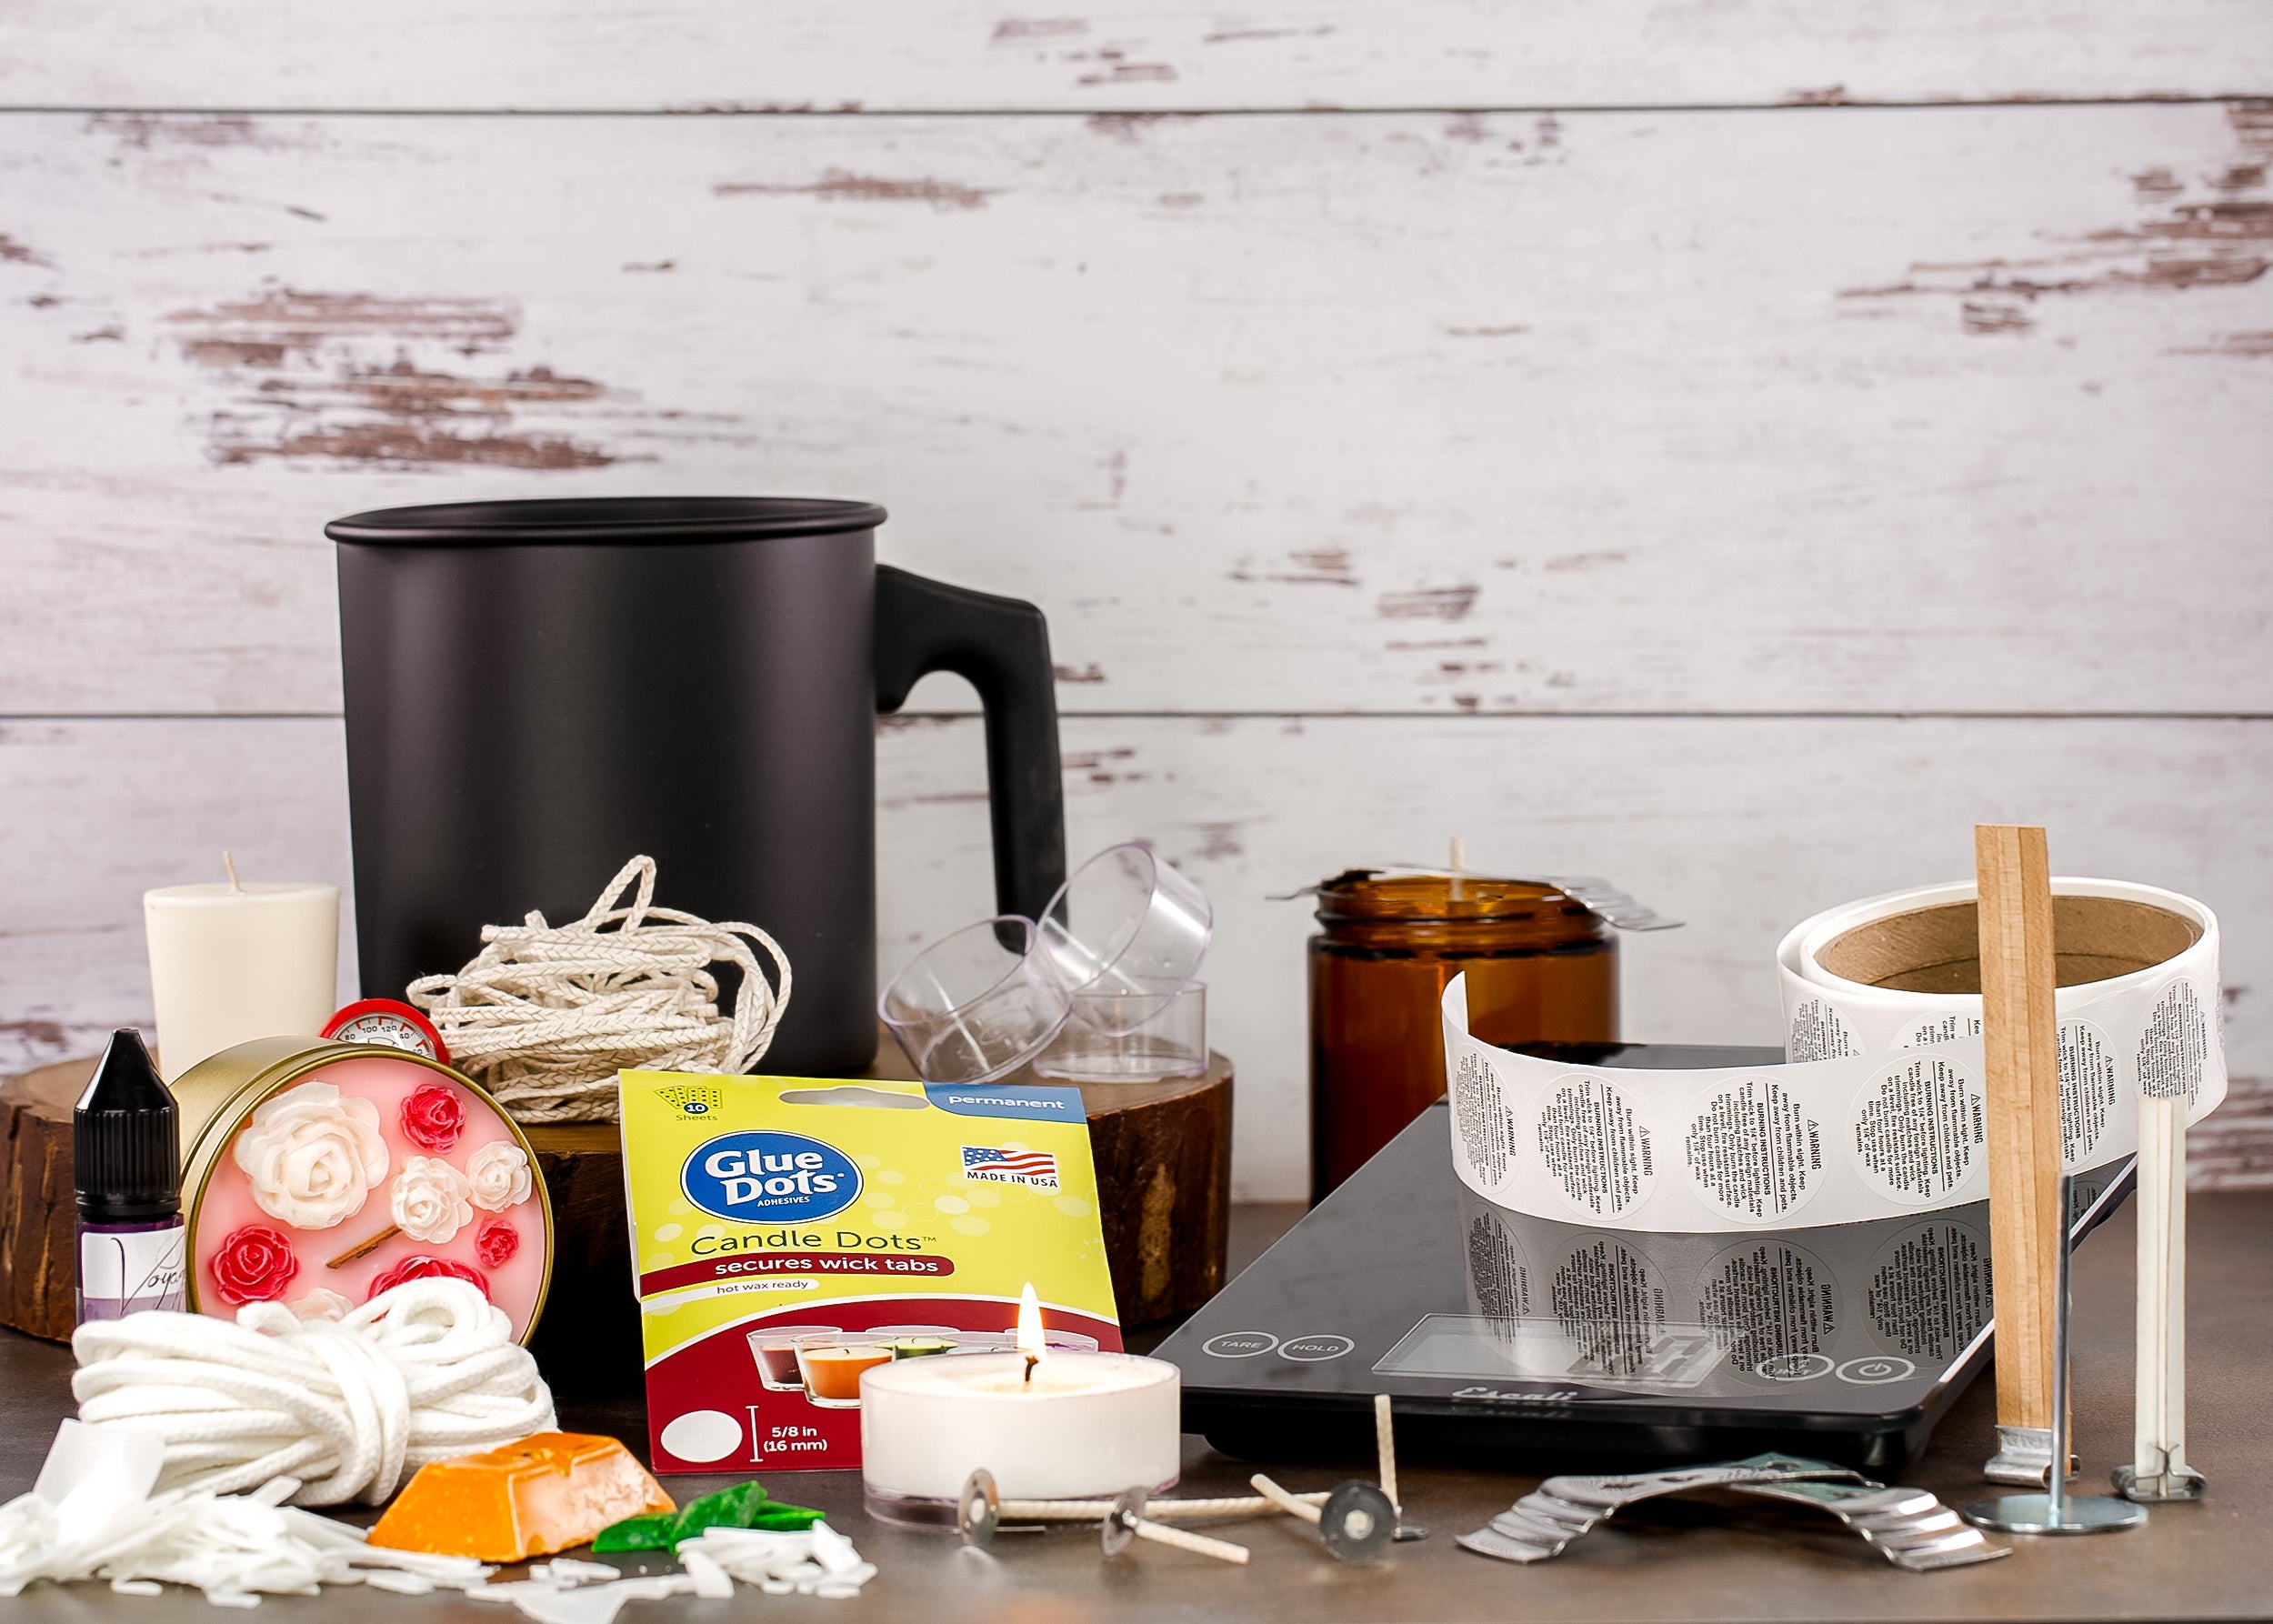
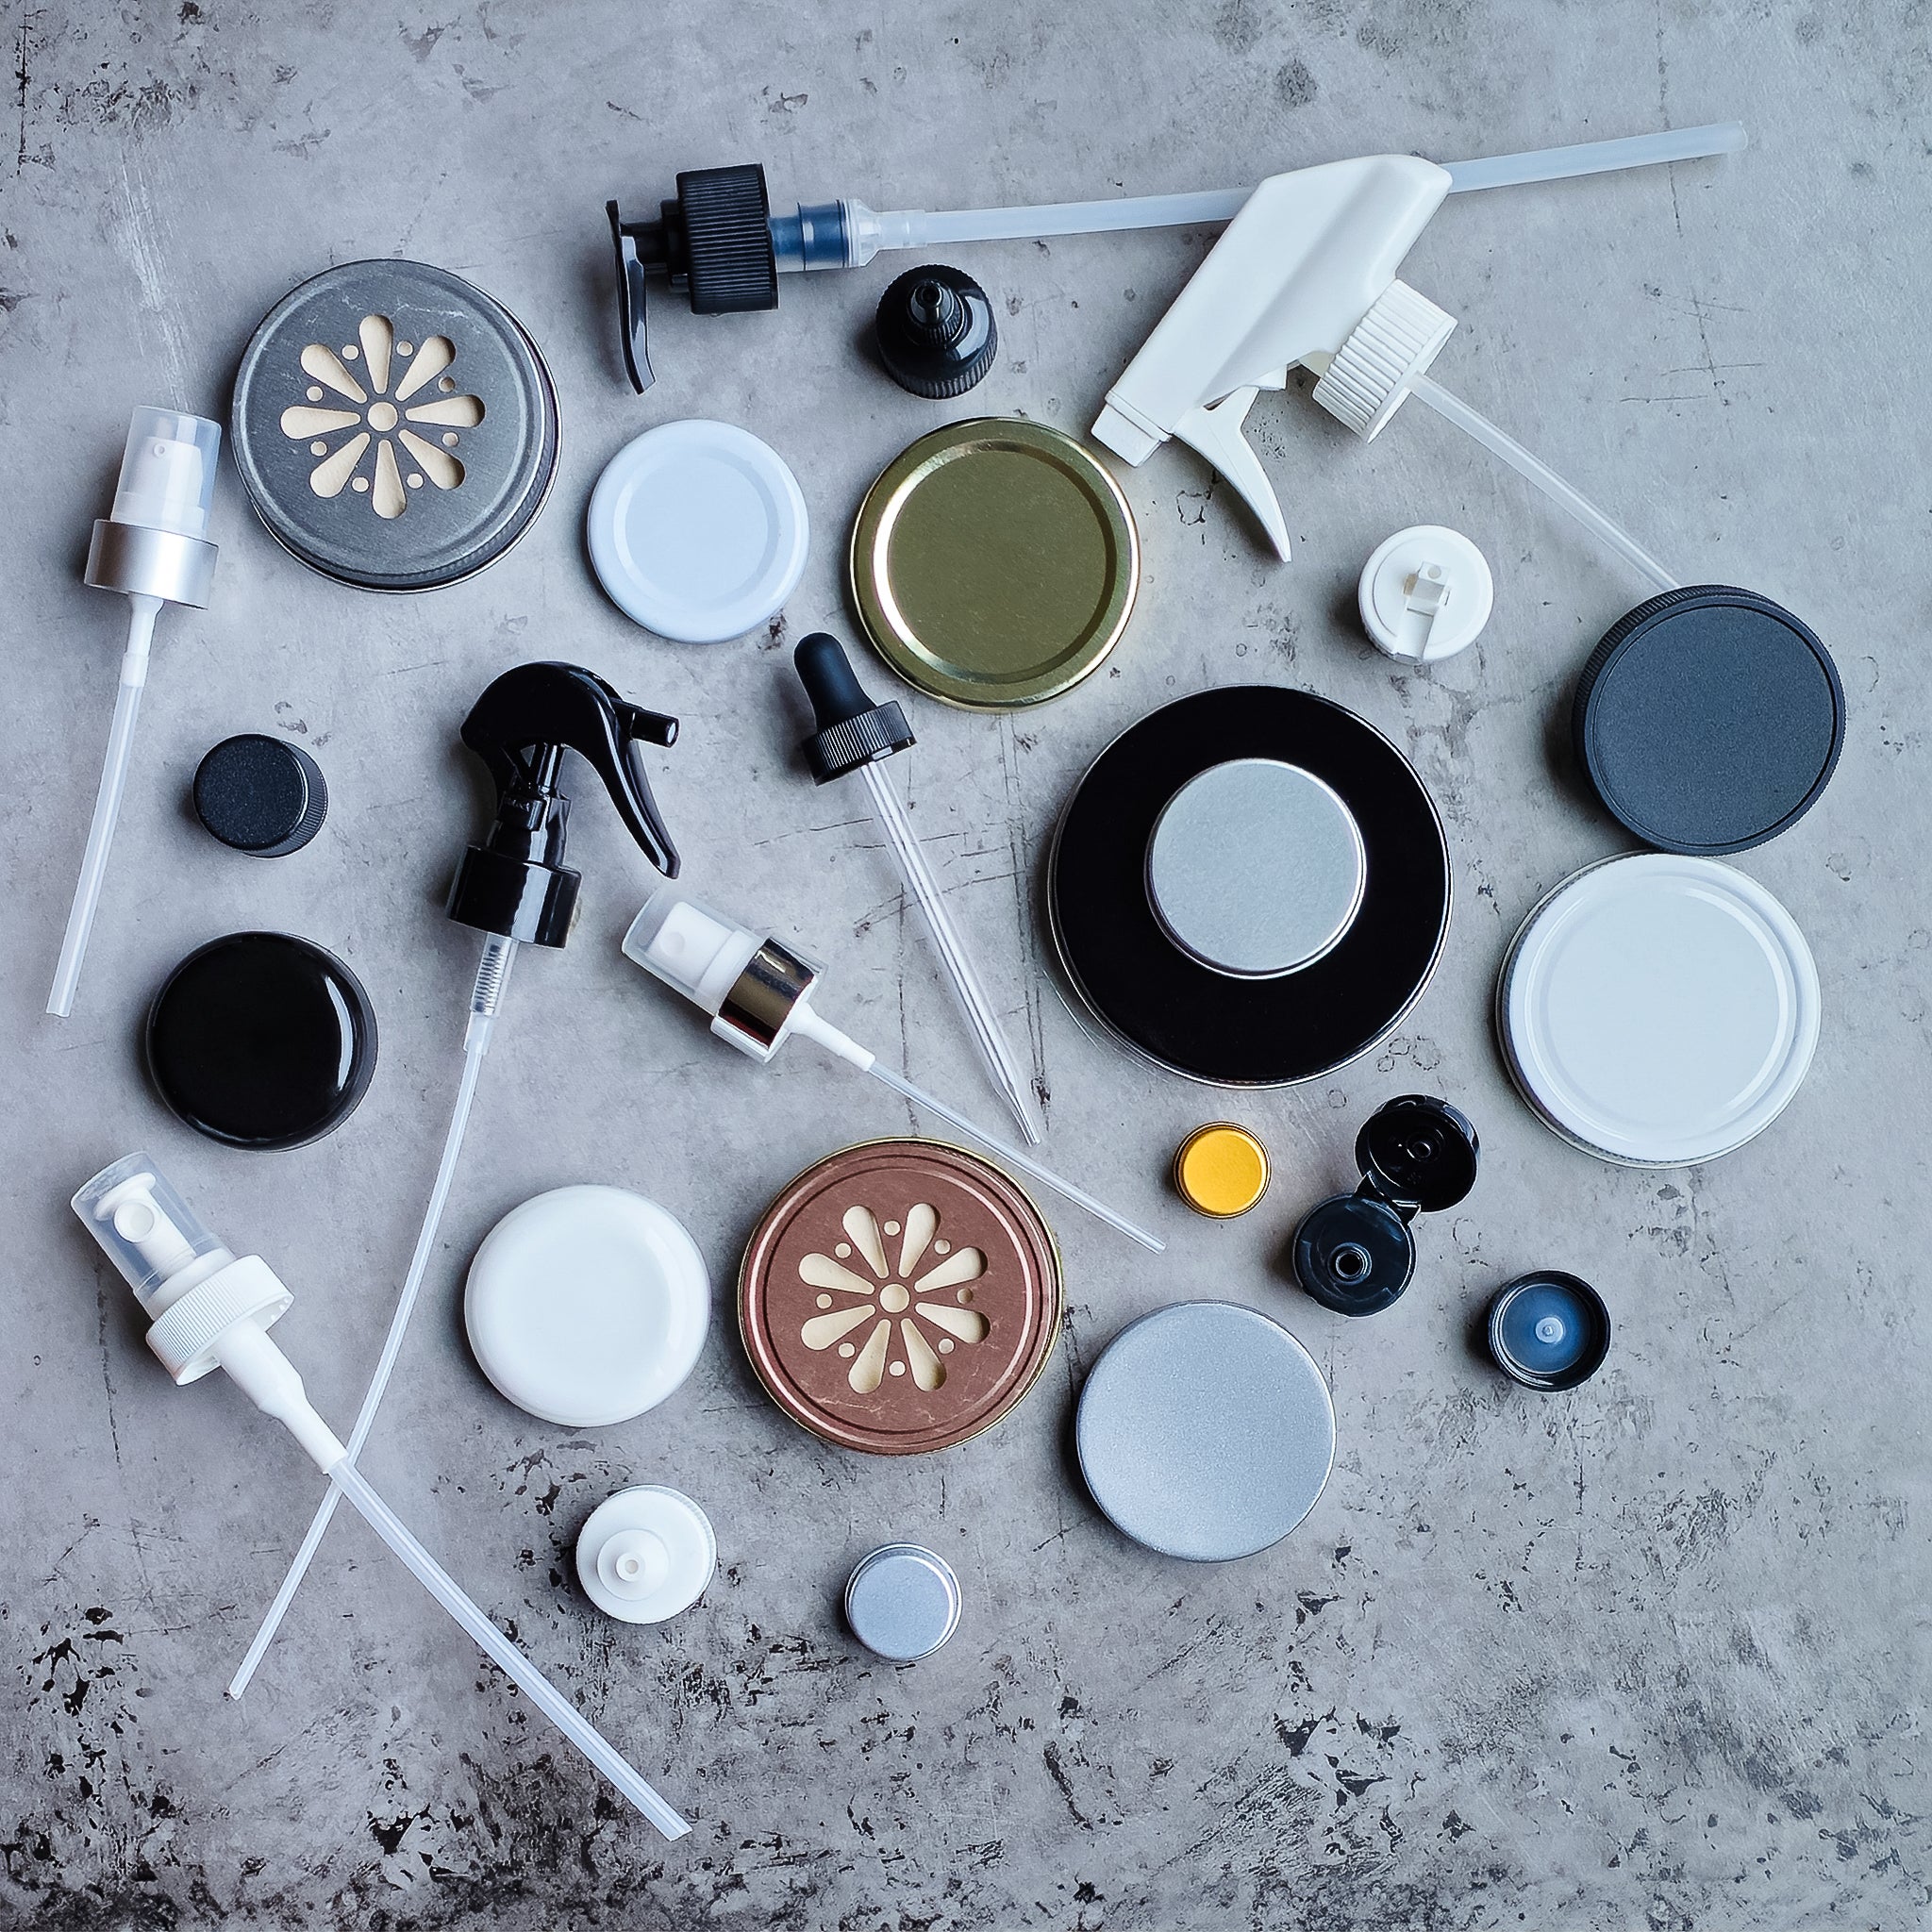
Recommended Tools:
- Large microwave-safe bowl (~1500g capacity)
- 6 small mixing cups
- 6 Easy Pour Measuring Cups
- 1 Stainless Steel Ladle 11"L
- 2 small whisks (one for lye, one for colour mixing)
- 1 Stainless Steel Whisk 10 inch
- Stick blender
- Plastic cup (for lye solution)
-
Regular Loaf Silicone Soap Molds
- 2 Professional Digital Read Thermometer
- Chopstick (for swirl)
- Isopropyl alcohol (in spray bottle)
- Parchment paper
- Cardboard box
- Thick towel
- Heated blanket or heat pad (to force gel)
- Single Bar Soap Cutter
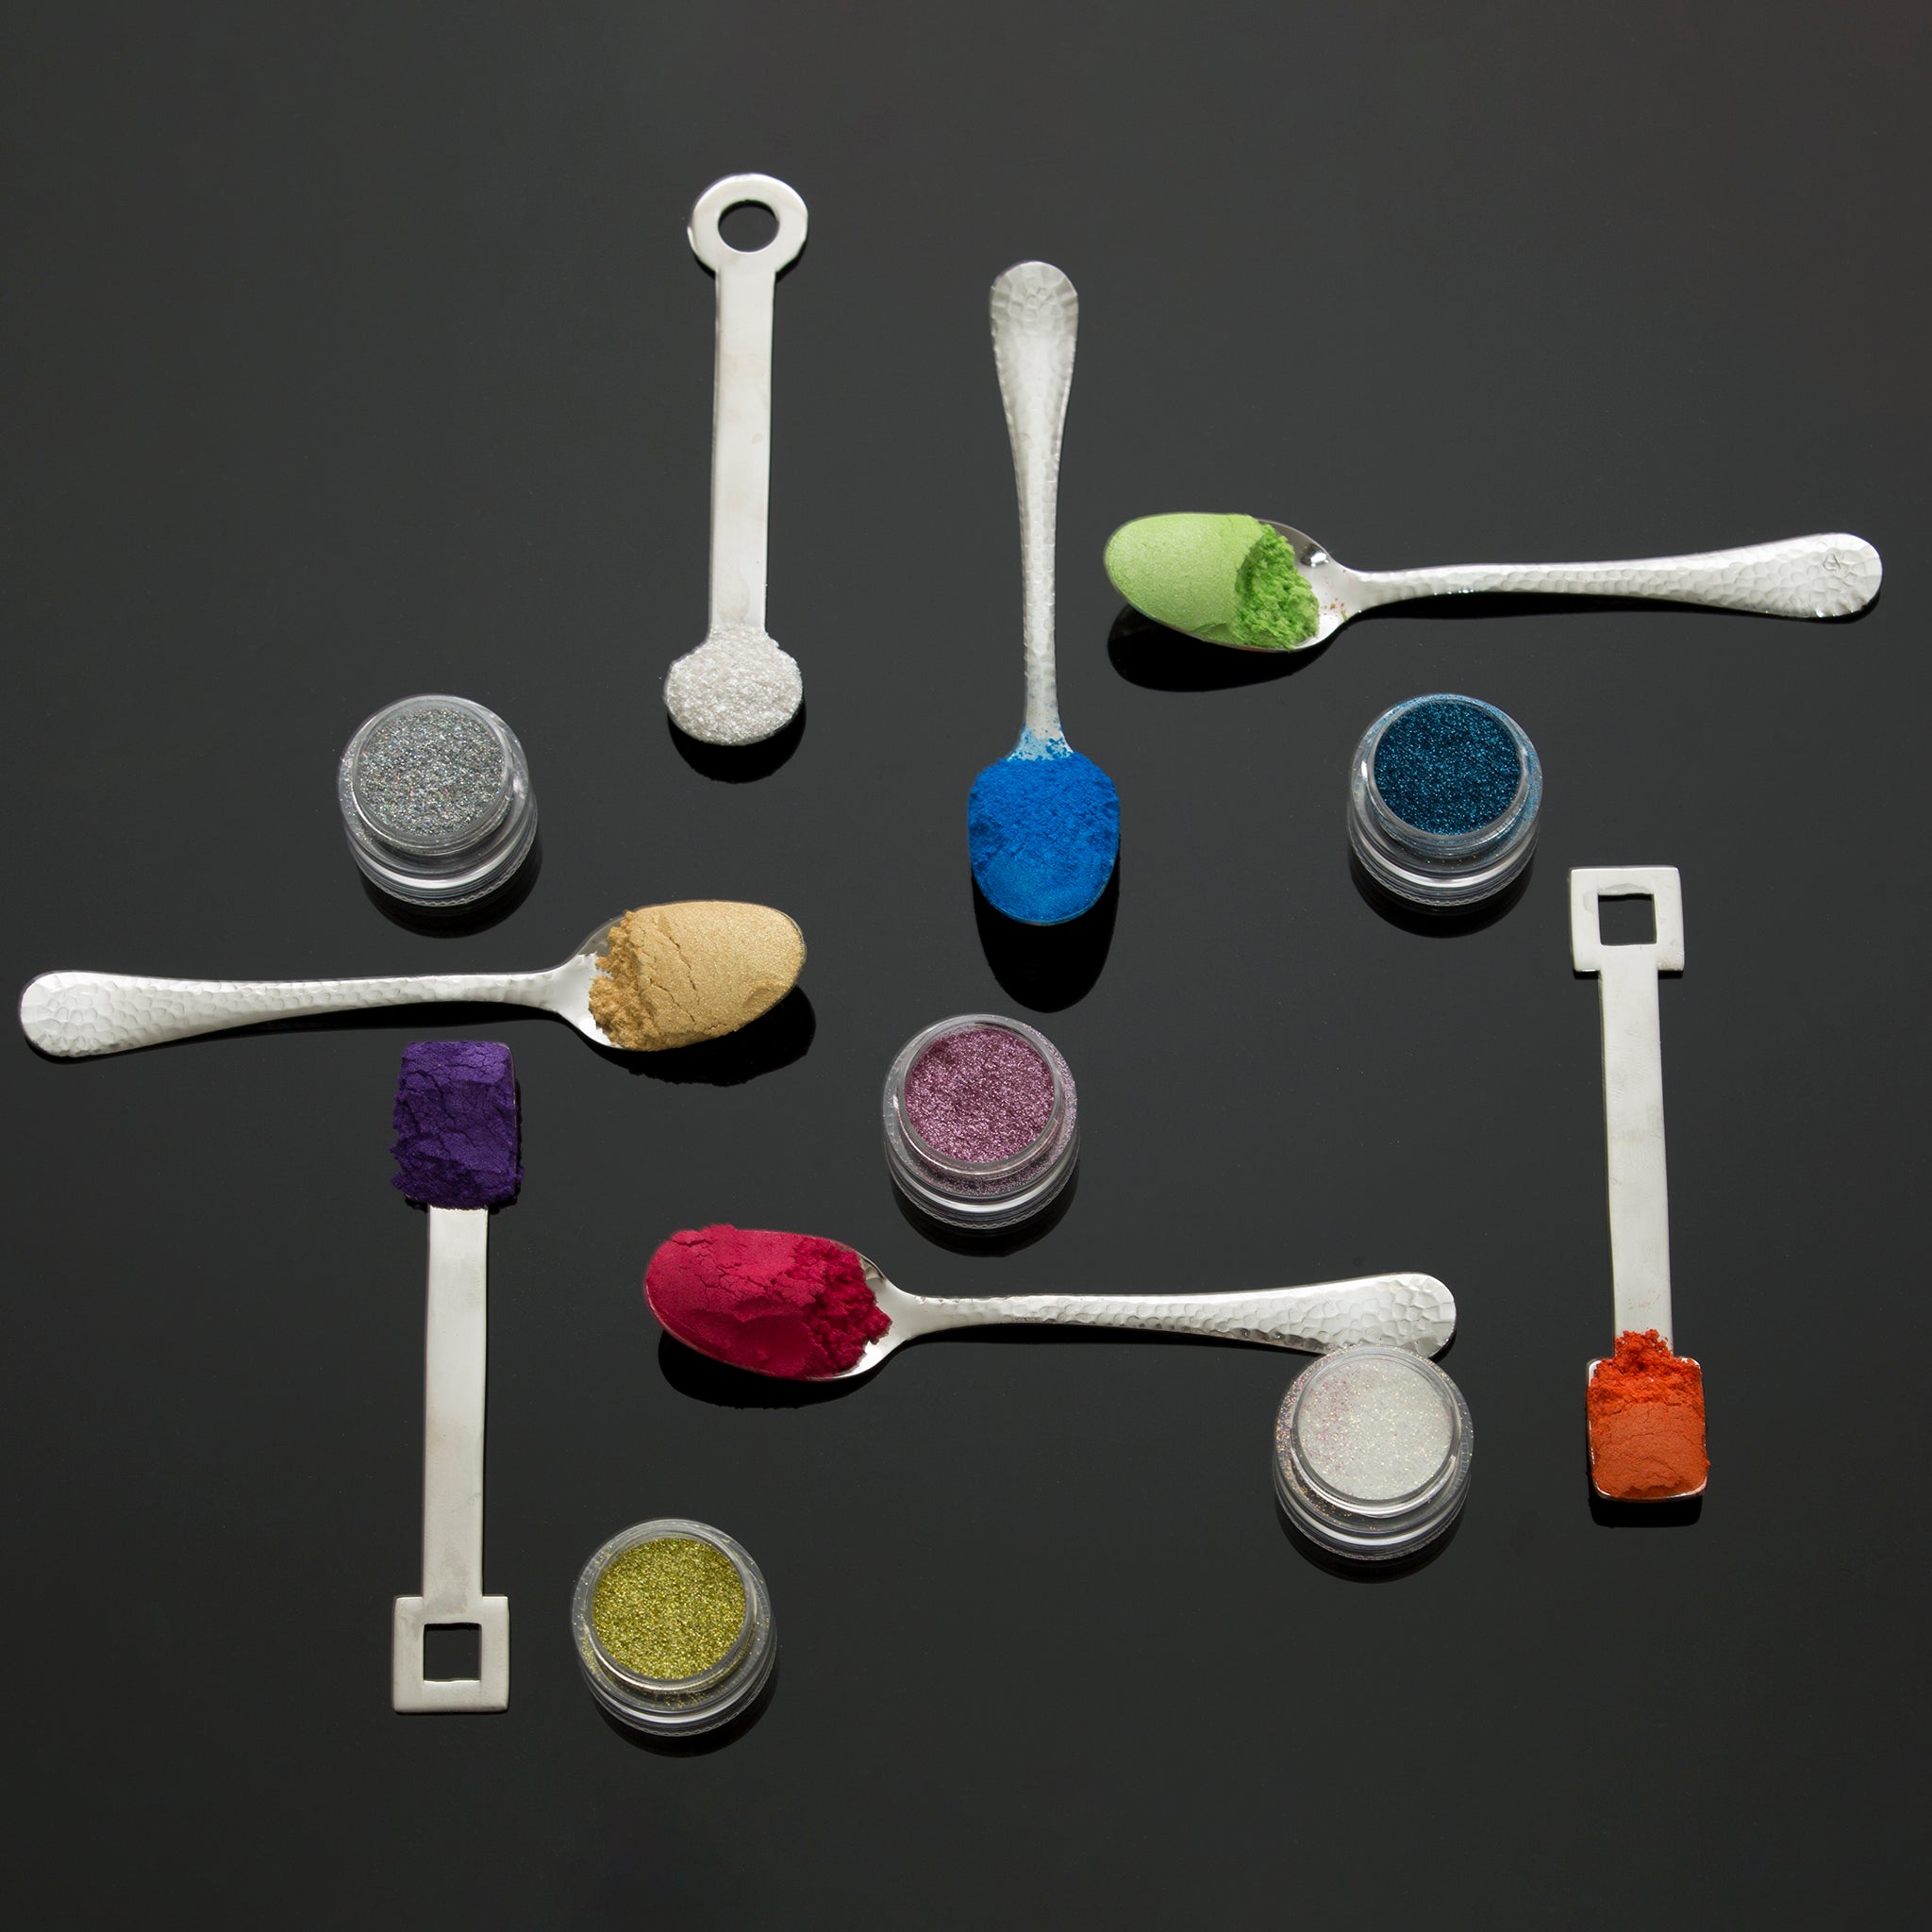
Colour & Glitter Blends
Each blend was pre-mixed using one tablespoon of melted oils:
-
Brilliant Blue
3 × 0.15cc Brilliant Blue Mica
2 × 0.15cc Sapphire Blue Biodegradable Glitter -
Purple Orchid
3 × 0.15cc Purple Orchid Mica
2 × 0.15cc Violet Biodegradable Glitter -
Buttercup Yellow
3 × 0.15cc Buttercup Yellow Mica
2 × 0.15cc Gold Biodegradable Glitter -
Margarita
3 × 0.15cc Margarita Mica
2 × 0.15cc Green Biodegradable Glitter -
Gold Shimmer
3 × 0.15cc Gold Shimmer
2 × 0.15cc Bronze Biodegradable Glitter -
Springtime Green (Base colour)
Directions:
-
Step 1: Gather all the tools and ingredients to prepare your workspace.
Put on your long sleeves, gloves, and eye protection. Weigh distilled water.
Slowly add lye to the water (never the reverse). Stir carefully away from your body.
Set aside to cool. (Optional: place container in a cold water bath to speed cooling)
-
Step 2: Combine all oils and butters in a large microwave-safe bowl.
Melt fully. Allow oils and lye solution to cool to approximately 90°F (32°C).
- Step 3: While the lye solution and oils are cooling, prepare your colour cups. Remove 1 tablespoon of melted oils and fill into each of the 6 small cups. Add mica + glitter blends to each and mix well until smooth.
-
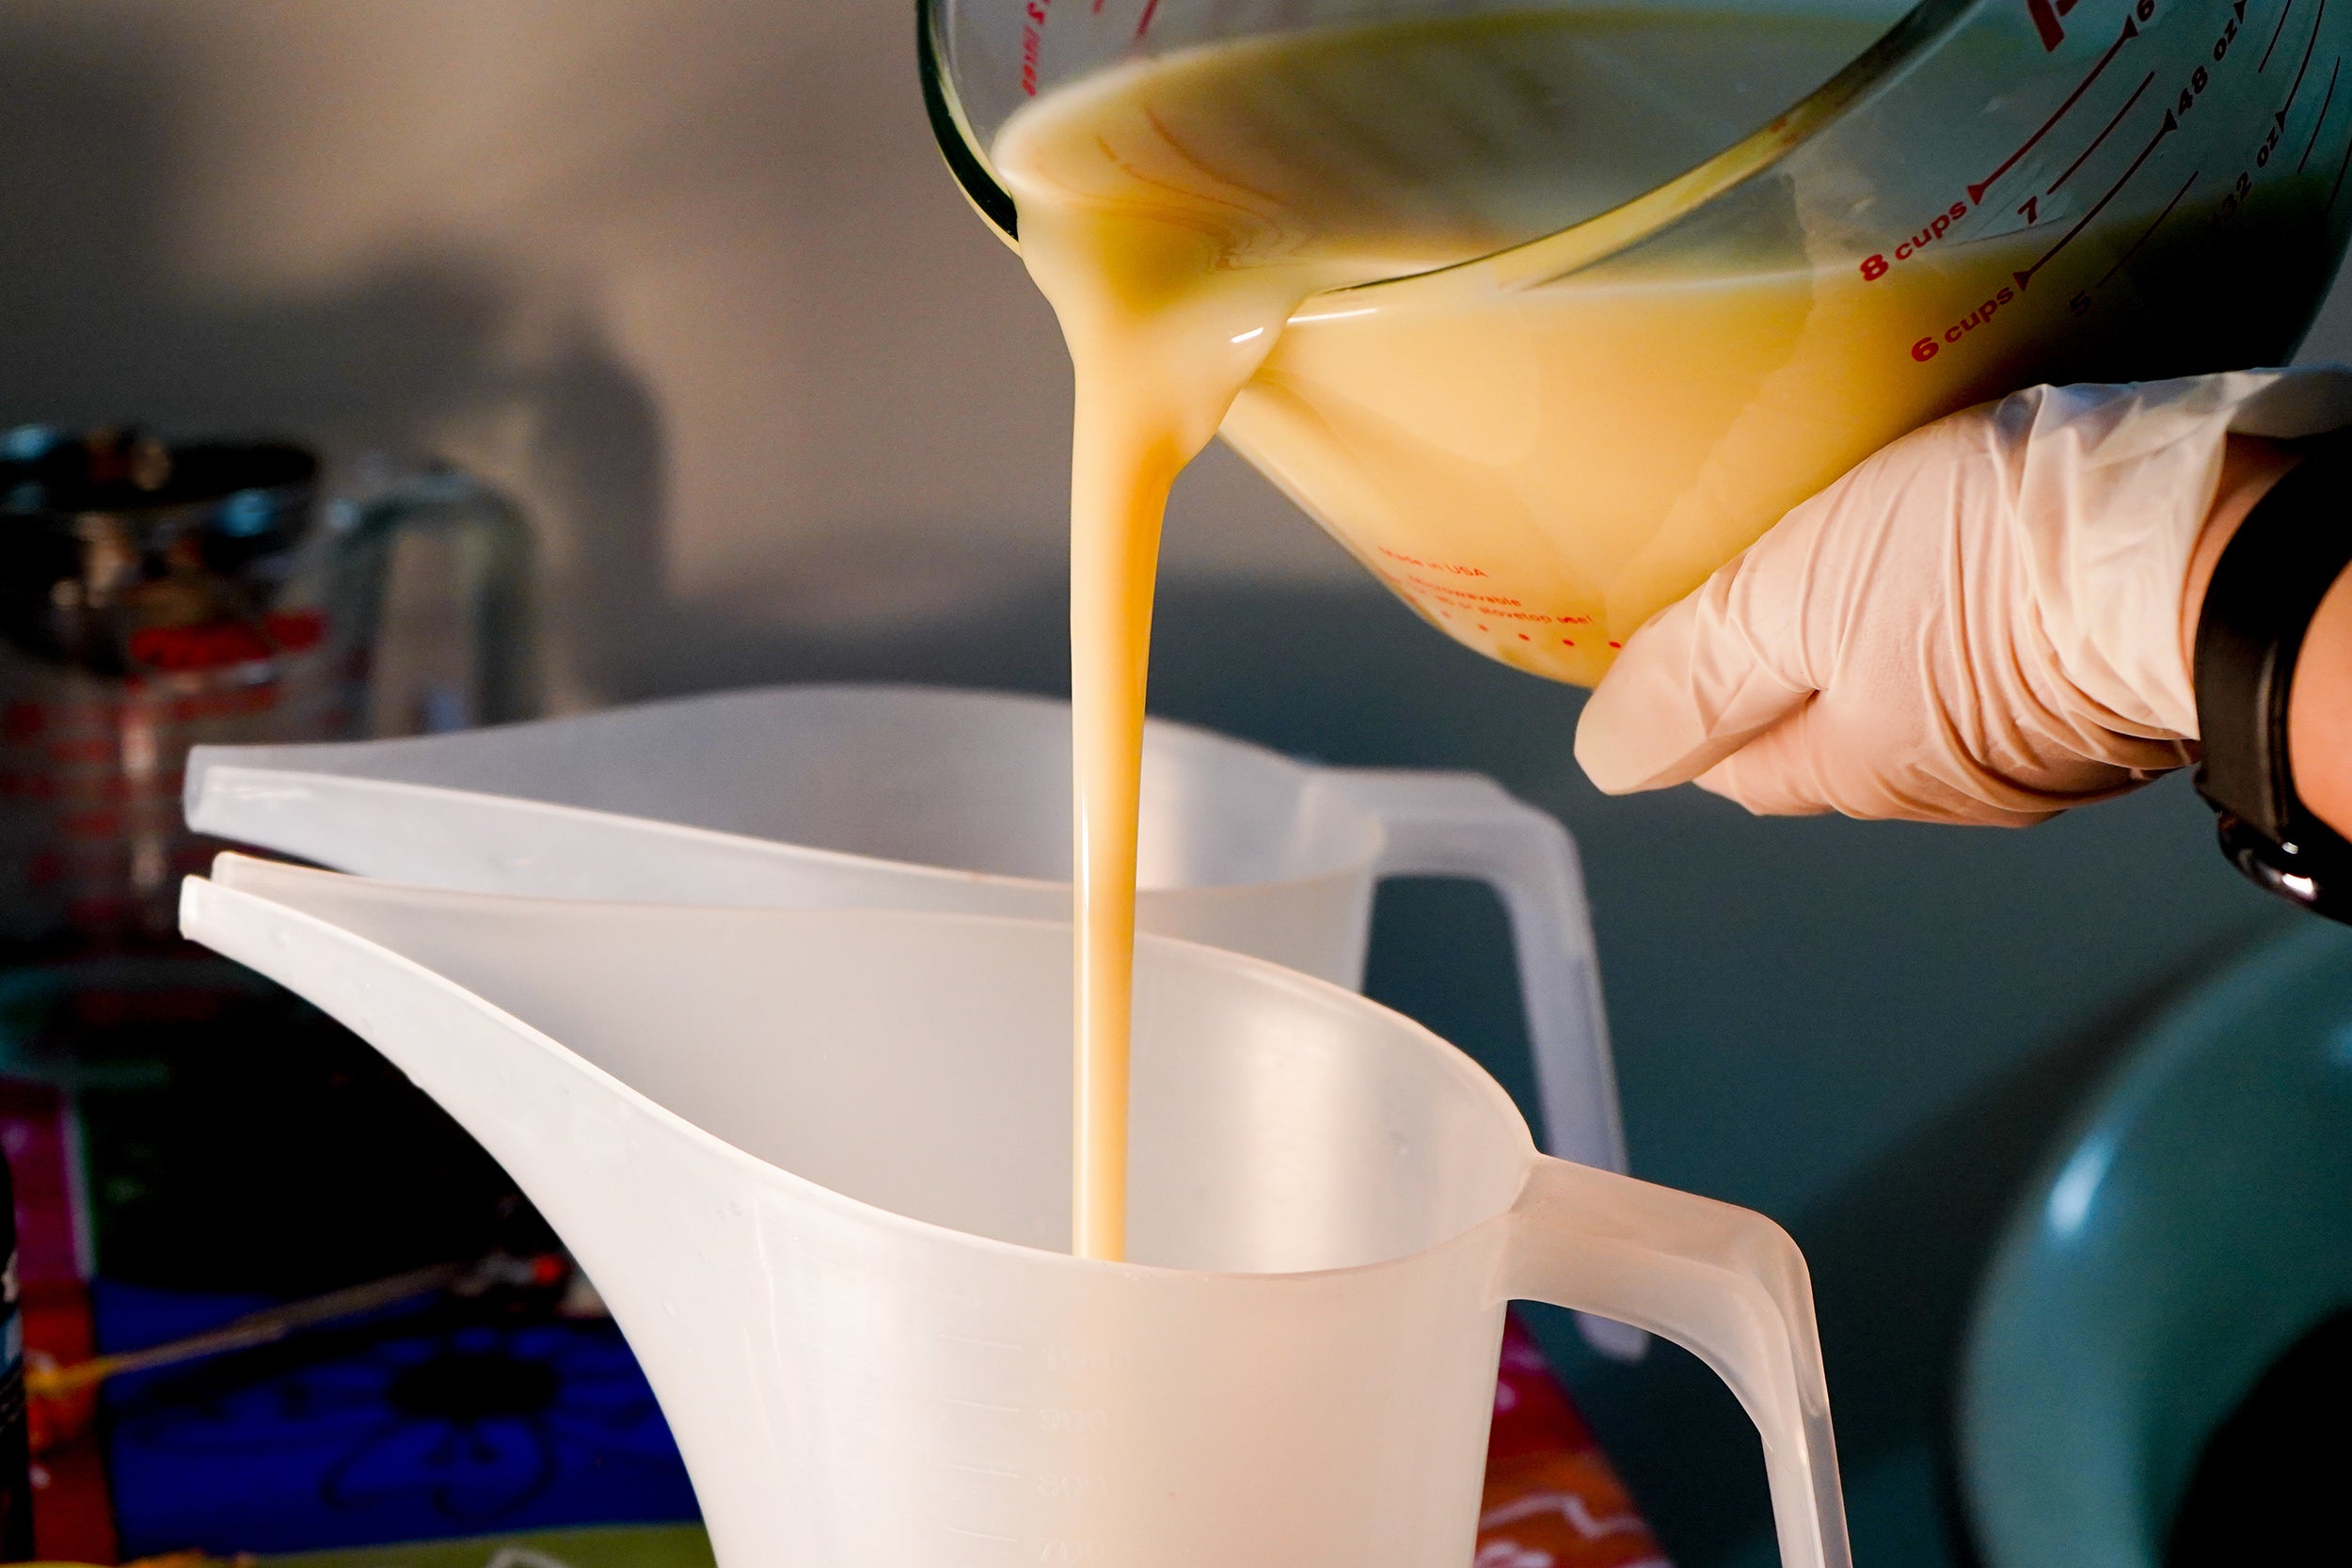
Step 4: Once both lye solution and oils reach ~90°F, pour lye solution into oils through a small sieve to catch any undissolved lye. Whisk briefly. Use a stick blender for ~10 seconds. Alternate whisking and stick blending in short bursts.
What is Light Trace?
Light trace is reached when:
- The batter thickens slightly
- It leaves a faint trail or “trace” on the surface when drizzled
- It resembles thin cake batter
Do not over-blend, you want fluidity for swirling.
-
Step 5: Once the soap batter reaches a light trace, add 30g Pink Citrus Fragrance Oil and mix thoroughly.
.
- Step 6: Divide the batter by using a ladle, add one full scoop to each of 5 pour cups. Pour remaining batter into the 6th cup. Add Springtime Green colour blend to the fullest cup. Add each mica/glitter blend to the remaining cups and mix gently.
- Step 7: To start pouring the Butterfly Swirl, arrange the cups in this order: Gold → Brilliant Blue → Purple Orchid → Buttercup Yellow → Margarita → Repeat You will pour each colour twice (or more if needed to fill the mold).
Pouring Method:
-
Pour Springtime Green on one side of the mold. Simultaneously pour the first wing colour (Gold) on the opposite side. Move up and down along the length of the mold. Once the bottom layer is covered, switch to the next colour. Continue alternating, making sure the green and the wing colours meet in the middle, until the mold is full.
- Step 8: Insert chopstick all the way to the bottom of the mold on the green side. Pull straight across from the green side into the coloured wing side. Leave a small gap and repeat all the way from bottom to top.
- Step 9: Next Insert chopstick into a coloured section all the way to the bottom of the mold. Drag outward in a circular clockwise motion to create a “wing.” Repeat to create 3 butterfly wing shapes. Do not overwork the batter.
-
Step 10: Once finished, spray top with isopropyl alcohol to reduce soda ash. Cover with parchment paper, then place cardboard box over mold. Cover with towel and place on heat pad to force gel phase.
What is Gel Phase?
- Gel phase is a natural part of the cold process soapmaking reaction. As the oils and lye saponify, heat is generated. If the soap becomes warm enough, it enters “gel phase,” where it turns slightly translucent and jelly-like before firming up again. Why it matters: Soap that goes through gel phase typically has deeper, more vibrant colour and a slightly smoother appearance. Soap that does not gel will look more matte and pastel. Both are perfectly good soap, this step simply affects the final look.
- Step 11: After 12 to 24h you should be able to unmold the soap, first pull the sides of the silicone away, if the silicone does not pull off clean from the soap wait a few more hours. Once unmolded, Cut loaf into 3 large blocks of soap making sure the design of the wings on top are centered, then turn the soap block to cut through the middle to reveal the mirrored butterfly designs. When two bars are placed side by side, the wings align beautifully.
- Step 12: Allow soap to cure in a well-ventilated area for 4-6 weeks. During cure water evaporates, the bar hardens. Lather improves and the soap becomes milder.
Note:
All recipes are provided for the use of the customers of Voyageur Soap & Candle Company Ltd. Their electronic or print reproduction is strictly forbidden. All formulas and recipes have been formulated by Voyageur but we accept no liability as to their effectiveness or the success of the formulas when being made. It is essential that good manufacturing practices are followed in their use, and it is the responsibility of the user to meet the appropriate regulatory requirements of their jurisdiction in all matters. All formulas remain the property of Voyageur, and their reproduction or redistribution is strictly forbidden without our written consent.