







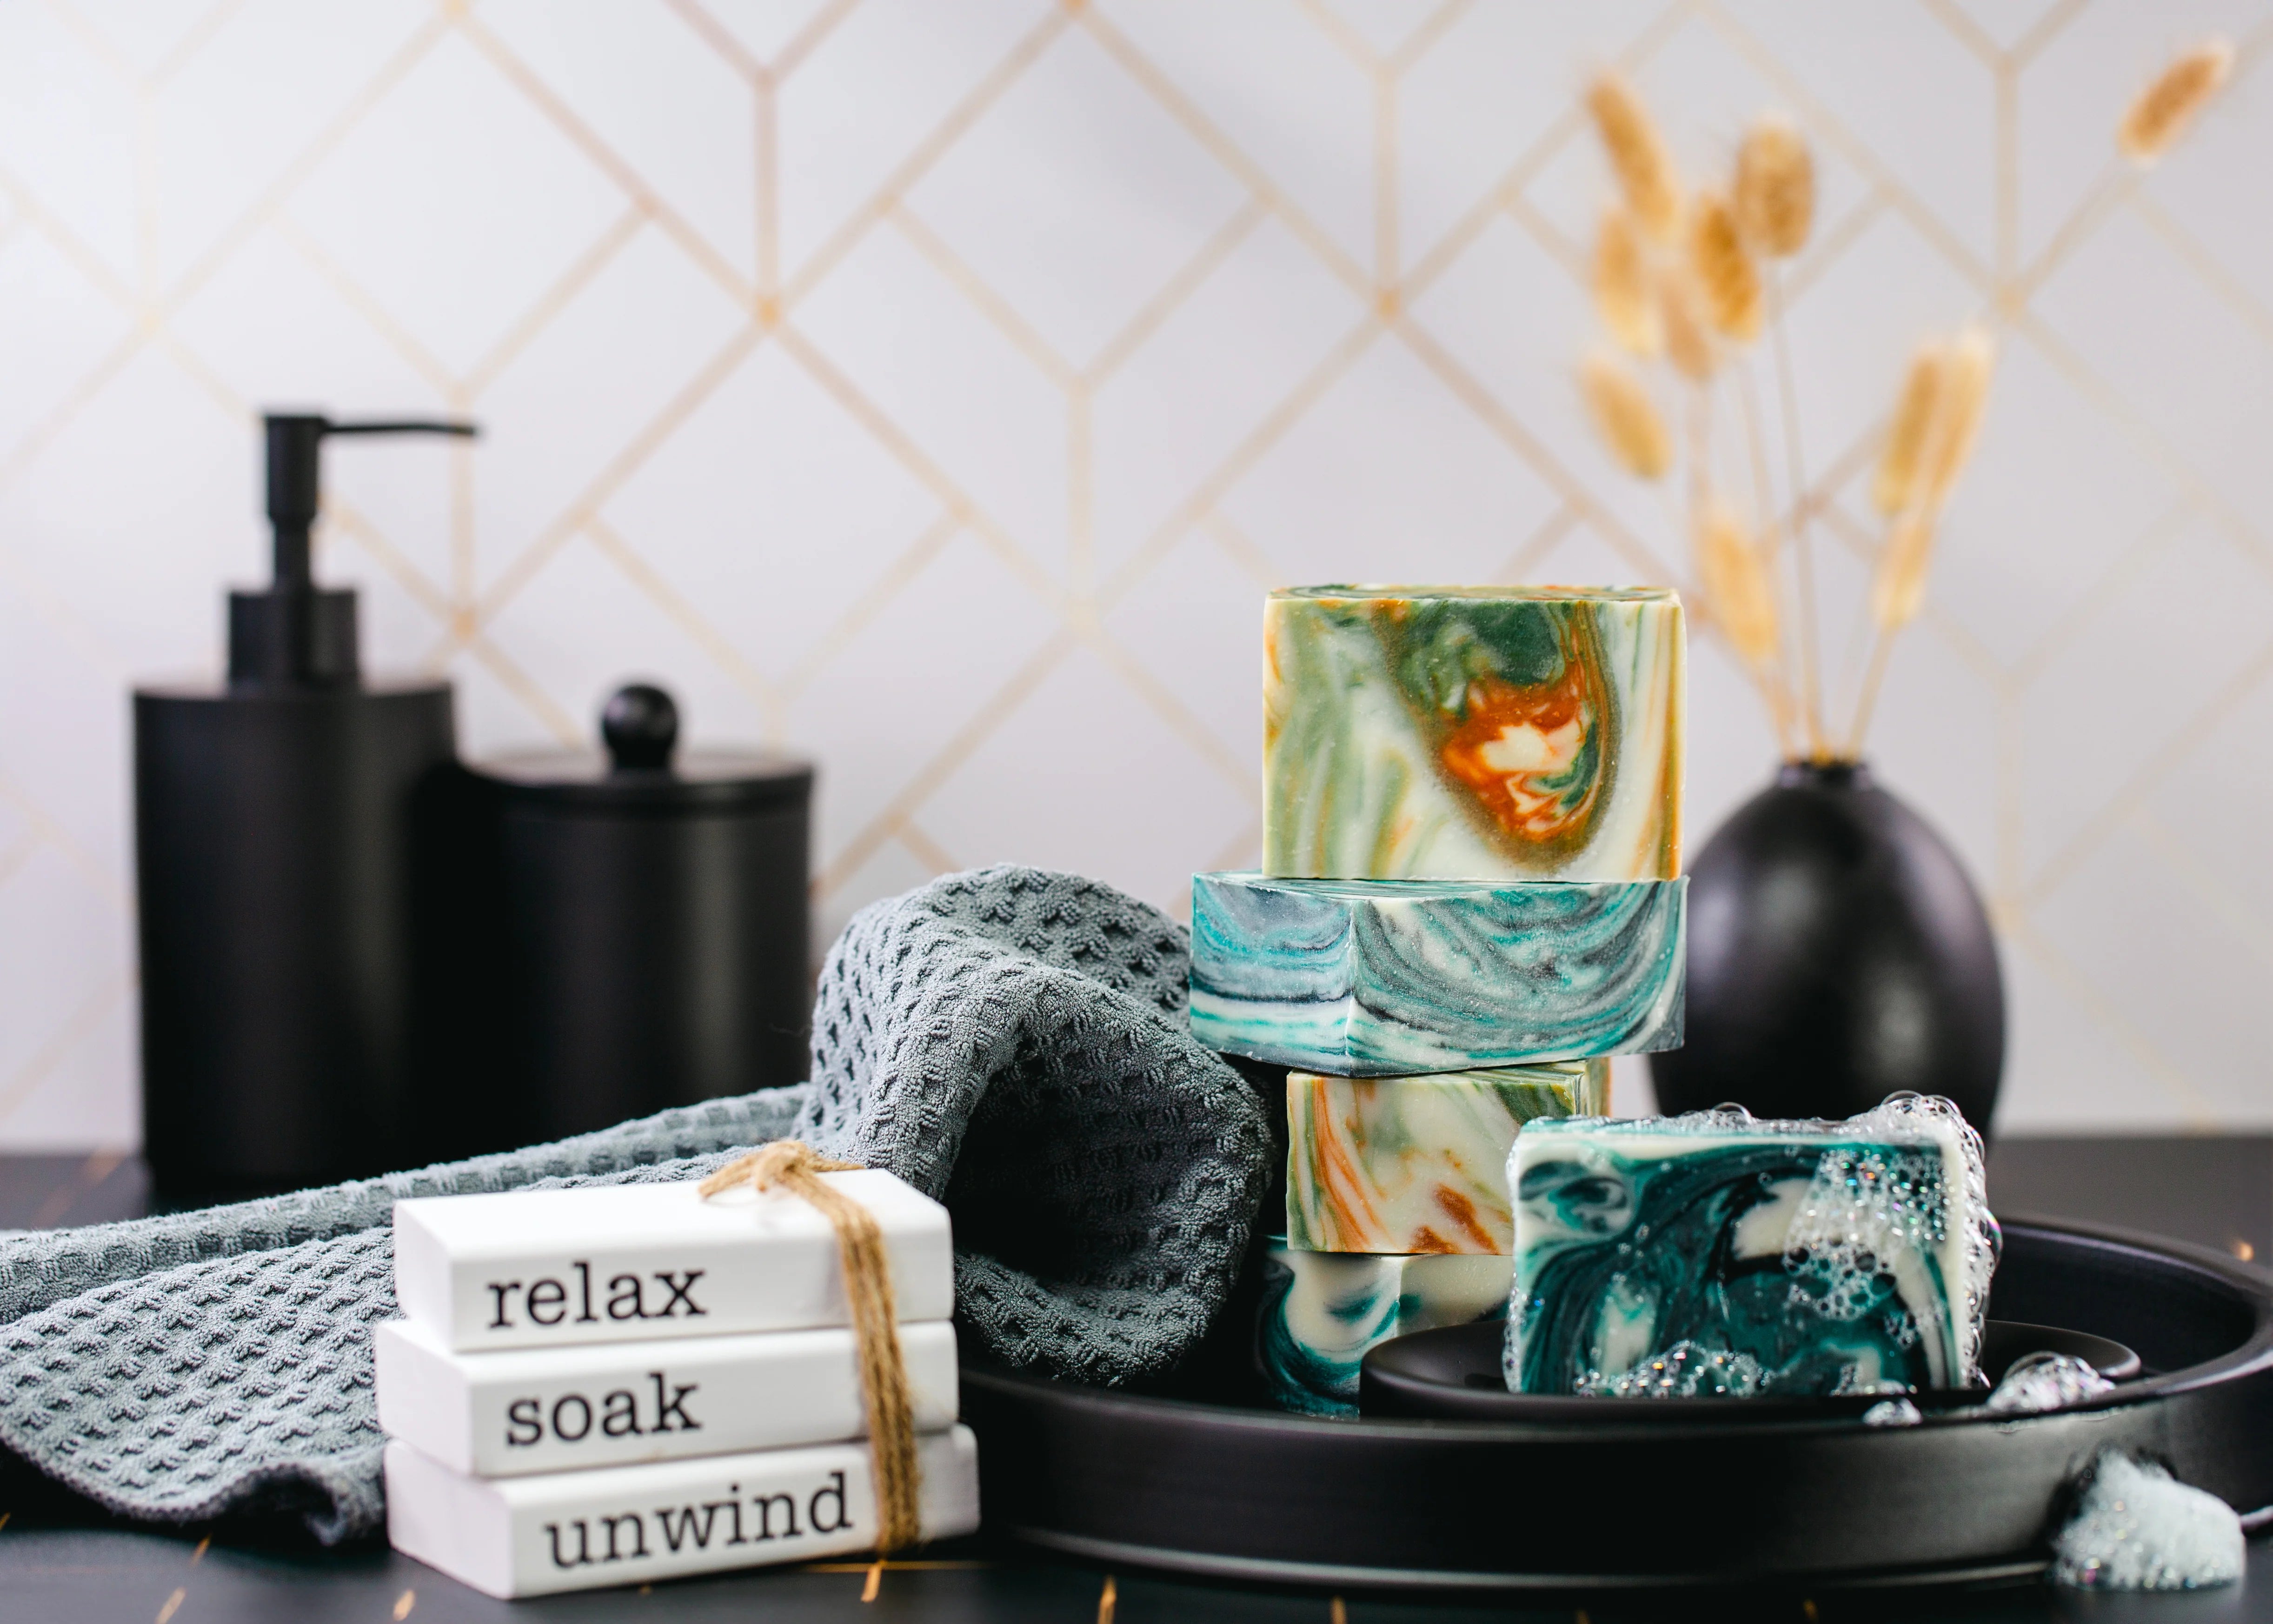


Bright, bold, and bursting with tropical citrus inspiration, this Calypso Clementine Cold Process Soap project creates a stunning diagonal colour gradient that transitions from vibrant magenta through coral and orange before finishing in cheerful yellow. The finished bars are topped with dried orange slices, creating a design that feels every bit as fresh and sunny as the fragrance itself.
Rather than creating individual layers, this technique gradually transforms the soap batter by adding small amounts of yellow to the remaining magenta mixture after every pour. The result is a smooth, continuous colour progression that flows naturally through each bar, making every slice slightly unique while maintaining a cohesive gradient throughout the loaf.
To give plenty of working time, this project uses a slow-moving cold process formula specifically balanced for fluidity. Combined with Calypso Clementine Fragrance Oil - BBW Type, which performs beautifully in cold process soap, the batter remains easy to work with while allowing the gradual colour transition to develop without rushing the process.
After forcing gel phase, the fluorescent neon pigments become exceptionally vibrant, creating eye-catching summer-inspired bars that are as cheerful as they are fragrant.
Safety First: Working With Lye
Cold process soapmaking is both creative and rewarding, but sodium hydroxide (lye) must always be handled with proper safety precautions.
Before beginning:
- Wear gloves and safety glasses
- Use long sleeves and closed toe shoes
- Work in a well-ventilated area
- Keep children and pets away from your workspace
Important Lye Safety Rules
- For better control, always add lye beads to water and not water into lye
- Avoid directly inhaling lye fumes
- Use heat-safe containers only
- If lye contacts skin, rinse immediately with cool running water
Preparing and measuring all ingredients before starting will help the soapmaking process run more smoothly and safely.
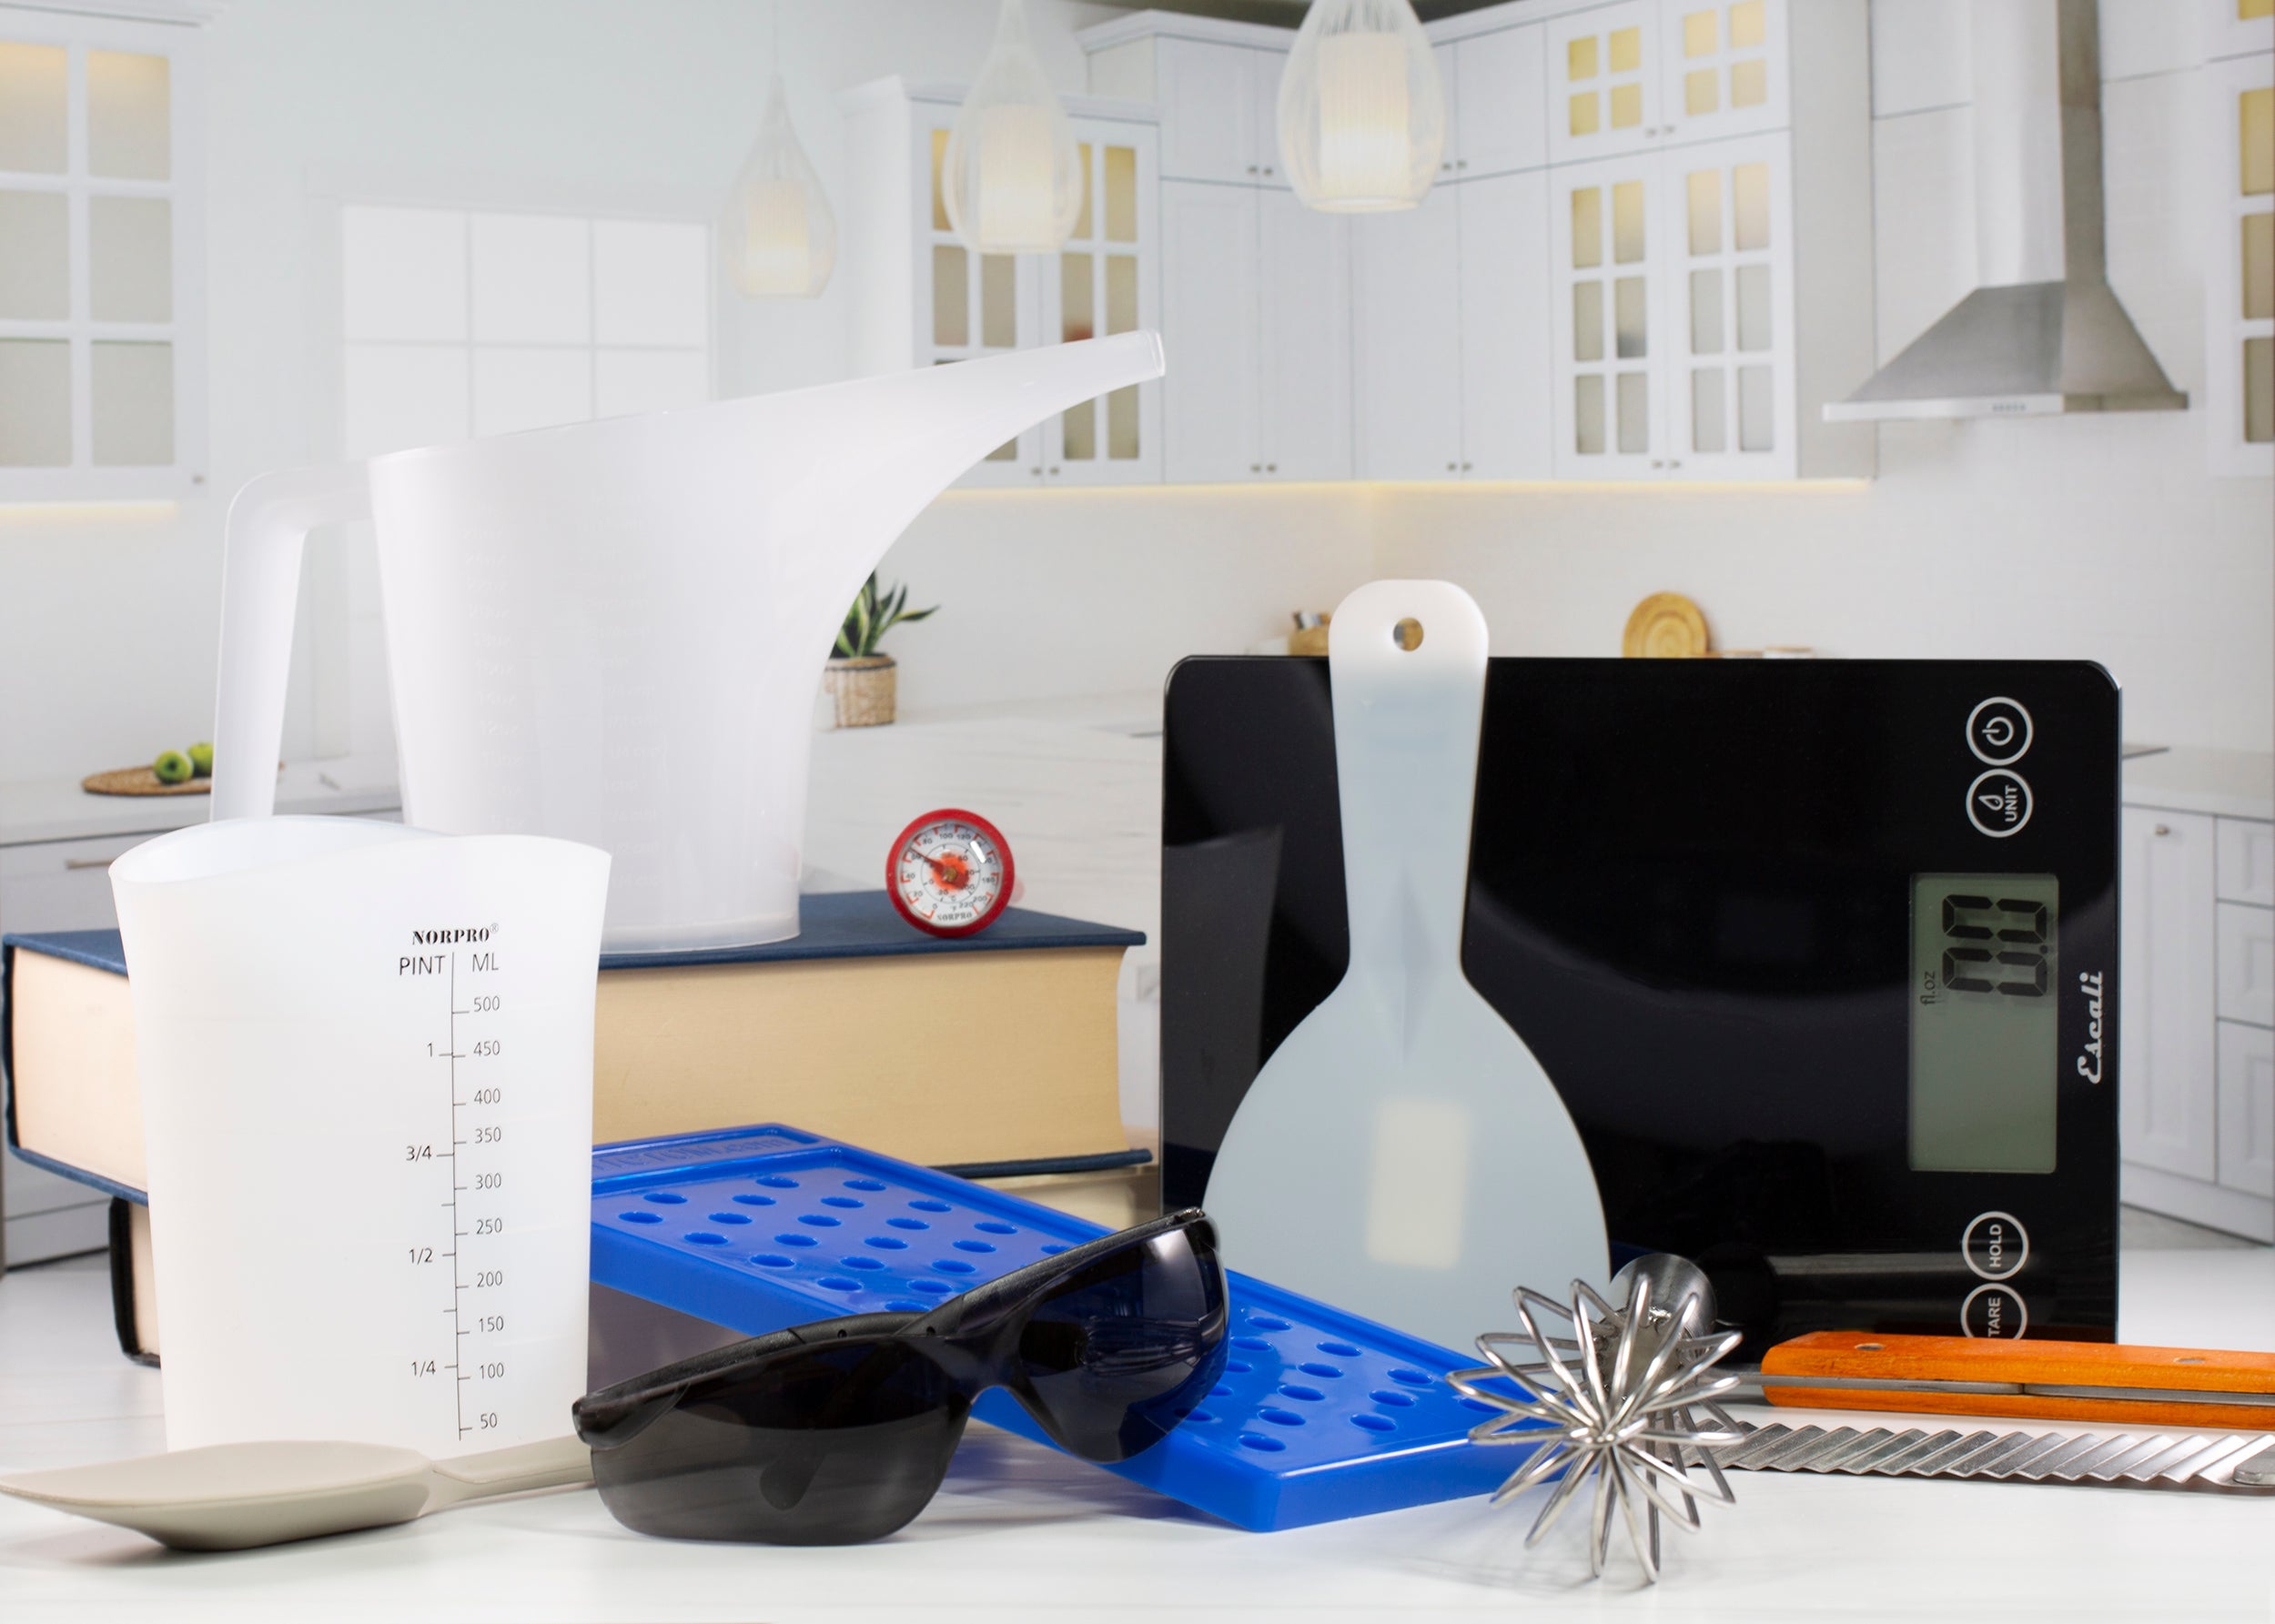
Recommended Equipment:
- Digital Scale
- Stick (Immersion) Blender
- Digital Thermometer
- Tall & Skinny Silicone Loaf Mold
- Heat-safe mixing bowl or soap pot
- Heat-safe measuring cup for lye solution
- 2 Easy Pour Measuring Cups
- Silicone spatula
- 1 large Whisk and 2x small Whisks
- Isopropyl Alcohol in Spray Bottle
- Folded towel or cardboard (to angle the mold)
- Cardboard box and towel for insulation
Formula:
Total: Approx. 10x 1.1"Wide Bars
| Ingredient | Usage Rate (%) | Weight (g) |
| Sunflower Oil - High Oleic | 30 | 300 |
| Coconut Oil 76 RBD | 30 | 300 |
| Shea Butter Refined | 20 | 200 |
| Kokum Butter Refined | 5 | 50 |
| Avocado Oil Refined | 10 | 100 |
| Castor Oil USP | 5 | 50 |
| Calypso Clementine Fragrance Oil - BBW Type | 3.1 | 31 |
| Distilled Water | 380 | |
| 140 (5% Superfat) |
Colourants
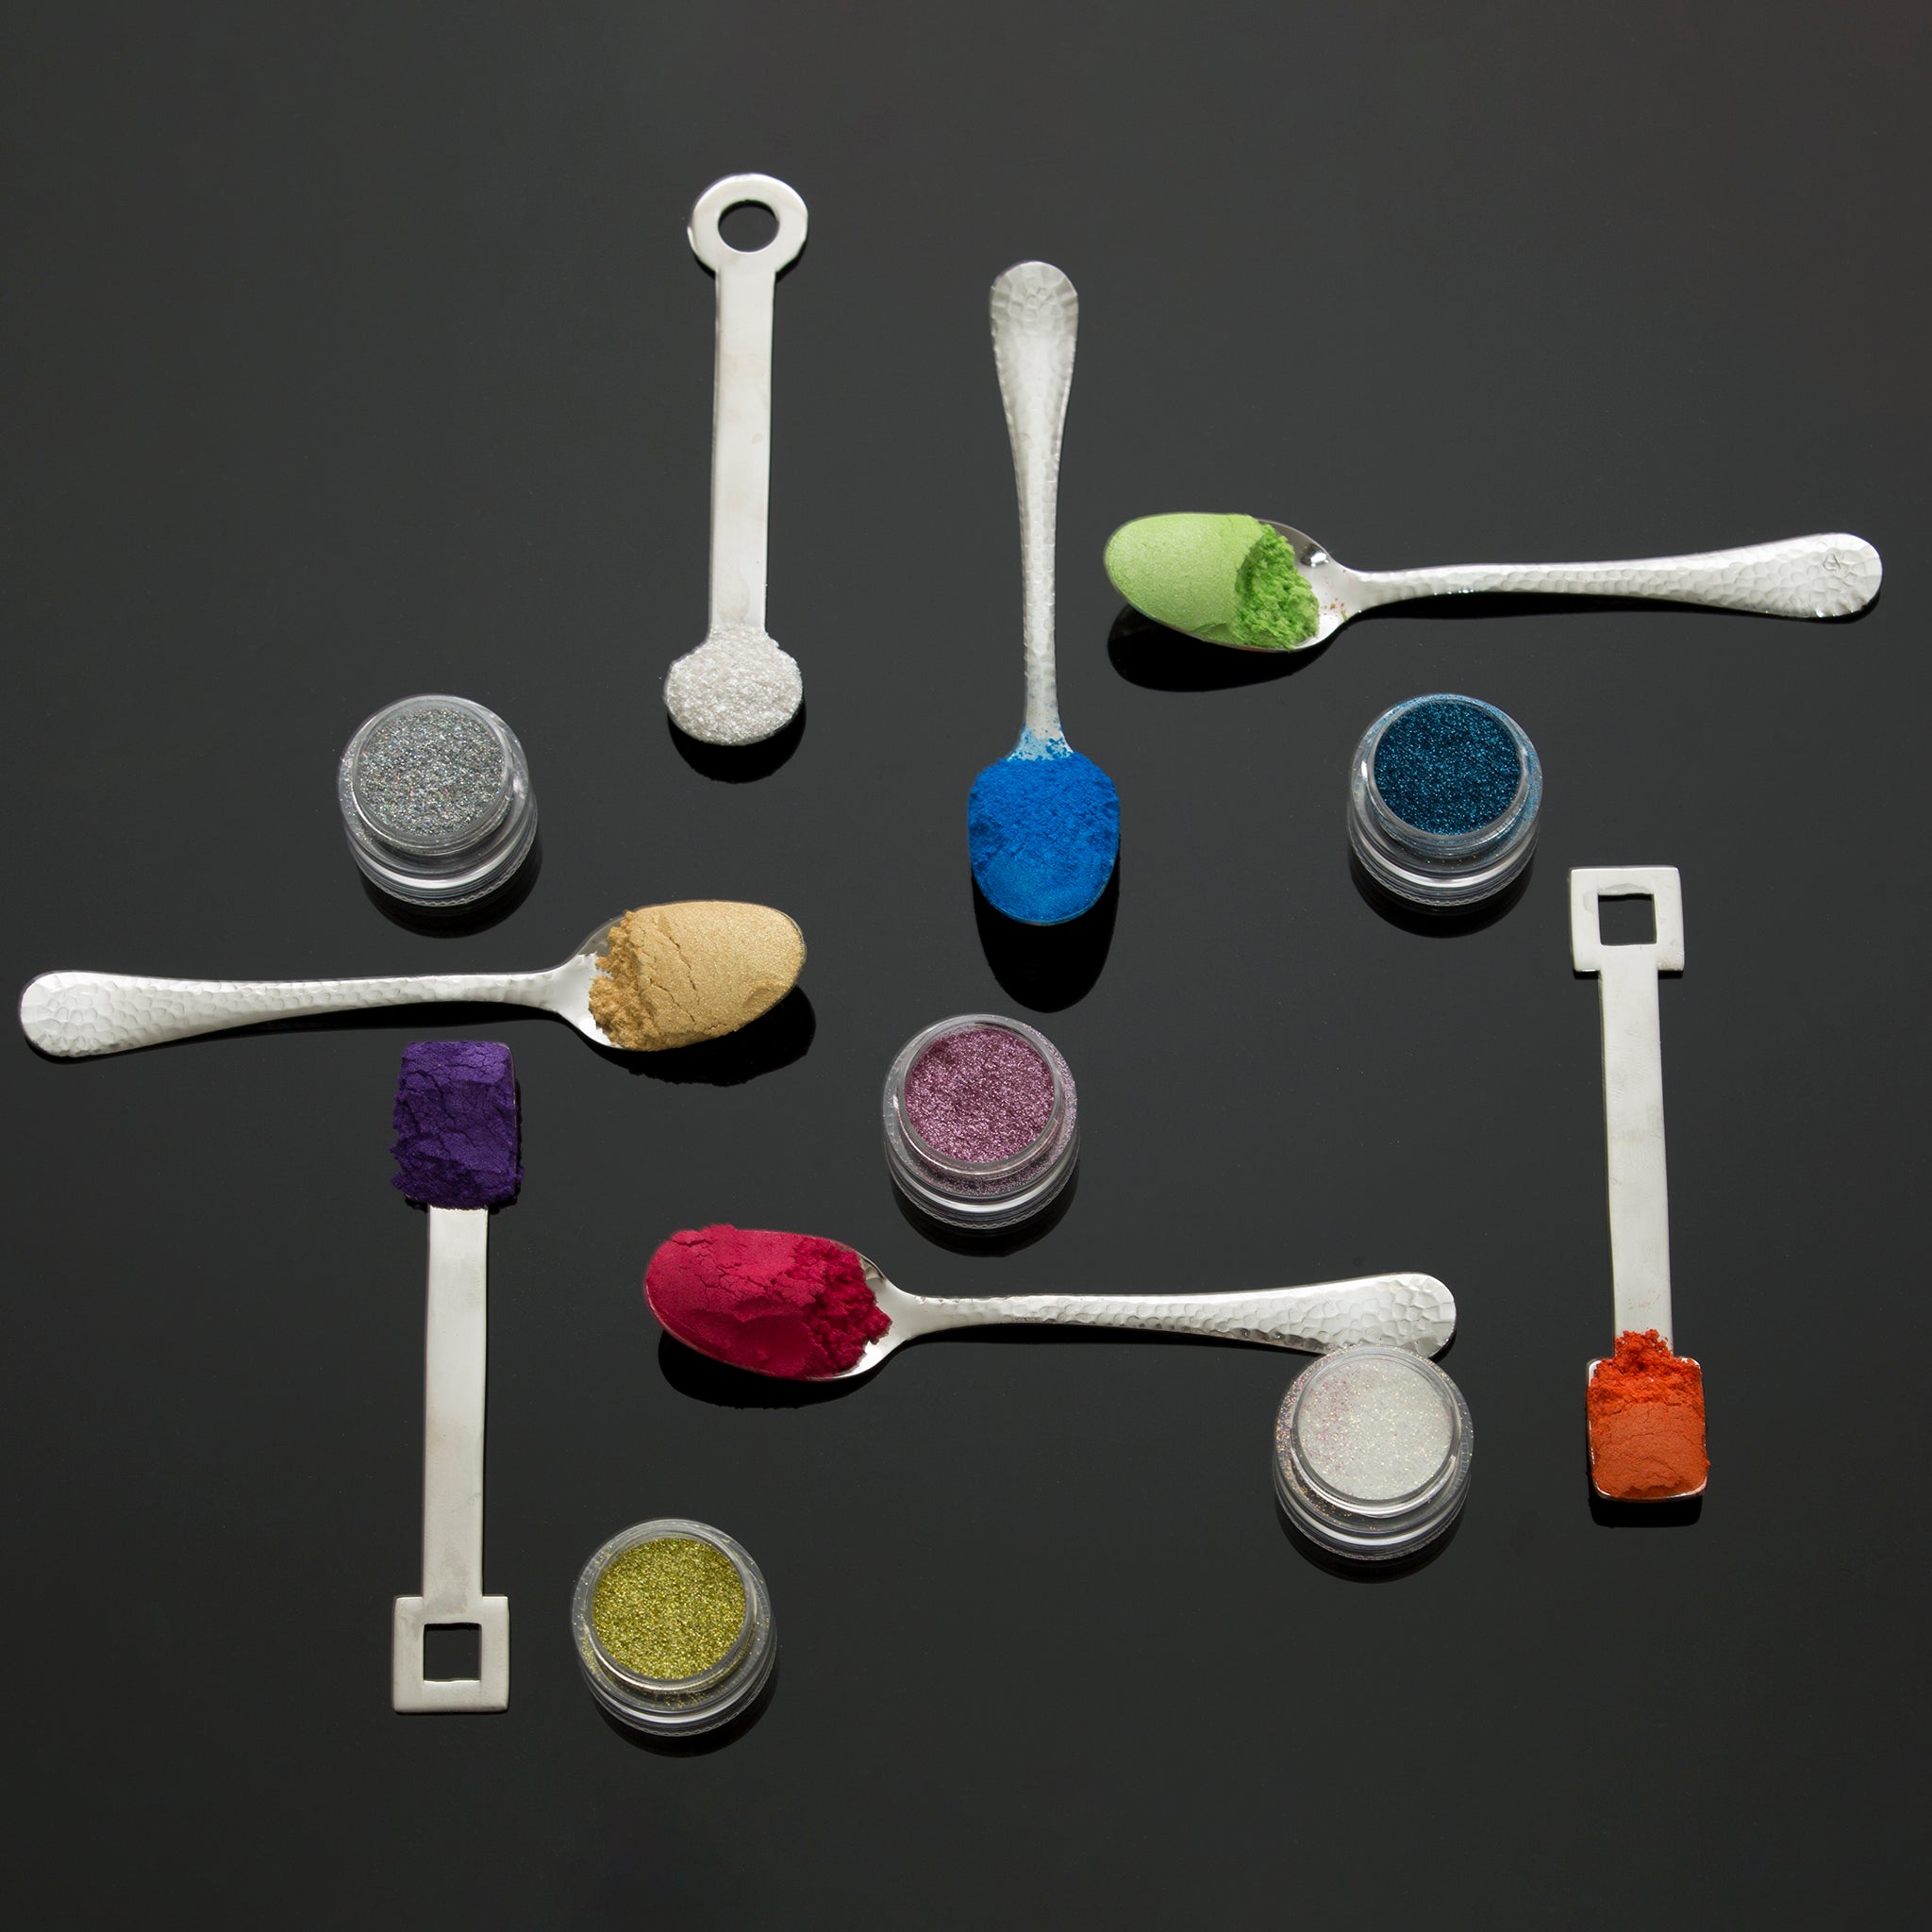
- 25 g Castor Oil mixed with 2 g Neon Electric Slide Yellow Powder
- 25 g Castor Oil mixed with 2 g Neon Magical Magenta Powder
Why This Formula Works Well for Gradient Pours
This formulation was specifically designed to produce a slow-moving, highly fluid soap batter, providing plenty of working time for the repeated pours needed to create the gradual colour transition.
High Oleic Sunflower Oil forms the foundation of the recipe, helping extend trace while producing a smooth, easy-pouring batter. Coconut Oil contributes hardness and abundant lather, while Refined Shea Butter creates a creamy, conditioning bar with excellent longevity. A smaller amount of Kokum Butter adds firmness without noticeably reducing working time, and Avocado Oil helps maintain a balanced, fluid batter while contributing additional conditioning properties.
Because this technique relies on repeatedly adding yellow soap to the remaining magenta batter after each pour, maintaining a light trace is essential. The result is a soap batter that remains workable throughout the entire pouring process while producing durable, long-lasting bars with vibrant colour definition.
Featured Ingredients:
High Oleic Sunflower Oil
High Oleic Sunflower Oil serves as the primary liquid oil in this formulation, helping maintain a slow, stable trace and excellent batter fluidity. Its high oleic acid content provides greater oxidative stability than traditional sunflower oil while contributing conditioning properties and extended working time, making it particularly well suited for detailed pouring techniques like this gradual colour gradient.
Coconut Oil 76 RBD
Coconut Oil 76 provides hardness, cleansing properties, and abundant fluffy lather. It creates a durable finished bar while balancing the higher percentage of liquid oils needed to maintain a fluid soap batter.
Refined Shea Butter
Refined Shea Butter contributes a creamy, luxurious feel while adding conditioning properties and long-lasting hardness. Its smooth texture complements the fluid formulation without compromising the finished bar's durability.
Refined Kokum Butter
Kokum Butter is a firm, stable butter that strengthens the soap while helping create a hard, long-lasting finished bar. Used at a moderate level, it adds structure without significantly accelerating trace.
Refined Avocado Oil
Avocado Oil contributes additional conditioning properties while helping maintain a balanced, workable soap batter. Its rich fatty acid profile supports a creamy lather and pleasant skin feel after cure.
Castor Oil USP
Castor Oil helps stabilize the soap emulsion while boosting creamy, long-lasting lather. It also serves as the carrier oil for dispersing the neon pigments, allowing the colourants to blend smoothly into the soap batter.
Sodium Hydroxide (Lye)
Sodium hydroxide is the alkali required for the saponification process that transforms oils into soap. When properly formulated and fully cured, no active lye remains in the finished bars. Appropriate personal protective equipment should always be worn when handling lye.
Calypso Clementine Fragrance Oil - BBW Type
Inspired by a beloved tropical citrus fragrance, Calypso Clementine Fragrance Oil combines sparkling clementine zest, mandarin orange, juicy grapefruit, tropical mango, passionfruit, and delicate orange blossom over a soft base of vanilla sugar, driftwood, and musk.
During testing, this fragrance performed beautifully in cold process soap with no noticeable acceleration, making it an excellent choice for techniques that require extended working time and a fluid soap batter.
Neon Electric Slide Yellow Powder
This vibrant fluorescent yellow pigment creates bright, energetic colour and provides the final sunshine tones within the gradient. After gel phase, the colour develops exceptional intensity for a bold summer-inspired finish.
Neon Magical Magenta Powder
A vivid fluorescent magenta pigment that forms the starting point of the colour transition. As yellow is gradually incorporated throughout the pouring process, it transforms naturally through coral and orange into brilliant yellow, producing a seamless gradient throughout the loaf.
Instructions:
Step 1: Measure 380 g distilled water into a heat-safe plastic measuring cup. Slowly add 140 g sodium hydroxide (lye) while stirring until completely dissolved. Avoid breathing the fumes during mixing. Always add lye to water, never water to lye. Place the lye solution into a cold water bath to help it cool more quickly.
Step 2: Weigh all oils and butters, except the Castor Oil, into a large heat-safe bowl. Gently melt until completely liquid, then allow the oils to cool. Aim for both the melted oils and the lye solution to reach approximately 100°F (38°C) before continuing.
Step 3: Once both mixtures have cooled to approximately 100°F (38°C), slowly pour the lye solution into the melted oils. Begin whisking until the oils and lye are thoroughly combined.
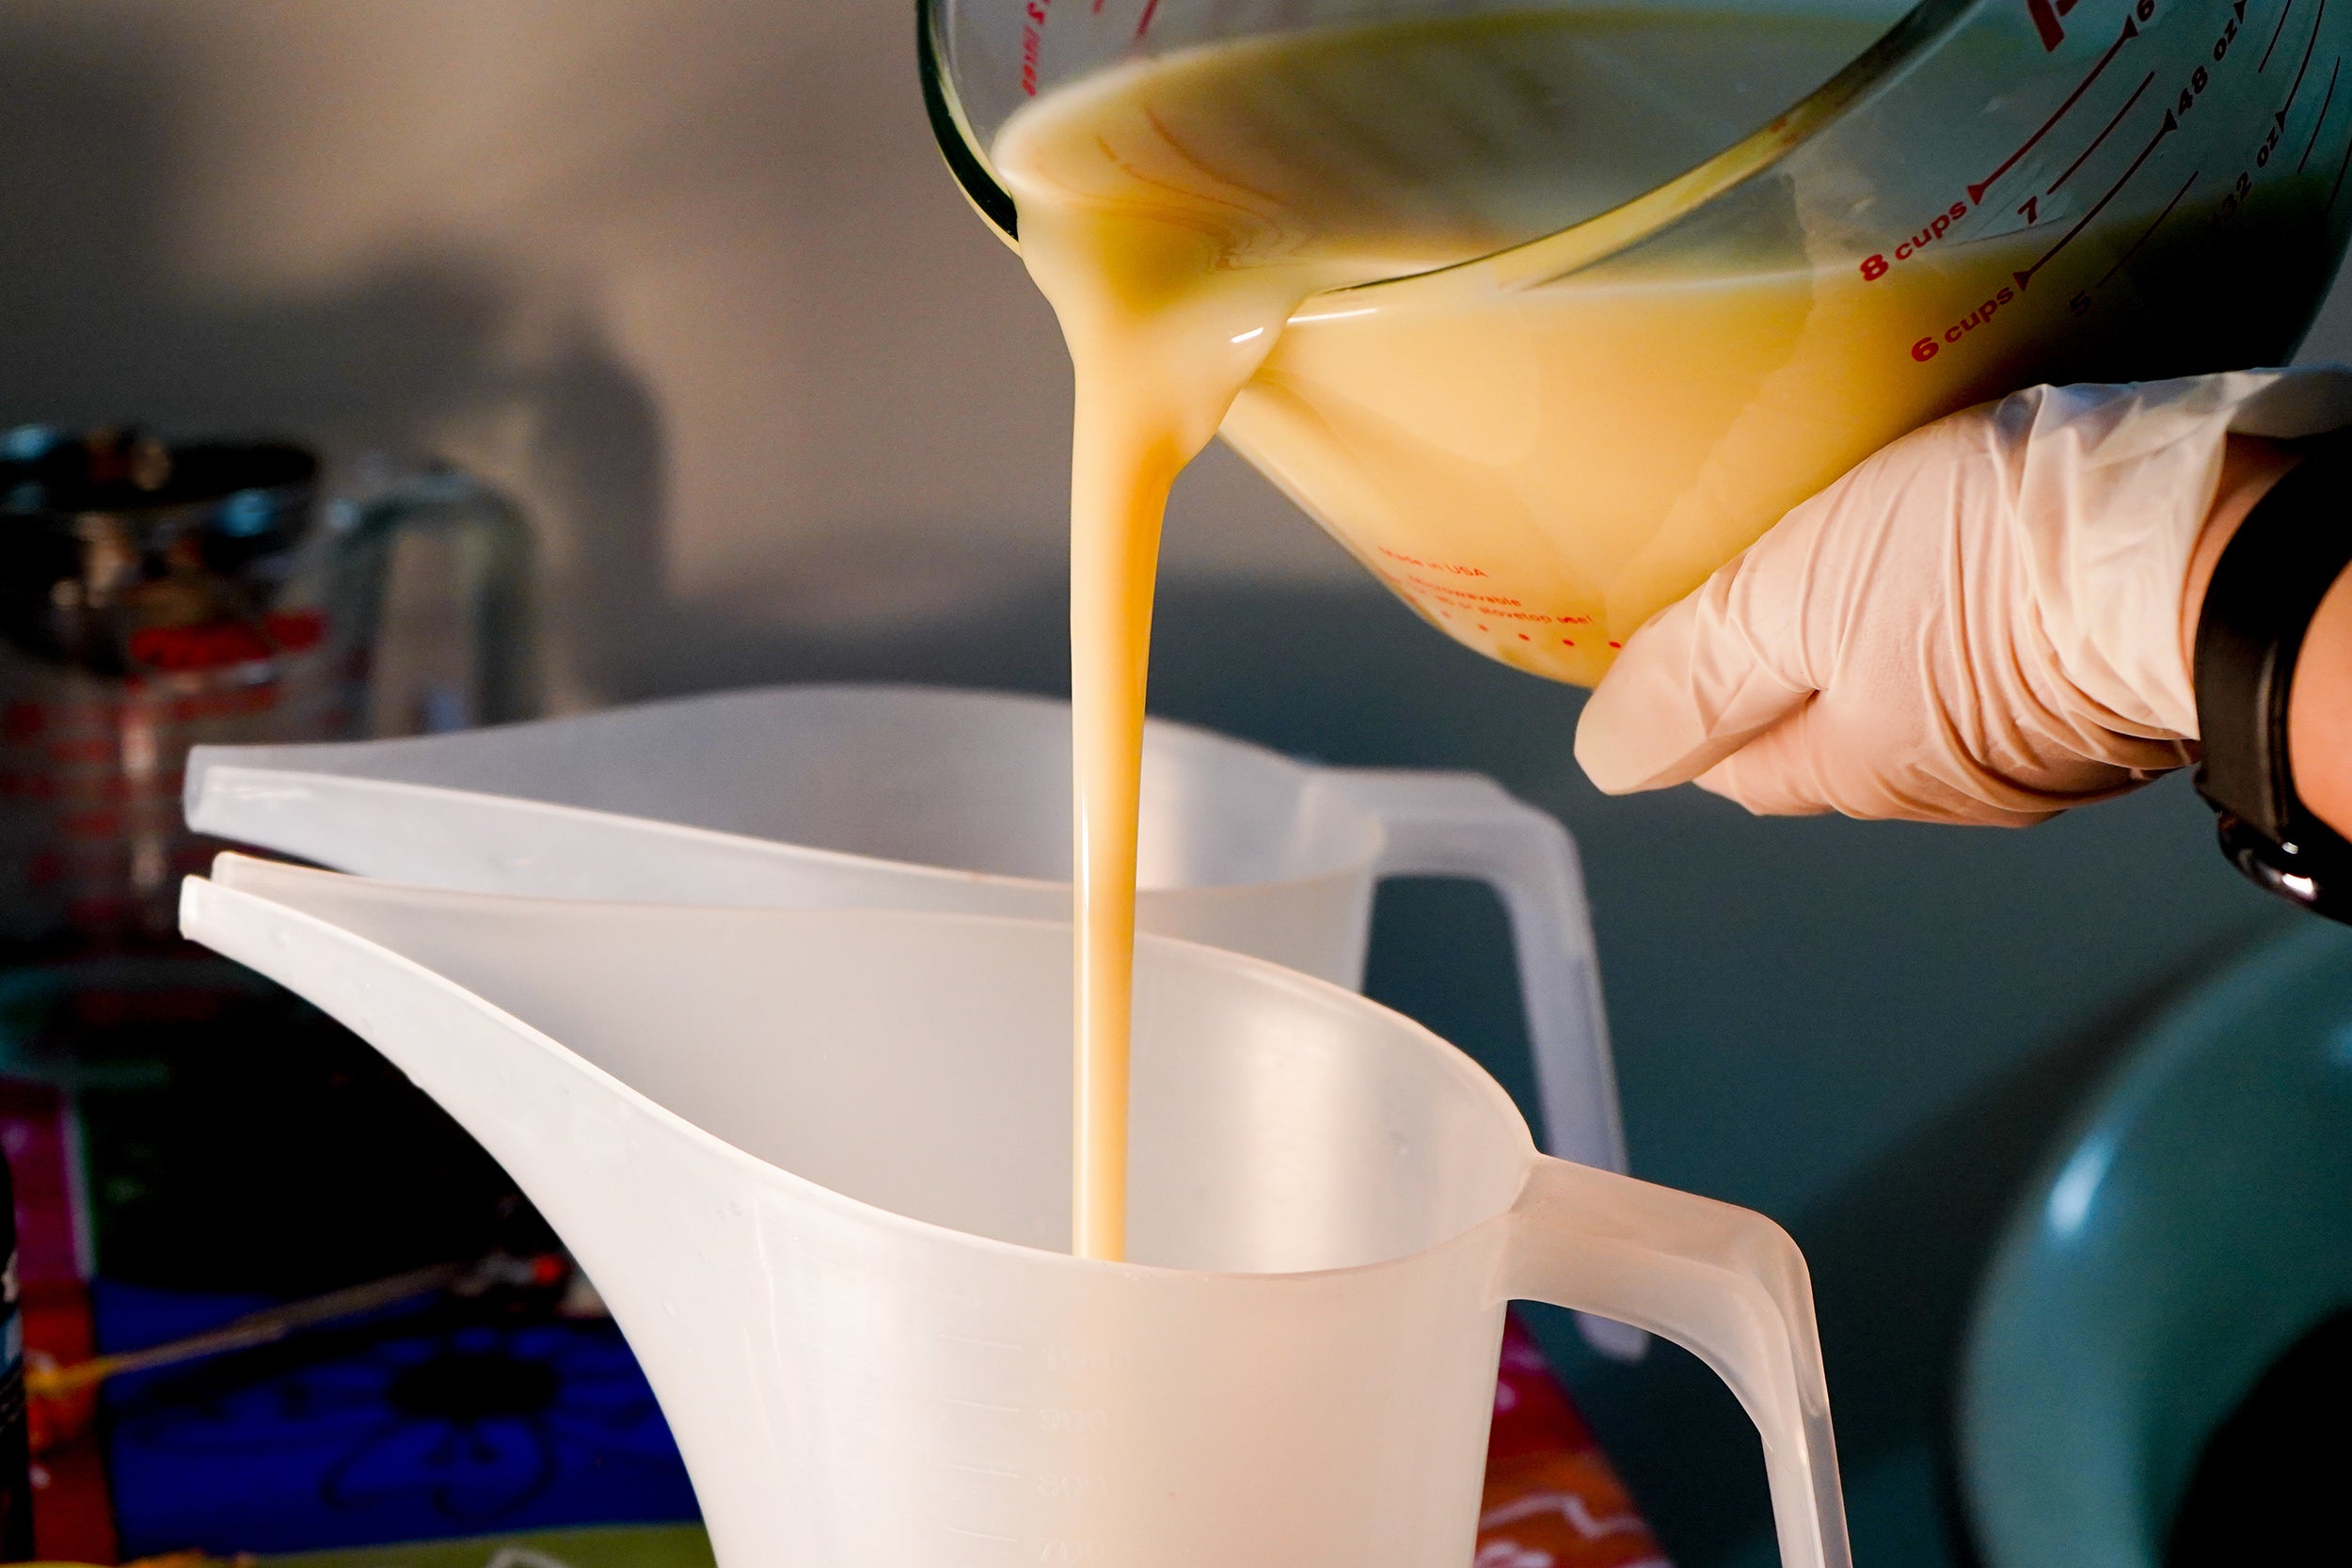
Step 4: After several seconds of whisking, begin stick blending using short bursts of approximately 10–15 seconds, alternating with hand whisking between each burst. Continue only until a light trace is reached. The batter should remain smooth, fluid, and easily pourable. Add 31 g Calypso Clementine Fragrance Oil - BBW Type and stir thoroughly to fully incorporate.
Step 6: Add 2 g Neon Electric Slide Yellow Powder to one cup and 2 g Neon Magical Magenta Powder to the other. Mix until each colour is completely dispersed.
Beginner Soapmaking Tips
Understanding Trace
Trace refers to the thickness of soap batter after the oils and lye solution are mixed together.
A light trace looks similar to thin cake batter or warm custard. The soap batter will still pour easily and smoothly, but when drizzled across the surface, it may leave a faint line or “trace” for a moment before sinking back in. At light trace, the batter remains fluid enough for swirling, layering, and pull-through techniques.
A medium trace becomes slightly thicker, similar to pudding or gravy. The batter will still pour, but more slowly, and patterns or drizzles on the surface will remain visible longer before settling back in.
A heavy trace is thick and no longer easily pourable. The batter holds its shape and is better suited for textured finishes such as spoon textures or peaked tops on soap bars.
Temperature & Trace
Soapmaking temperatures can affect how quickly the batter thickens.
- Lower temperatures generally slow down trace and provide more working time
- Higher temperatures can cause soap batter to thicken more quickly
For this project, allowing both the oils and lye solution to cool to approximately 100°F (38–43°C) helps maintain a smooth, workable batter for detailed pouring techniques.
Stick Blending
Stick blending too long can quickly thicken soap batter. Use short bursts of blending followed by hand stirring to help maintain a fluid consistency throughout the design process.
Prepare Before Starting
Having colourants pre-mixed and all ingredients measured before beginning helps the soapmaking process move more smoothly and reduces the chance of the batter thickening too quickly.
Storage & Cure Tips
For best results, allow cold process soap to cure for approximately 4–6 weeks before use. Proper curing allows excess water to evaporate, producing a harder, longer-lasting bar with improved lather quality and mildness.
Store finished soap in a cool, dry environment away from excessive humidity and direct sunlight to help preserve colour, scent, and overall bar quality.
Note:
These formulations are provided as a general guide for personal or commercial applications. Voyageur Soap & Candle Company Ltd. accepts no liability for the performance, effectiveness, or outcomes of products made using these formulations.
Users are responsible for conducting their own testing, following safe formulation practices, and ensuring compliance with all applicable regulations.
For formulation questions, please contact customer service at customerservice@voyageursoapandcandle.com or call 1-800-758-7773.