


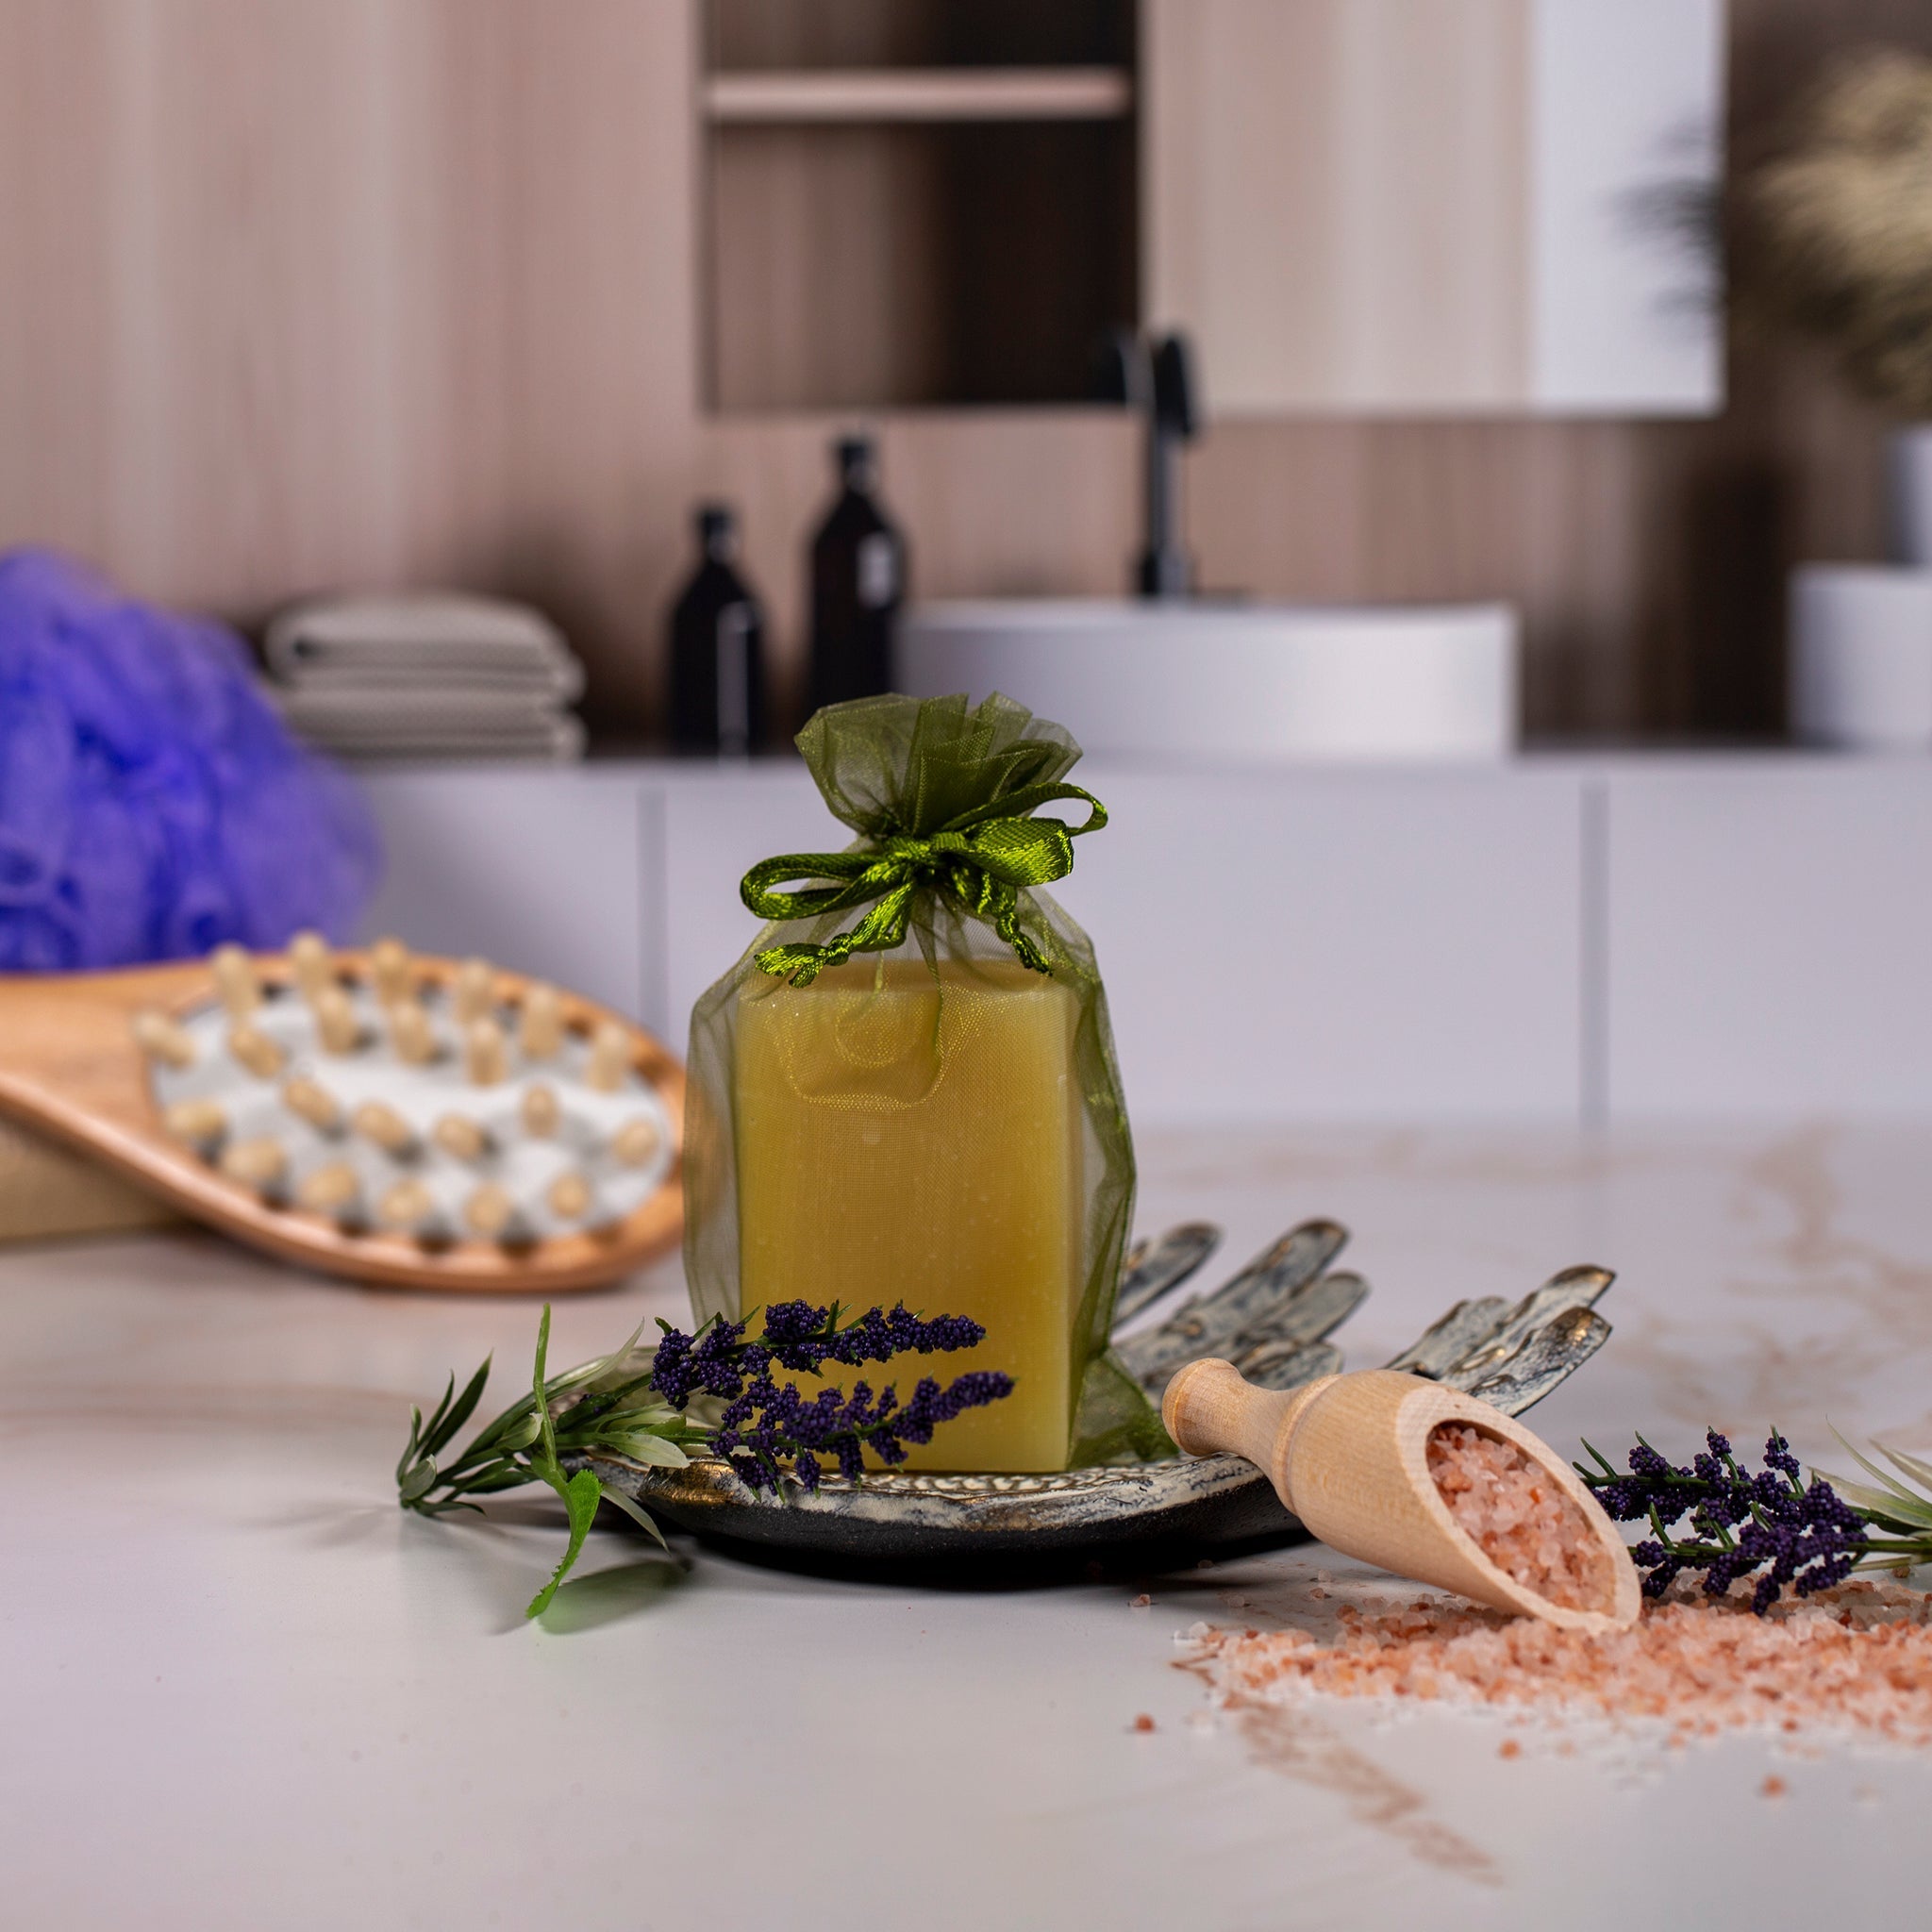



Spring is just around the corner, and it's the perfect time to bring a touch of cherry blossom magic into your home! Here's a simple and delightful craft to create cherry blossom tree-inspired soaps. Using a melt and pour base, some vibrant mica, and cherry blossom fragrance oil, you can craft these beautiful soaps with ease. Enjoy the process and the lovely scents that will fill your space!
Click here to download the Step by Step PDF Guide!
Makes ~ approximately 6 x 1” bars
Formula:
| Ingredient | Usage Rate (%) |
Weight (g) |
| 72.3 | 600 | |
| 27.7 | 230 | |
| Cherry Blossom Fragrance Oil | 1.70 | 14 |
| Rose Quartz Mica | as needed | 4x 0.15CC Scoops |
| Cappuccino Mica | as needed | 2x 0.15CC Scoop |
| Spring Meadow Mica | as needed | 4x 0.15CC Scoop |
| Isopropyl Alcohol in Spray Bottle | as needed | - |
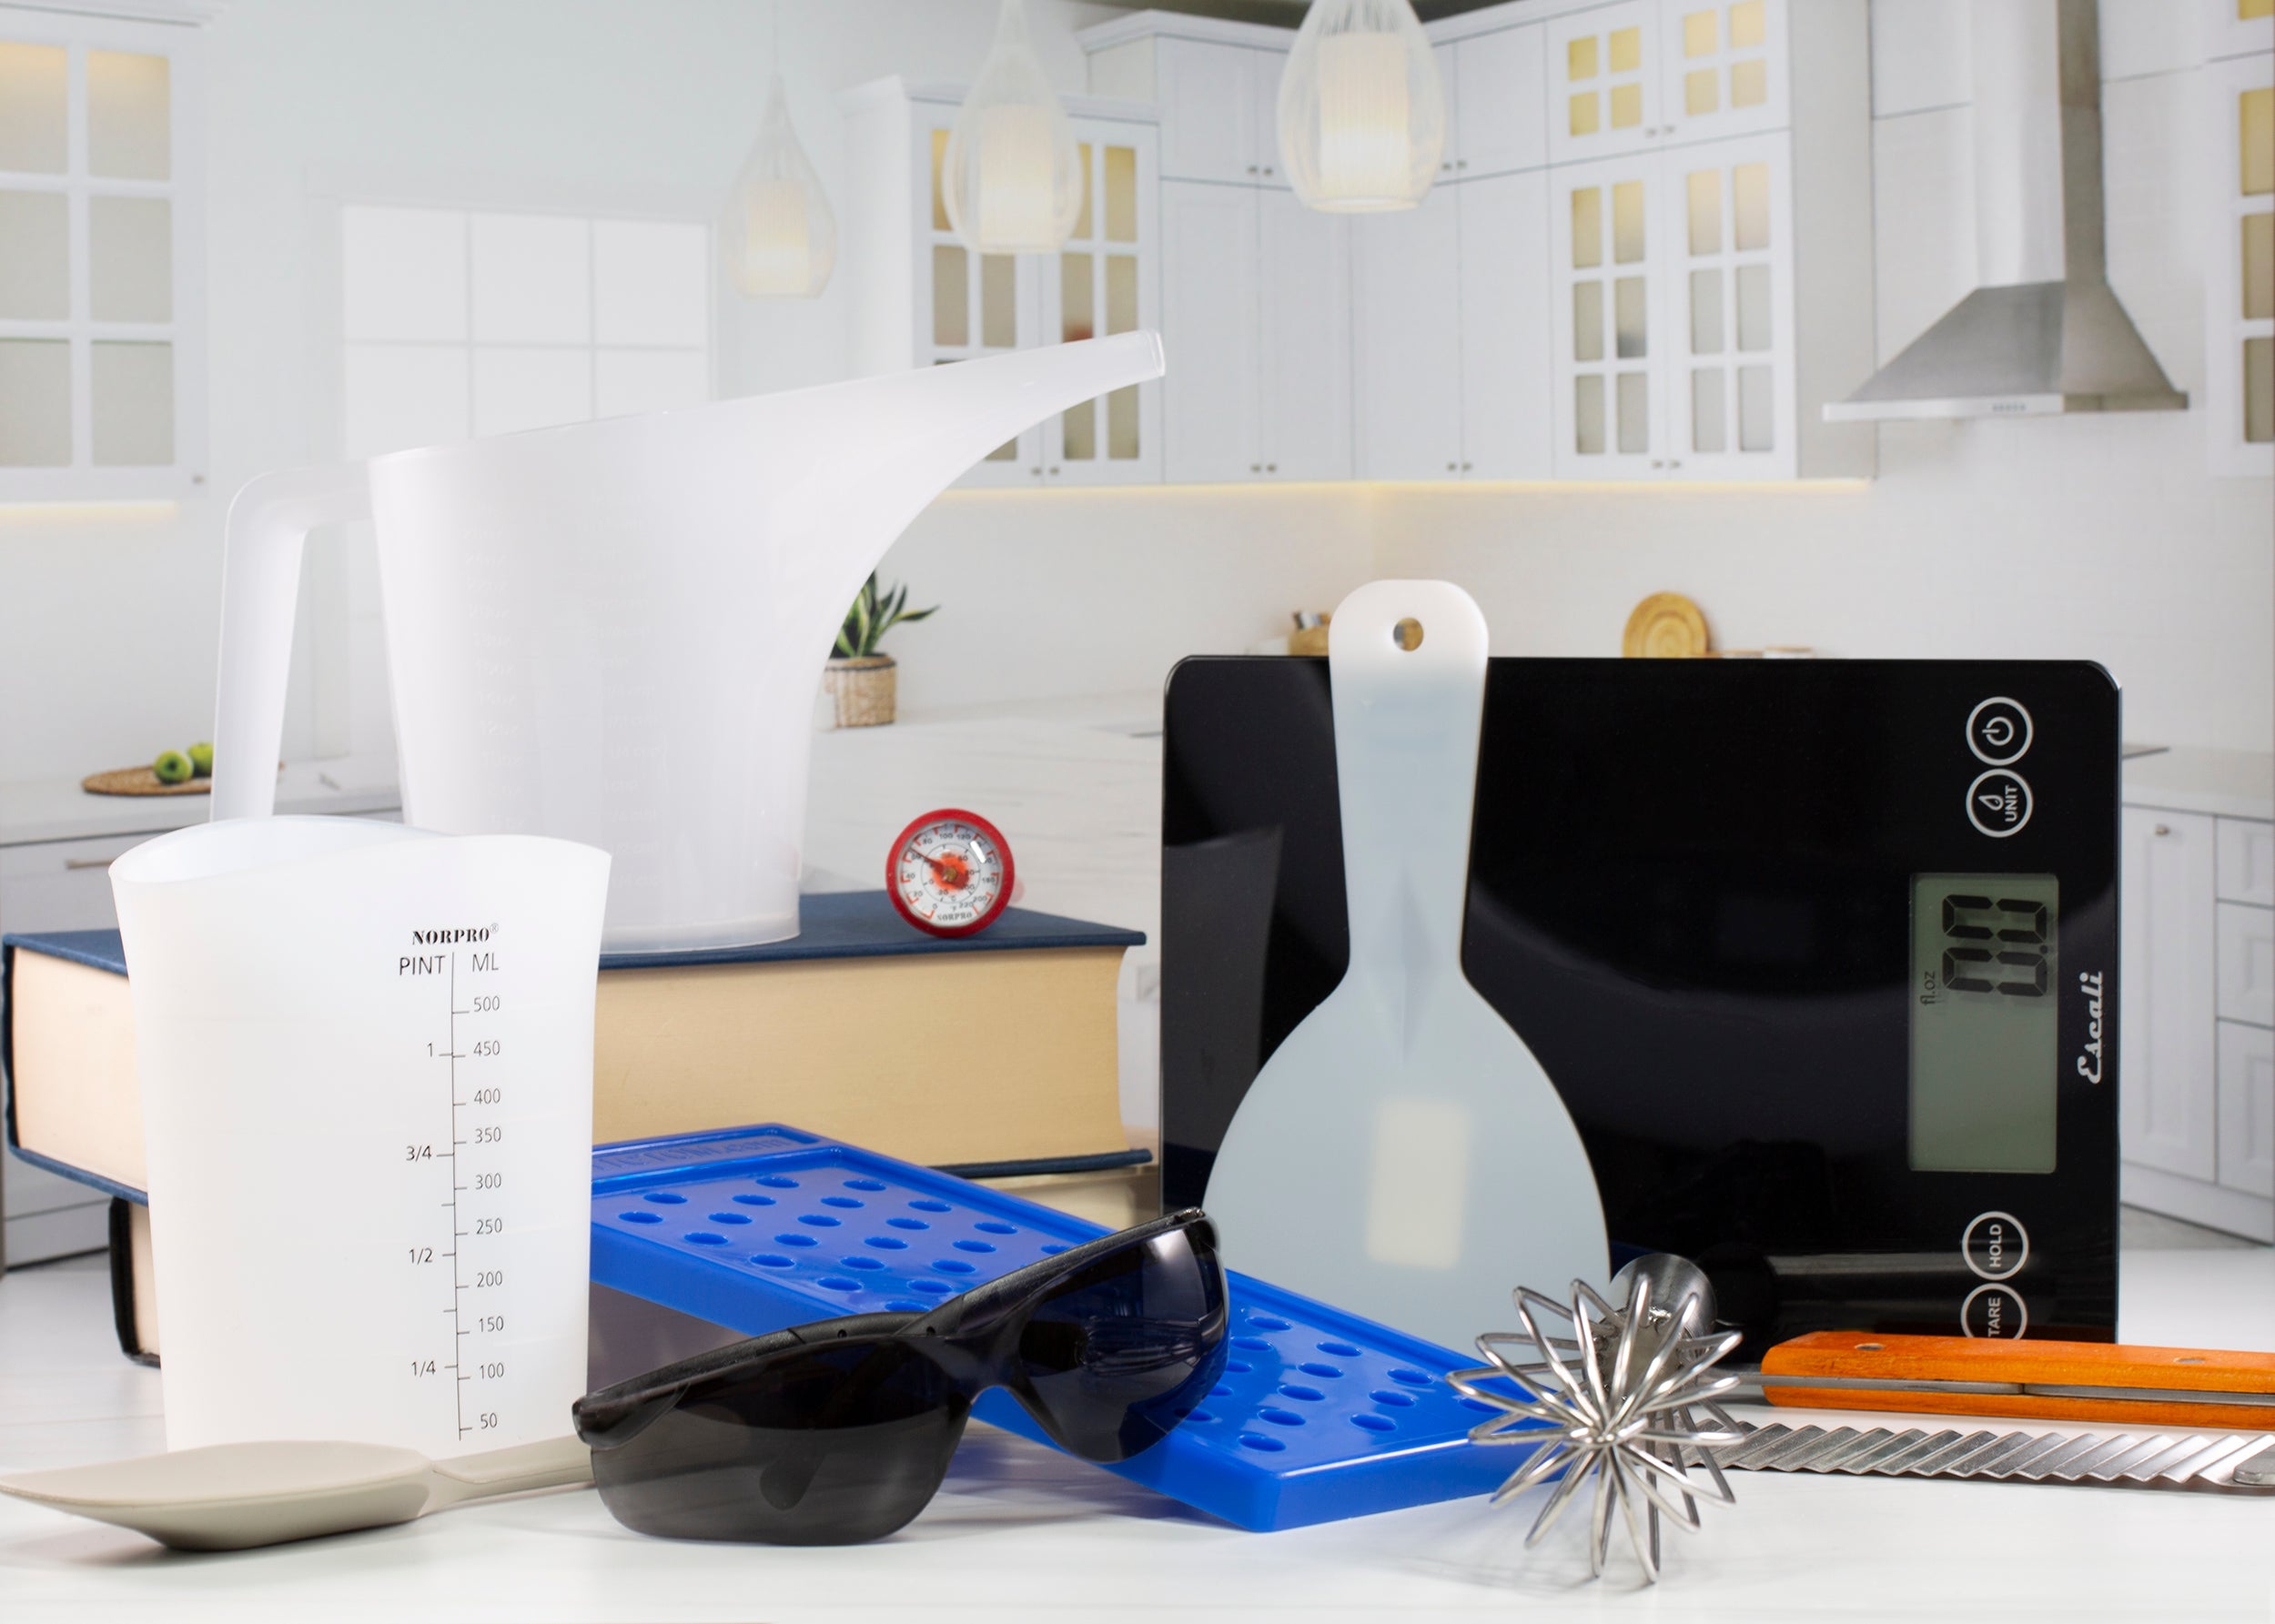
Recommended Utensils:
- Rectangle Silicone Soap Mold
- 3x Easy Pour Measuring Cups
- 4x small mixing cup
- 0.15 cc Plastic Scoop
- Stainless Steel Heavy Gauge Soap Cutter
- Cheese Grater
- Scale
- Sticks to stir
- Gloves
- Microwave or Double Boiler
- Parchment paper
Featured Ingredients:
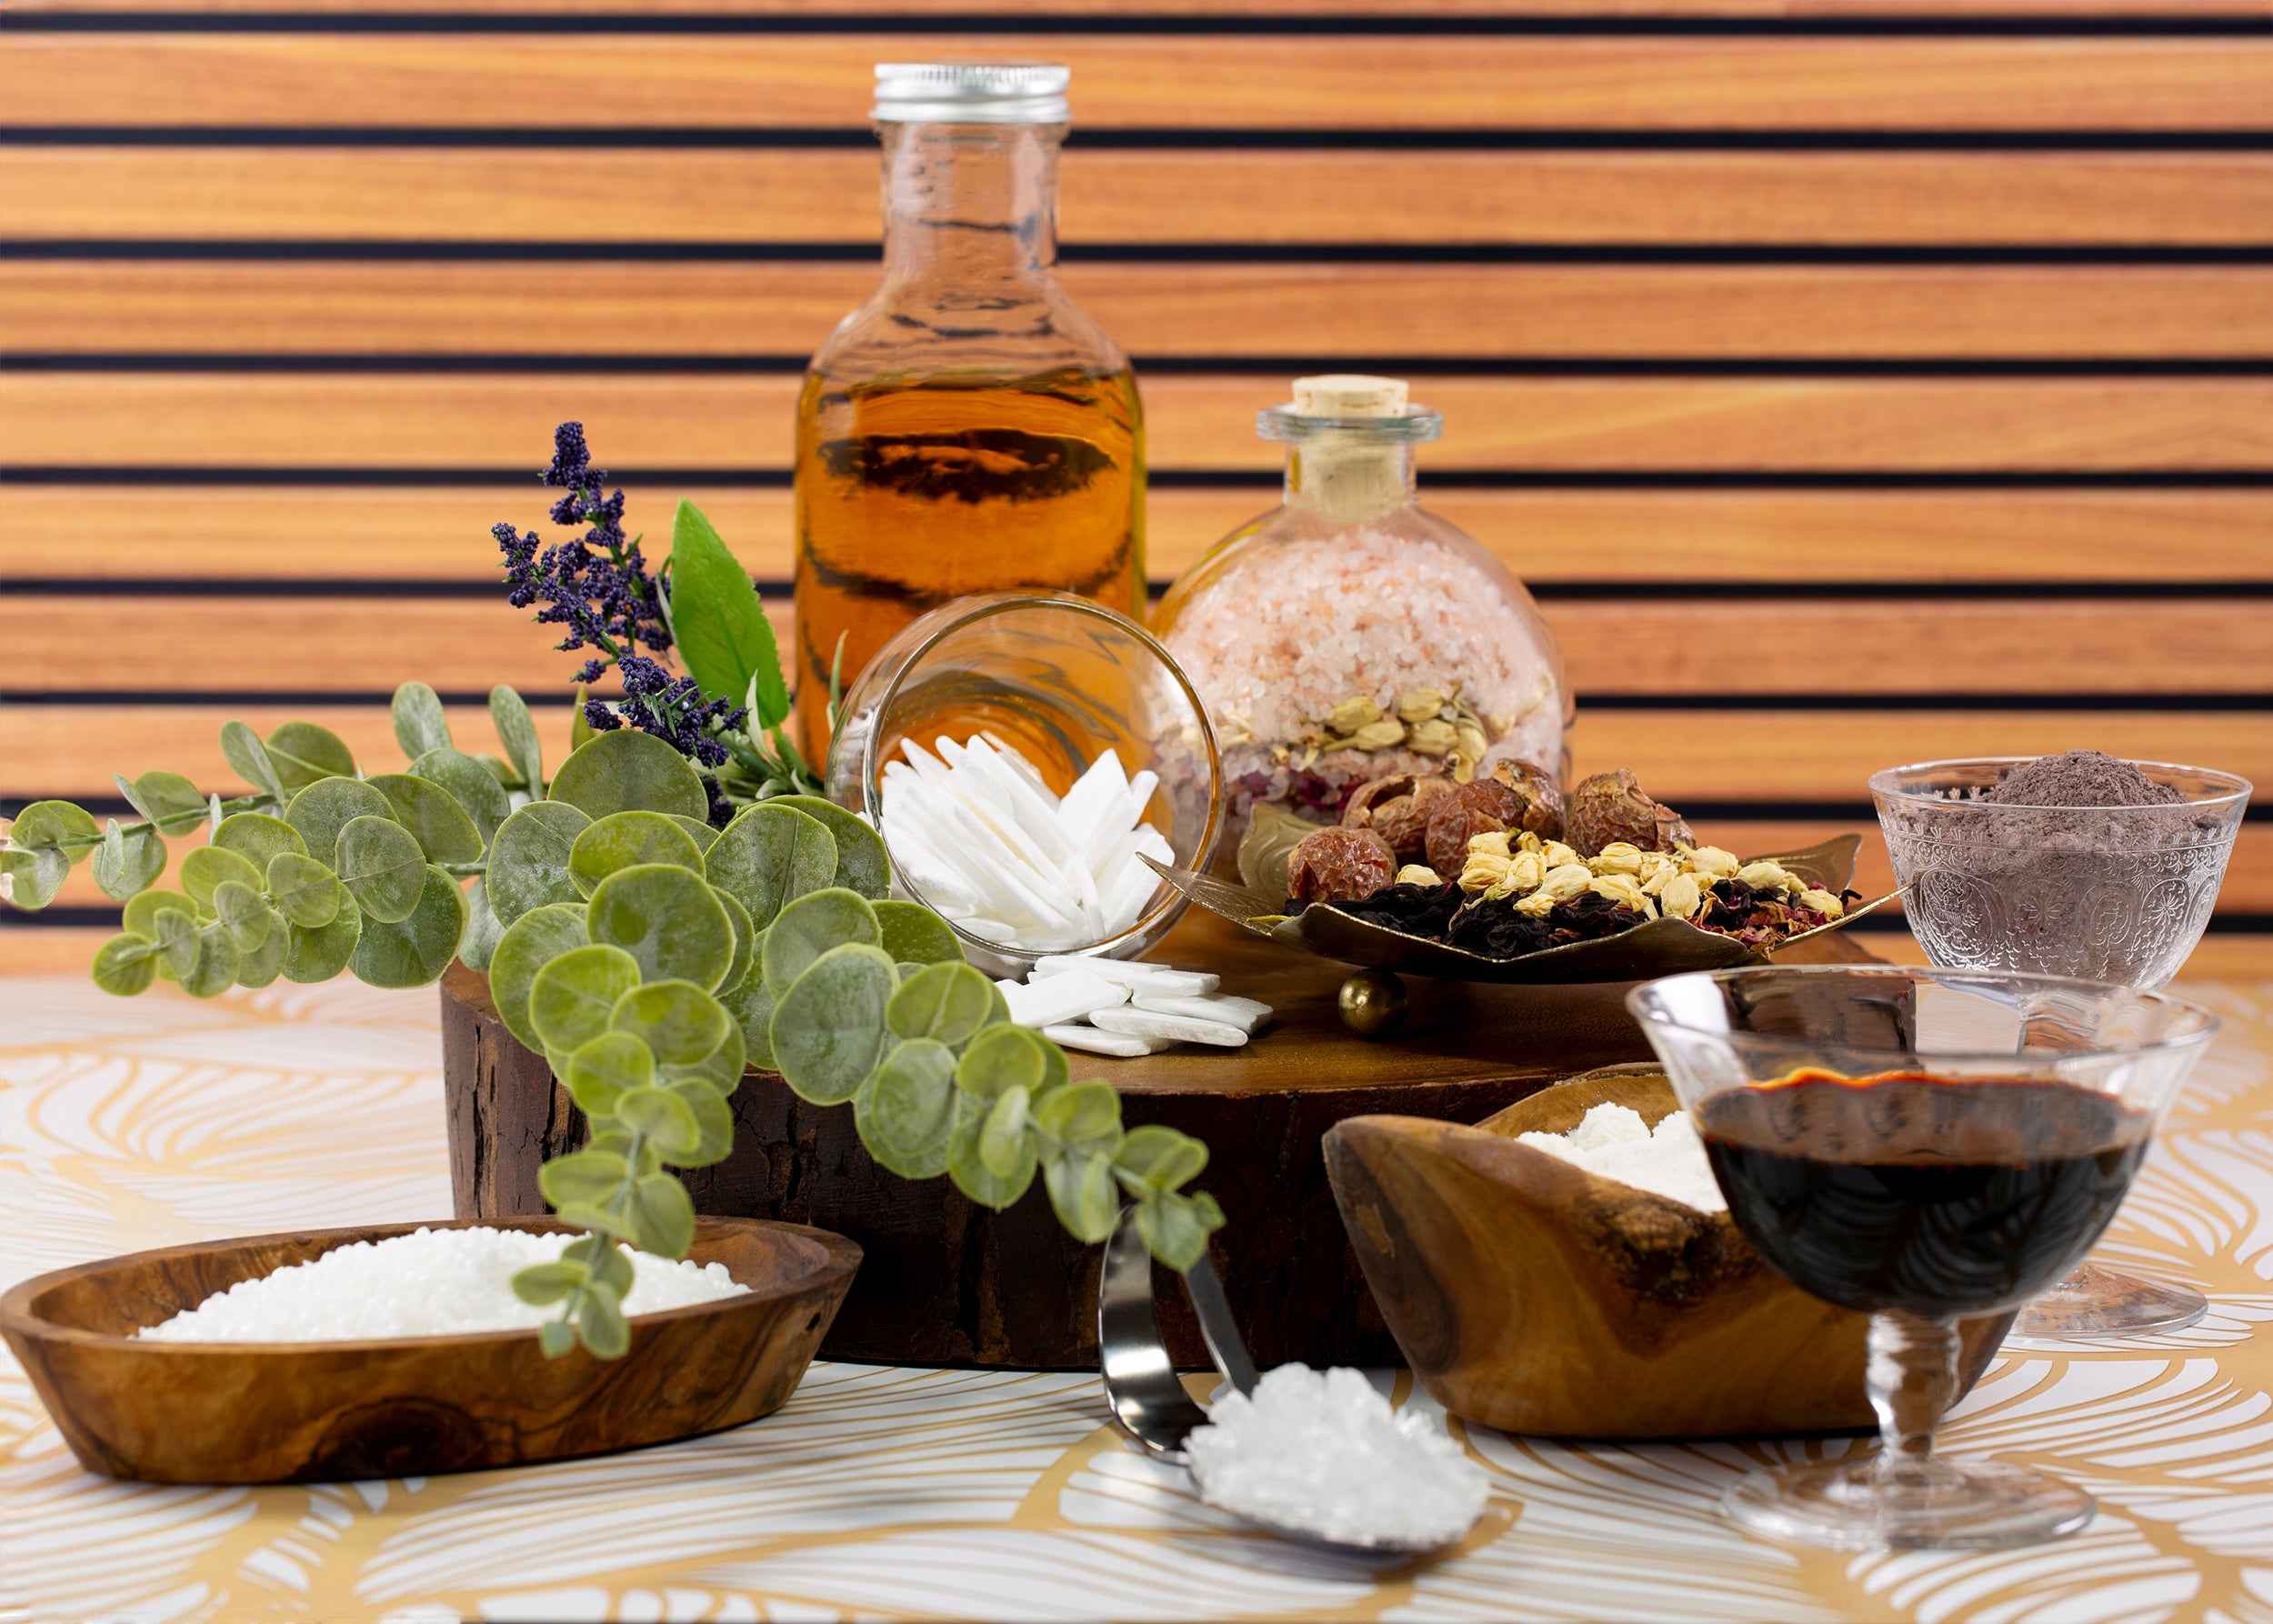
Stephenson Natural Transparent Melt & Pour Soap
Creates beautifully clear soap with excellent colour clarity, making it perfect for projects with suspended embeds and layered designs. Its high-foaming, 99.9% natural formulation allows the cherry blossom tree to remain visible while giving the finished bars a bright, polished appearance.
Stephenson Natural White Melt & Pour Soap Base
Provides an opaque, creamy finish that's ideal for p Base creating vibrant coloured embeds. In this project, it's used to make the soft pink and white cherry blossom shreds, helping the colours stand out against the transparent background.
Cherry Blossom Fragrance Oil
Combines delicate floral notes with fresh fruit and soft musk for a light, elegant fragrance that perfectly complements this spring-inspired design. With 0% vanillin, it won't discolor your soap, making it an excellent choice for projects featuring bright colours and crystal-clear layers.
Mica Colourants
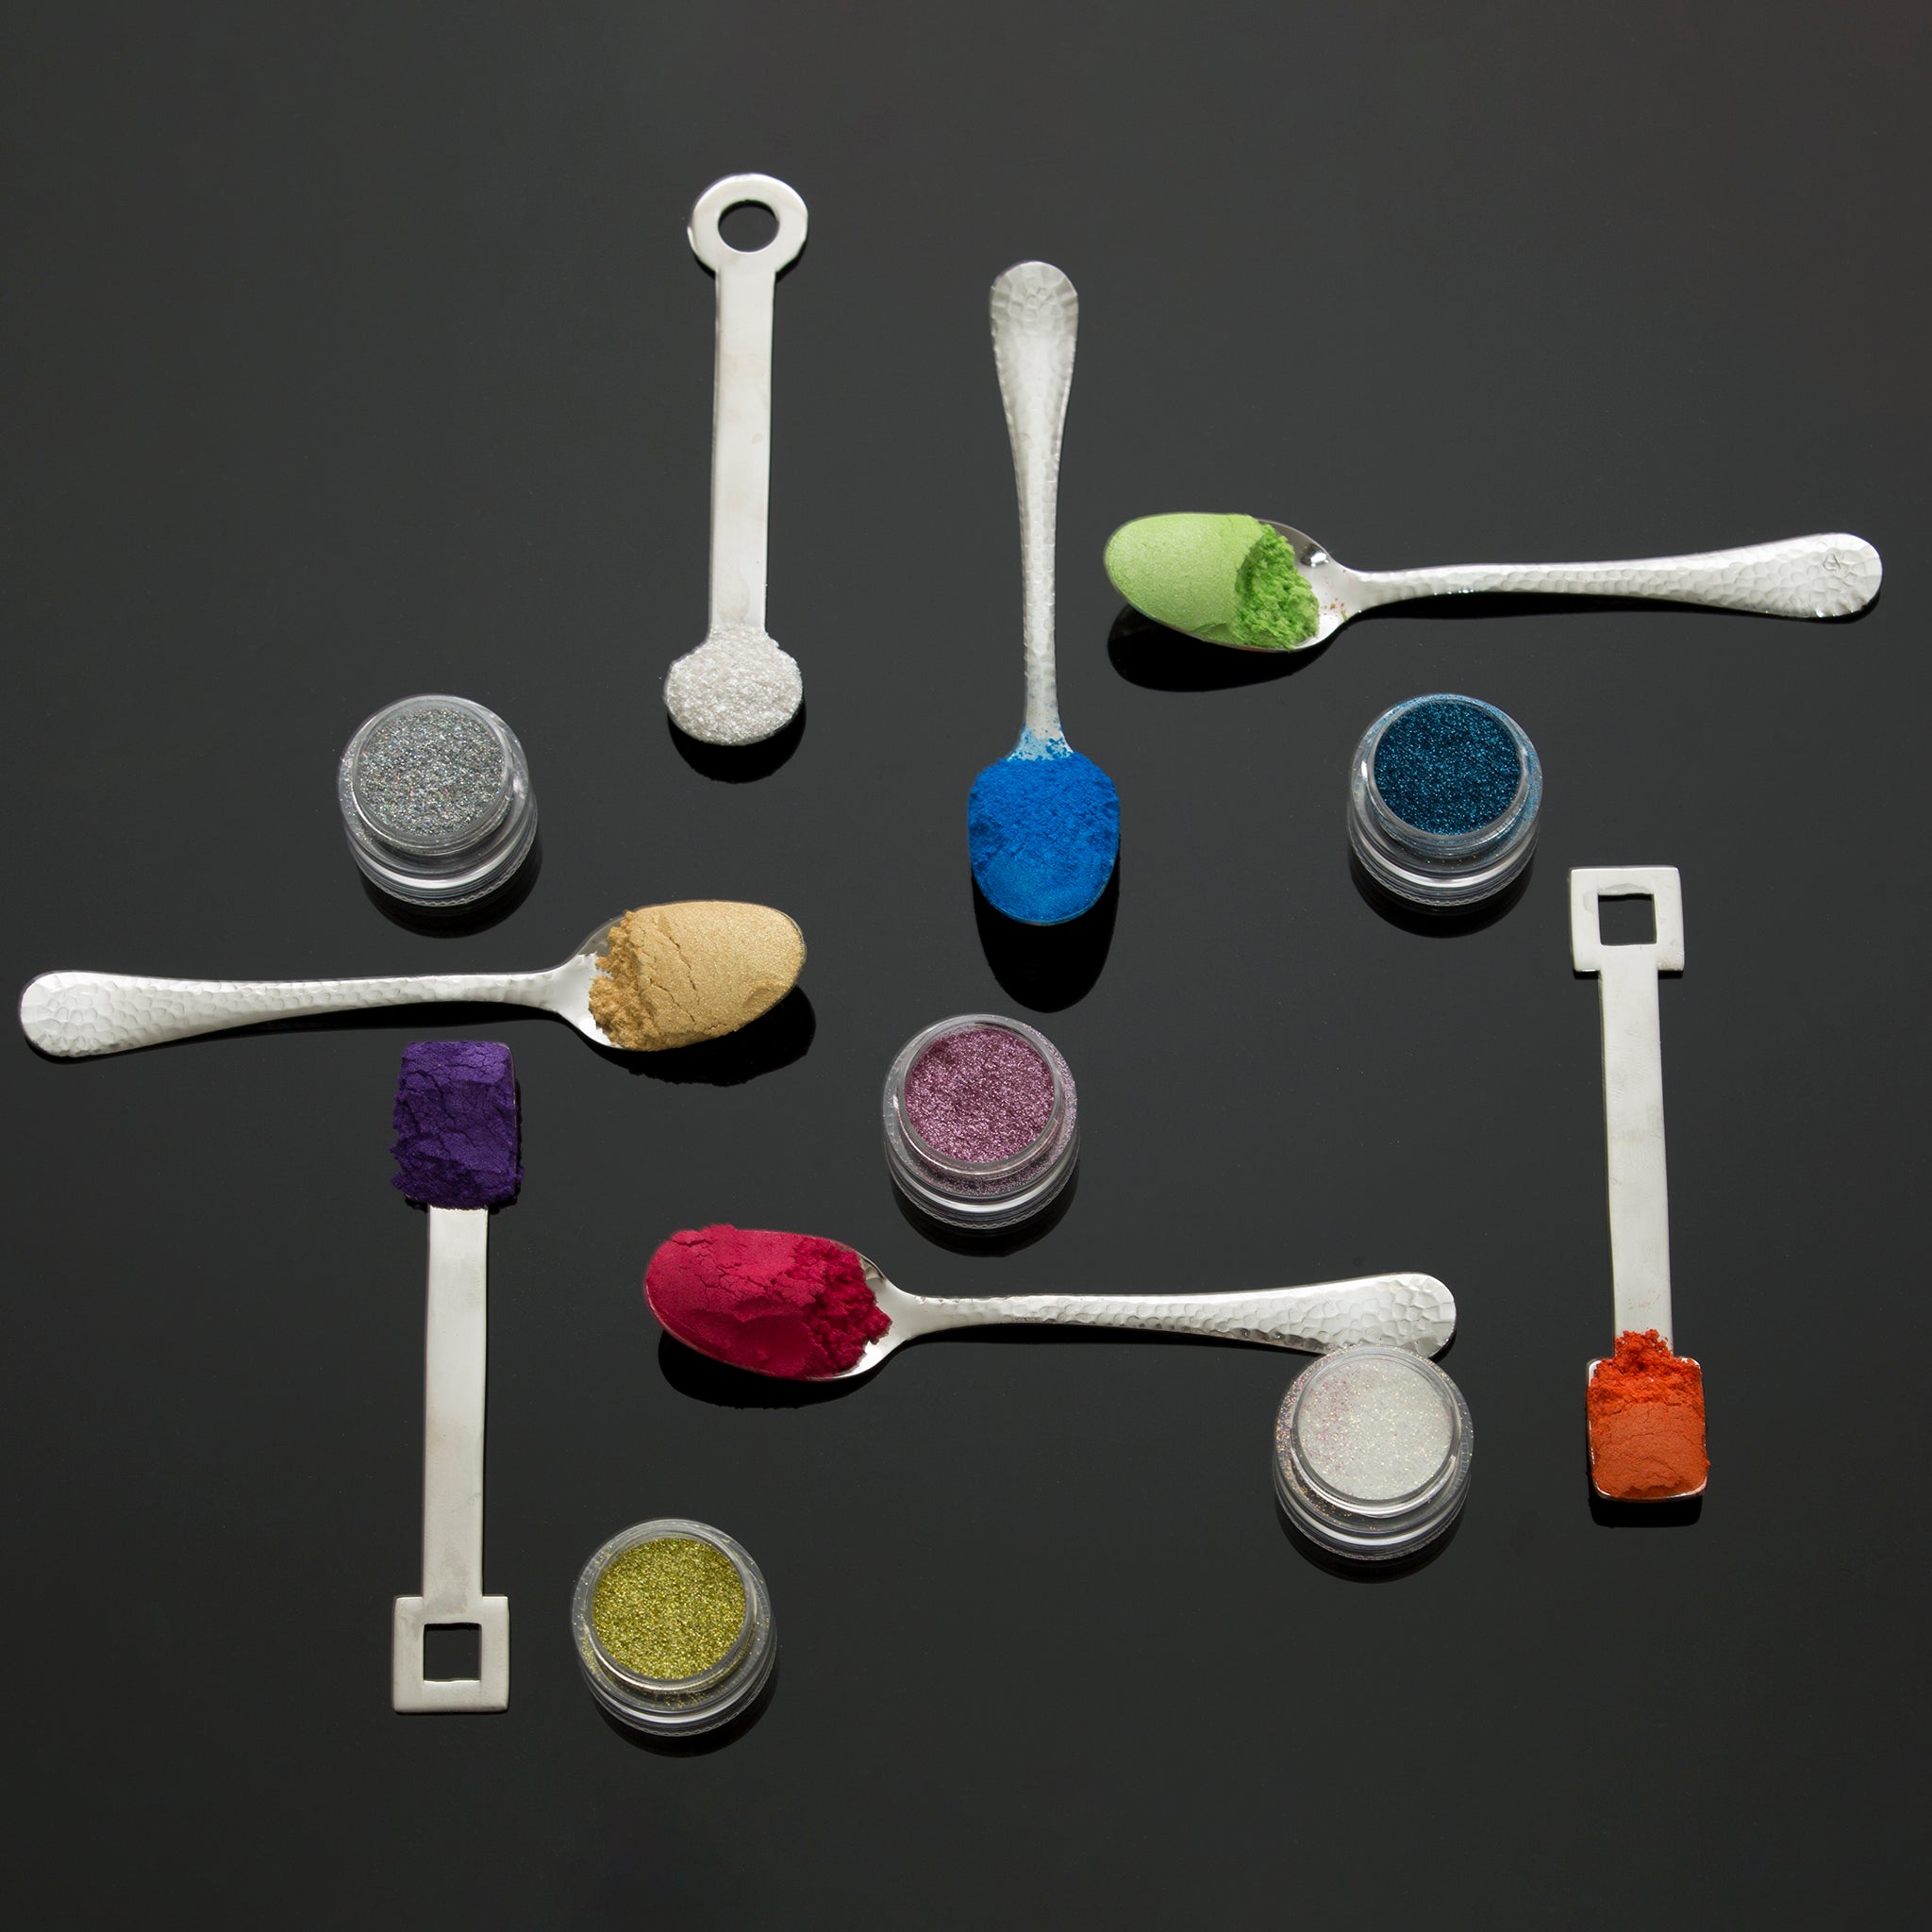
Rose Quartz, Cappuccino, and Spring Meadow Micas bring this miniature spring landscape to life. Rose Quartz creates delicate cherry blossom petals, Cappuccino forms the realistic tree trunks, and Spring Meadow provides the fresh green grass. Mixing each mica with a small amount of Isopropyl Alcohol before adding it to the melted soap helps create smooth, even colour with minimal speckling.
Isopropyl Alcohol
Is an essential tool for successful Melt & Pour Soap making. It removes surface bubbles after pouring, improves adhesion between layers, and is ideal for dispersing mica colourants before mixing them into the soap for a smoother finish.
Instructions:
Step 1:
Measure and cut 100g each of White and Clear Melt and Pour soap bases. Place them into two measuring cups.
Step 2:
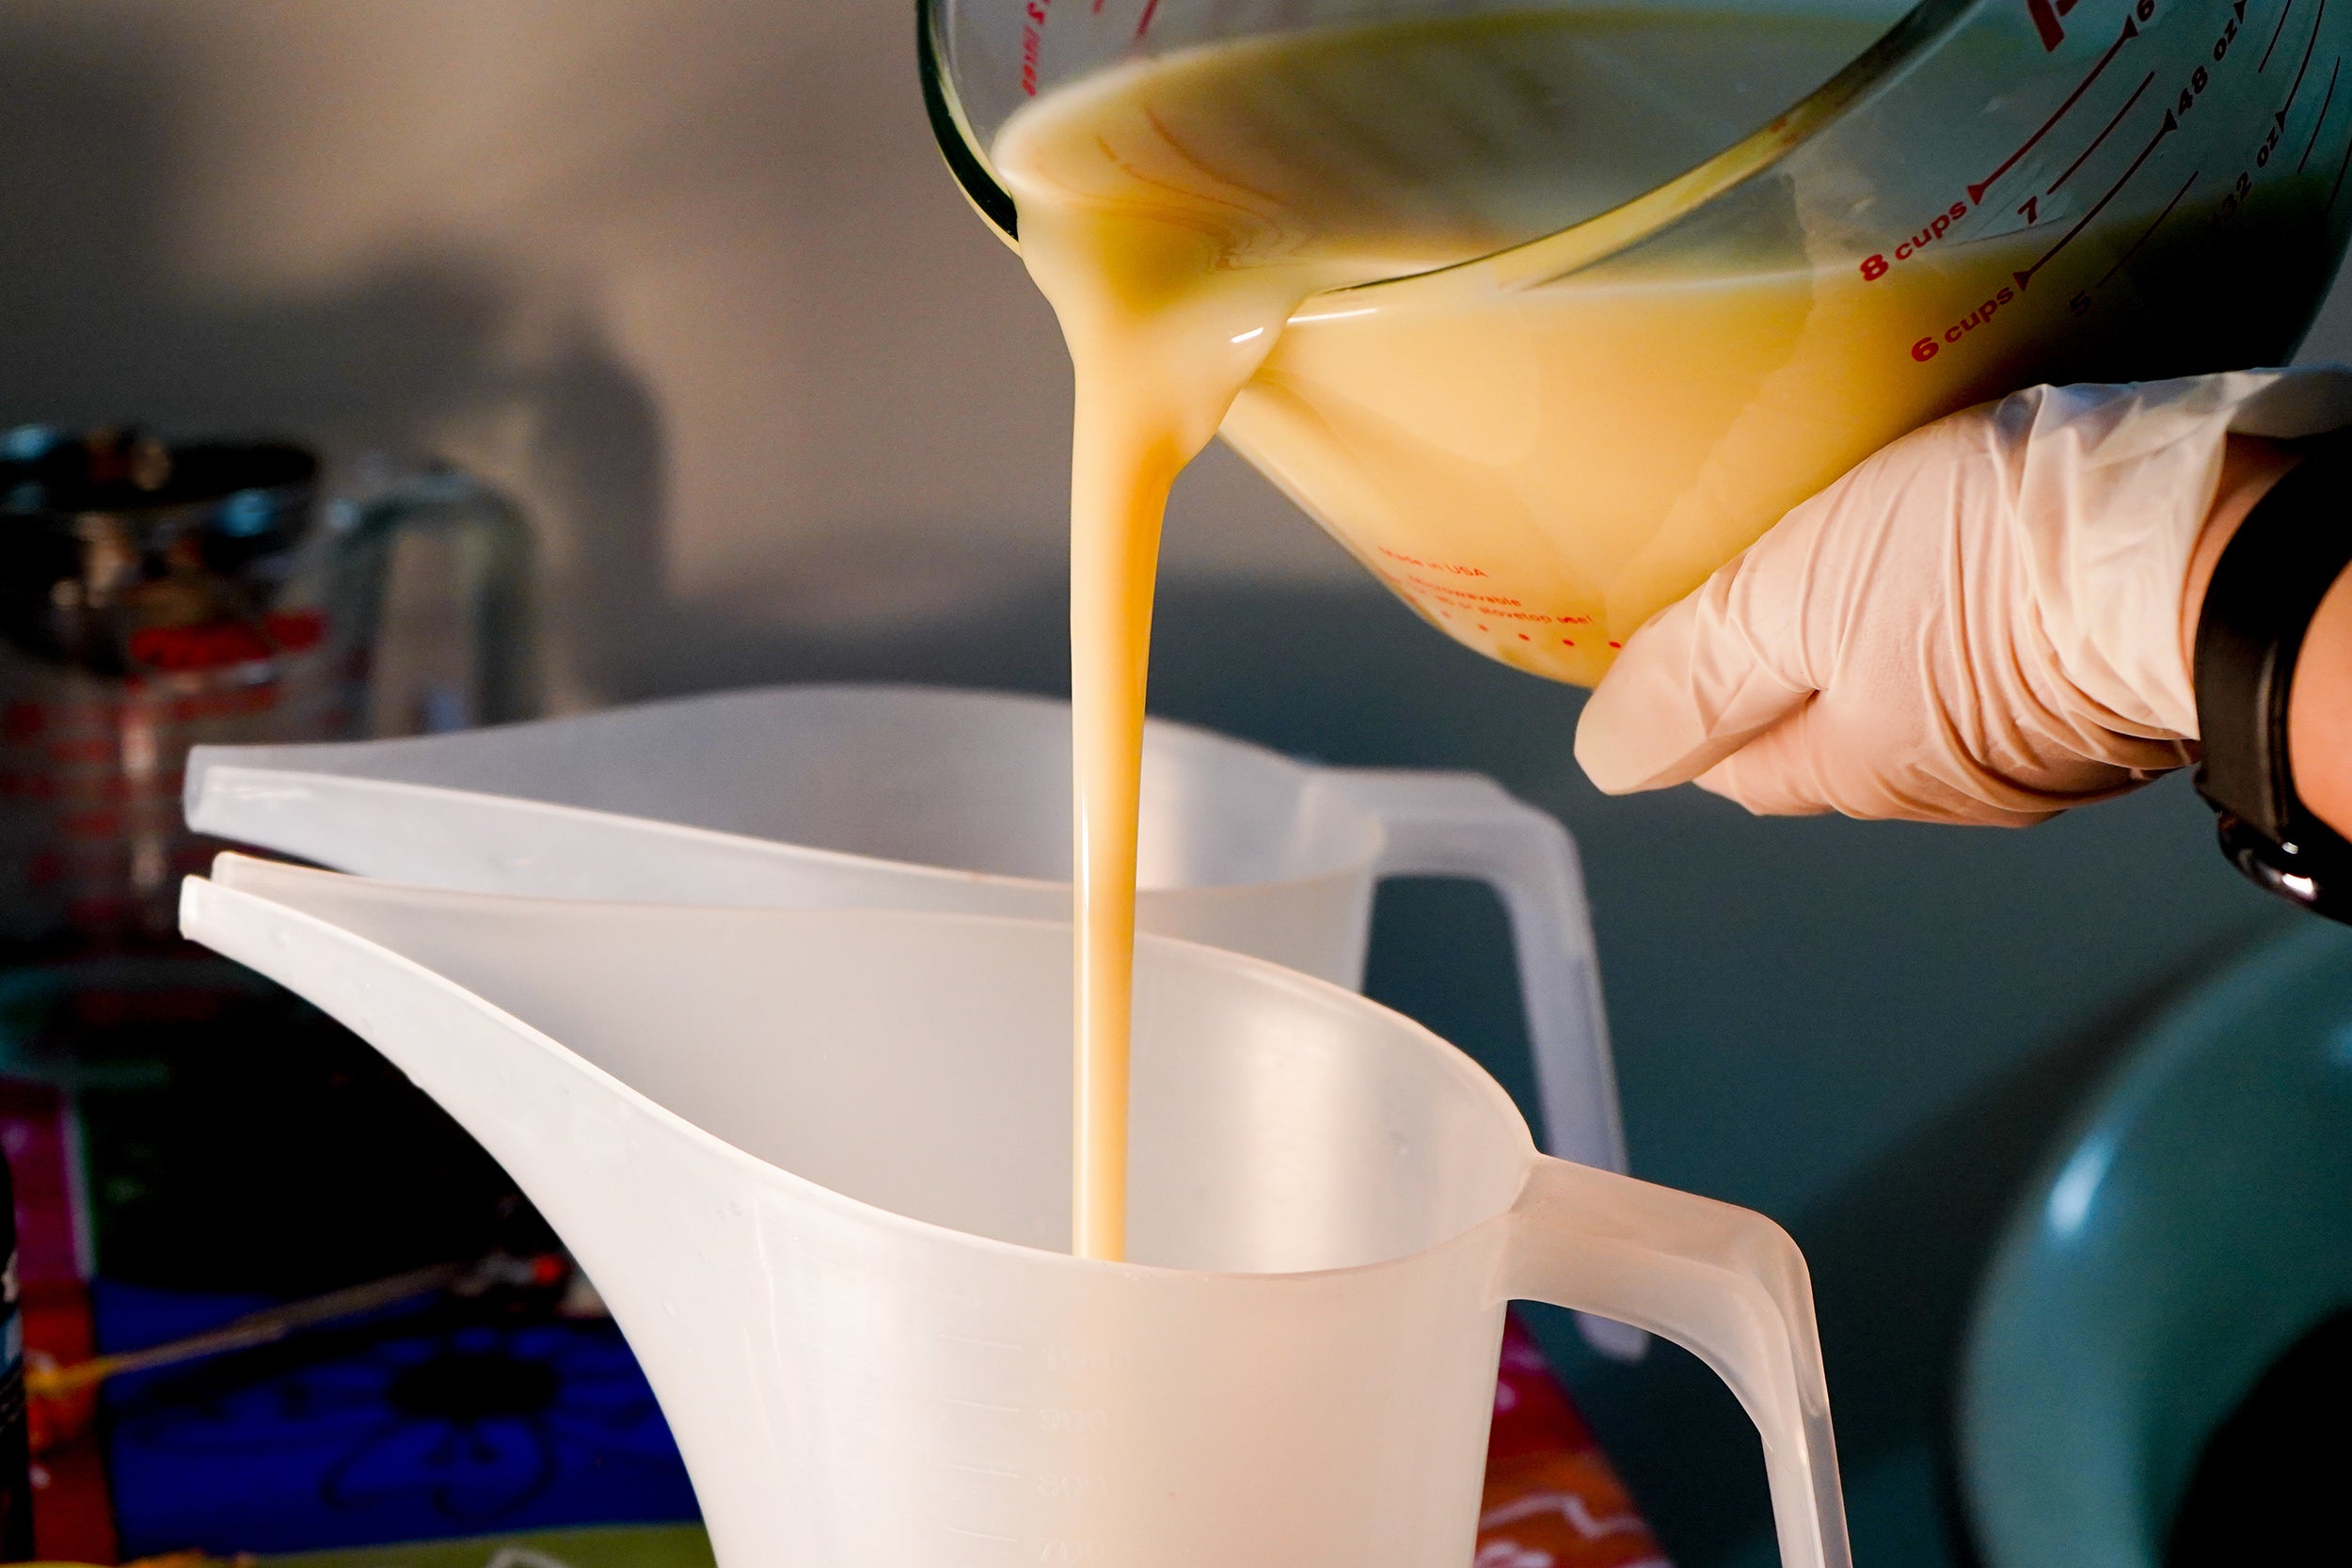
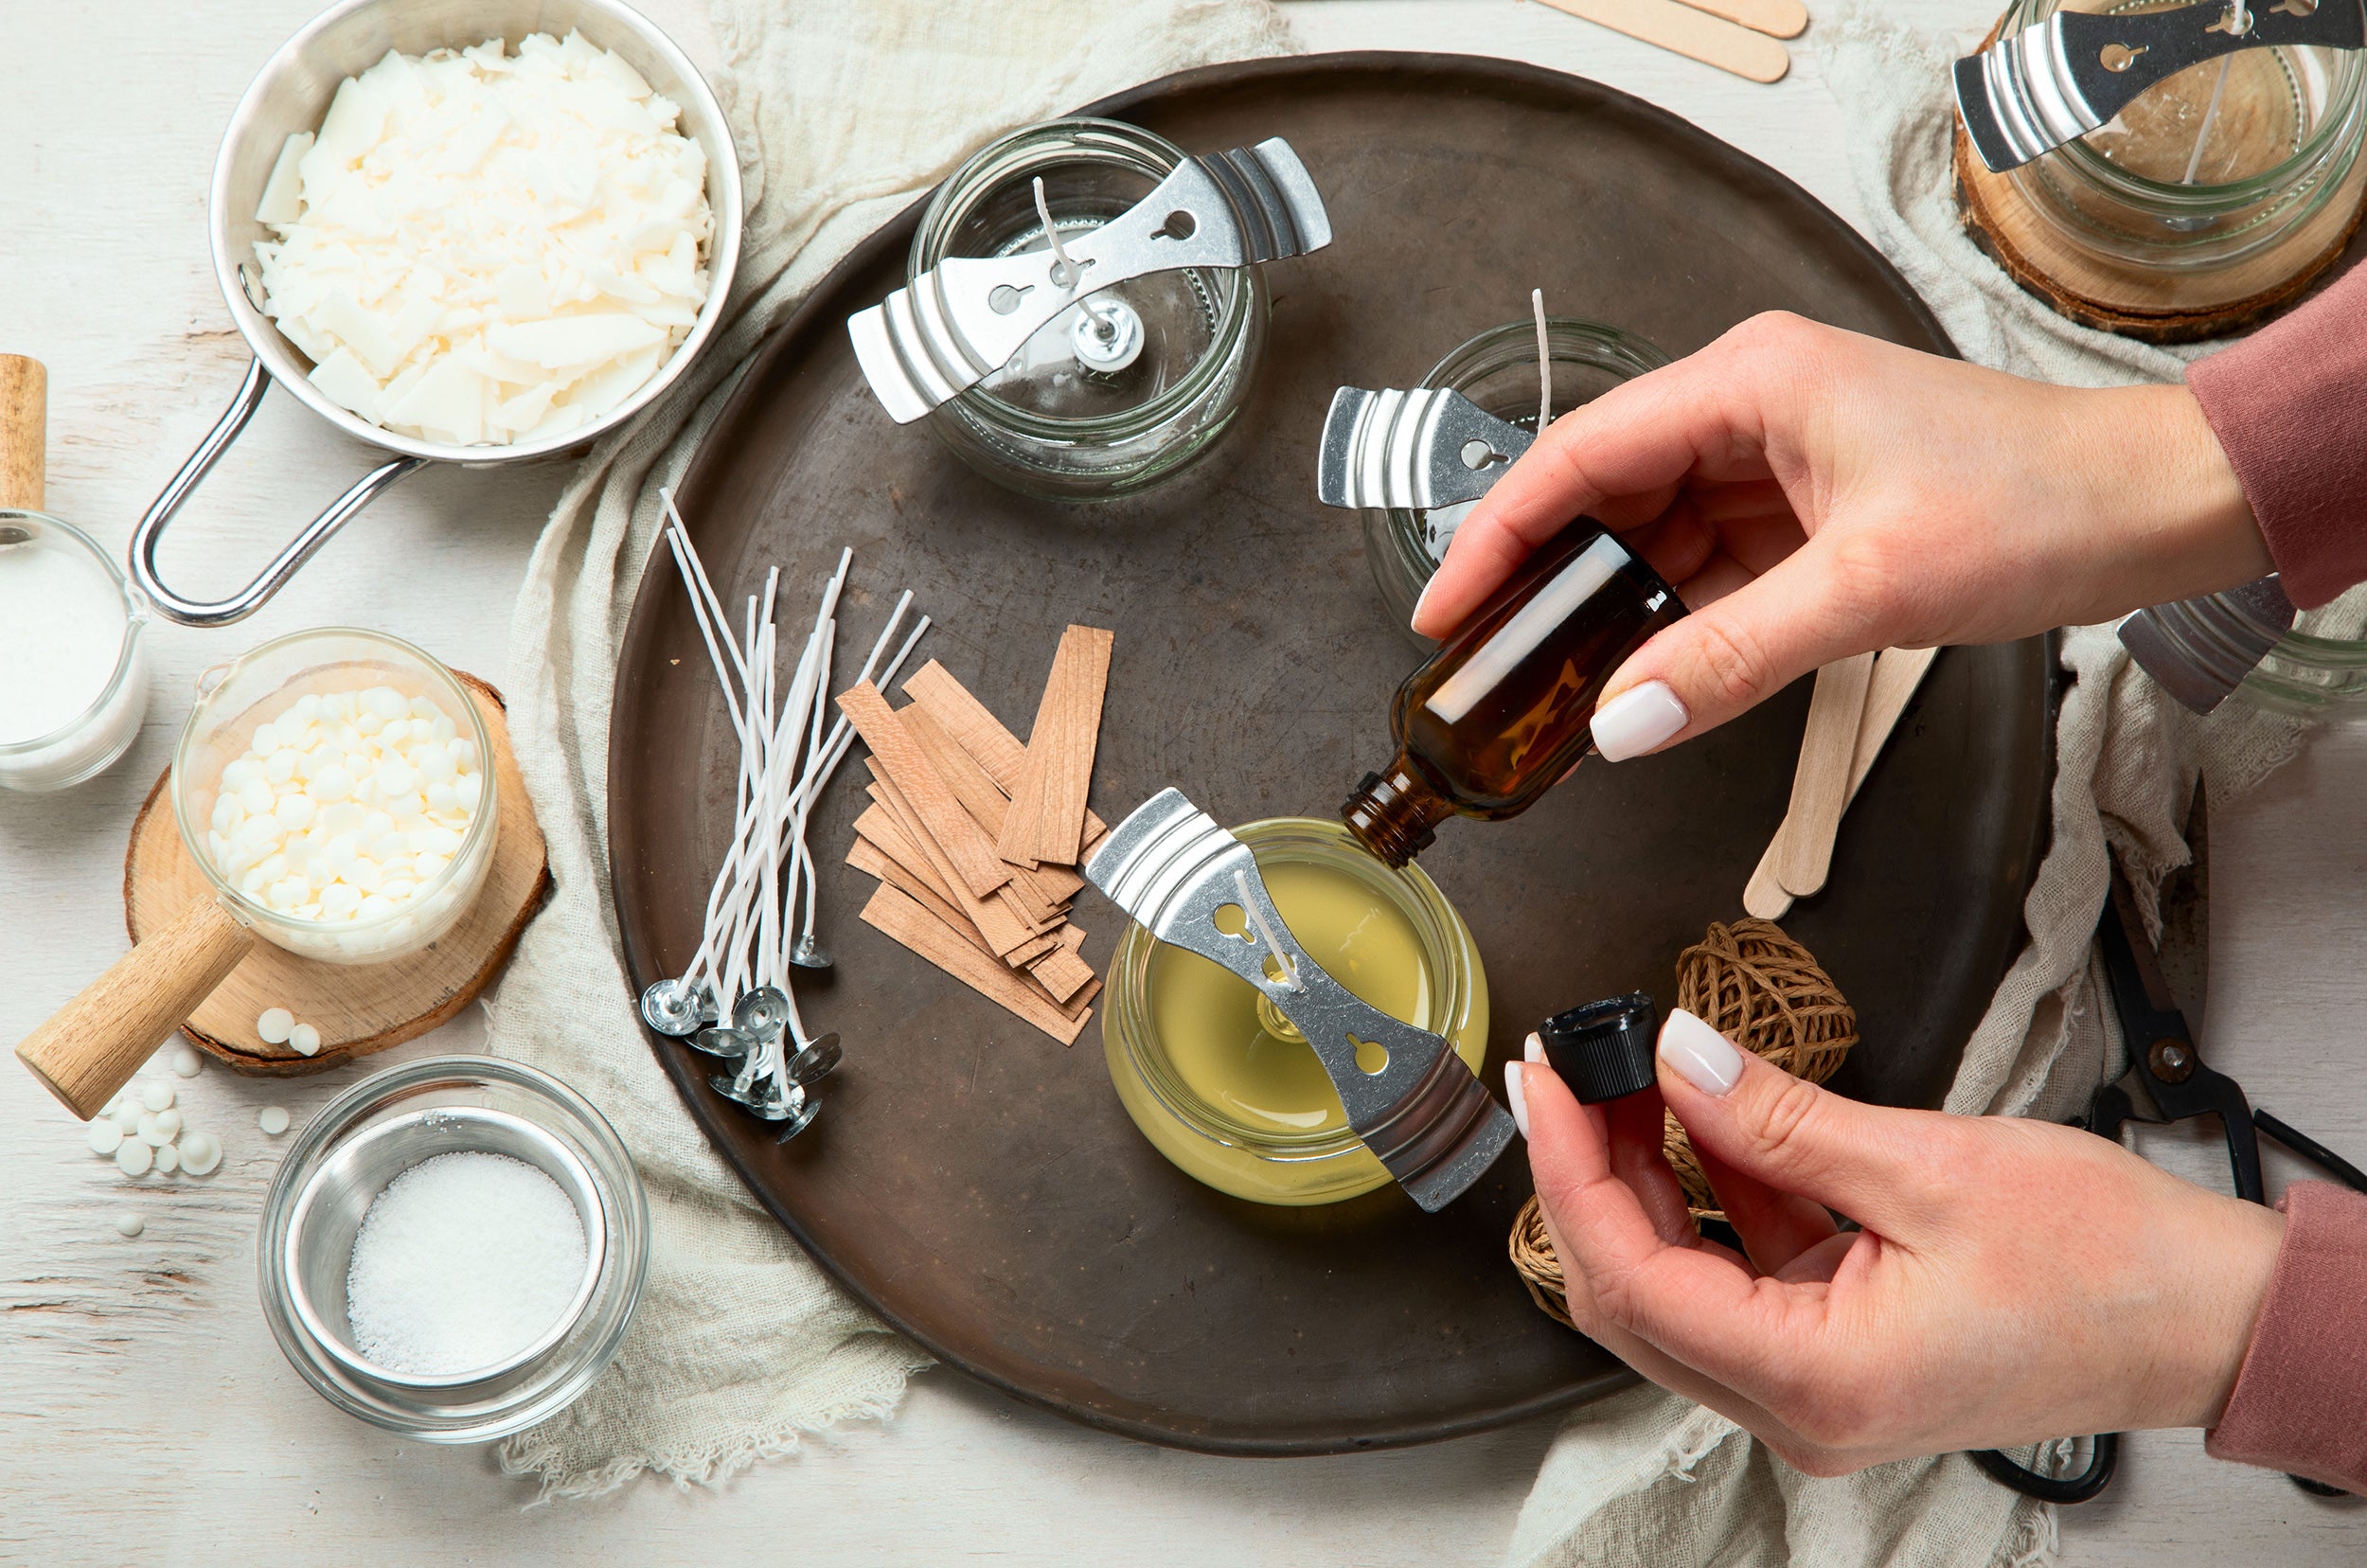
Carefully heat both cups in the microwave in 10-second intervals to prevent overheating. Once melted, add 2g of Cherry Blossom Fragrance Oil to each base.
Step 3:
Pour half of the white base into one section of the rectangle mold.
Step 4:
Mix Isopropyl Alcohol with 2 x 0.15cc scoops of Rose Quartz Mica, then add to the remaining white base and mix.
Step 5:
Pour this into another section of the rectangle mold.
Step 6:
Add 2 x 0.15cc scoops of Rose Quartz Mica to the melted clear base and mix.
Step 7:
Pour this soap into a third section of the rectangle mold. Allow all three soaps to harden for about 30 minutes.
Step 8:
Once hardened, remove the soaps and grate them into small pieces. Mix the colors well.
Step 9:
Melt another 100g of Clear Melt and Pour soap base. Mix 2 x 0.15cc scoops of Cappuccino Mica with Isopropyl Alcohol and combine with the melted base.
Step 10:
Add 2g of Cherry Blossom Fragrance Oil, mix well, and pour a thin layer onto parchment paper. Let it set for about 15 minutes.
Step 11:
Cut 130g of the white melt and pour base, melt it, then mix in a blend of 4 x 0.15cc scoops of Spring Meadow Mica with Isopropyl Alcohol and 3g of Cherry Blossom Fragrance Oil.
Step 12:
Tilt the rectangle silicone mold and add a small amount of the green soap base to form the grass layer.
Step 13:
Take the brown soap off the parchment paper and cut it into four slices.
Step 14:
Roll these slices into four tree trunks.
Step 15:
Cut the Clear melt and pour soap base, melt it, and let it cool until a thin layer forms. (Don’t pour too hot or it will melt the other soap) Spray isopropyl alcohol on the grass and pour the clear base into the mold until it's about halfway full. Spray again to remove bubbles.
Step 16:
Quickly place some pink and white soap shreds at the top of each rectangle section to form tree tops.
Step 17:
Allow a layer to form, then add 5g of Cherry Blossom Fragrance Oil to the clear base.
Step 18:
Place the tree trunks on top of the shredded soap and green grass.
Step 19:
Add more shreds to cover the tree trunk tips. Spray isopropyl alcohol to help the next layer stick.
Step 20:
Pour the remaining clear base into the sections. Spray to remove bubbles, then let the soaps harden for about 2 hours.
Step 21:
Remove the soaps from the mold. They're ready to package or use immediately as Melt and Pour Soap does not need curing.
Tips for Success
-
Don't overheat your soap base. Heat the melt & pour soap in short 10 to 15 second intervals until just melted. Overheating can lead to sweating, reduced clarity, and poor performance.
-
Disperse mica before adding it to the soap. Mix mica with a small amount of Isopropyl Alcohol to help it blend smoothly and reduce speckling.
-
Allow the clear soap to cool before pouring. If the clear soap is too hot, it may melt the grass layer or soften the soap shreds, causing the design to lose definition. Wait until a thin skin begins to form on the surface before pouring.
-
Use Isopropyl Alcohol generously. Spritz each layer before pouring the next to improve adhesion, and spray the surface after pouring to remove air bubbles.
-
Package your soap soon after unmolding. Melt & Pour Soap naturally attracts moisture from the air. Wrapping your finished bars in shrink wrap or plastic wrap soon after they have cooled will help prevent glycerin dew and keep your design looking its best.
Advanced Maker Notes
-
Creating clean layers: If layers separate after unmolding, the previous layer was likely too cold or the new layer was poured too late. Allow each layer to become firm but still slightly warm before adding the next. Lightly scoring the surface and spraying with Isopropyl Alcohol will further improve adhesion.
-
Avoid ripples during cooling: Once poured, leave the mold on a flat, undisturbed surface until the soap has fully hardened. Moving the mold too soon or exposing it to fans or drafts can create ripples or uneven surfaces.
-
Choosing fragrances: Fragrance Oils containing vanillin will gradually discolor Melt & Pour Soap, often turning it tan or brown over time. For projects requiring bright whites or clear soap, select low-vanillin and clear in colour fragrances whenever possible or use Stephenson High Clarity Vanilla Stable Melt & Pour Soap Base to help minimize discoloration.
-
Skip dried botanicals in Melt & Pour Soap: Although dried flowers may look beautiful at first, the glycerin in Melt & Pour Soap can rehydrate them over time, which may cause discoloration or mold. Soap shreds, embeds, cosmetic glitter, and approved biodegradable decorations are better long-term choices for decorative designs like this project.
-
Use additives sparingly: Large amounts of clays, activated charcoal, powders, or additional oils can reduce lather by replacing part of the soap base. Use only enough additive to achieve the desired colour or effect while maintaining good cleansing performance.