


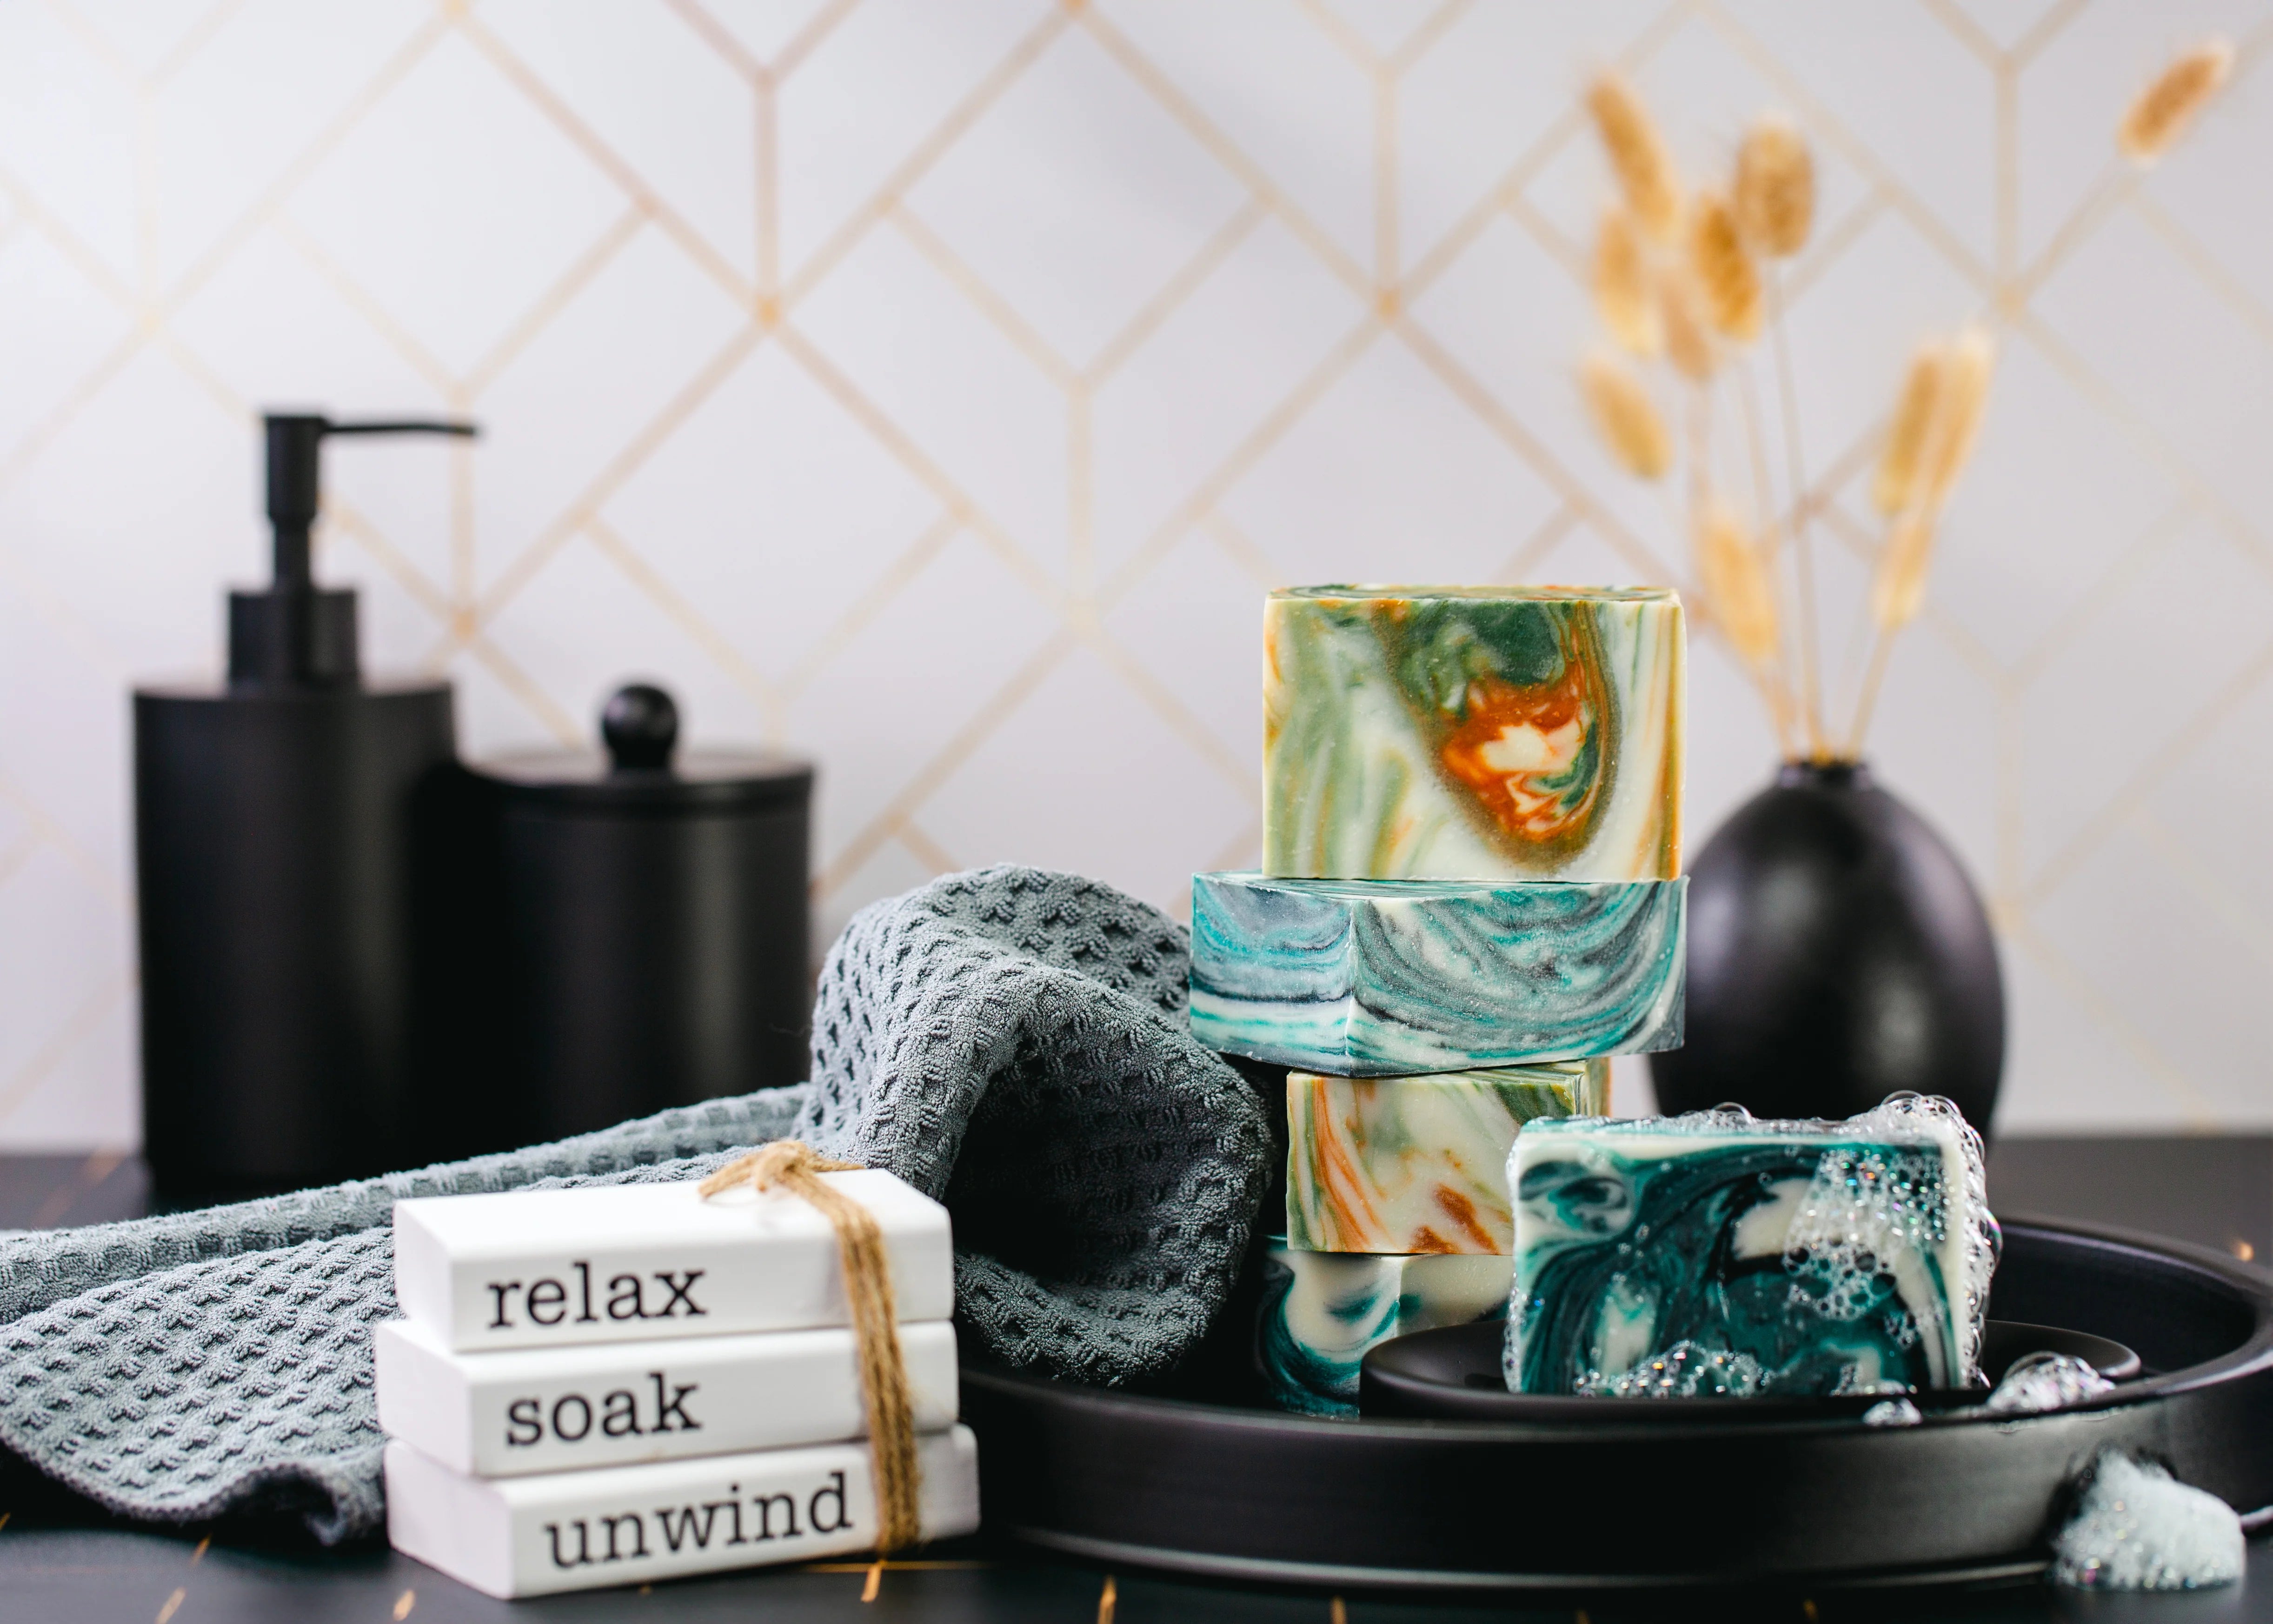

Bring a touch of winter wonder to your soap-making with our Cozy Polar Bear Cold Process Soap! This adorable holiday project features creamy white and soft red layers that form a charming polar bear design, complete with little melt-and-pour ears and hand-carved details. Scented with our Winter Solstice Fragrance Oil—a cozy blend of fir balsam, Asian spices, rich musk, and a hint of mint and bay leaf oil—this festive soap captures the comforting spirit of the season. Follow along step-by-step to create your own cuddly polar bear bars, perfect for gifting, displaying, or adding a cheerful winter touch to your sink or shower.
Click here to download the Step-by-Step PDF Guide.
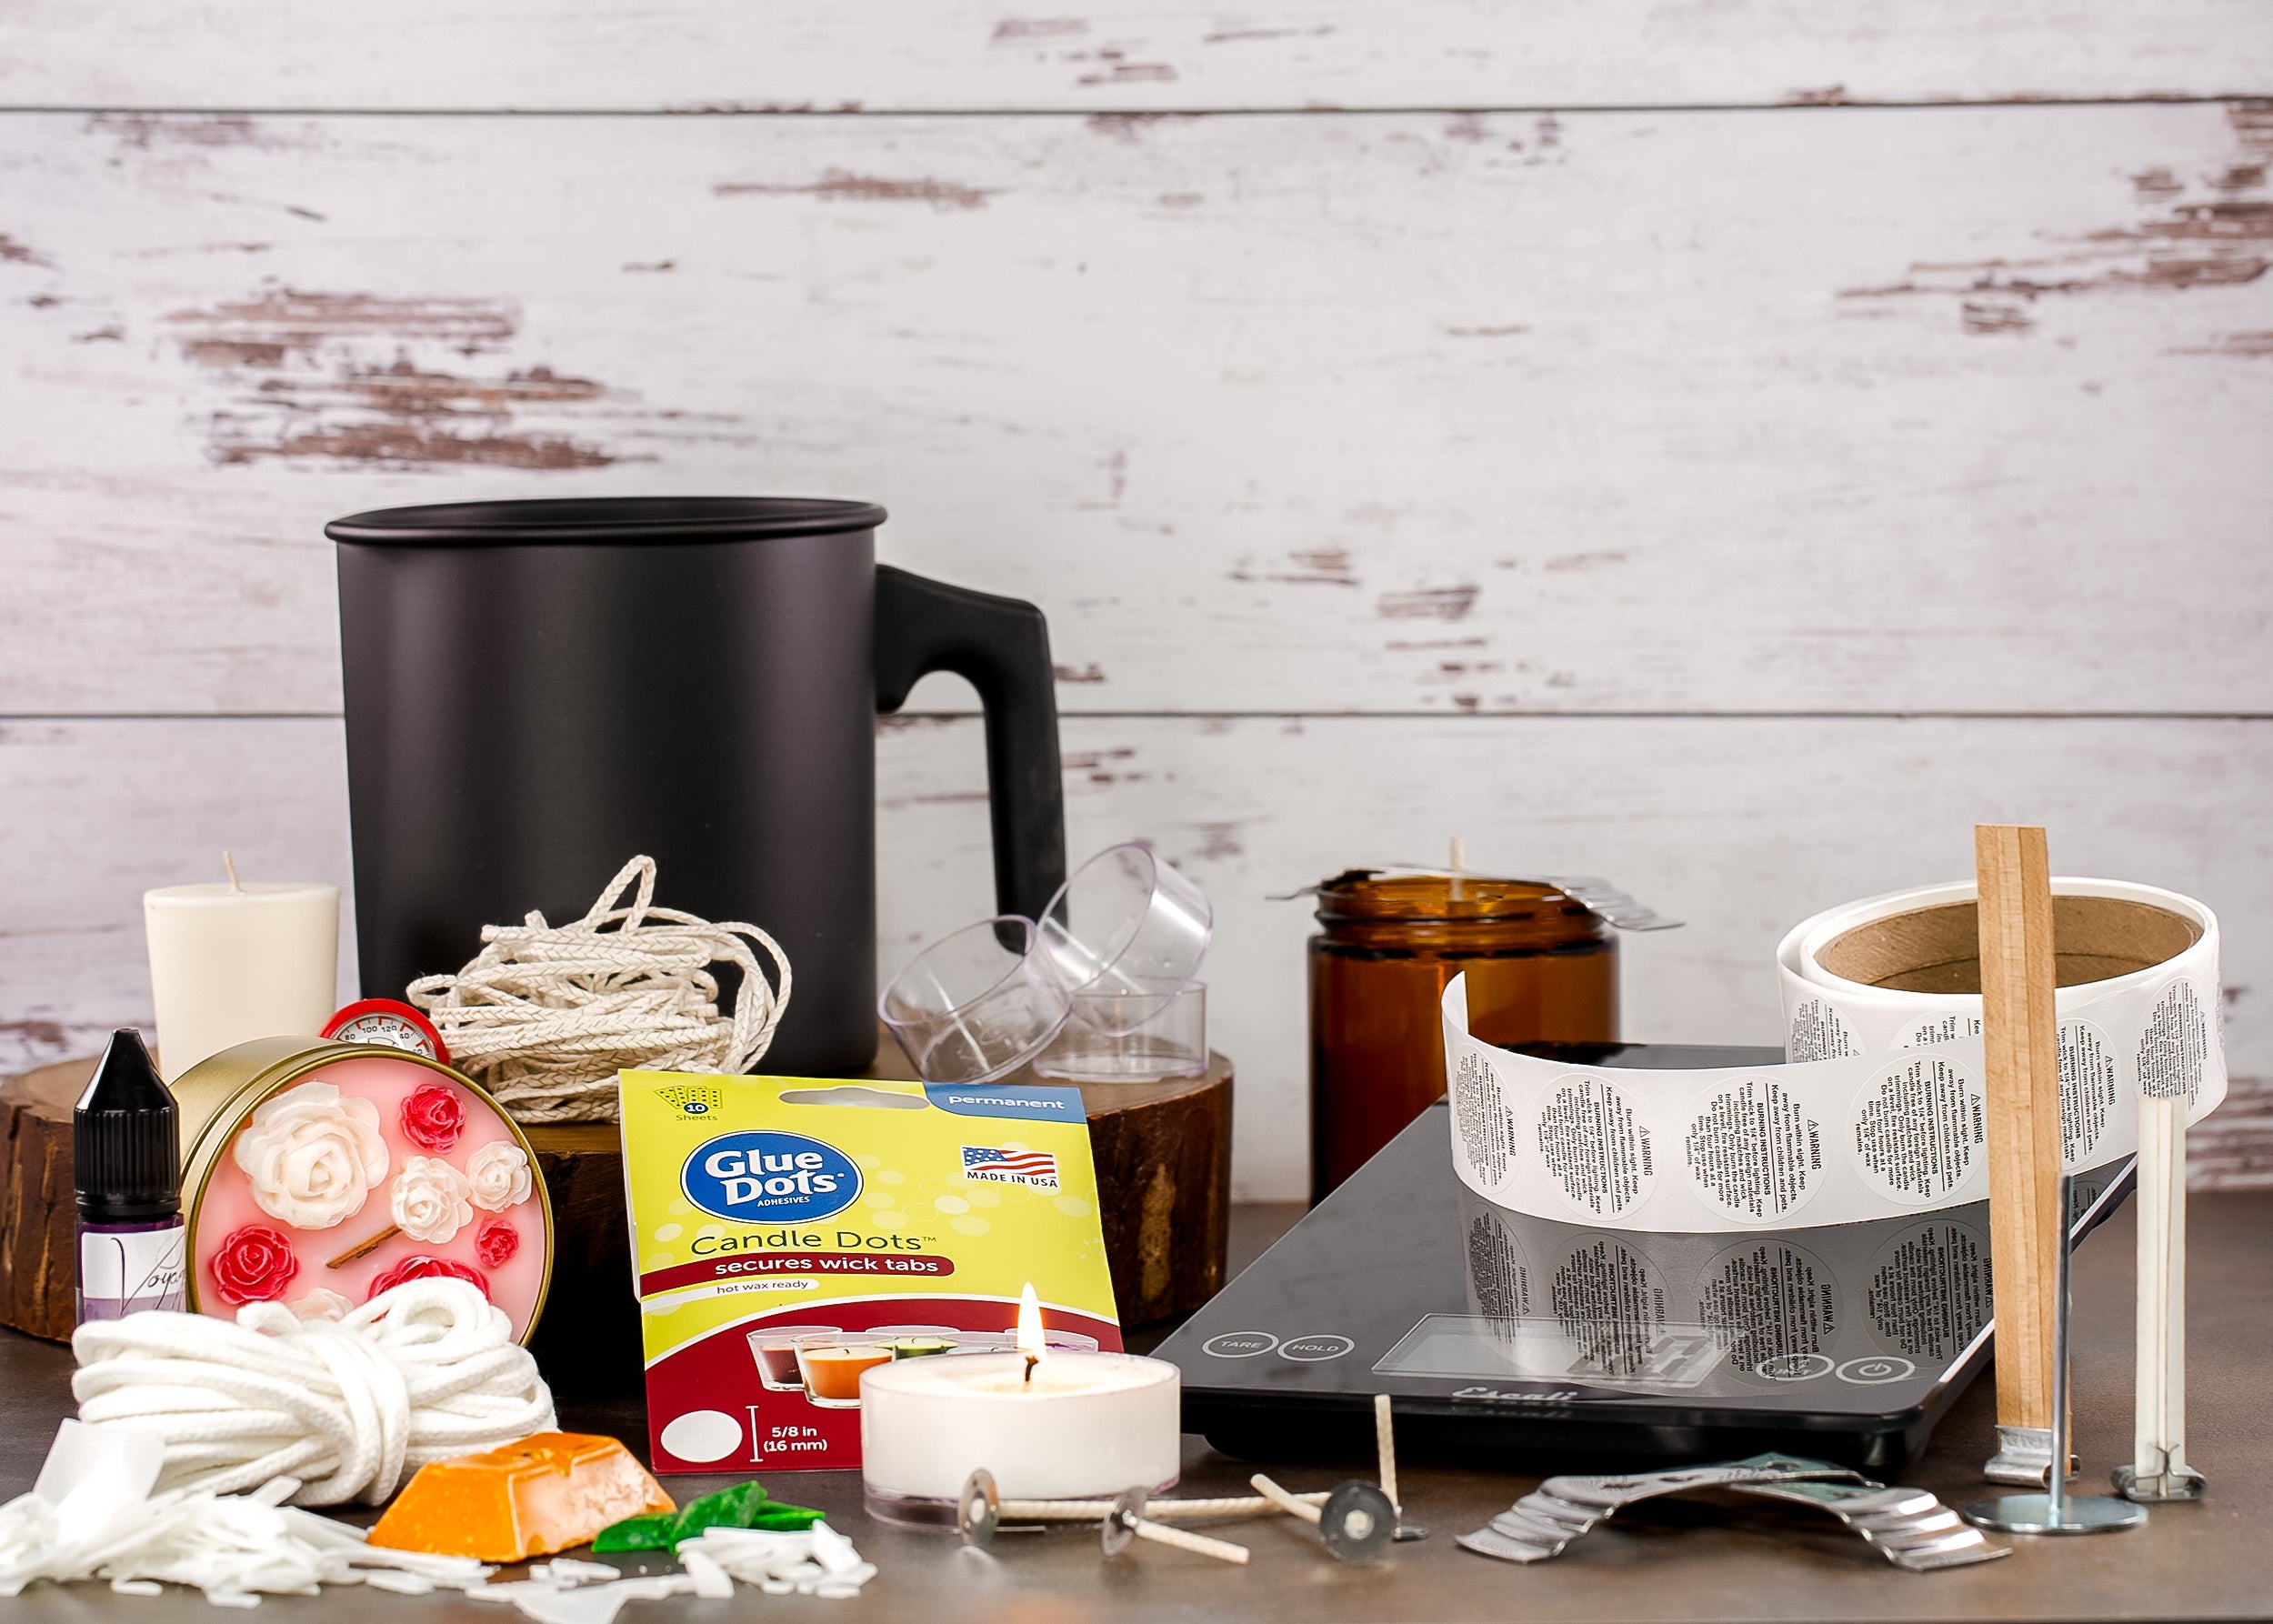
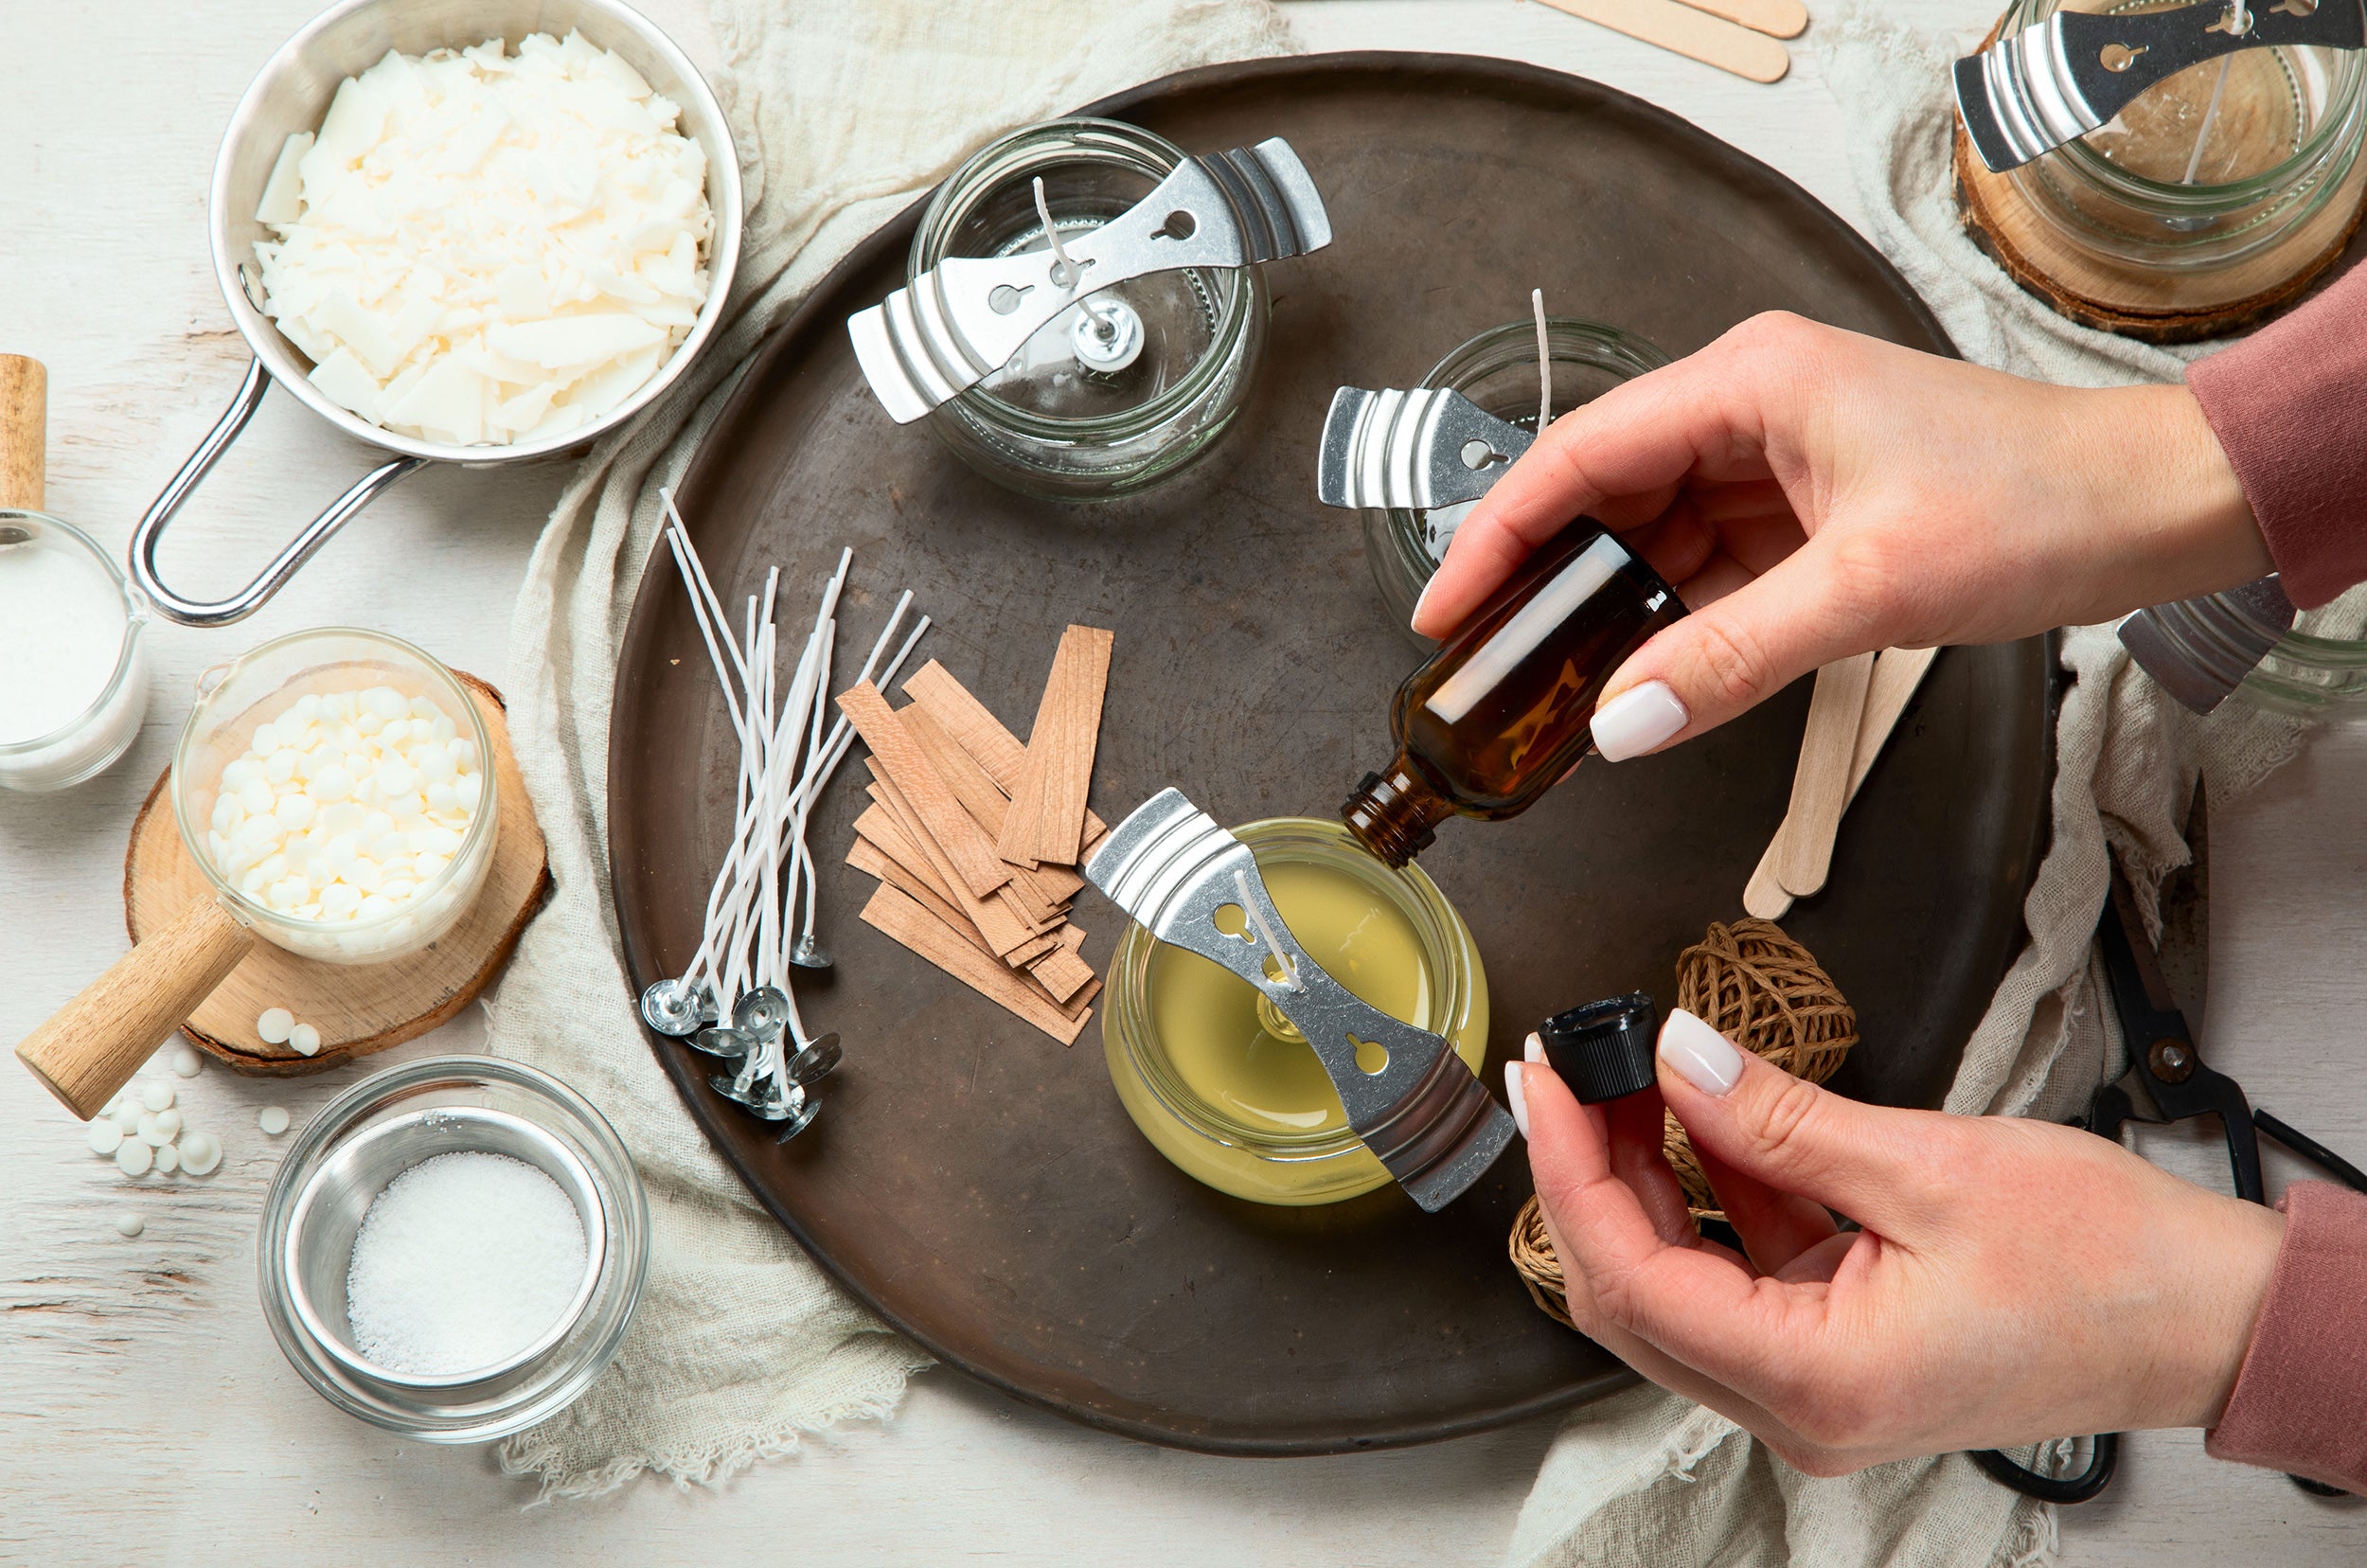
Ingredients:
Oils + Butters:
- 216g Olive Oil
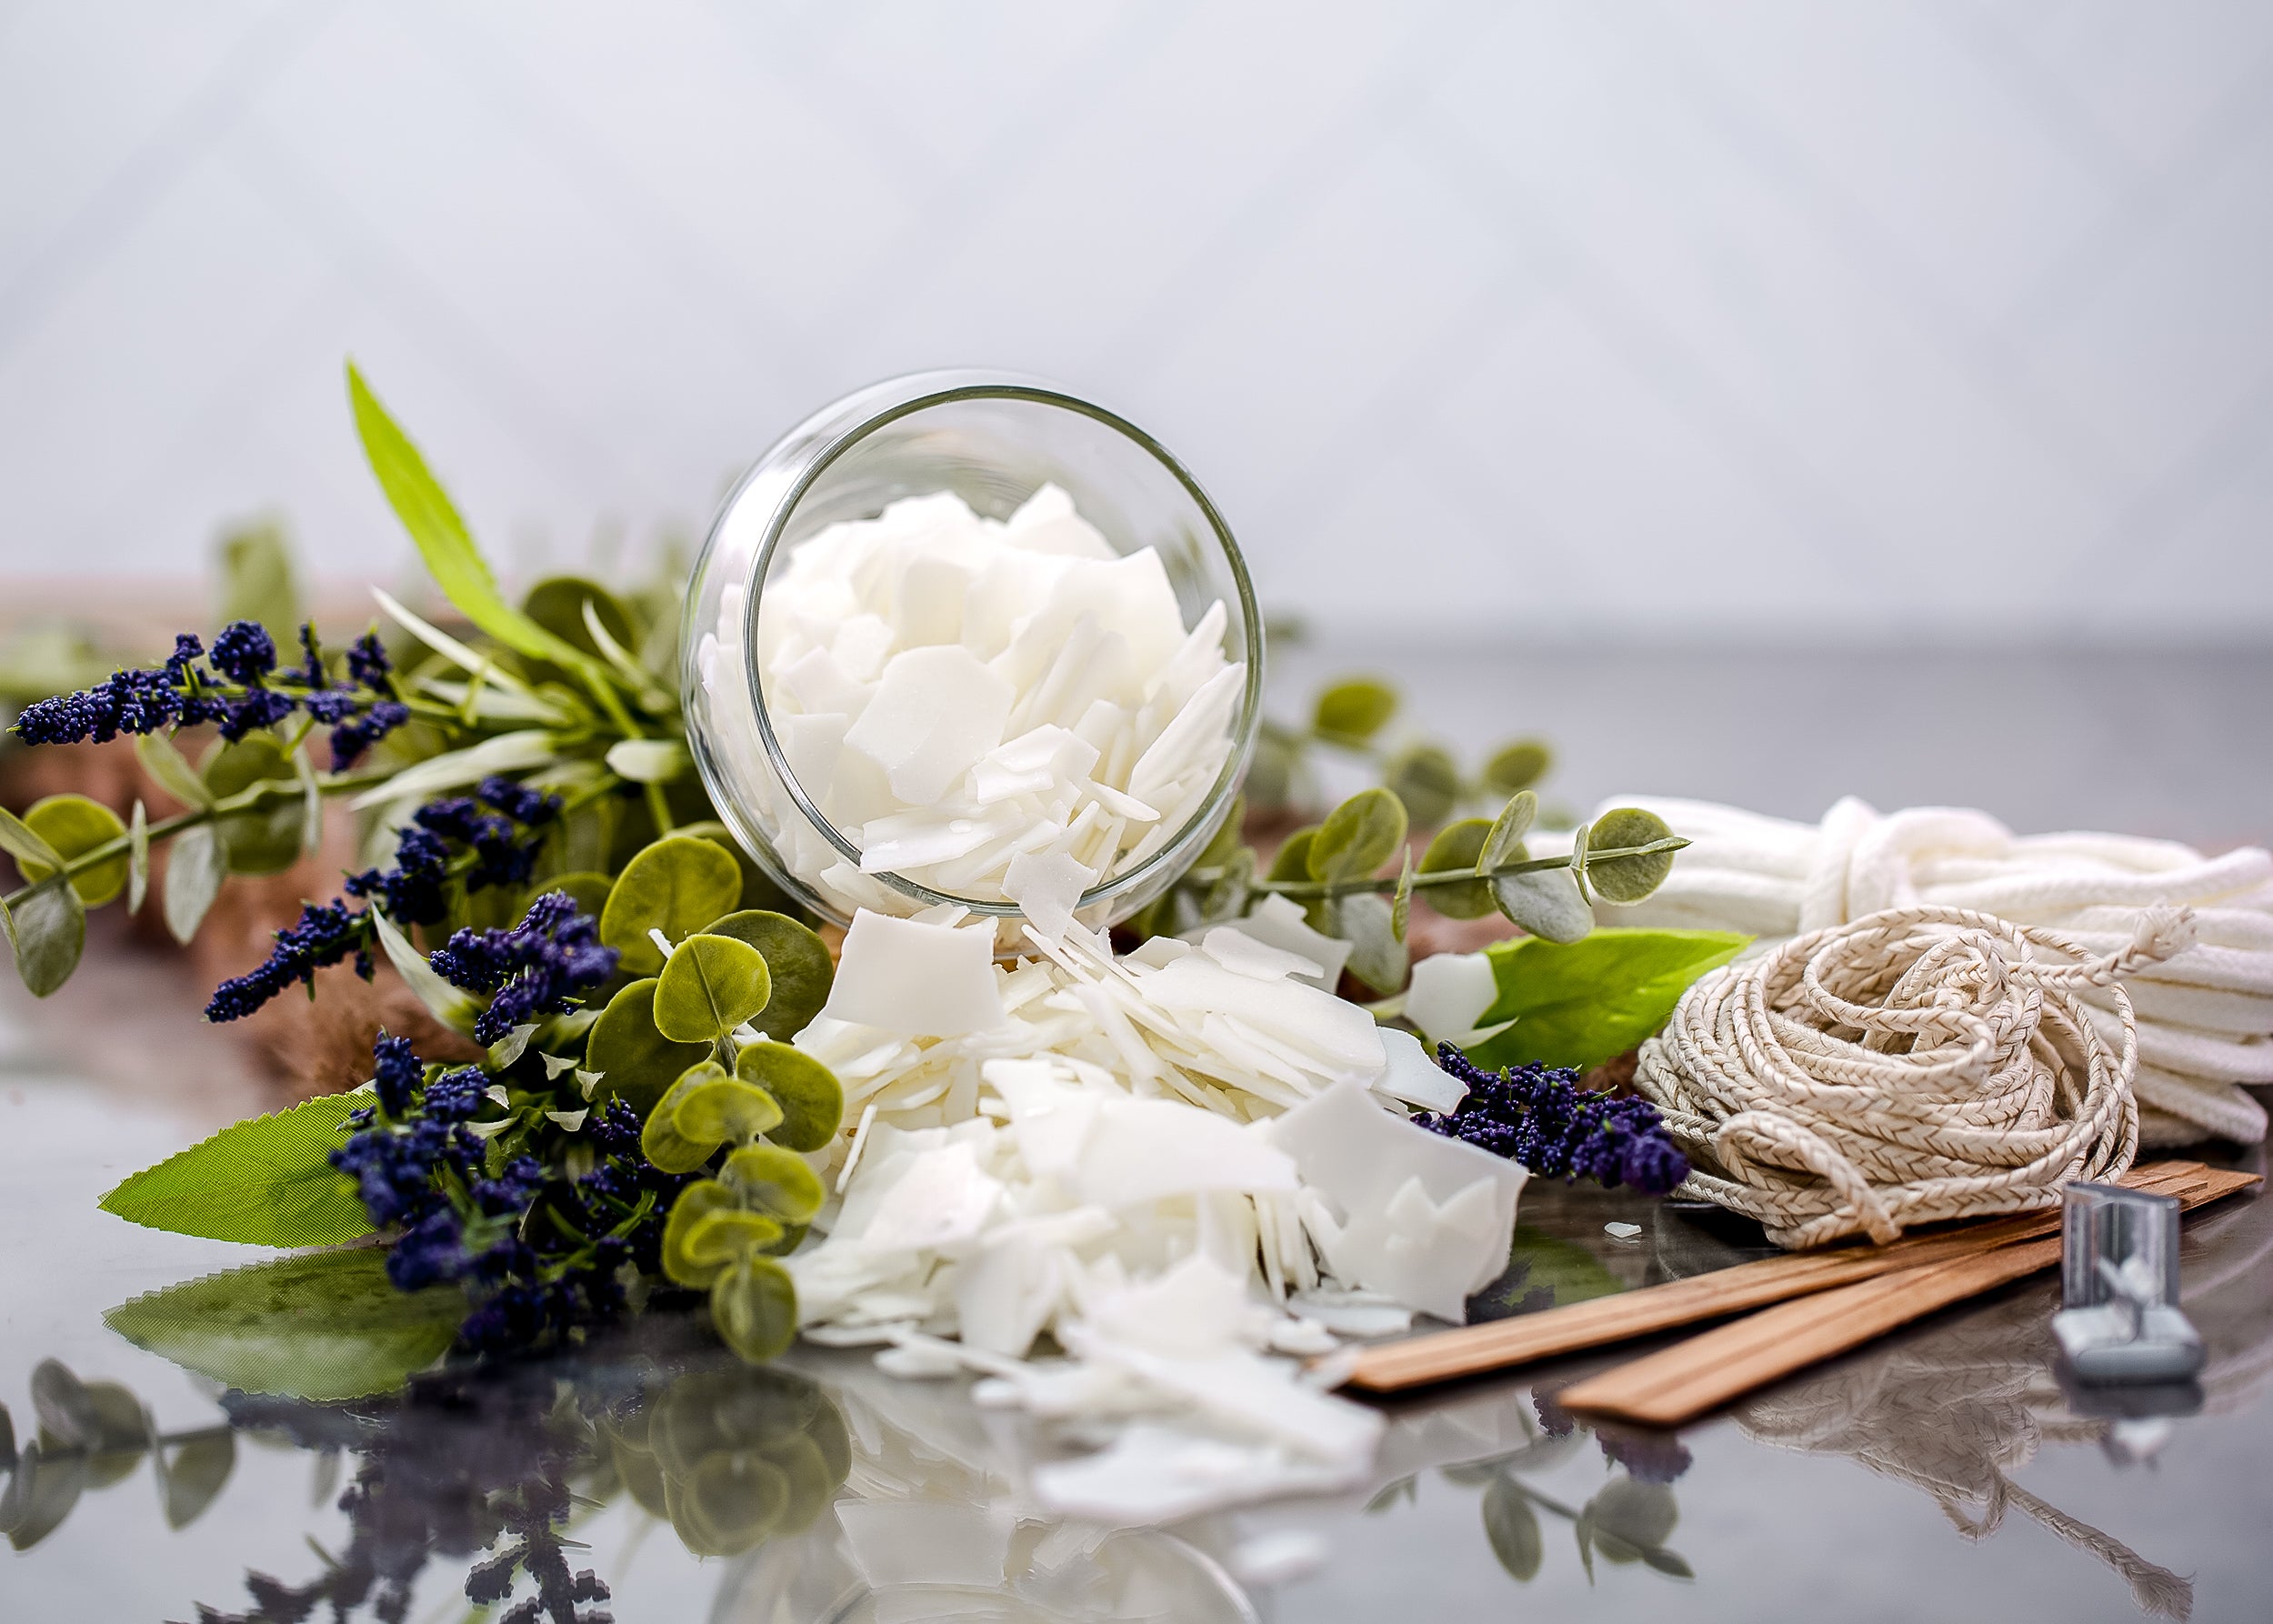
- 162g Coconut Oil
- 108g Shea Butter
- 54g Kokum Butter
- 36g Avocado Oil
- 24g Castor Oil
- 15g Winter Solstice
Lye Solution:
- 181g Distilled Water
- 83g Lye
Colourants:
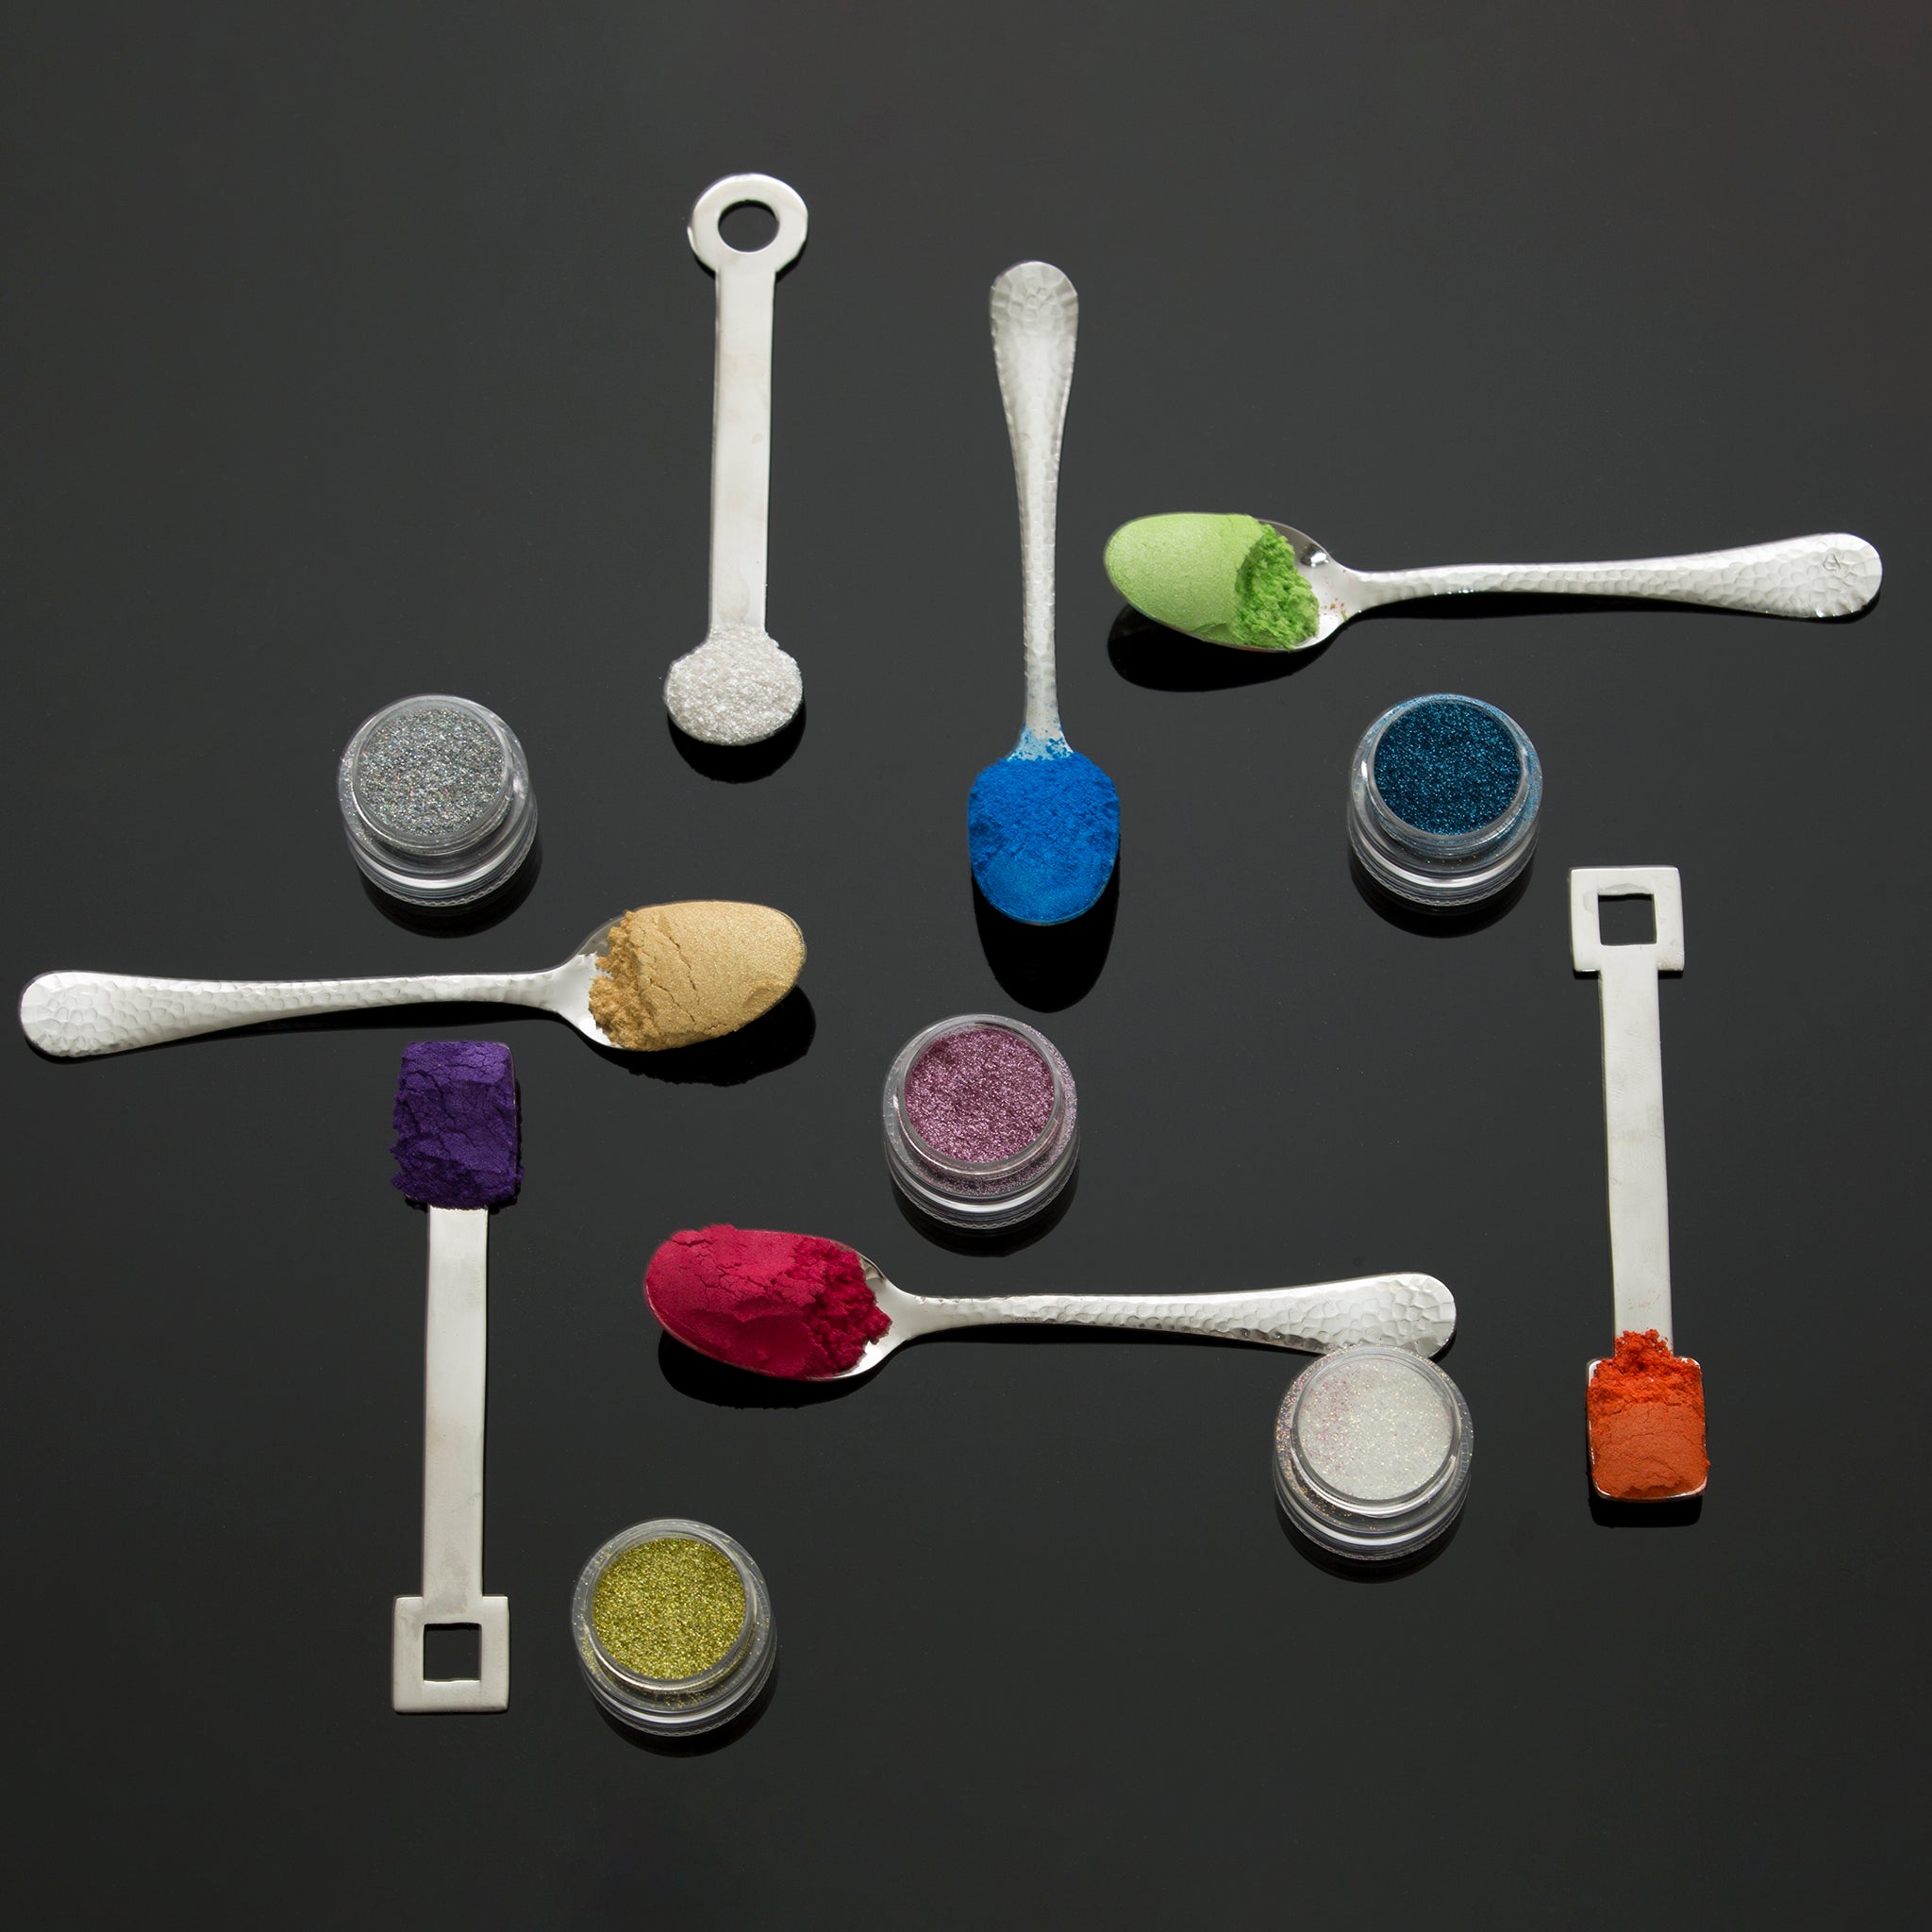
- 3 × 0.15 cc Ruby Red Oxide
- 3 × 0.15 cc Neon Hot Pink Kisses Powder
- 1 g Titanium Dioxide (Water Soluble) mixed into 3 g Water
- 1 × 0.15 cc Cotton Candy Mica (for blush)
- Onyx Mica (for soap dough detailing)
Soap Dough:
- A small amount of leftover cold process soap dough, tinted with Onyx Mica for facial details
Molds:
- Mini Loaf Mold (holds approx. 580 g)
- Bubble Cube 3D Silicone Mold (for ears)
For Melt & Pour Ears:
- 50 g White Low-Sweat Melt & Pour Soap Base (SFIC recommended)
- 1 g Winter Solstice Fragrance Oil
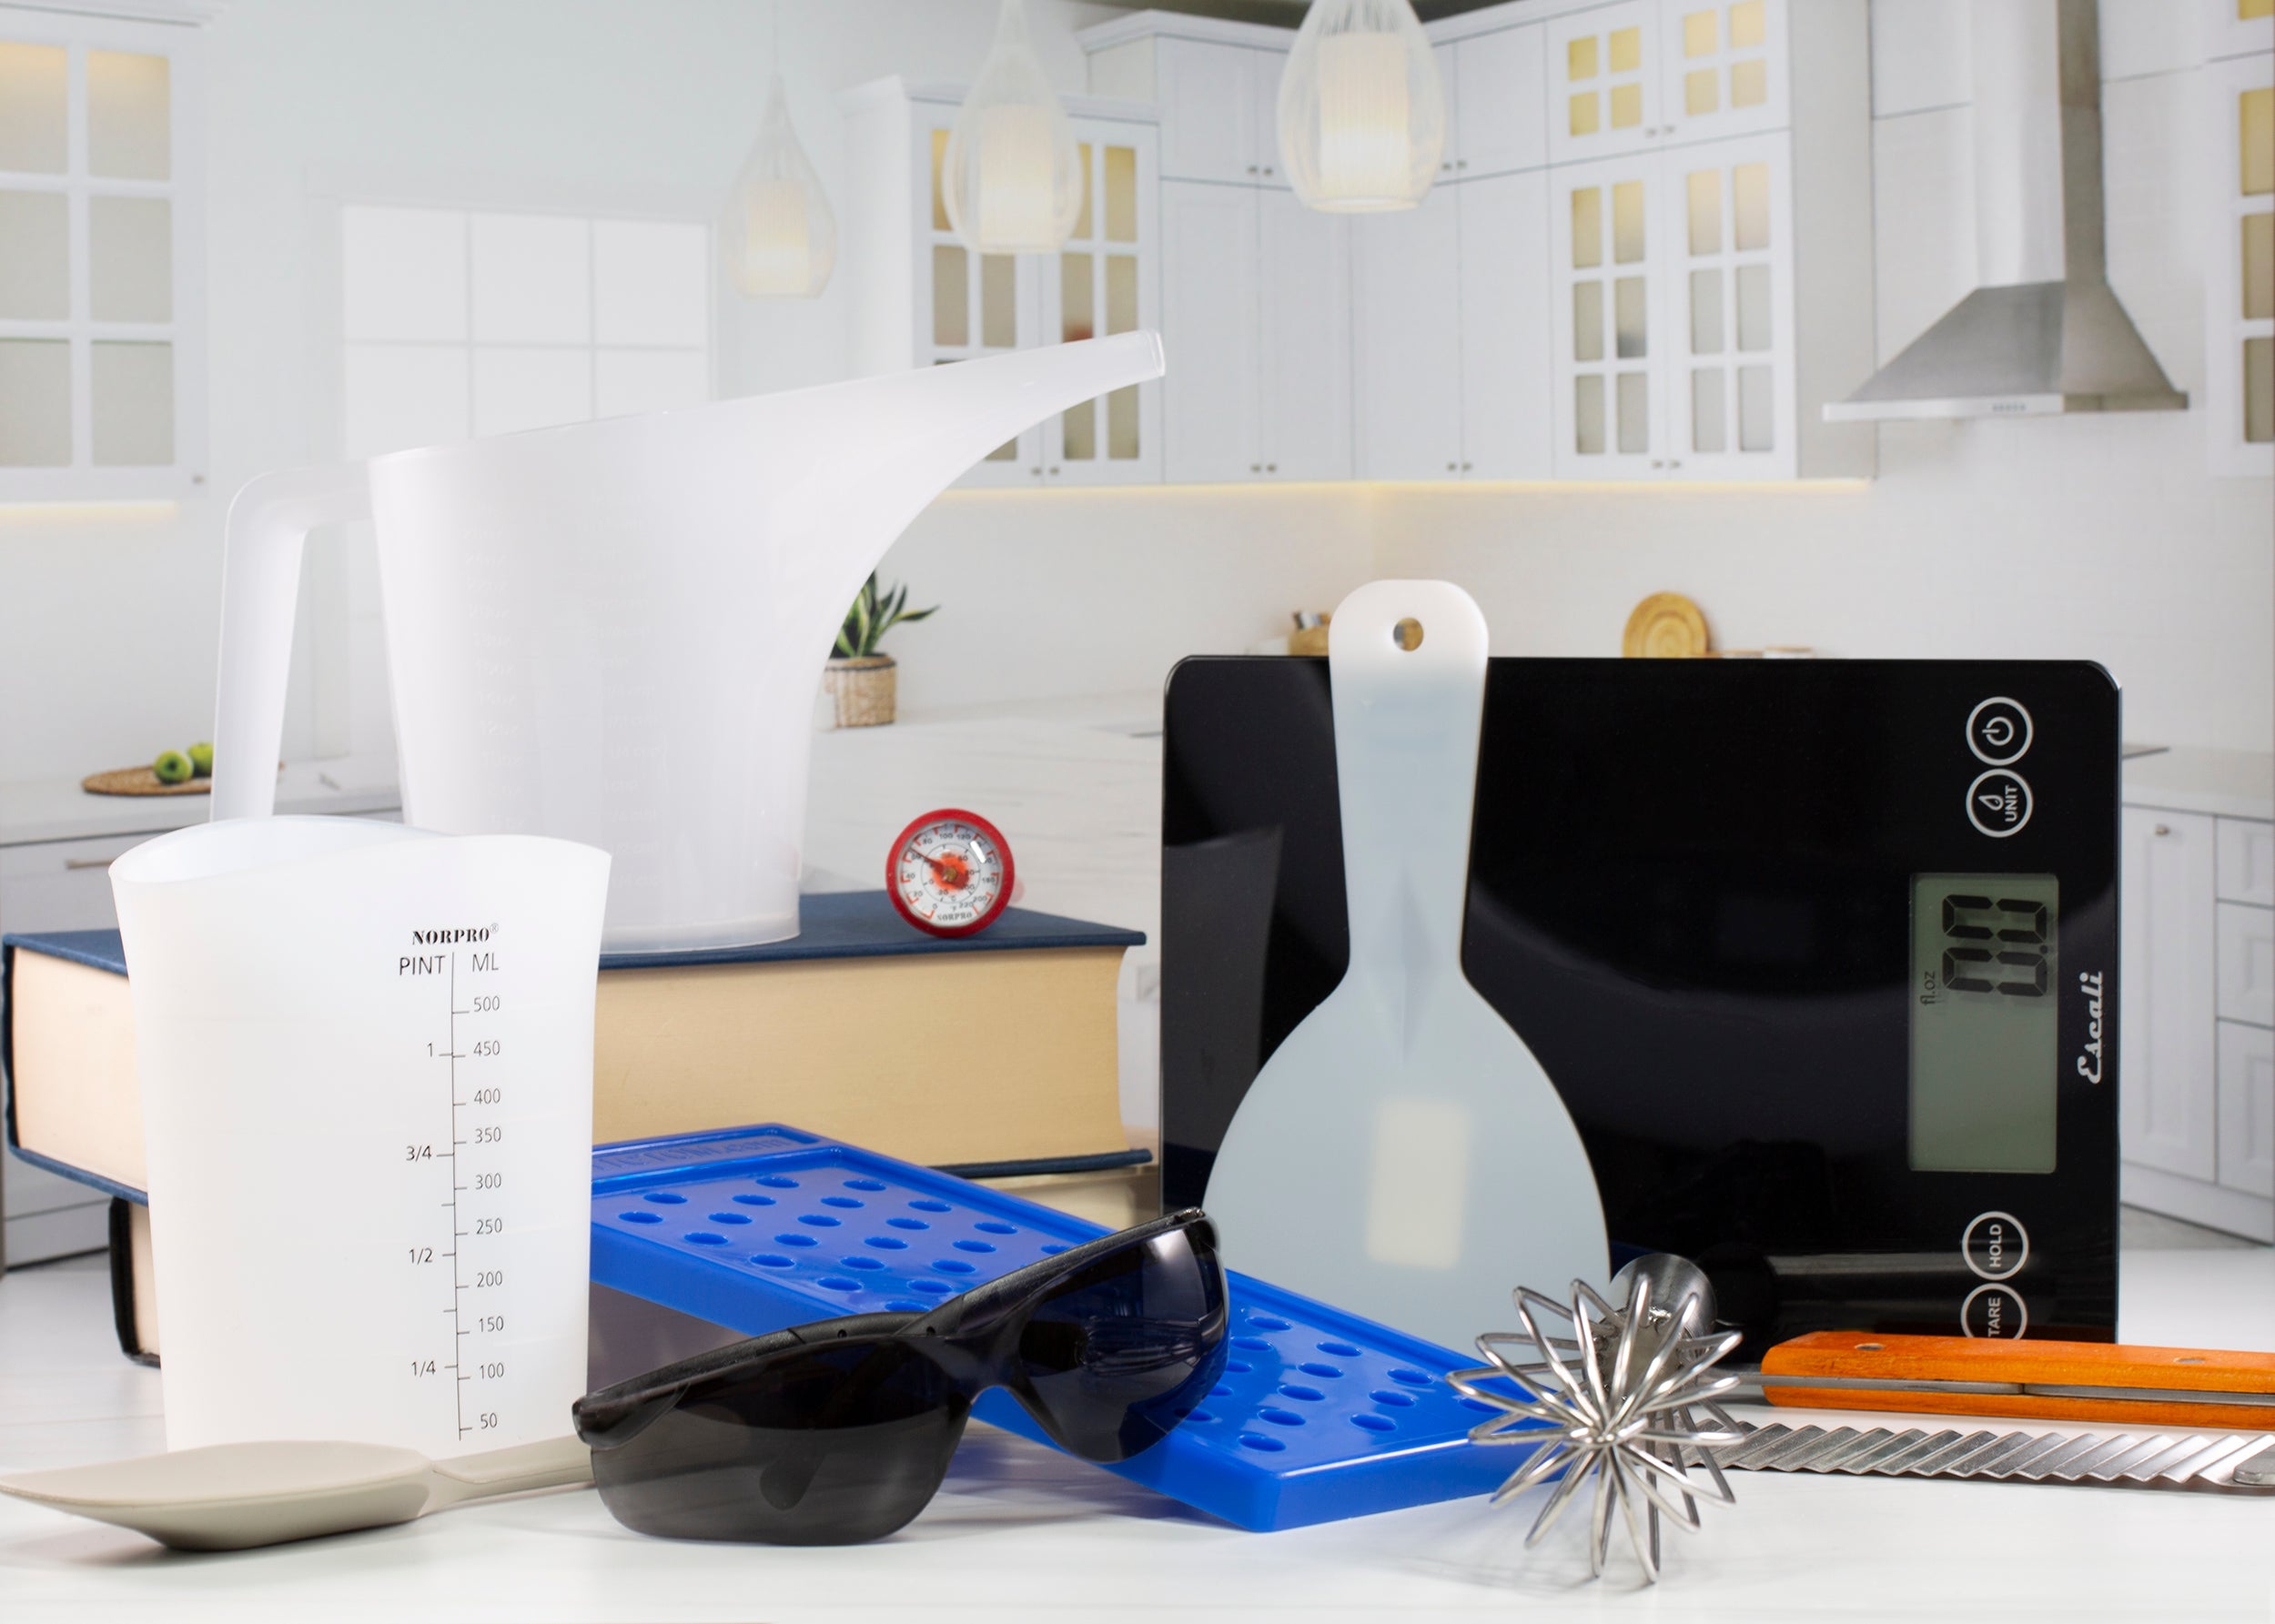
Utensils:
- Measuring Cups
- Digital Scale
- Plastic Mixing Cup (for lye)
- Large Bowl (stainless steel, heavy-duty polypropylene, or HDPE plastic)
- Stick Blender
- Regular-Sized Whisk & 2 Small Whisks
- Spatula
- 2 Thermometers
- Gloves & Master PRO Safety Glasses
-
Long Sleeves & Closed-Toe Shoes
Directions:
- Step 1: Cut 50 g of white low-sweat melt and pour soap base into small cubes. Melt in the microwave using short 10–15 second bursts, stirring between each until fully melted. Add 1 g of Winter Solstice fragrance oil and stir to combine. Pour a thin layer into the Bubble Cube 3D Mold, just enough to fill the small round cavities. Allow to cool and harden completely, then gently remove the pieces from the mold. Trim off any excess soap to form neat, rounded “ears.” Set aside for later use in Step 7.
- Step 2: Weigh distilled water into a lye-safe container. Slowly add lye to the water (never the reverse) while stirring until fully dissolved. Insert a thermometer to monitor the temperature. Optional: Place the container in a cold water bath to cool faster.
- Step 3: Weigh all oils and butters into a microwave-safe bowl. Heat in short bursts, stirring in between, until fully melted. Allow both the lye solution and oils to cool to approximately 120 °F (49 °C).
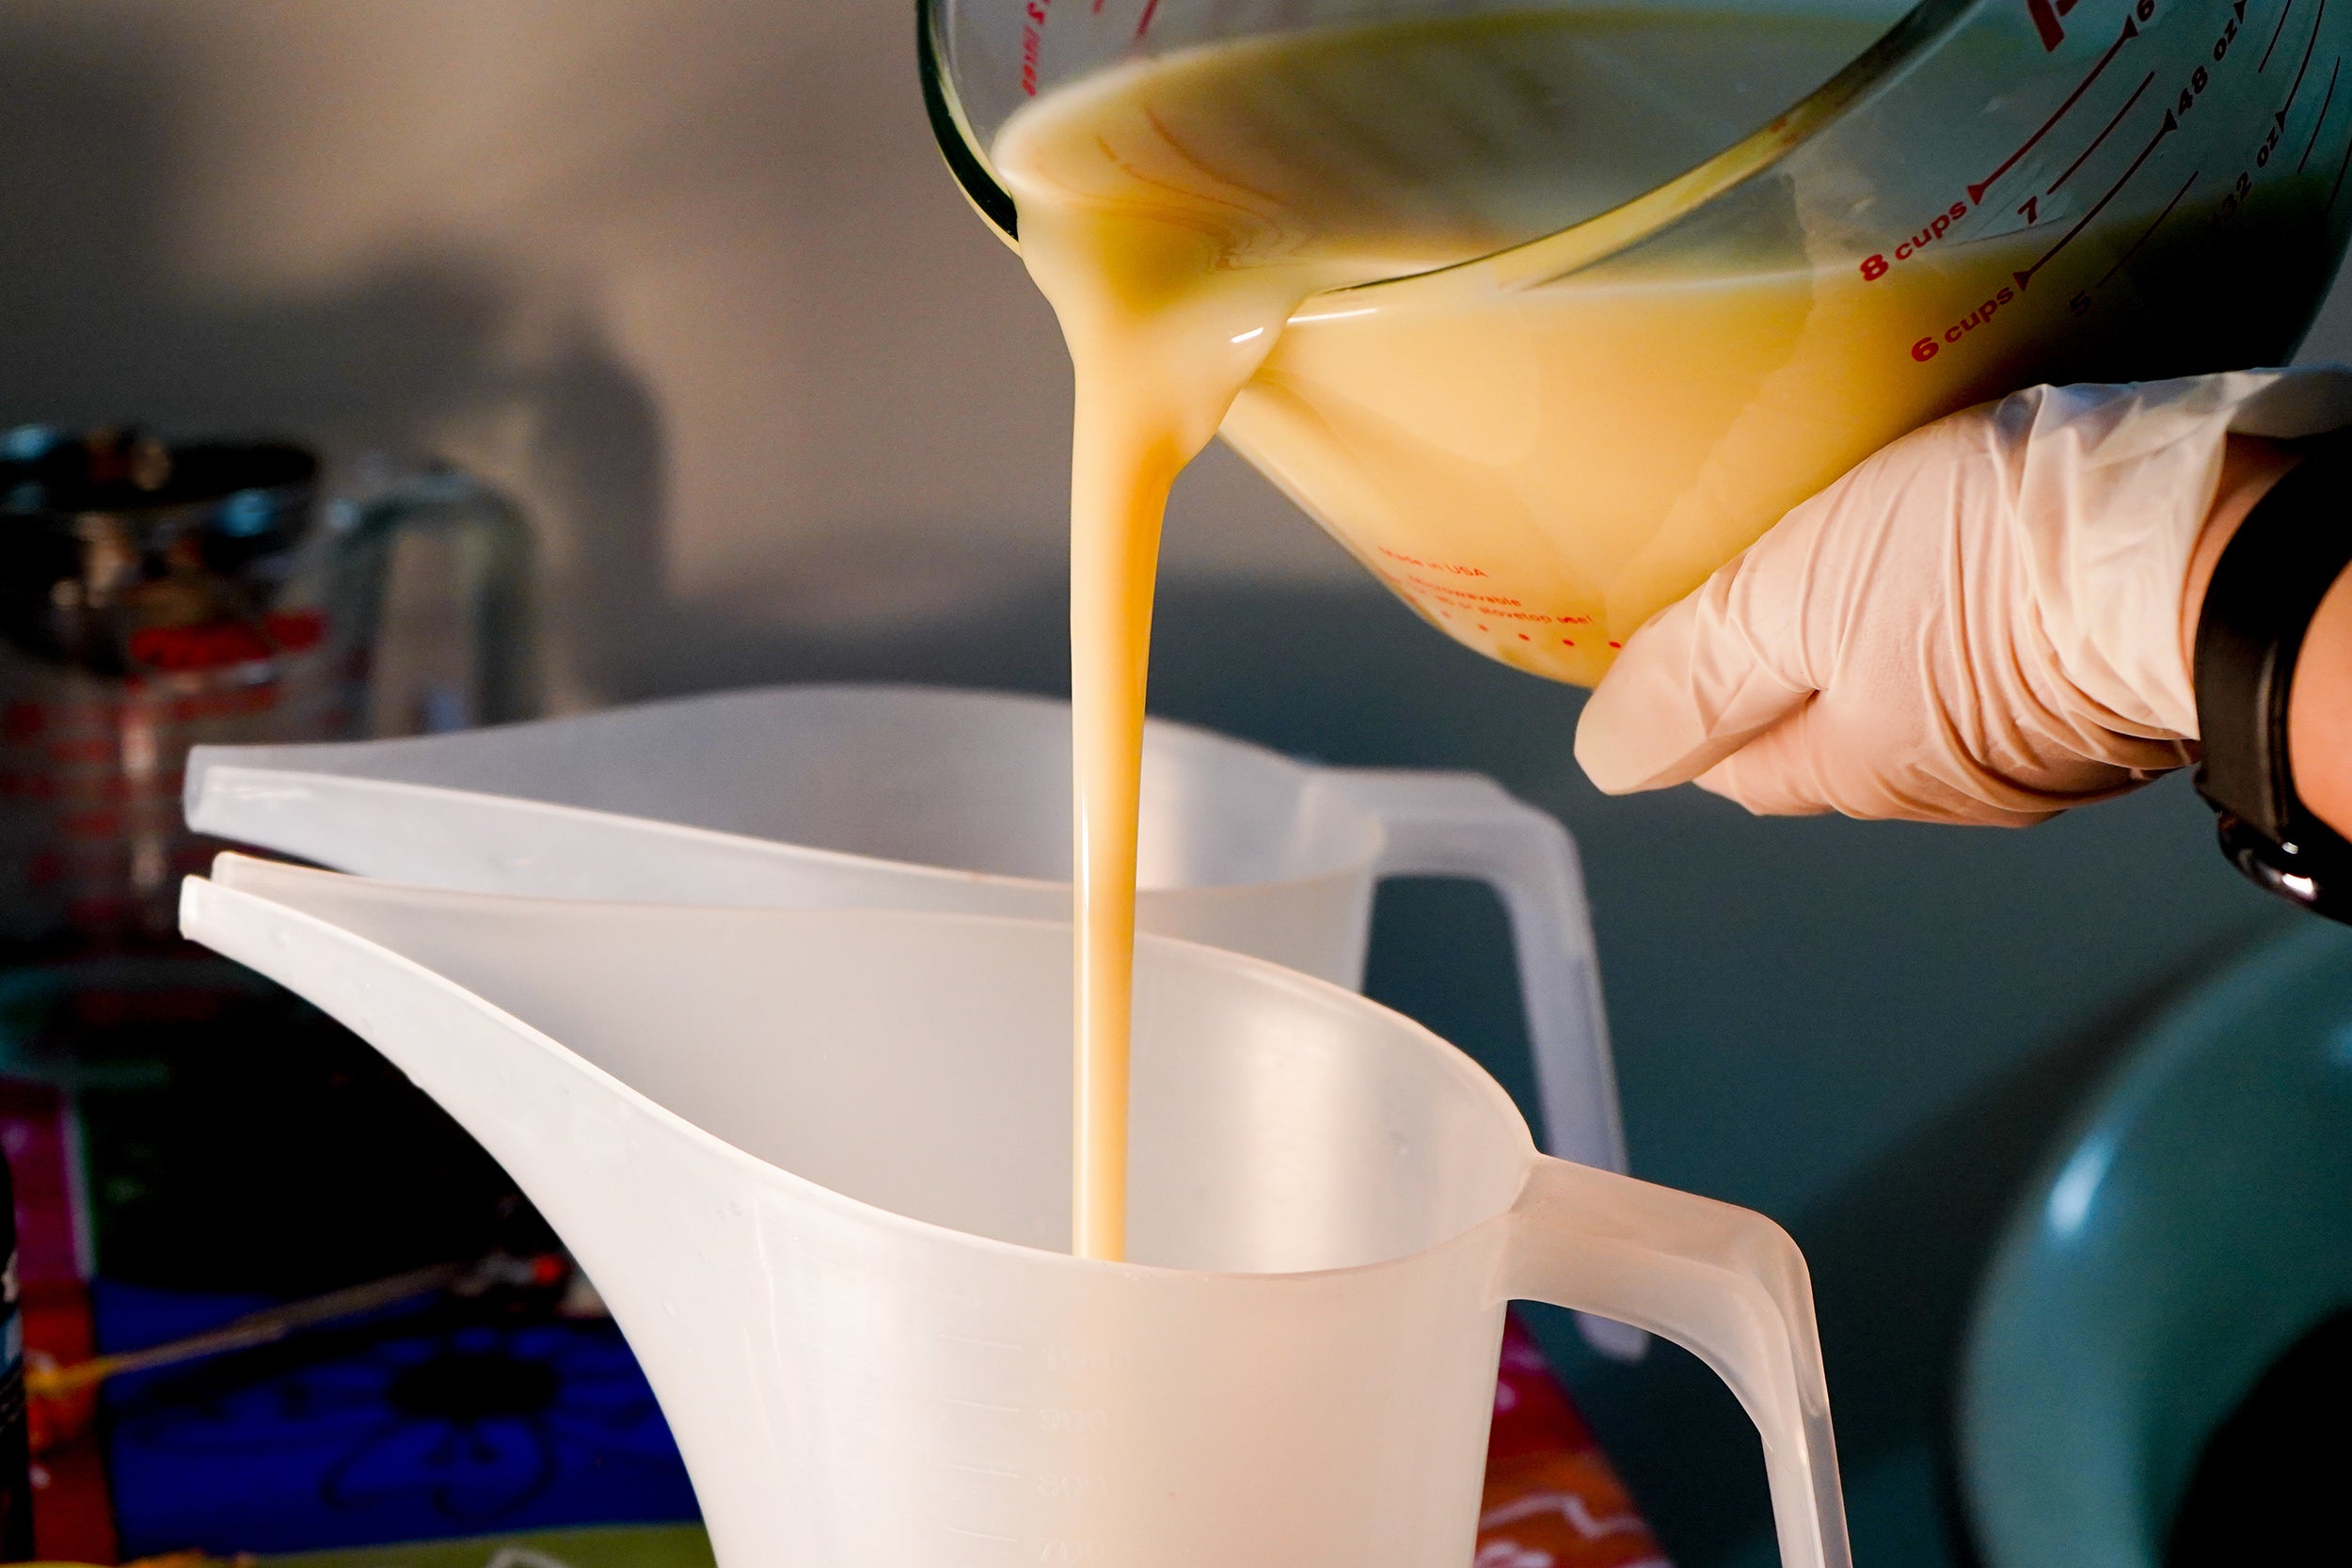
- Step 4: Carefully pour the lye solution into the oils. Whisk briefly, then blend with an immersion blender for 15–20 seconds. Alternate between blending and hand-whisking until light trace is reached.
- Step 5: Add the titanium dioxide mixture to the soap batter to create a creamy white. Divide the batter into two equal portions.
- Step 6: To one portion, add the Ruby Red Oxide and Neon Hot Pink Kisses blend. Mix until the colour is uniform. Add the Winter Solstice fragrance oil and stir thoroughly to combine. Pour this red soap into the loaf mold and allow it to thicken slightly. Use a spoon, spatula, or popsicle stick to sculpt the surface — this will help shape the bear’s muzzle later.
- Step 7: Now add the Winter Solstice fragrance oil to the other portion of the soap batter and stir thoroughly to combine. Stir well, then gently pour over the red layer in the mold. Shape the top to resemble a bear’s head, then place pairs of melt & pour soap “ears” (made using the Bubble Cube Mold) about 1 inch apart. Spritz the surface with isopropyl alcohol to prevent soda ash. Cover with a box and towel to encourage gel phase, and allow to rest for 24 hours.
- Step 8: After 24 hours, remove the soap from the mold. Using a soap cutter or sharp knife, slice into bars approximately 1 inch thick.
- Step 9: Carve the bear’s face with a soap detailing tool.
- Step 10: Use black soap dough (tinted with Onyx Mica) to fill in eyes, nose, and mouth details. Wipe clean, then dust Cotton Candy Mica lightly on the cheeks beneath the eyes for a soft blush.
- Step 11: Place the bars on a ventilated rack and cure for 5 weeks. Curing hardens the bars, allows water to evaporate, and improves lather.
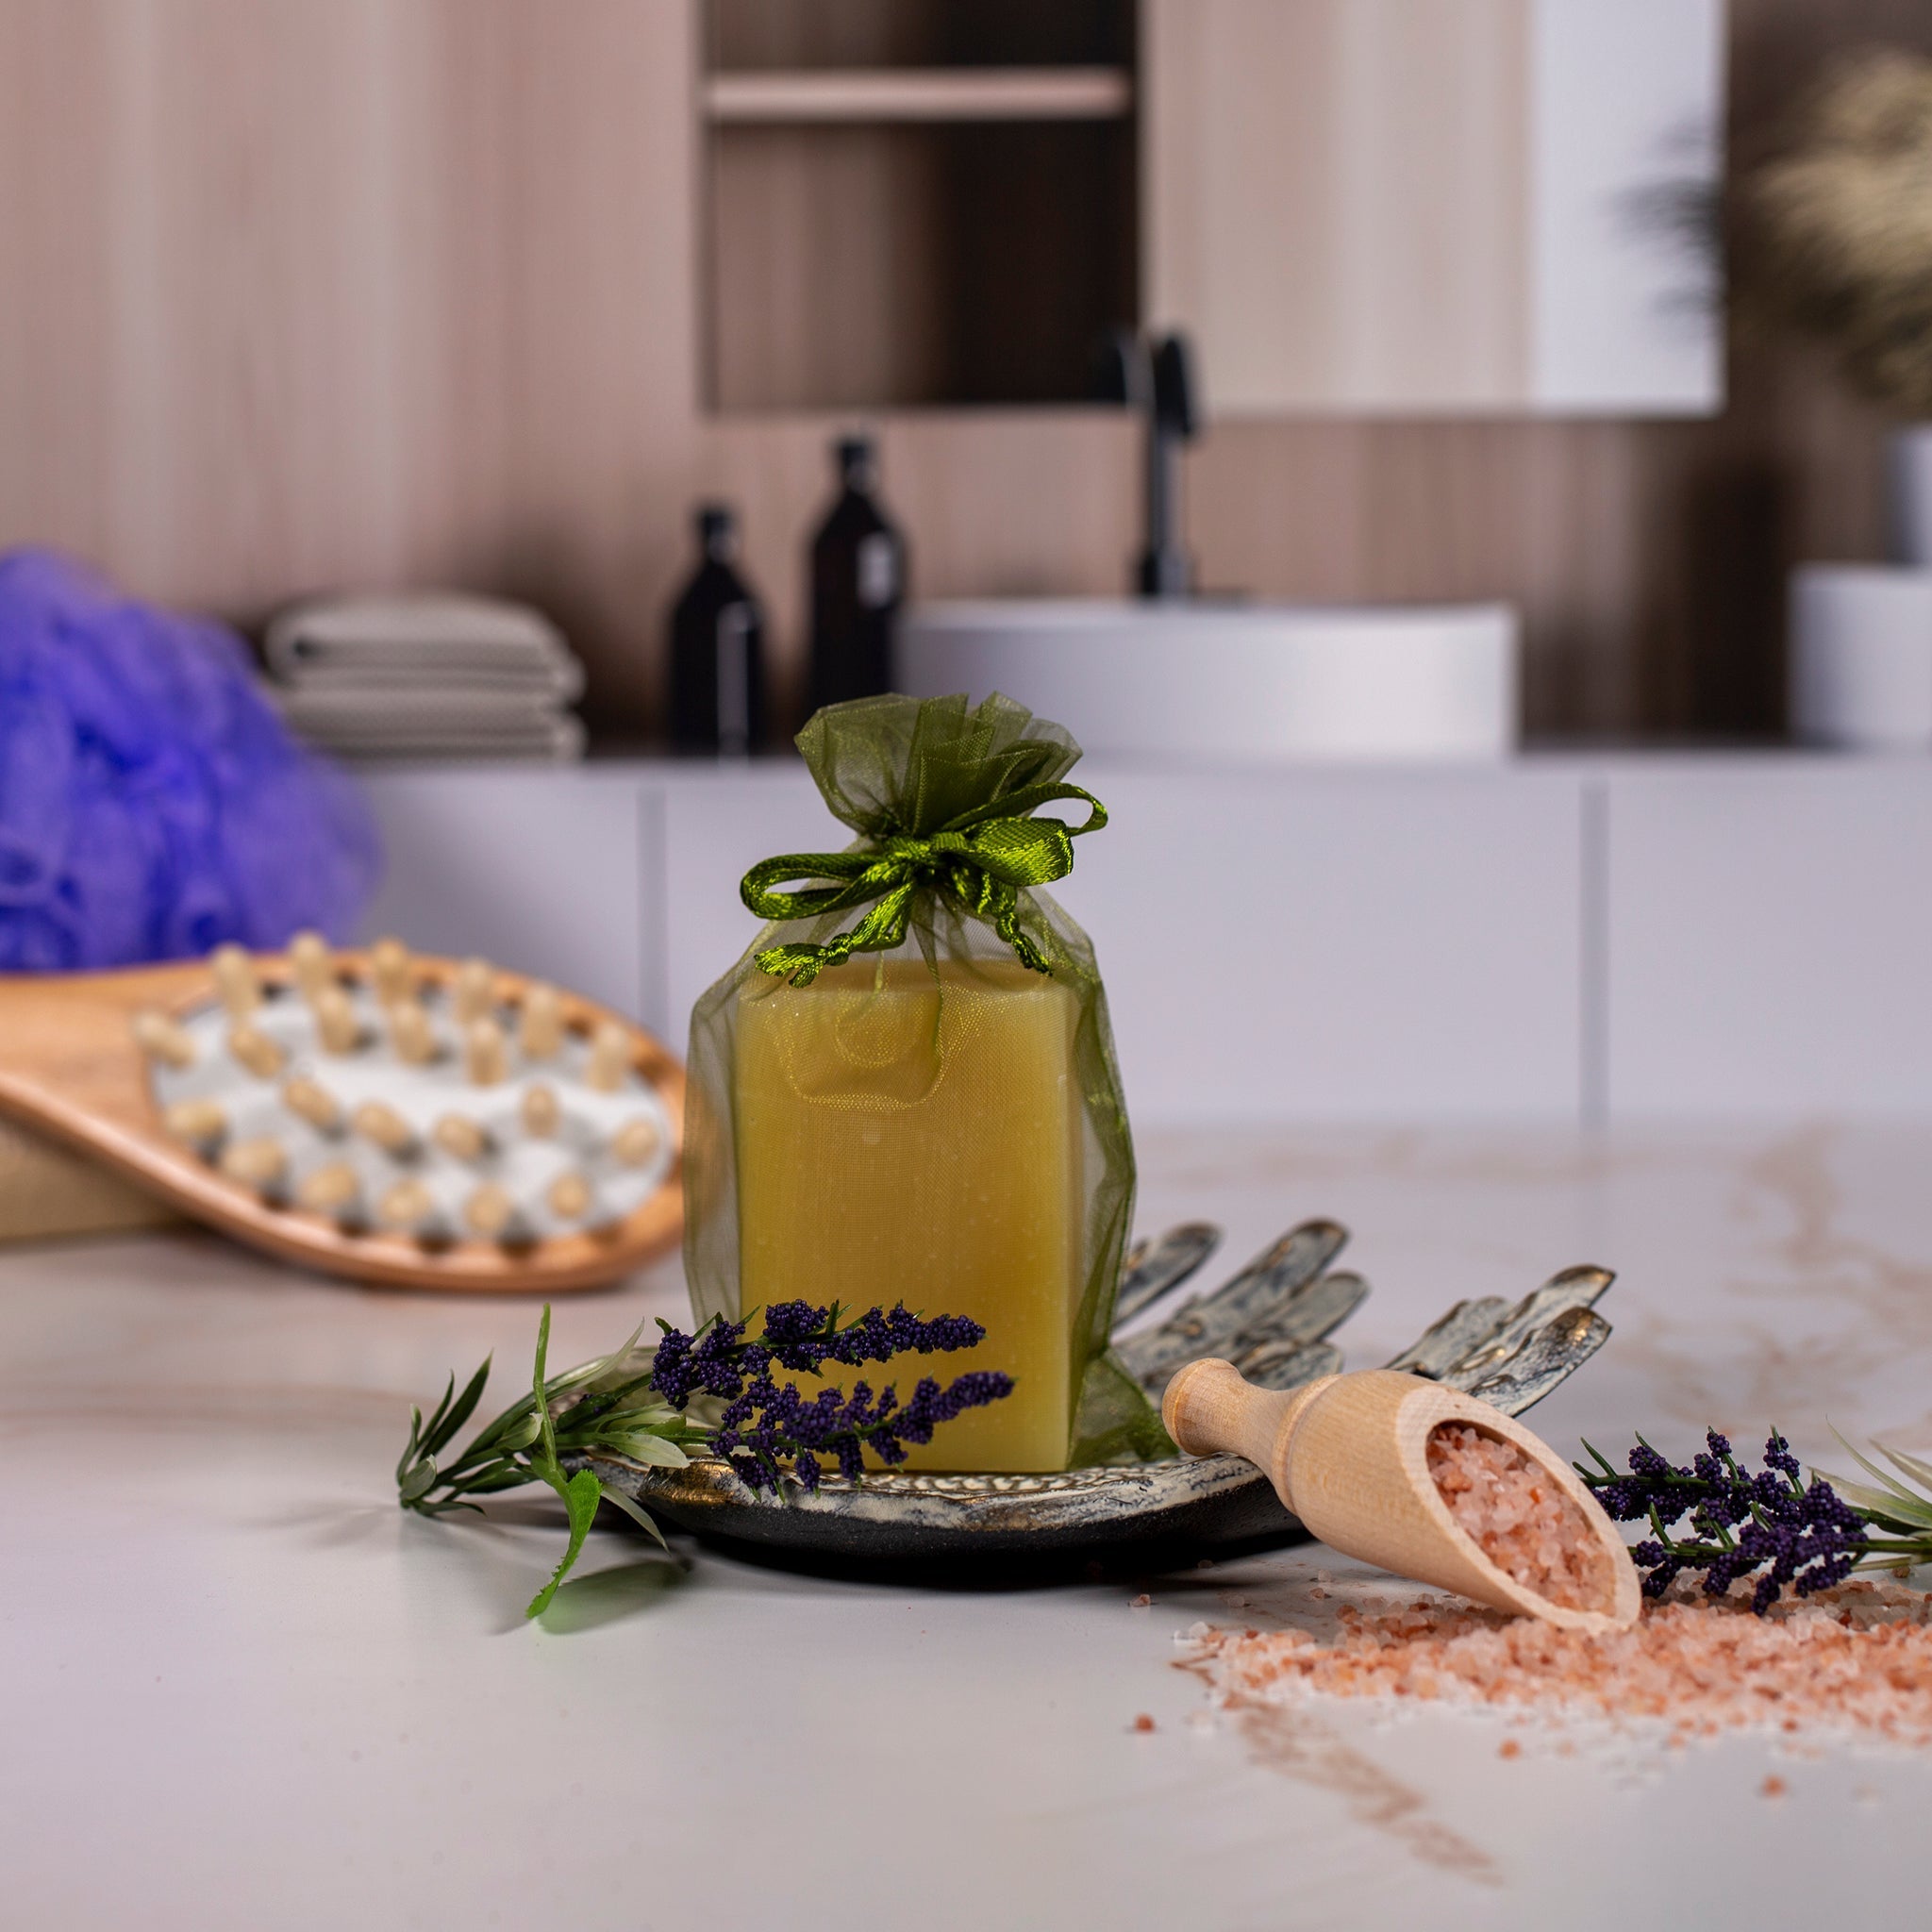
Usage:
Lather with water, cleanse skin, and rinse thoroughly. Store between uses in a dry, well-drained soap dish.
Warnings & Safety:
For external use only. Avoid contact with eyes. Test a small patch of skin first to check for irritation. Keep out of reach of children and pets. Always wear protective gear when handling lye. Store soap in a cool, dry place once cured.
Lye Safety Tips:
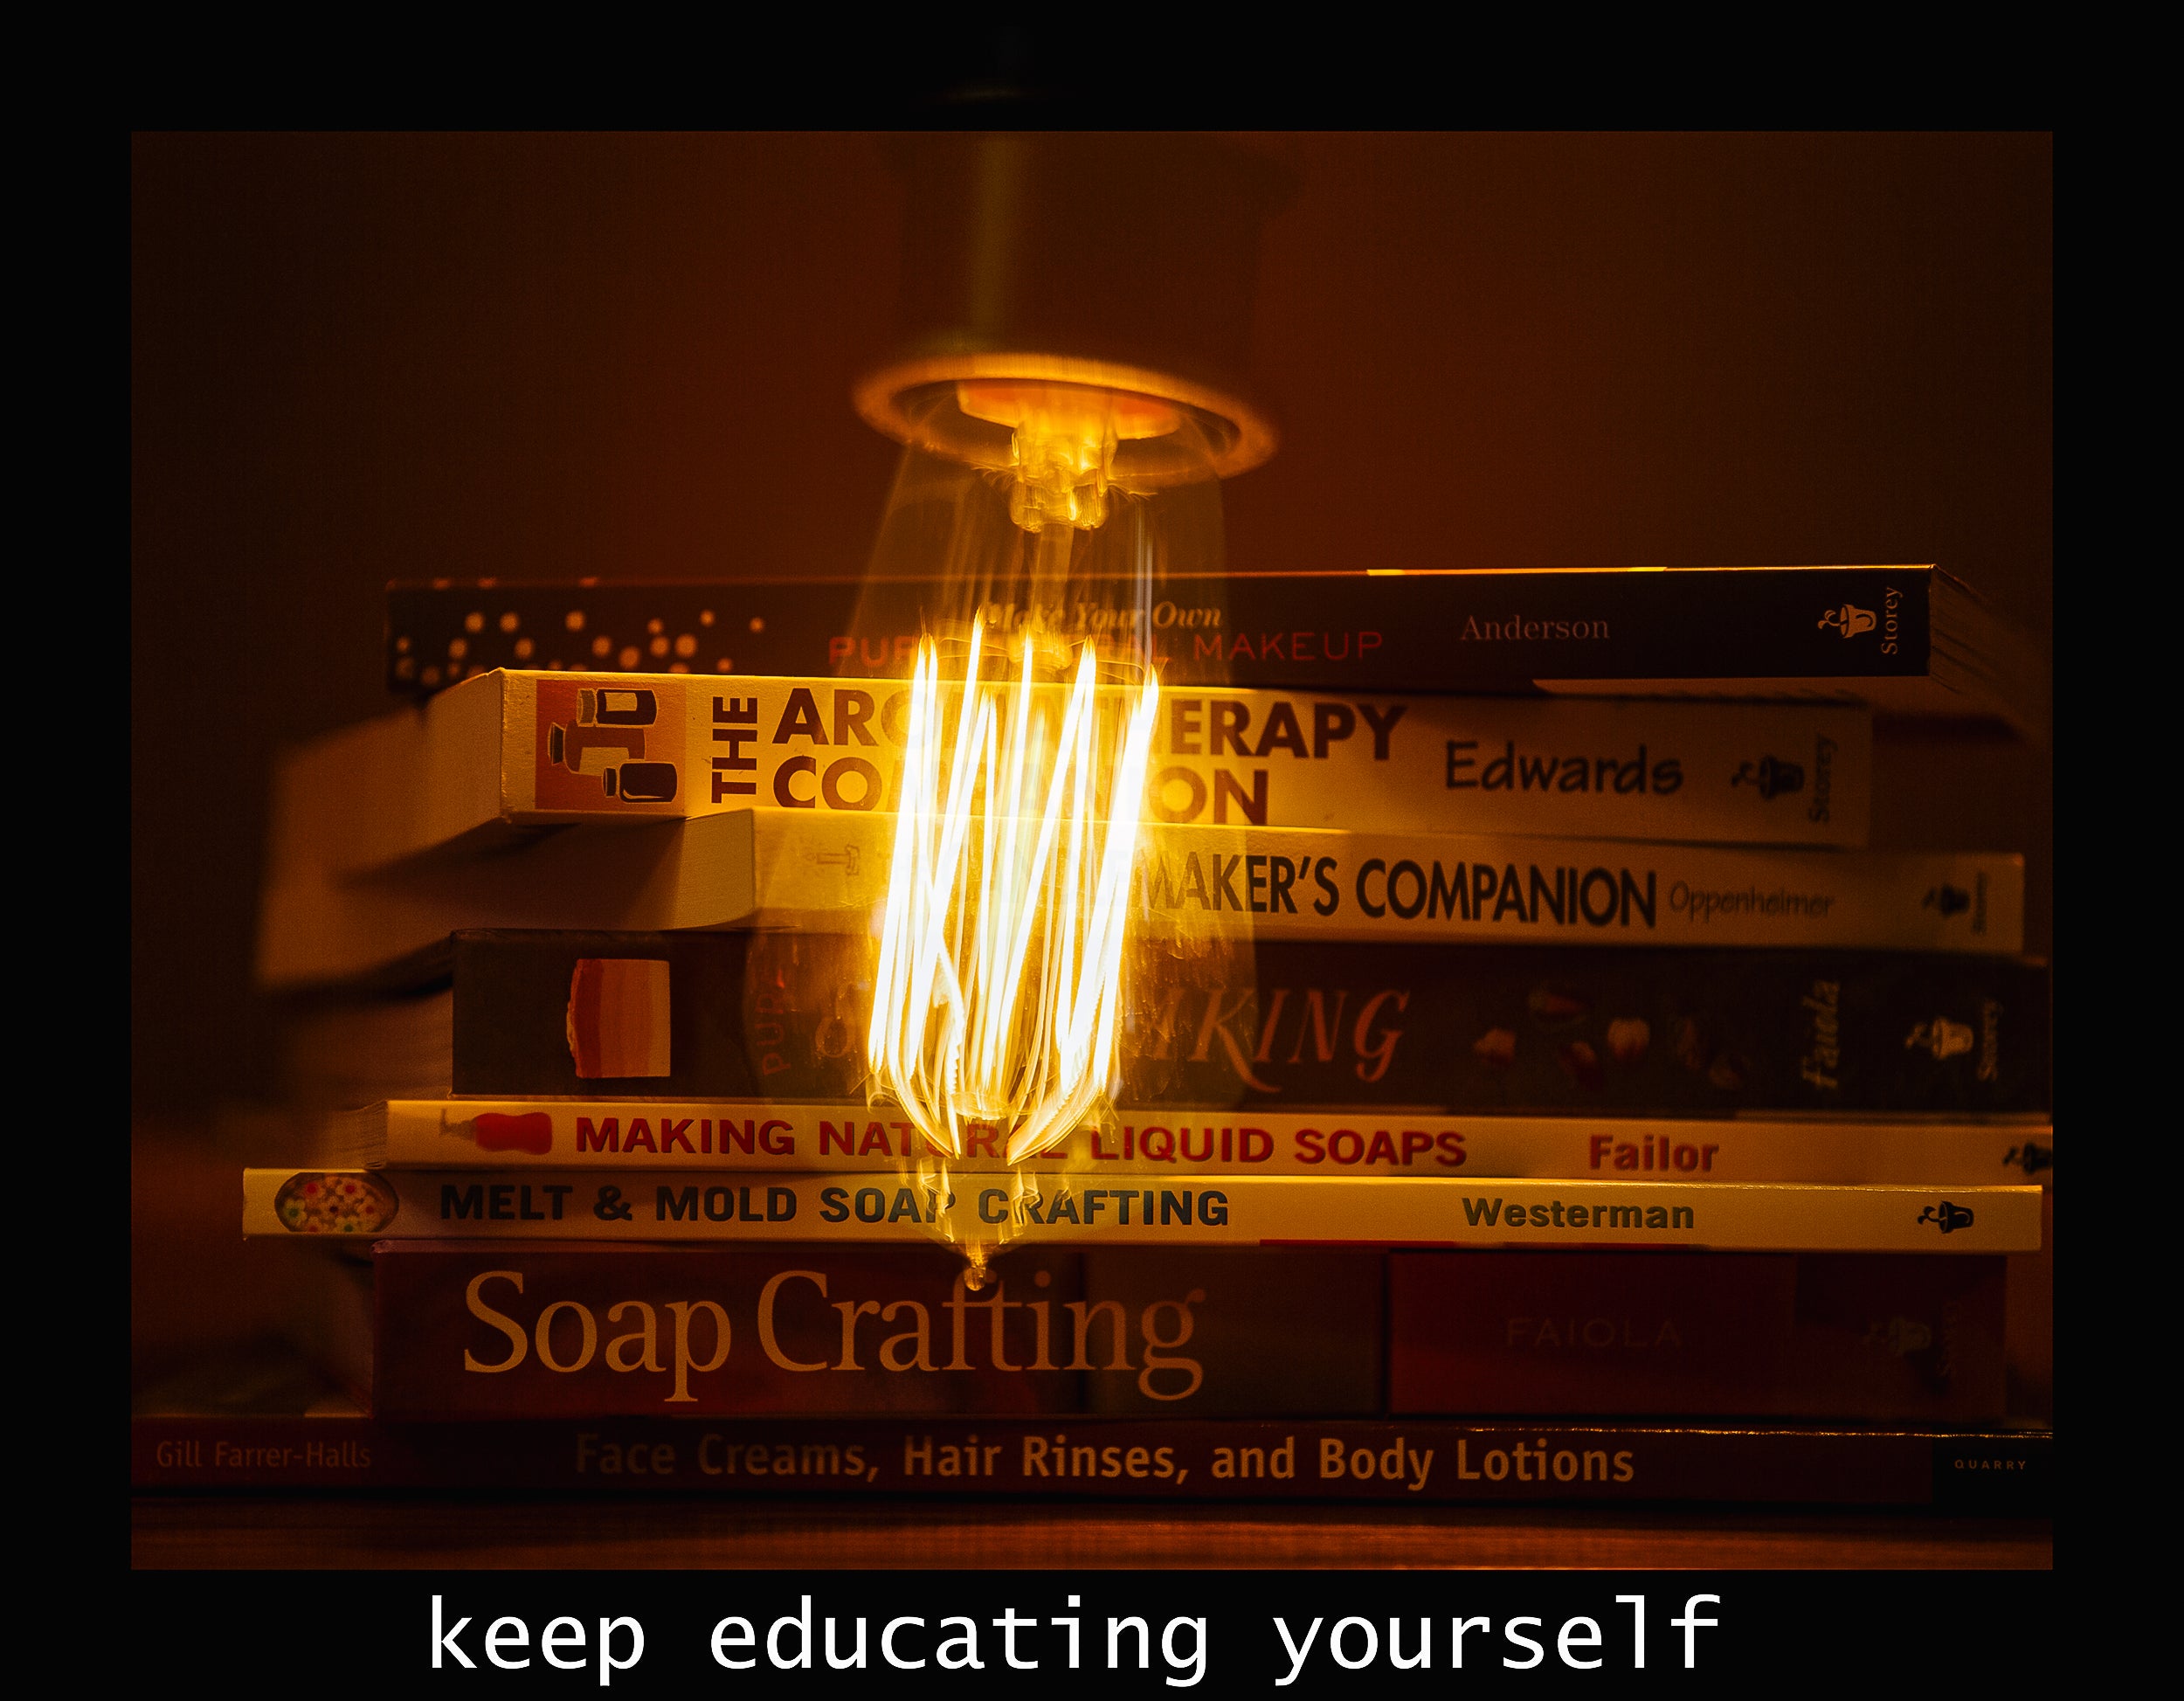
Lye, in all its forms, is a caustic substance. It can be harmful if it’s not handled with care, and you cannot make soap without it. Follow this Lye Safety list to keep yourself and others, as well as your home protected.
Soap Making Safety Checklist:
- Wear eye protection.
- Protect hands with lye-resistant gloves.
- Use gloves that are also essential/fragrance oil resistant: rubber, nitrile or latex.
- Wear long-sleeved clothes that cover your skin, as well as long pants and closed shoes.
- Wear an apron.
- Consider wearing a respirator mask while mixing the lye solution.
- Work in a place where you will be undisturbed.
- Keep children and pets out of the room while soap making.
- Ensure your workspace is clean and clear of clutter.
- Prepare your work space for your project.
- Use lye and heat-resistant equipment.
- Make soap on a surface that won’t react with lye.
- Keep paper towels on hand.
- When making soap, work near a sink so that water is always available.
- Mix the lye solution in a well-ventilated place.
- Store lye in a safe place.
- Protect skin and eyes from essential and fragrance oils.
- Only use glass, metal, ceramic, or PPE containers/utensils with essential and fragrance oil.
-
When your soap is finished, keep protective gear on to clean your equipment.
Note:
All recipes are provided for the use of the customers of Voyageur Soap & Candle Company Ltd. Their electronic or print reproduction is strictly forbidden.
All formulas and recipes have been formulated by Voyageur but we accept no liability as to their effectiveness or the success of the formulas when being made. It is essential that good manufacturing practices are followed in their use, and it is the responsibility of the user to meet the appropriate regulatory requirements of their jurisdiction in all matters.
All formulas remain the property of Voyageur, and their reproduction or redistribution is strictly forbidden without our written consent.