


Celebrate St. Patrick’s Day with a surprise inside. These fresh, citrusy bath bombs are scented with our Lime Basil and Mandarin Fragrance Oil, a bright, uplifting blend that feels clean, vibrant, and perfect for spring.
On the outside, they’re crisp white with hand-painted accents: a clover, a rainbow, or a simple green and gold streak. Drop one into the tub and the magic happens: hidden embeds burst open, releasing Green and Gold Biodegradable Glitter into swirling, sparkling ribbons. A blend of Bath Bomb Blue and Yellow Colourants transforms the water into a rich, festive green.
We created these using our 2.5" Sphere 3D Printed Bath Bomb Mold, coordinating Embed Tray, and our 4 Cavity Bath Bomb Drying Tray, for perfectly shaped, professional results. The embeds are compacted with glitter and tucked inside for that unexpected wow moment.
If you’re ready to make your own lucky creations, this project is a fun way to experiment with embeds, colour reveals, and a little hidden sparkle and a perfect excuse to put those molds to work. 🍀✨
Click here to download the Step-by-Step PDF Guide!
Makes 3 x ~6oz Bath Bombs
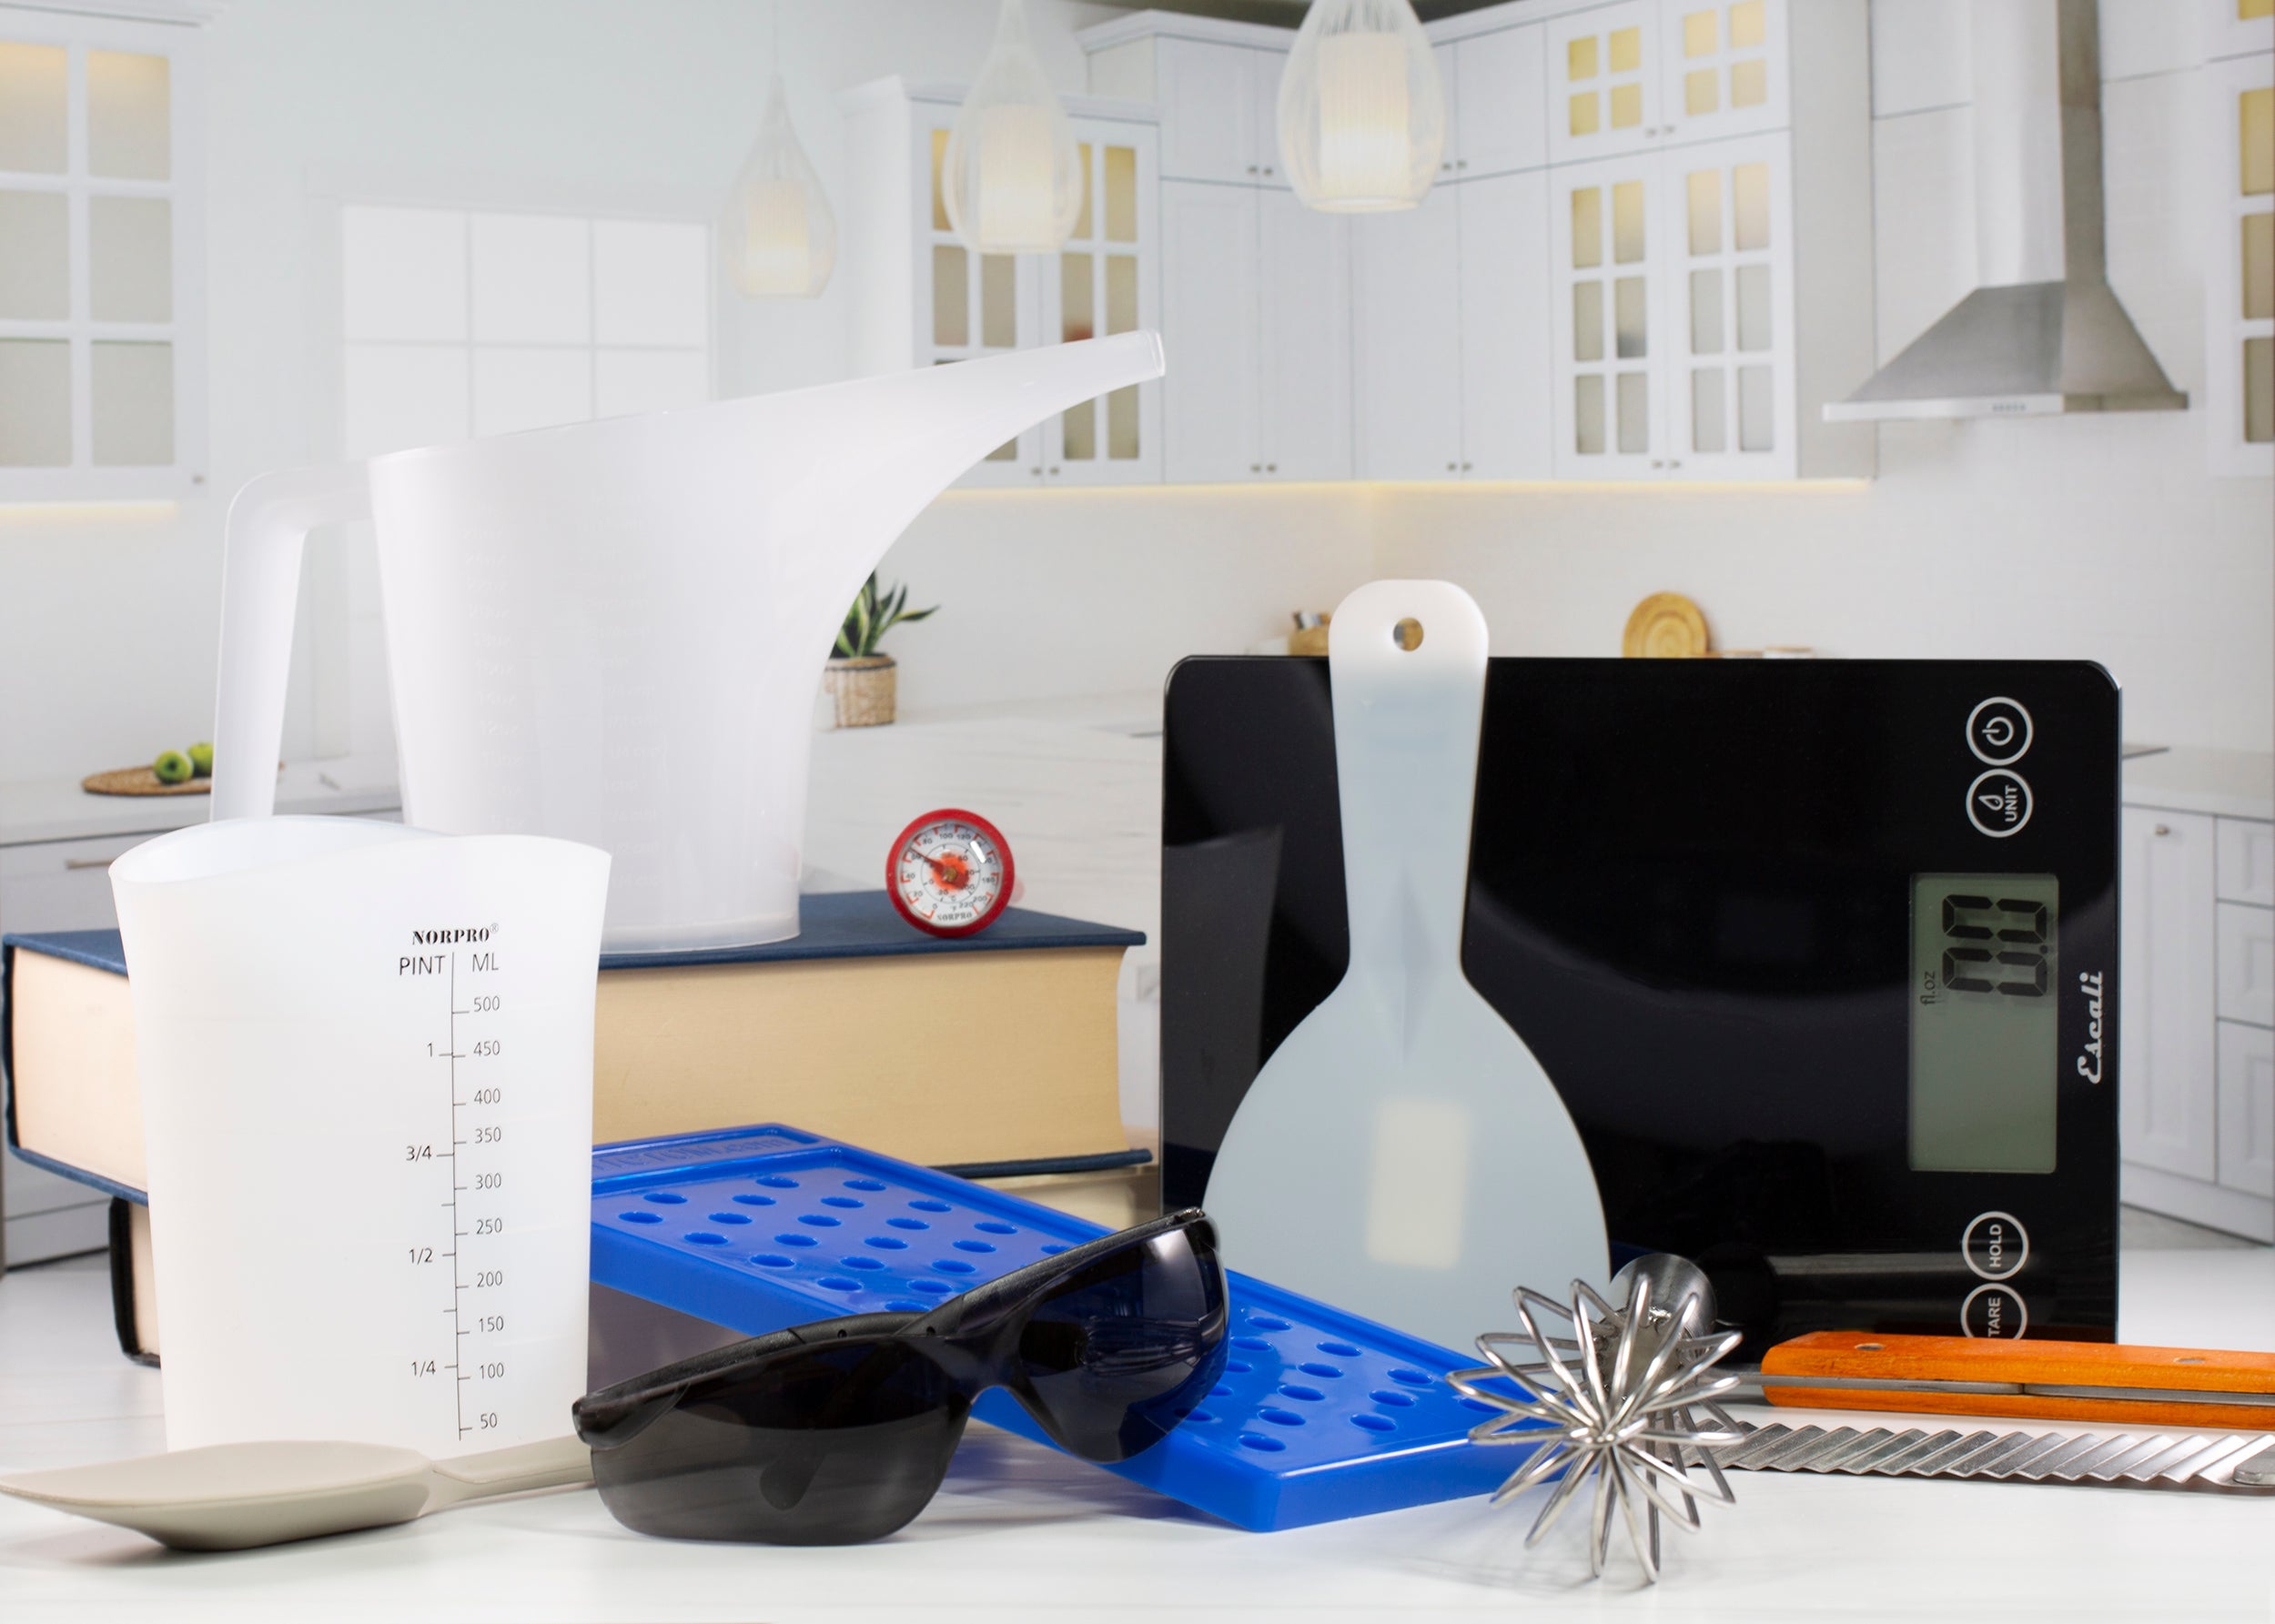
Recommended Equipment:
- Scale
- Paint Brush
- Plastic Mixing Cups
- 0.15cc Plastic Scoops
- 2.5" Sphere - 3D Printed Bath Bomb Mold
- Embed Tray - 3D Printed Bath Bomb Mold
- 4 Cavity Bath Bomb Drying Tray for 2.5" Sphere
- Mixing Bowl
- Sift
- Metal Spoon
- Gloves
Ingredients for Embeds:
- 50g Sodium Bicarbonate - Baking Soda
- 30g Citric Acid
- 2g Avocado Oil Refined
- 2g Polysorbate 80
- 2x 0.15cc Scoops of Bath Bomb Blue Colour - Blue 1 Lake
- 4x 0.15cc Scoops of Bath Bomb Yellow Colour - Yellow 5 Lake
- Gold Biodegradable Glitter
- Green Biodegradable Glitter
Ingredients for Bath Bombs:
- 350g Sodium Bicarbonate - Baking Soda
- 175g Citric Acid
- 16g Corn Starch
- 10g Coconut Milk Powder
- 8g Cream of Tartar
- 8g Lathanol LAL Surfactant Powder - SLSA
- 10g Avocado Oil Refined
- 10g Polysorbate 80
- 10g Shea Butter Refined (melted)
- 8g Fragrance (we used Lime Basil Mandarin Jo Malone Type Fragrance Oil)
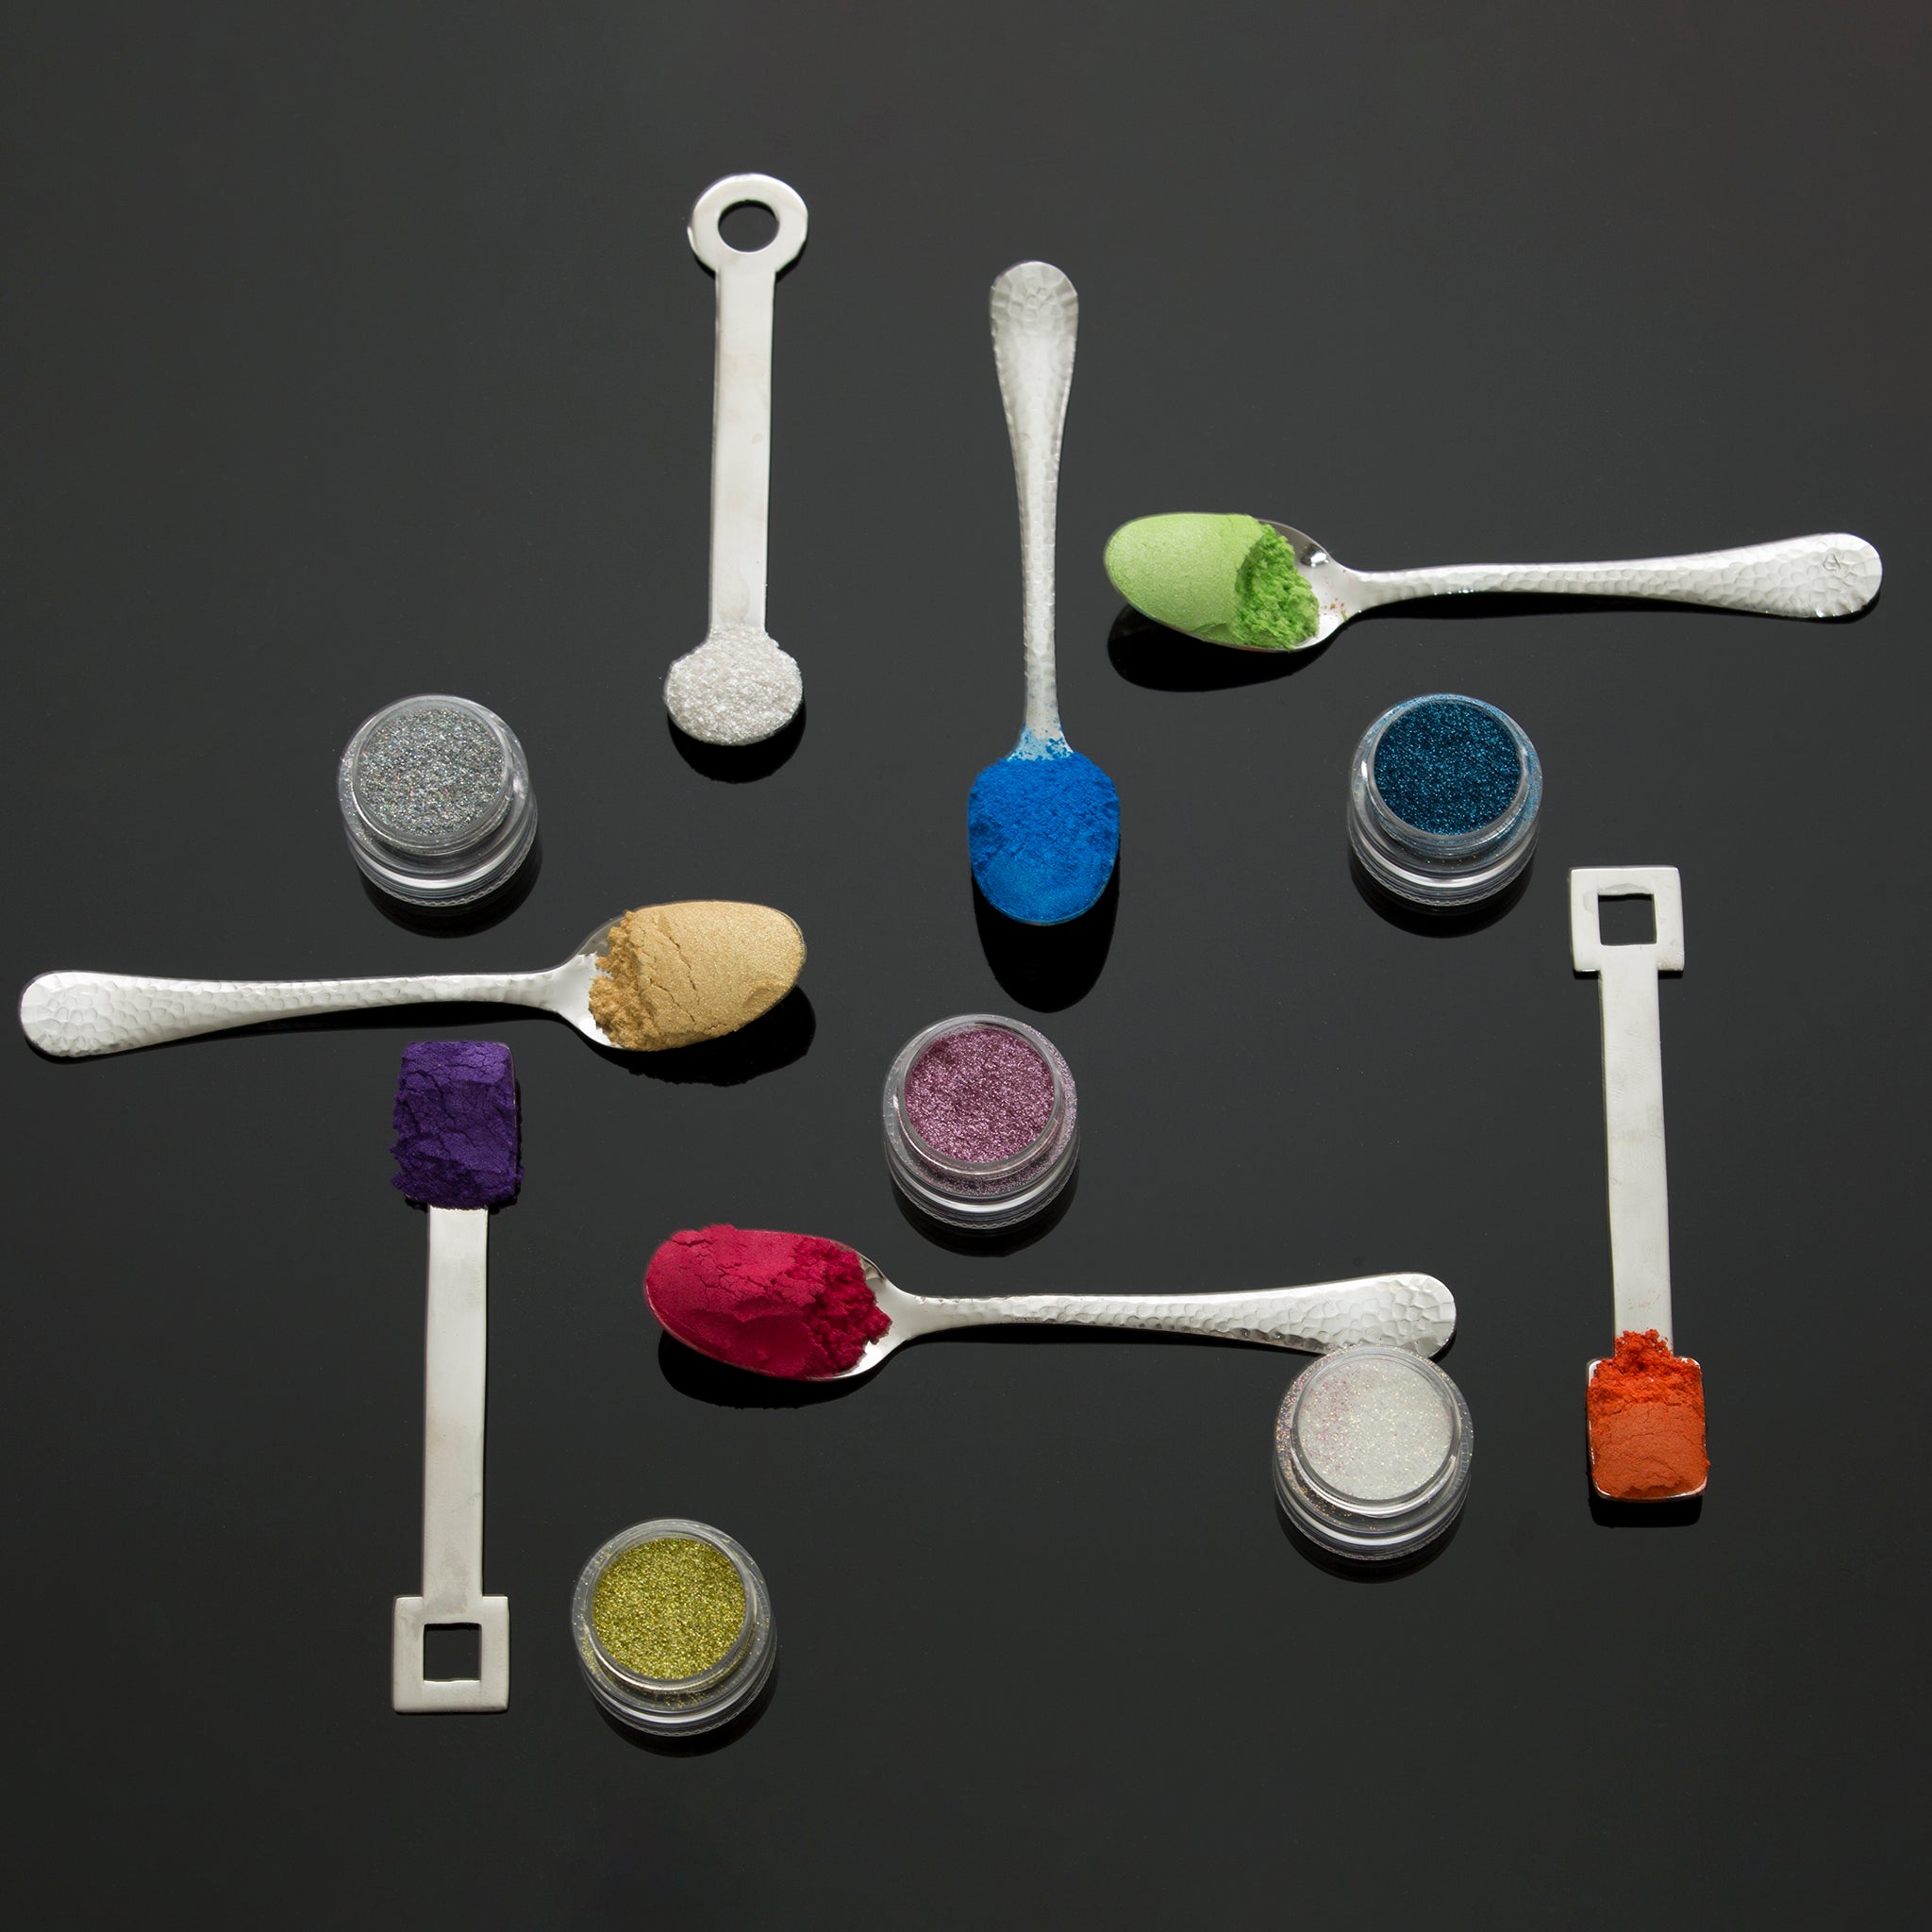
Ingredients for Painted Accents:
Mica mixed with Isopropyl Alcohol
Green Streak & Glover:
Rainbow:
- Blackberry Wine Mica
- Poolside Blue Mica
- Margarita Mica
- Buttercup Yellow Mica
- Mystic Mandarin Mica
- Rose Quartz Mica
- White Mica - Pearly Finish
-
Egyptian Gold Mica
Note: Before making the Bath Bombs , prepare at least 12h ahead the Embeds. If they are not dry when being added they could activate inside of the bath bombs.
Directions:
- Step 1: Begin making the embeds by sifting the baking soda and citric acid into a bowl, mix in the avocado oil and polysorbate 80.
- Step 2: Add the colourants and glitters and mix well.
For Green Embeds:
-2x 0.15cc Scoops of Bath Bomb Blue Colour
-2 x 0.15cc Scoops of Bath Bomb Yellow Colour
-2 x 0.15cc Scoops of Gold Biodegradable Glitter
-2 x 0.15cc Scoops of Green Biodegradable Glitter
(adjust if you want them to be more or less glittery)
For yellow (gold) Embeds:
-2 x 0.15cc Scoops of Bath Bomb Yellow Colour
-2 x 0.15cc Scoops of Gold Biodegradable Glitter
(adjust if you want them to be more or less glittery)
- Step 3: Open the Embed Tray Mold, Fill it with the coloured mix. Then level by cleaning off excess from the top using your hand.
- Step 4: Insert top of the mold and push down to form the little embed squares.
- Step 5: Tap the mold from all sides a few times to break the vacuum, this will help release the embeds easily. Then remove the bottom tray ( thin part) and push the squares out of the mold by pressing the remaining 2 parts together, be sure to hold the mold close to the surface. If any embeds remain stuck use the spoon and tap on the back of the mold to release. Repeat everything to make both colours of embeds and then leave them to fully dry.
- Step 6: To make the bath bombs , begin by weighting and sifting the baking soda, cornstarch, cream of tartar, coconut milk powder. Remove the sift and carefully add the lathanol as it can become airborne very easily and can irritate the lungs, do not mix before adding the liquids. Add the Avocado Oil, Polysorbate 80, Shea Butter and Fragrance Oil. Now mix and then add the Citric Acid to it. We are adding it last to prevent premature fizzing.
- Step 7: Now test your bath bomb mix, it should be holding shape when dropped into the bowl if it is too dry and crumbly, carefully add a couple spritz of distilled water. Do not add too much or the mix will activate!
- Step 8: Begin filling the Bath Bomb mold by sprinkling the mix into the mold , do not pack it! After about half an inch of mix add 2 of each color embeds. Sprinkle more of the white mix on top. When filled to the top add 4 more of the embeds.
- Step 9: Add a little mound on top. Now place the top part of the mold and press down on the mold to form the bath bomb sphere.
- Step 10: Tap the bath bomb mold using a metal spoon, from all sides top and bottom as well to help release the bath bomb. Remove the sleeve first by pushing it up, ensure to keep the other 2 pieces together without moving or the bath bomb might break in half.
- Step 11: Gently tap the top part of the mold with the spoon to release the bath bomb, then pull the top part straight up.
- Step 12: Next , cradle the exposed part of the bath bomb in your hand, flip it upside down and place it gently into the drying tray. Tap the top of the mold again with the spoon gently,ensuring it released the bath bomb and pull straight up.
- Step 13: Repeat until all the mix is used up. Then leave bath bombs to dry for 24h before painting.
- Step 14: To paint, mix mica and isopropyl alcohol in a small mixing cup or paint palette, then gently paint on the dried bath bombs: green streaks, clovers or even rainbows! Let the paint dry and package to keep safe from humidity.
Warning & Usage:
- For external use only, do not ingest.
- Keep away from children and pets
- Surfaces may become slippery , use caution.
- Discontinue use if irritation occurs.
- Store bath bombs in a cool, dry place.
To use: Drop one bath bomb into warm bath water, let it fizz and release its color, fragrance, and skin-softening oils. Enjoy!
Dry and Store:
Let your Bath Bombs dry in a cool, dry place for 24 hours. Once dry, package in airtight bags or shrink wrap. Store away from humidity to prevent activation.
Humidity:
Humidity can cause Bath Bomb mix to become tricky. We prefer working with this recipe between 30% to 50% humidity.
We also found that adding clay to the recipe can help at a higher humidity.If the mix activates, try adding a little bit of clay .
This recipe was tested at 42% humidity in a room temperature of 18 degrees. We highly recommend working in a space with a humidifier.
If for some reason the Bath Bombs do crumble , do not throw out the mix(or any leftovers from making Bath Bombs, rather package it and sell it as a Bath Bomb powder).
Questions?
If you have any questions regarding this recipe, please email us at sales@voyageursoapandcandle.com or call us at 1-800-758-7773.
Here’s how to maintain your 3D Printed PETG molds:
1. Cleaning: To clean the molds, simply wipe them with a damp cloth, or hand wash with minimal water. Do not submerge molds in water or place in the dishwasher, as PETG is best maintained with minimal water exposure.
2. Drying: After wiping, allow the molds to air dry completely before storing. This step is crucial to prevent any moisture buildup, which could affect the mold's integrity and possibly activate your bath bomb during production.
3. Storage: Store the molds in a cool, dry place away from direct sunlight. PETG is UV resistant, but prolonged exposure to sunlight can degrade any plastic over time.
4. Handling: Handle the molds carefully to avoid any damage. PETG is impact resistant, which makes it less likely to crack or break compared to other plastics, such as PLA, but it is still best to avoid rough handling.
5. Temperature: Keep the molds away from high temperatures; PETG can withstand higher temperatures than many other plastics, such as PLA, but it is still best to avoid environments hotter than 75°C (167°F).
6. Usage: Use the molds for their intended purpose. PETG's strength and flexibility make it suitable for regular use without fear of deformation under normal conditions.
7. Chemicals: PETG is highly chemical resistant, making it safe to use with a variety of dyes and essential oils commonly used in bath bomb production.
By following these care instructions, you can ensure the longevity and performance of your 3D printed bath bomb molds, while also benefiting from the robust and versatile properties of this eco-friendly, recyclable material.
Note:
All recipes are provided for the use of the customers of Voyageur Soap & Candle Company Ltd. Their electronic or print reproduction is strictly forbidden. All formulas and recipes have been formulated by Voyageur but we accept no liability as to their effectiveness or the success of the formulas when being made. It is essential that good manufacturing practices are followed in their use, and it is the responsibility of the user to meet the appropriate regulatory requirements of their jurisdiction in all matters. All formulas remain the property of Voyageur, and their reproduction or redistribution is strictly forbidden without our written consent.