Makes 4 x 3.75 oz. Soap Bars
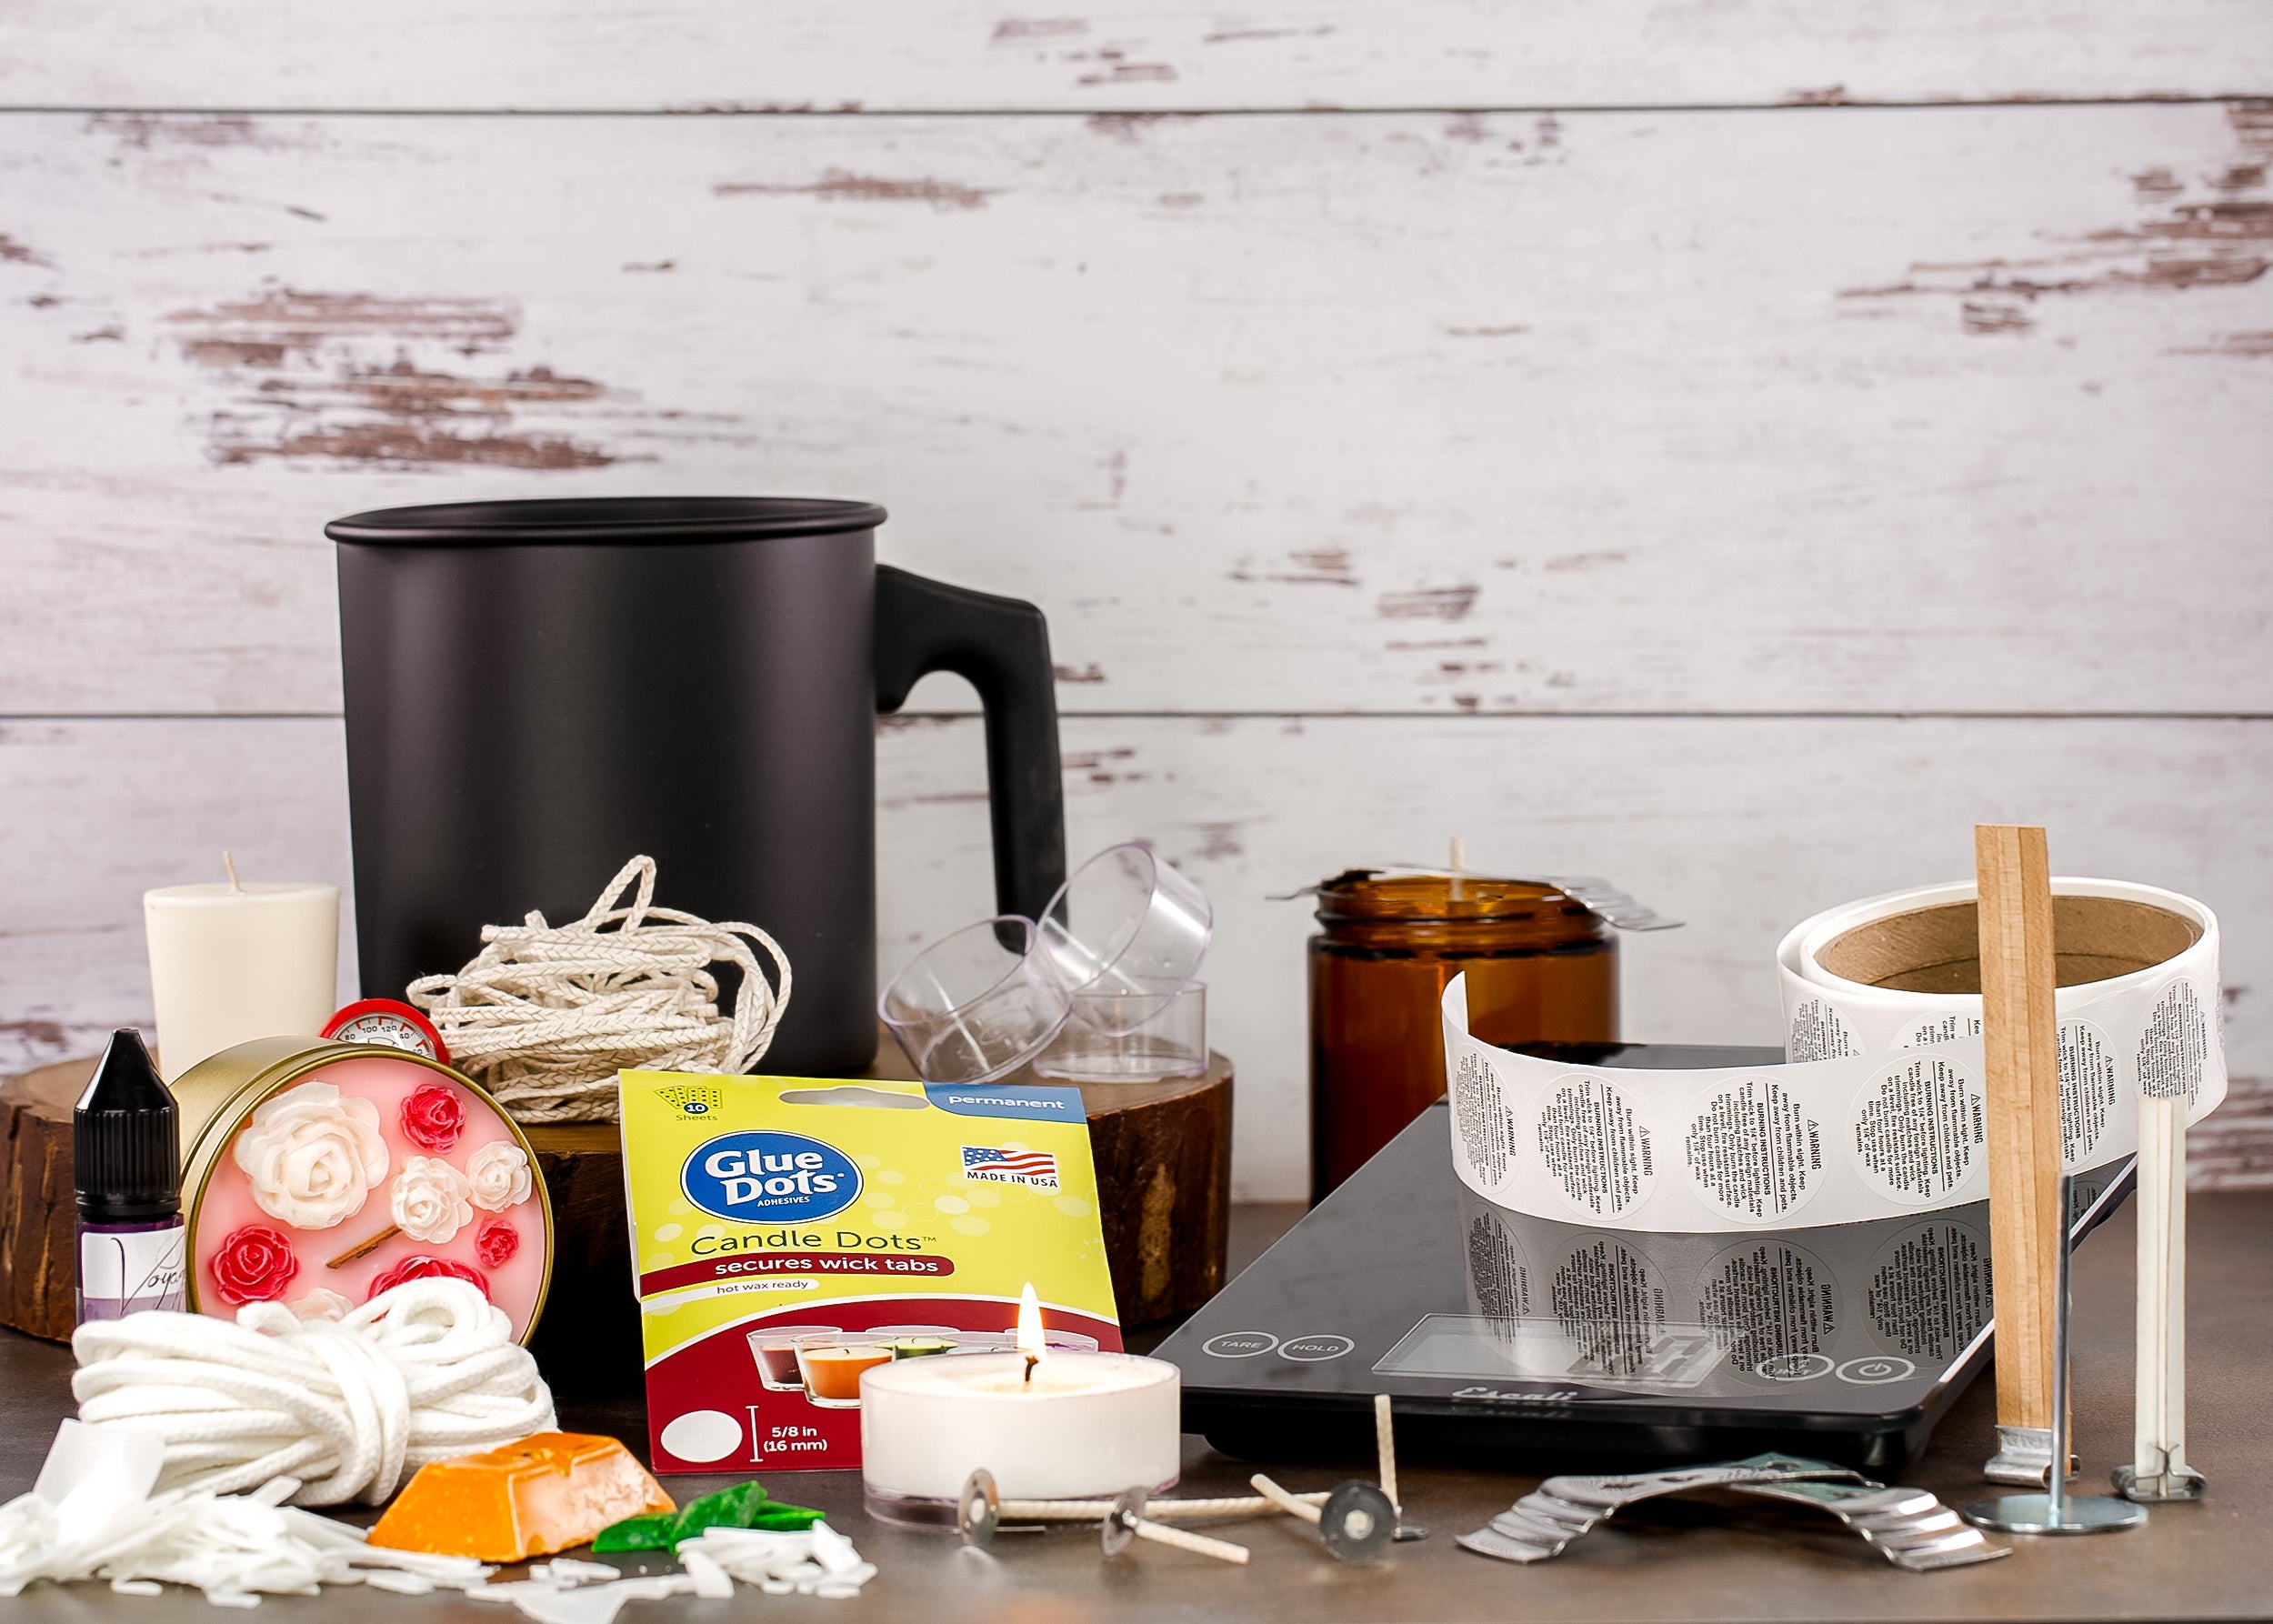
What You Will Need:
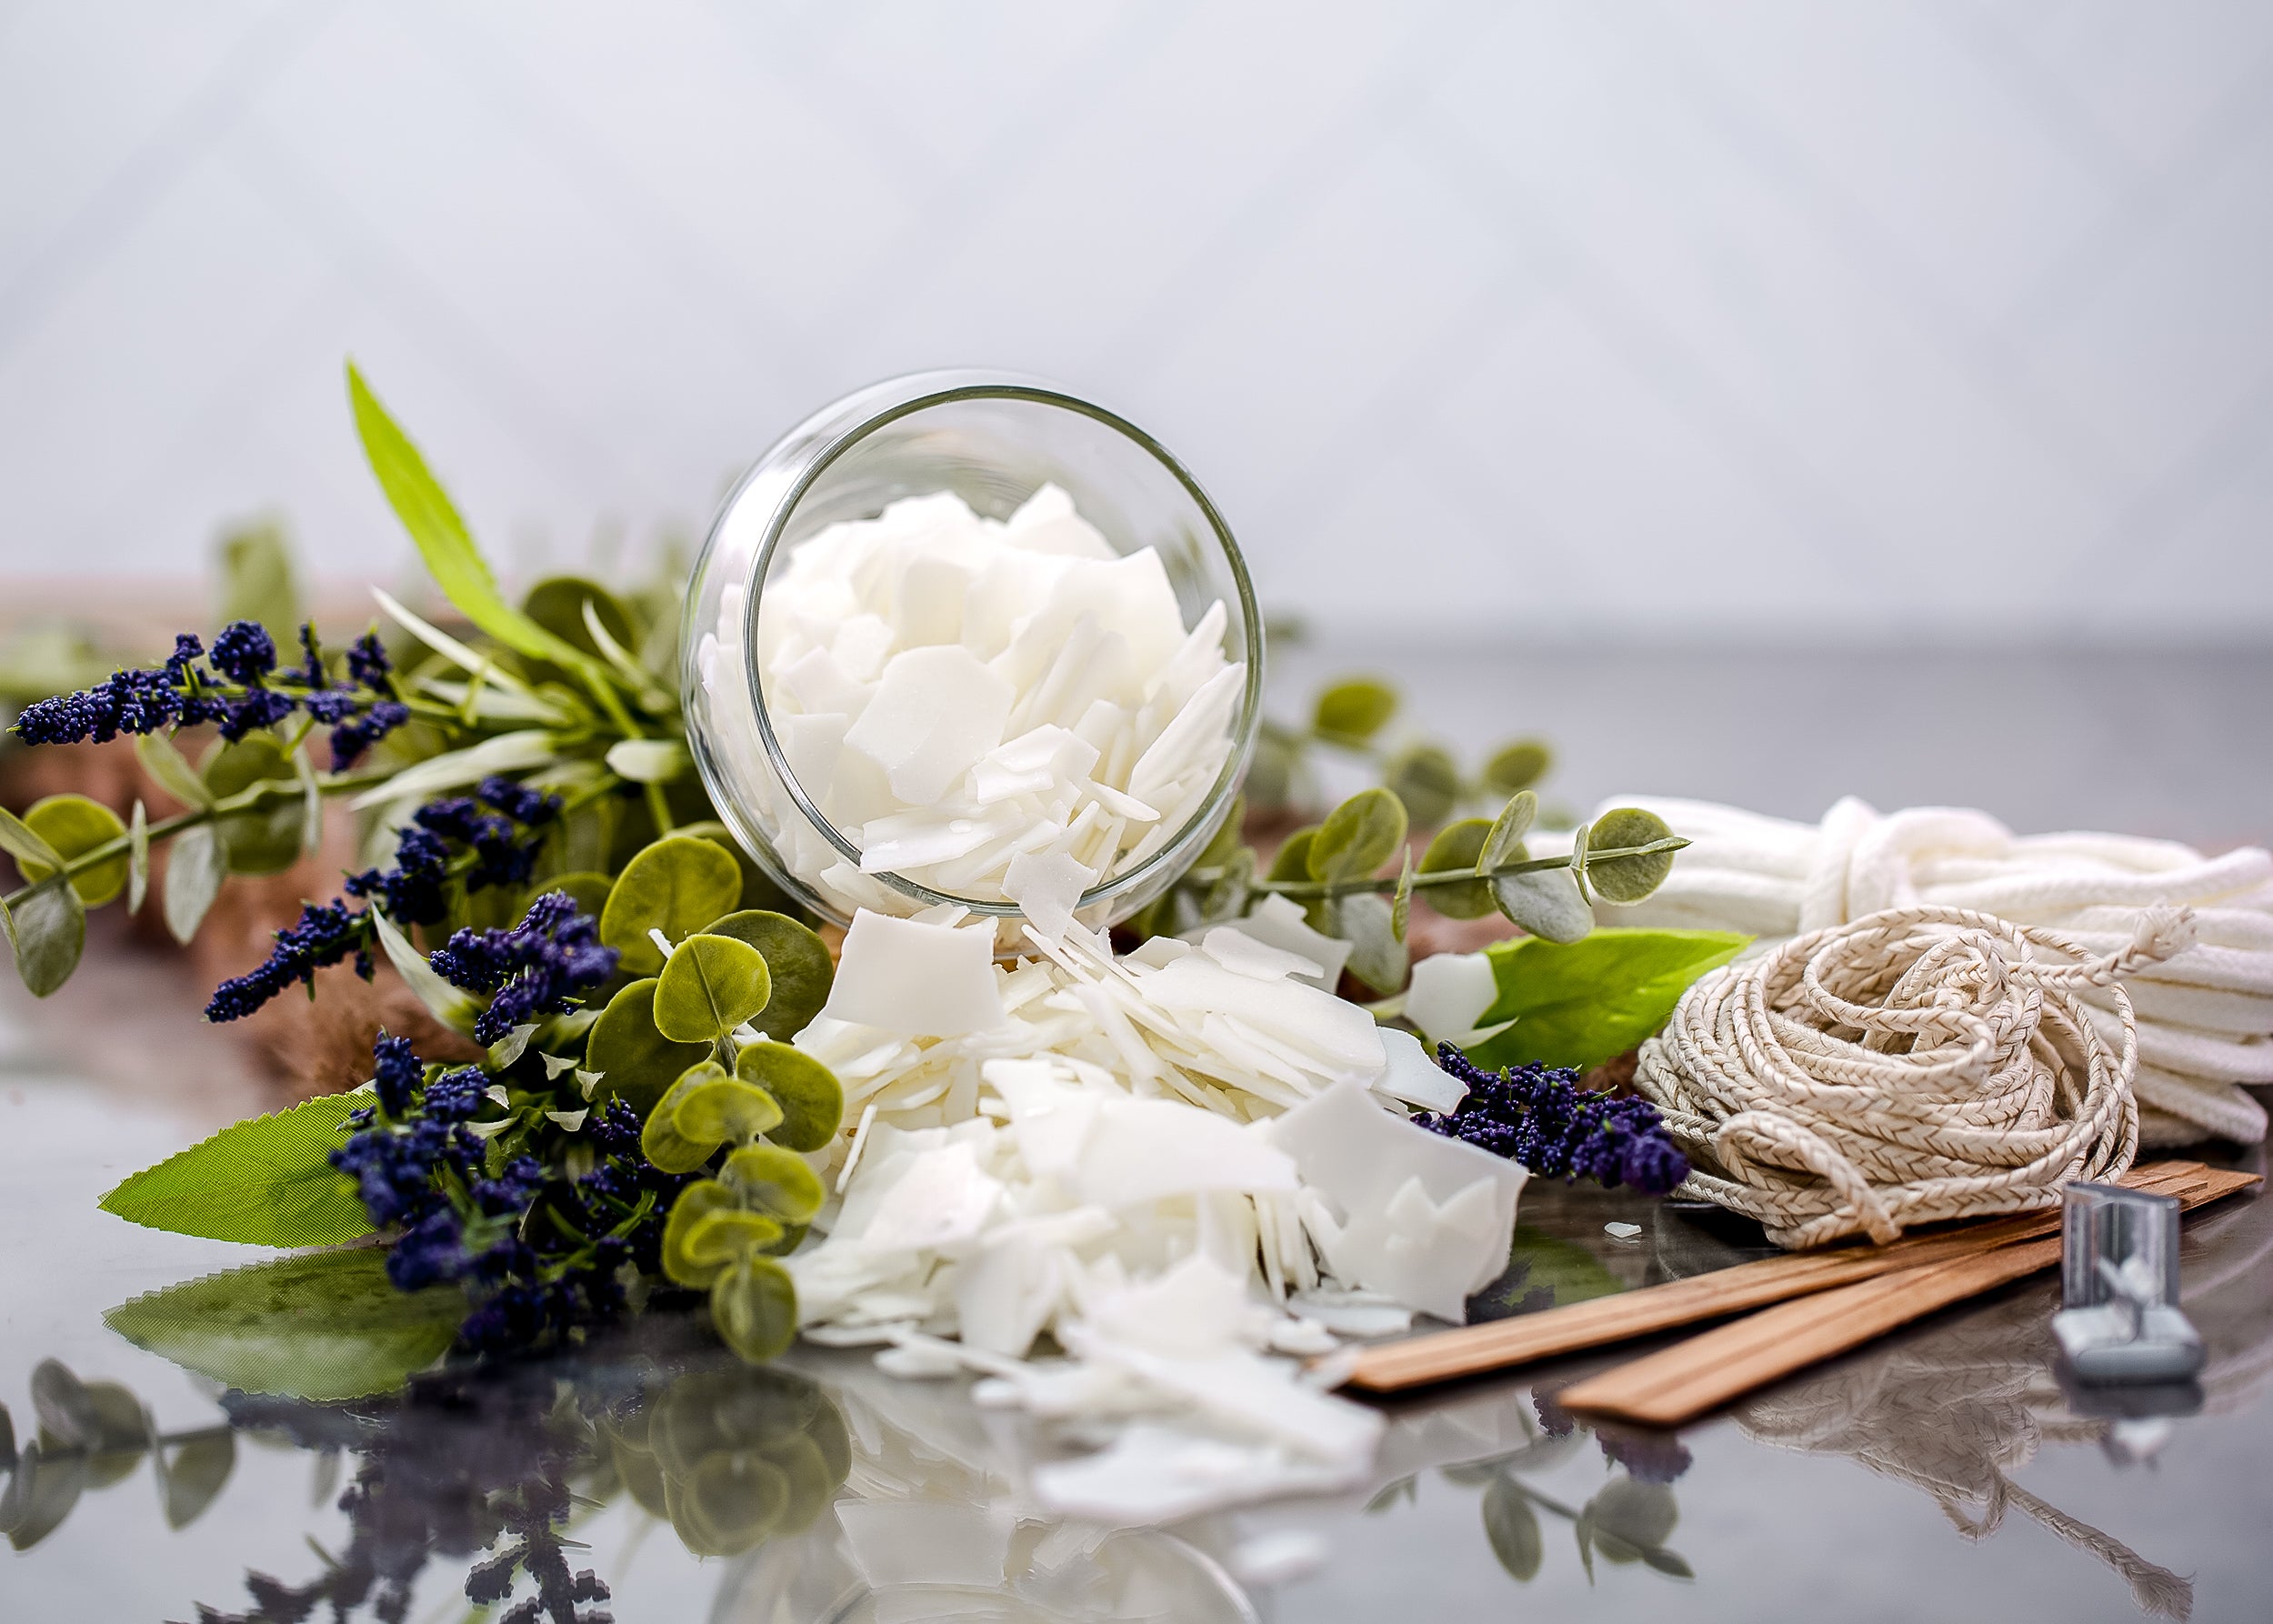
- 2lbs. Low-Sweat White Melt & Pour Soap Base
- 30ml Evergreen Fragrance Oil
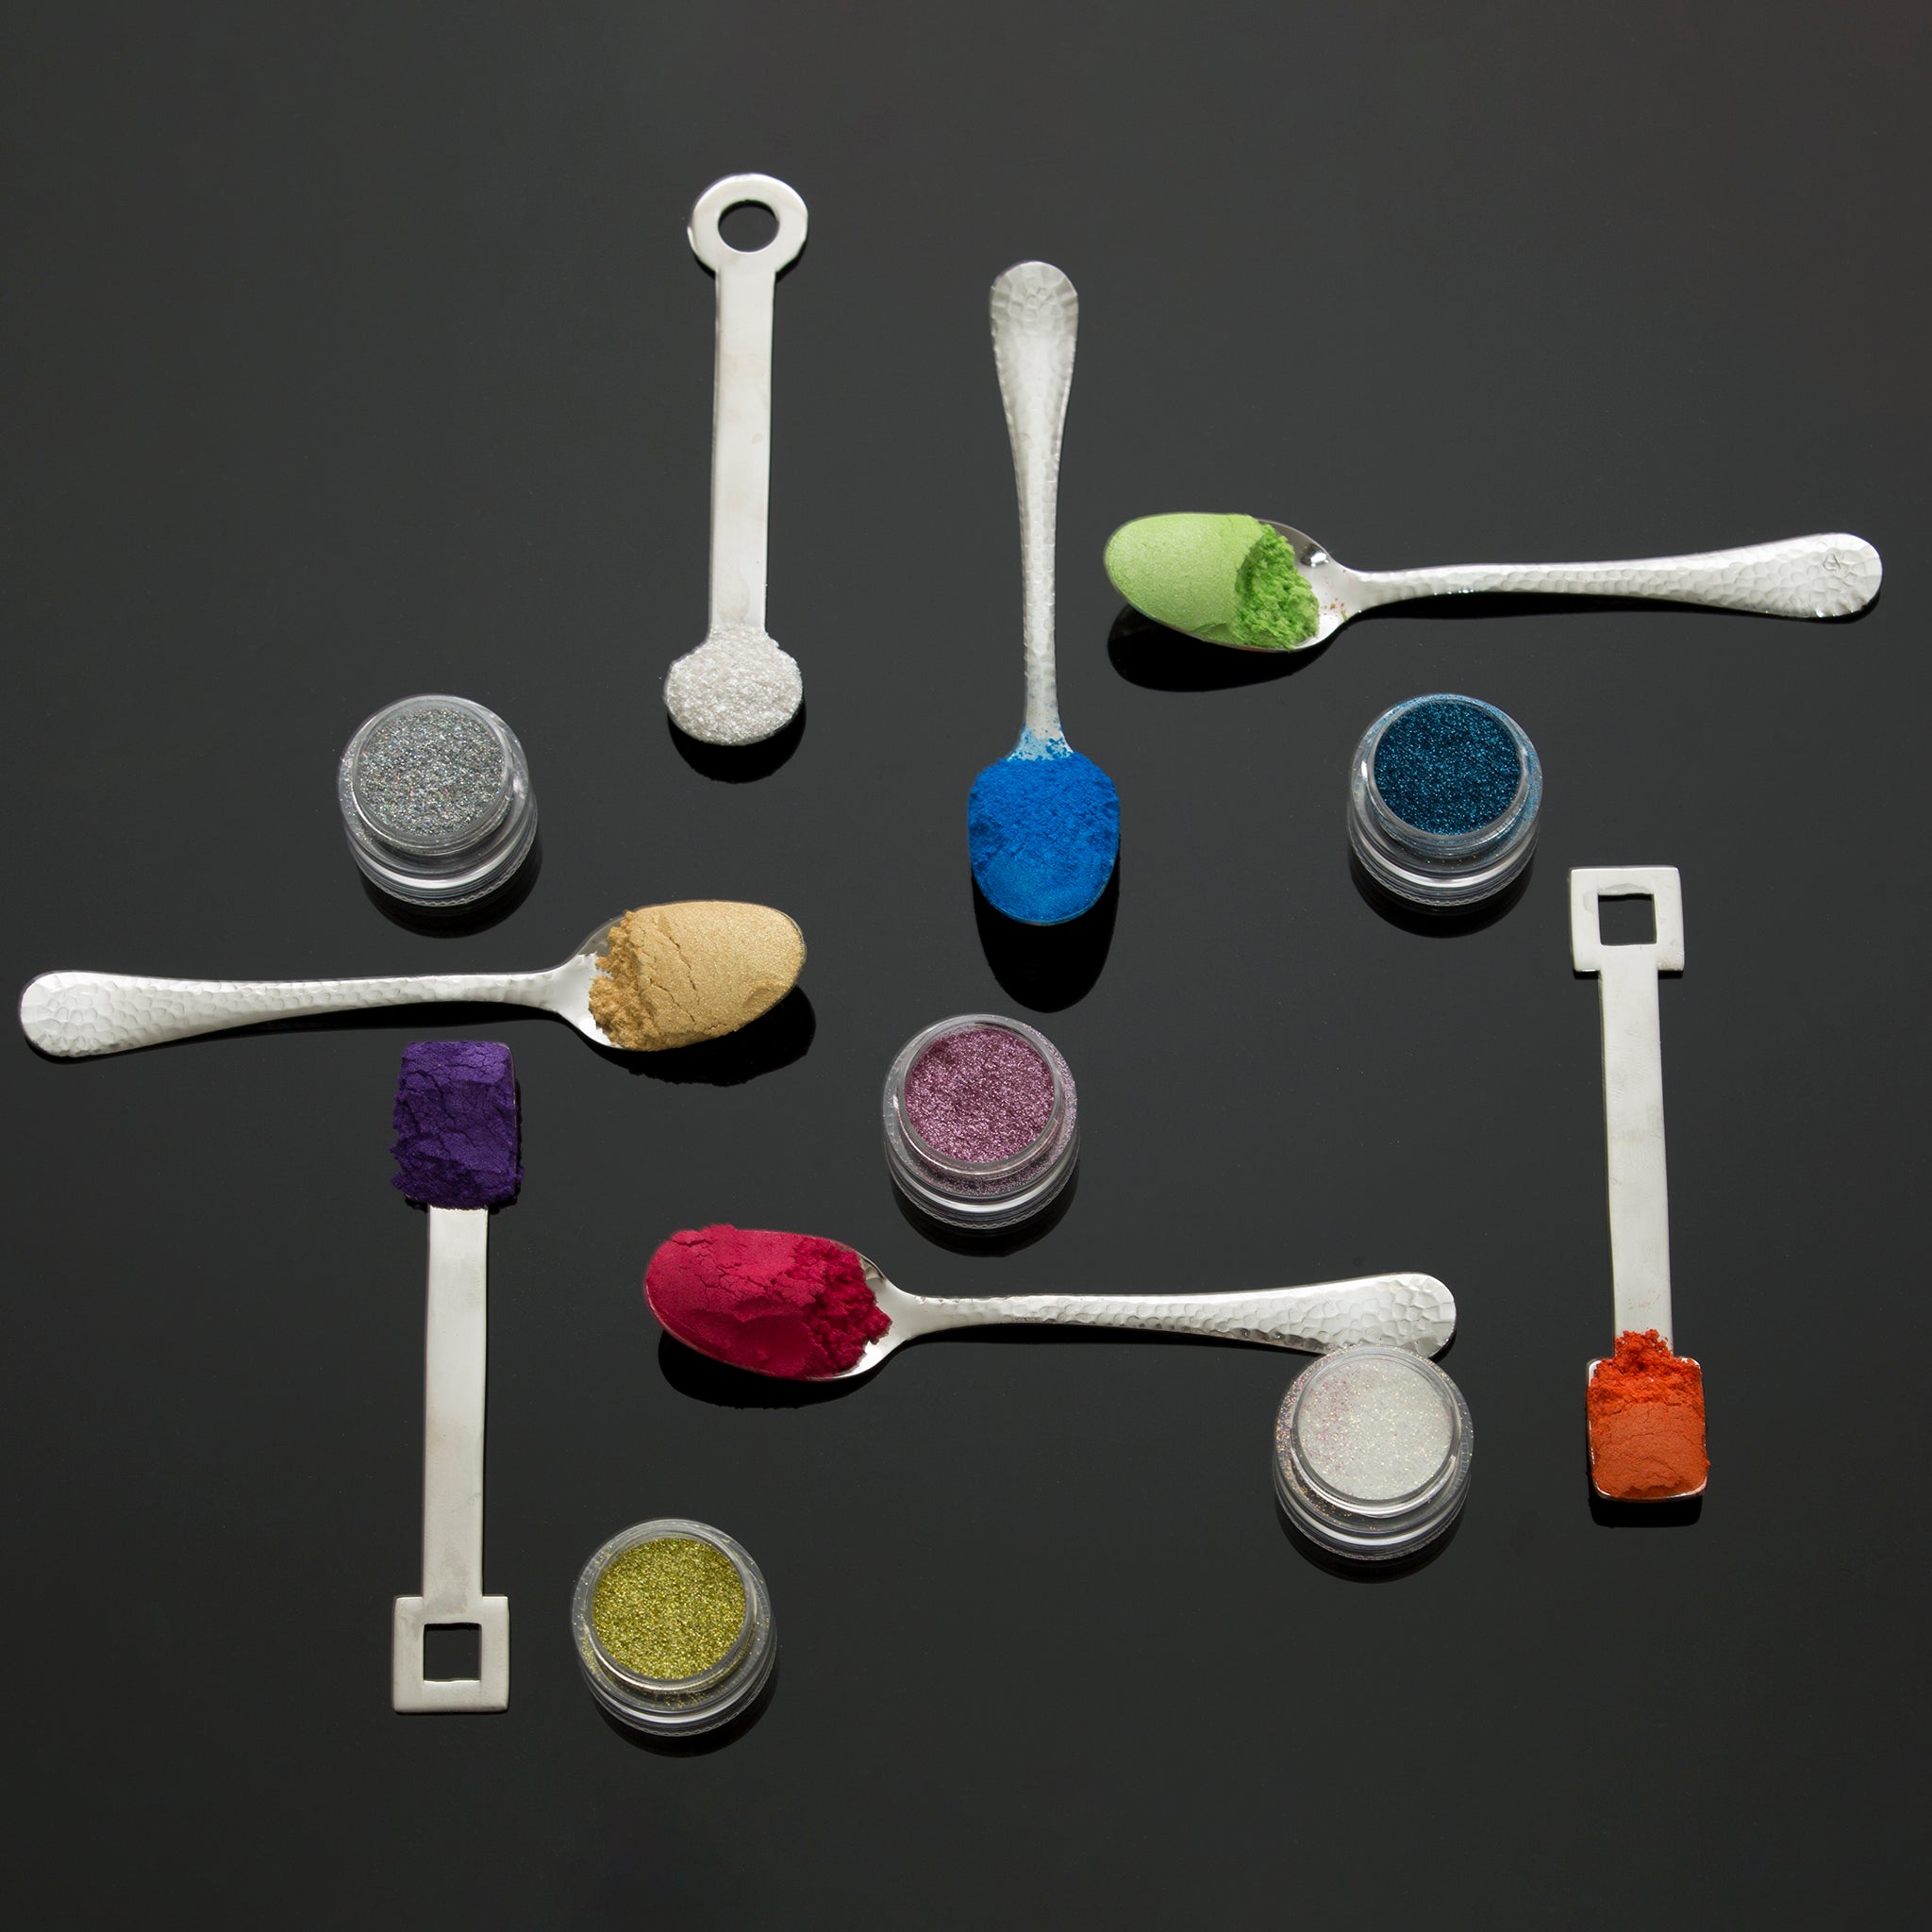
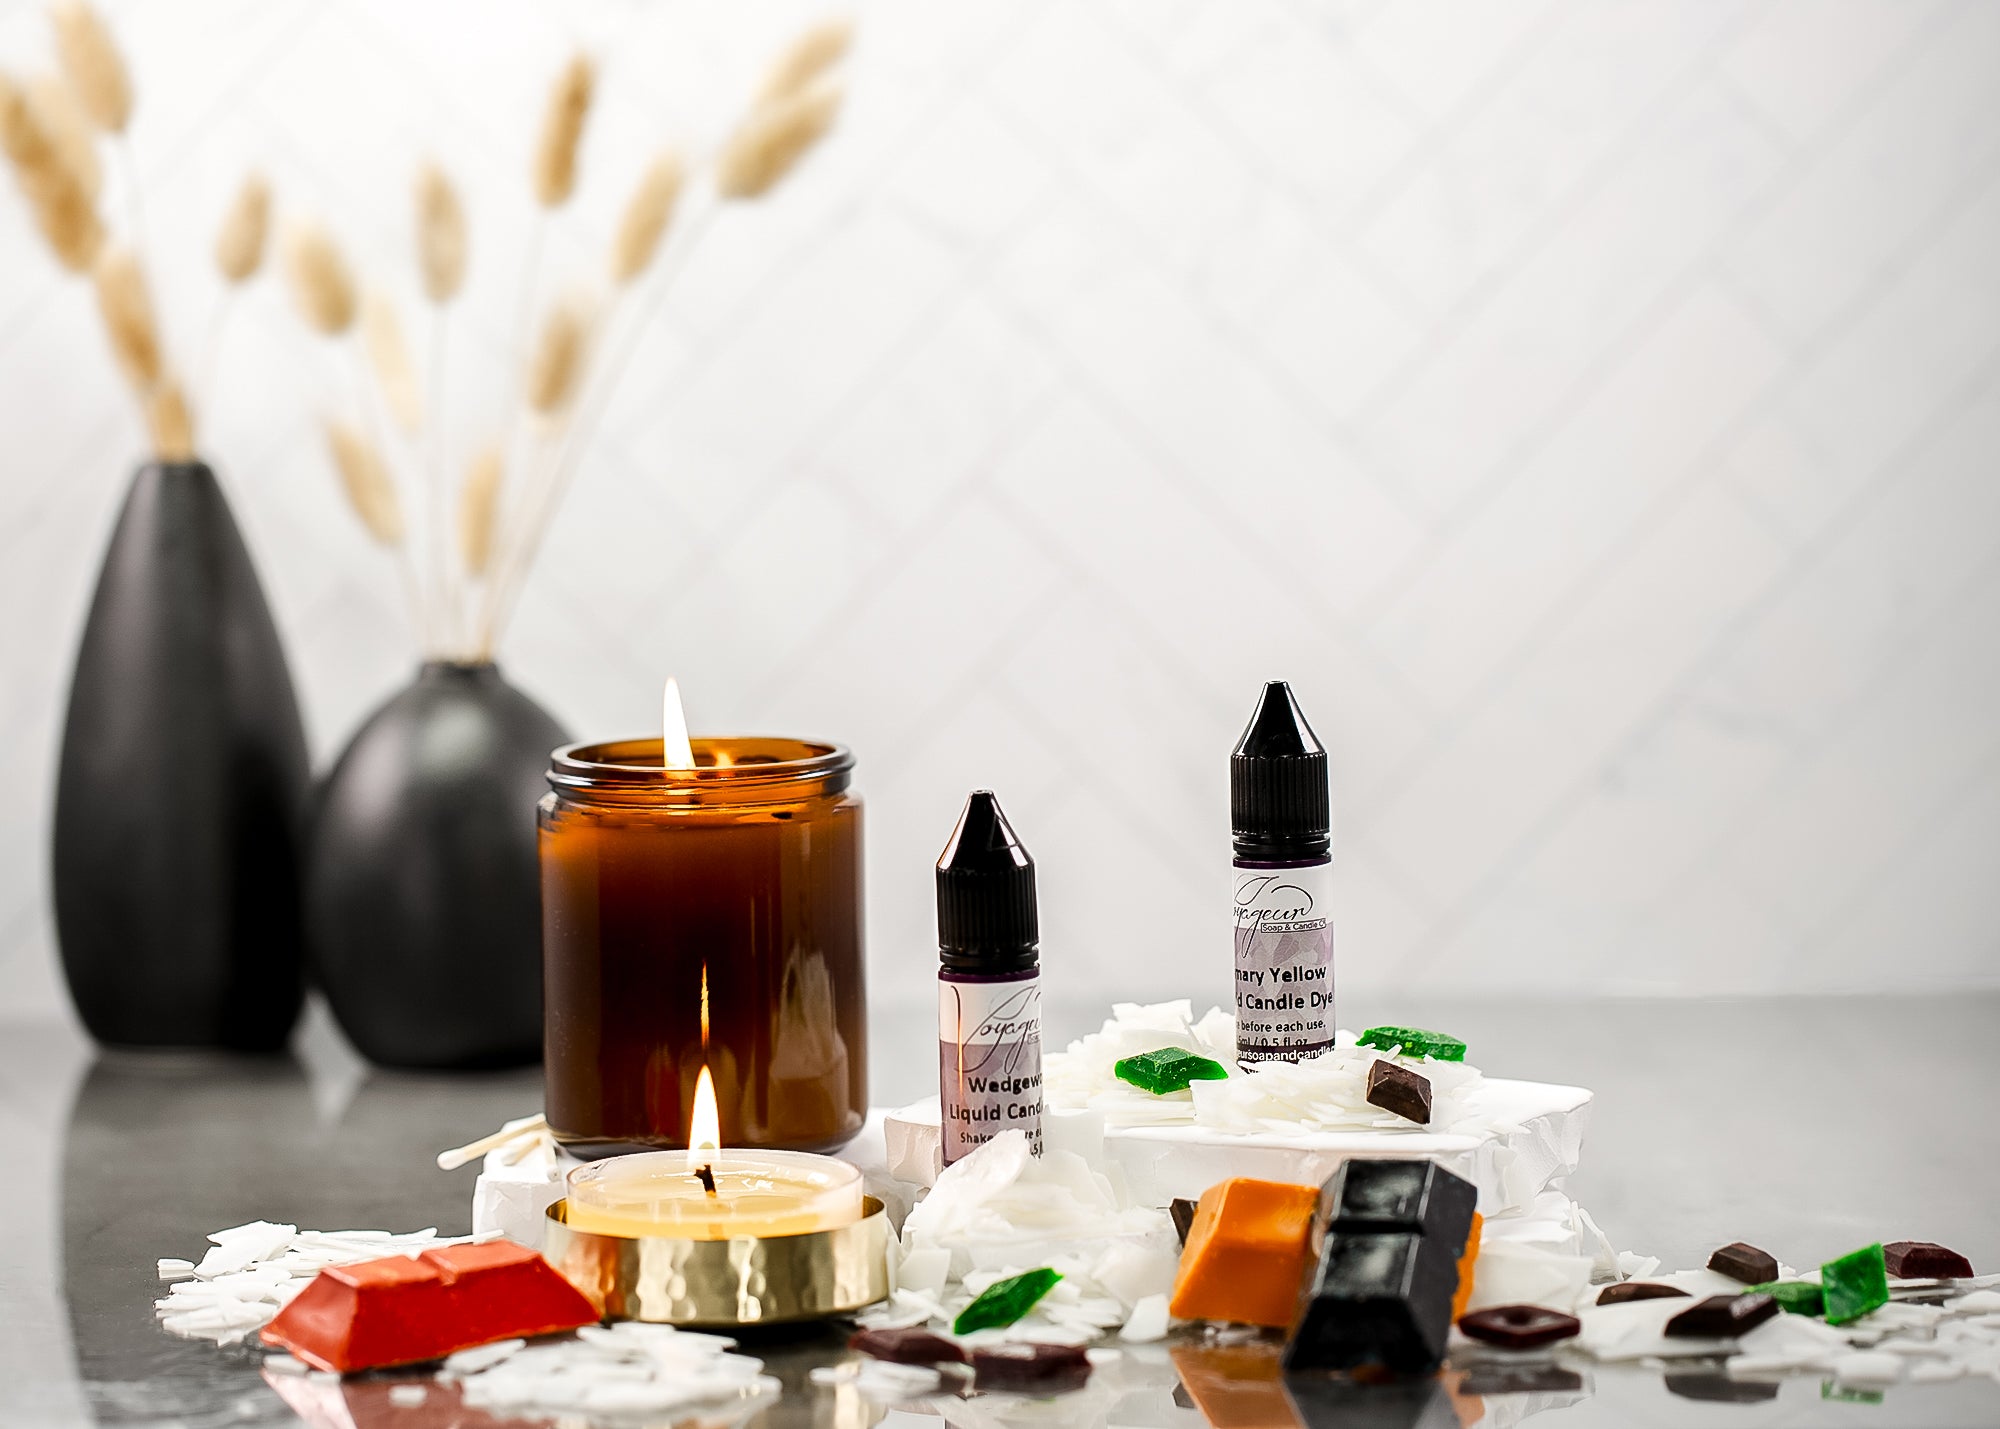
- 10g Chocolate Truffle Mica
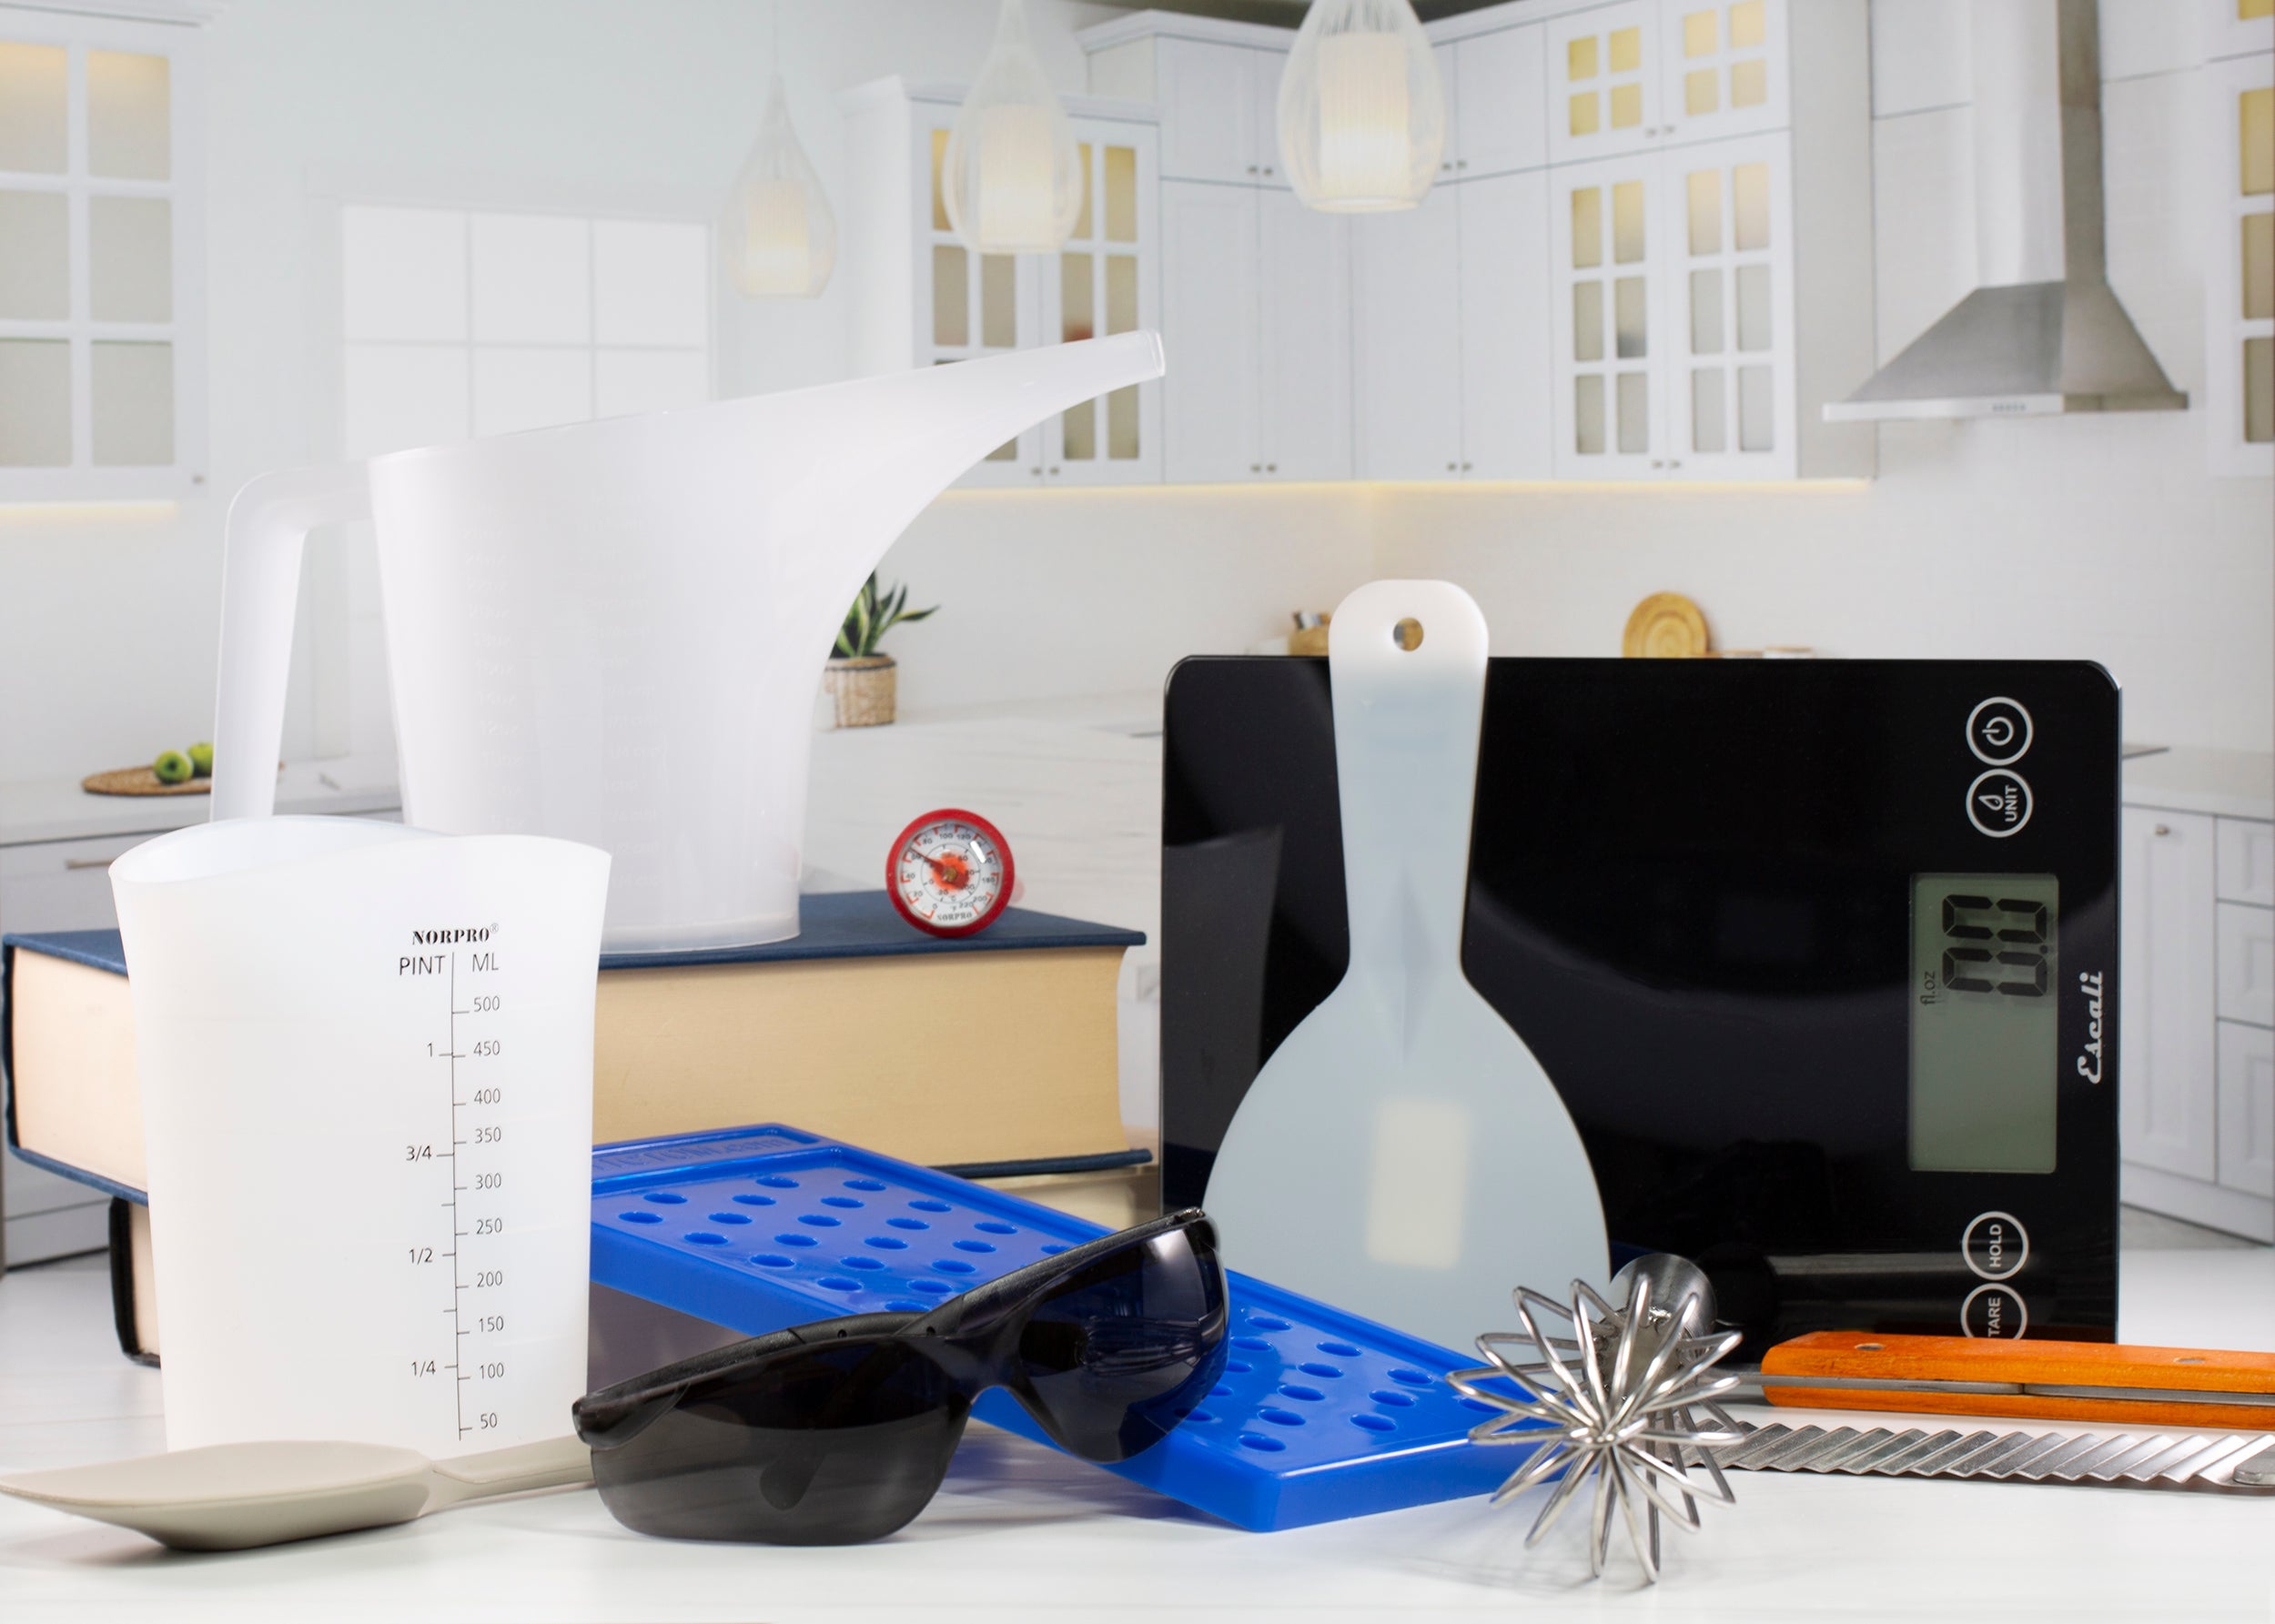
- Square Milky Way Soap Mold
- Soap Detailing Tool
- 5.8ml Pipette
- 0.15cc Scoop
- Whisk / Spoon for stirring
- Latex Gloves
- Safety Glasses
- Measuring Cup
- Microwave or Double Boiler
- Knife
- Paper Towel
- Apron
Before You Begin:
To keep crafting fun, we always want our customers to stay safe. Always wear gloves, safety glasses and an apron to protect from any splashes that occur. Keep paper towel nearby in case of spills or splashes. It is recommended to wear long sleeves to protect your arms as the soap base can become quite hot during the melting process. Be careful when handling the soap detailing tool, as its edges are very sharp. If you have any questions during your crafting process you can always call our customer service staff and they will be happy to help troubleshoot any issues you run into.
How To Make The Soap:
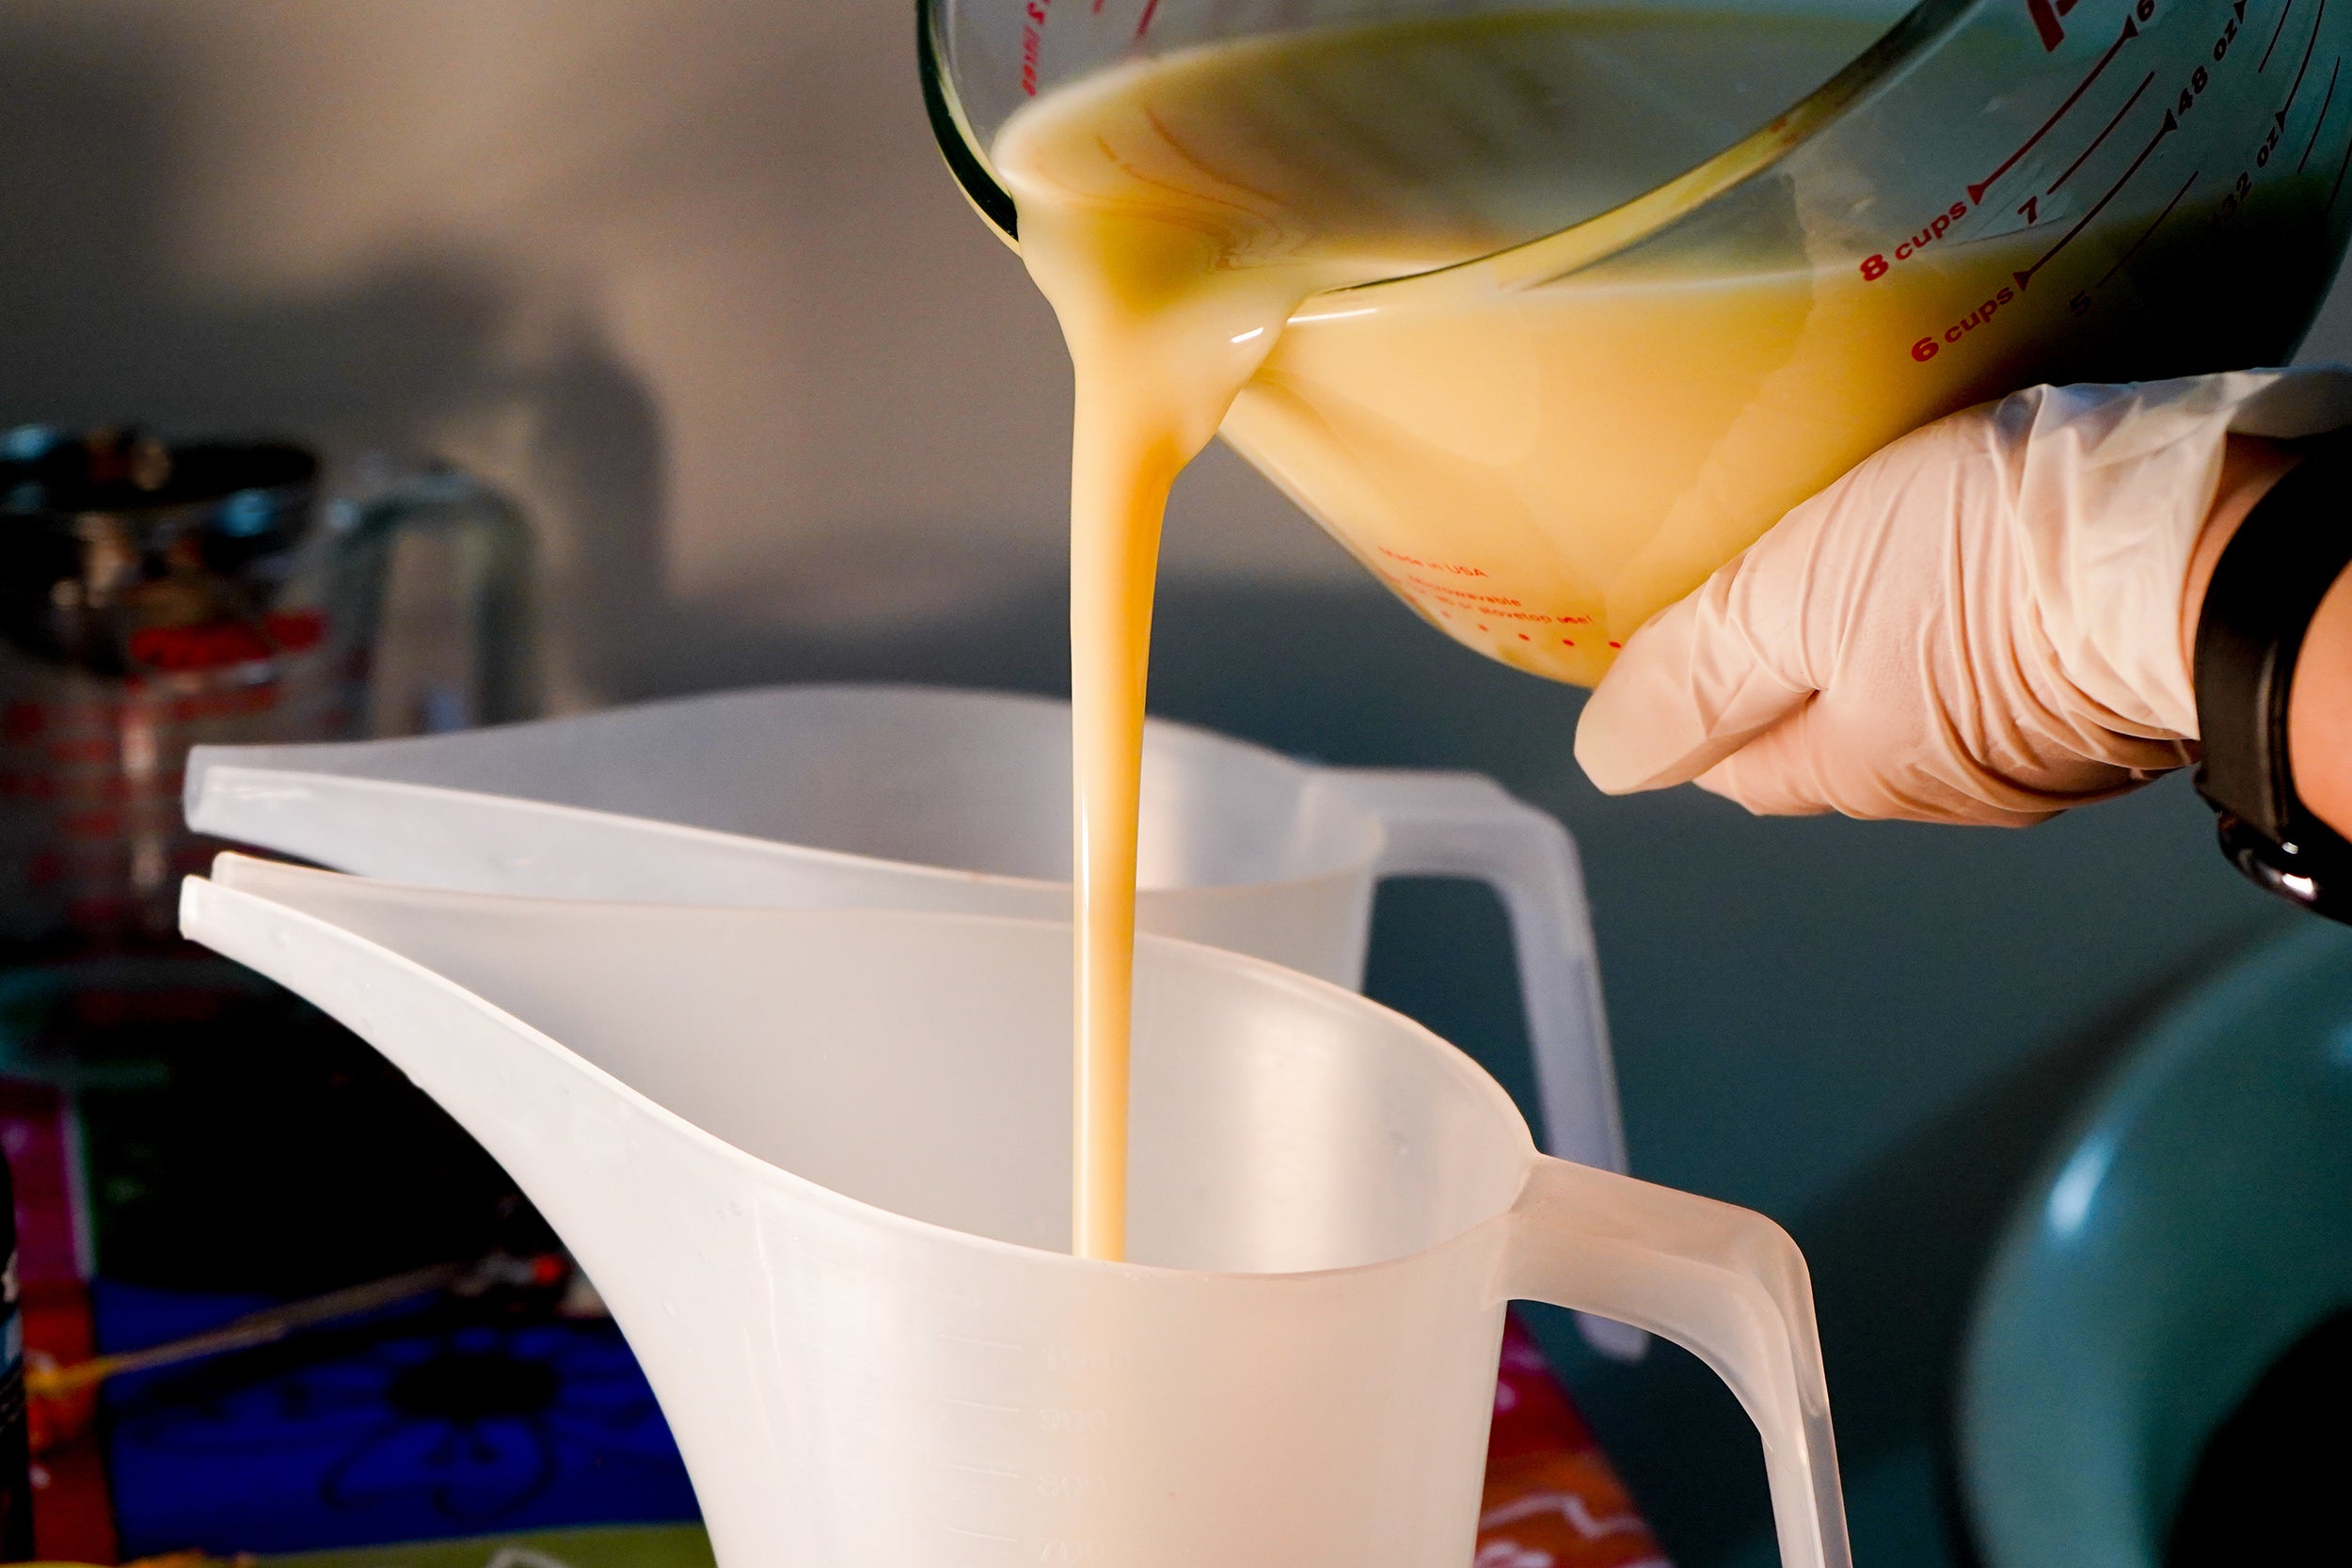
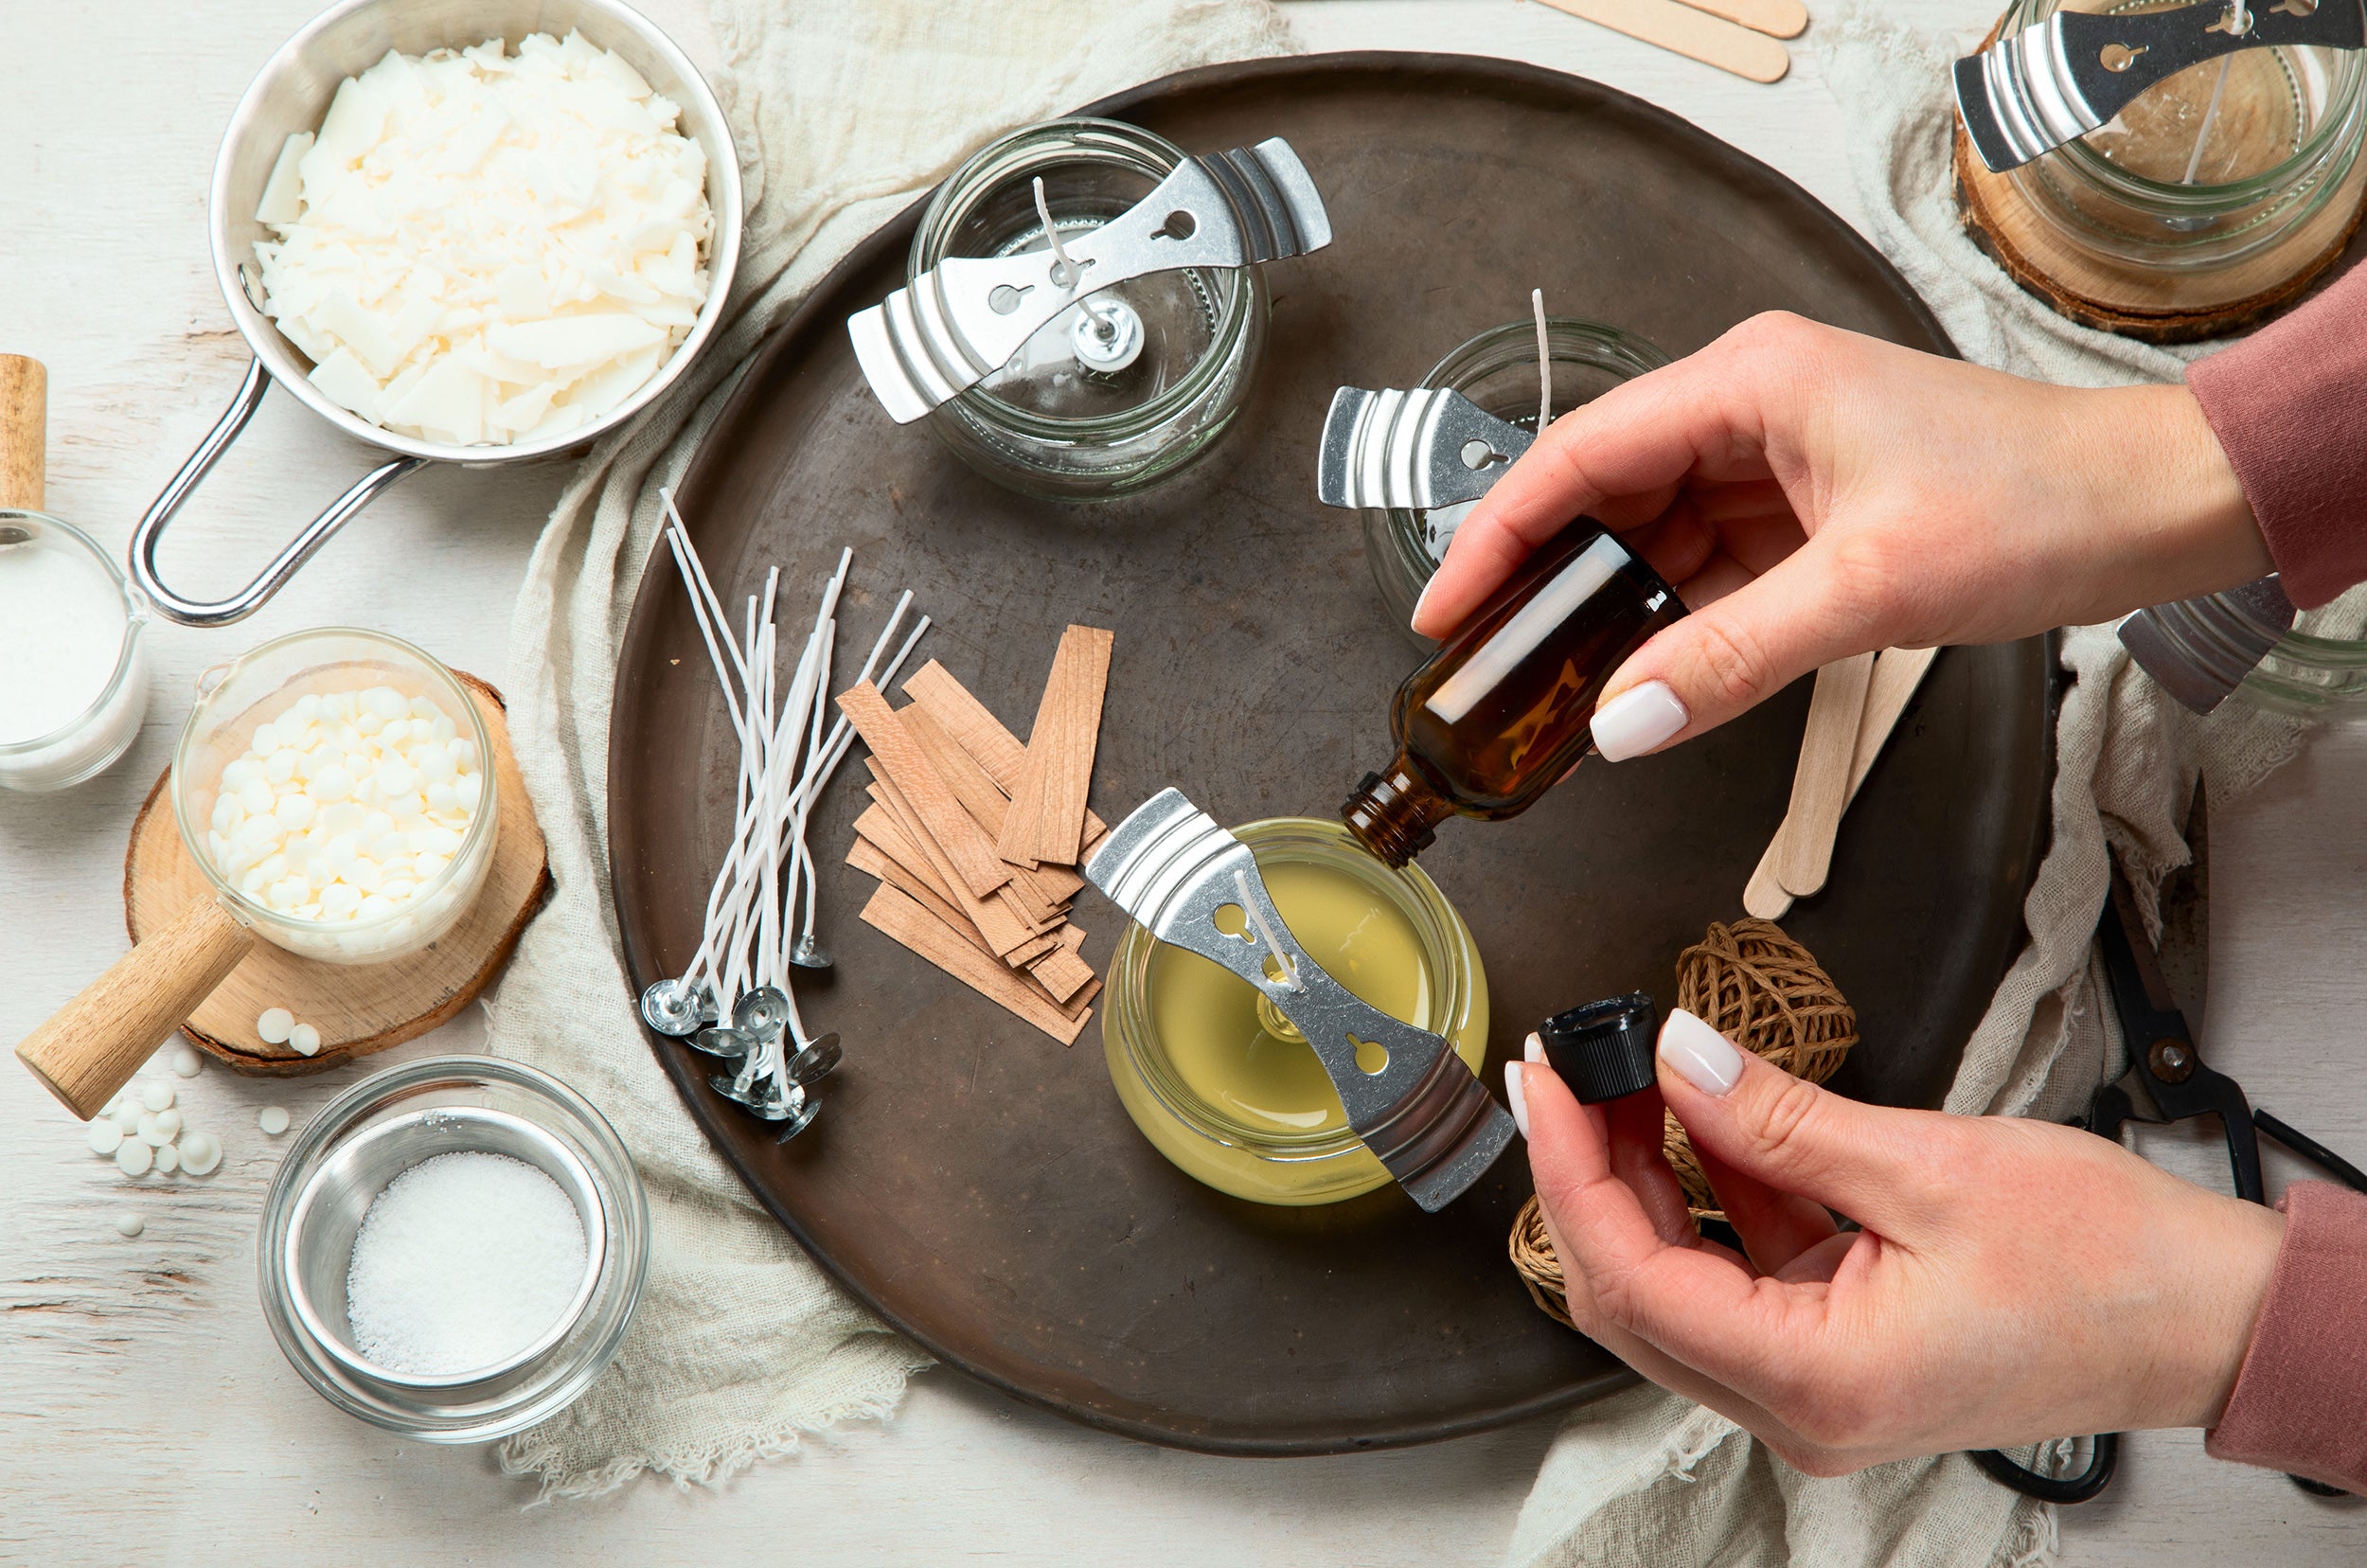
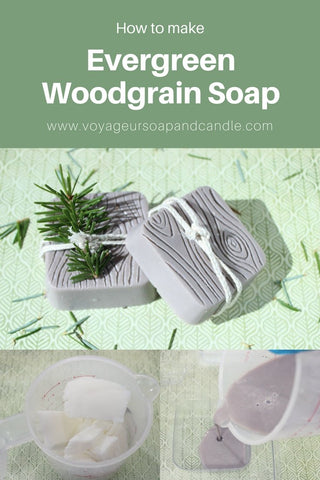
Step 1: Using a knife, cut the melt and pour soap base into small chunks and place them into your measuring cup. Melt the soap base in a microwave or in a double boiler. If using a microwave stir every 30-45 seconds to avoid burning.


Step 2: Once the base is melted completely and in your measuring cup, slowly add your mica one scoop at a time using the 0.15cc Scoop. Stir after each scoop to ensure all the mica is mixed properly. This will help to avoid any speckles in your finished product. The amount of mica you add is based on personal preference so add slowly until you get the colour strength you like.
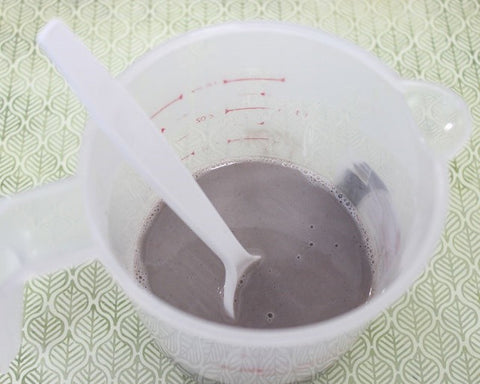
Step 3: While still in the measuring cup you can begin to add your fragrance. Again, add the fragrance slowly using the pipette at about 5mL at a time until you get a scent strength you like.

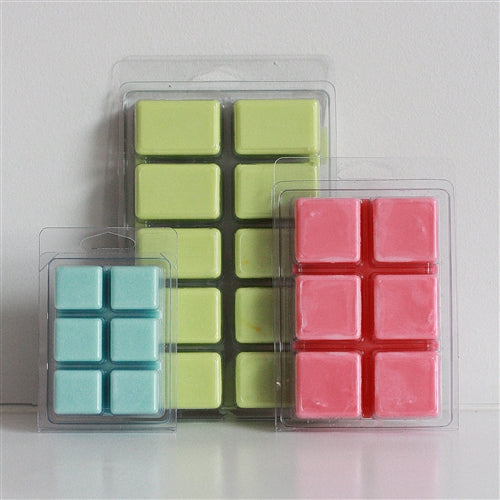
Step 4: Once your soap base is scented and coloured to your liking you can pour it into your mold. Fill each cavity of the mold and set aside for 3-5 hours or overnight.

How To Carve Your Soap:
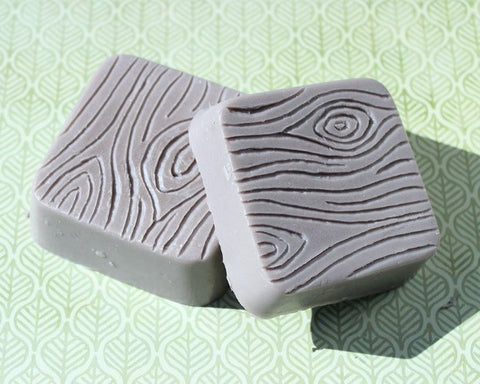
Step 1: After letting your soap sit you can now remove it from the mold. Using your soap detailing tool begin to delicately rough in the lines for the wood grain design.


Step 2: When you are happy with the placement of your lines you can now use the triangular end of the detailing tool and deepen the lines. Using the tool on an angle can also help to widen the lines and increase the definition.

Step 3: When you are finished adding this definition to your lines, gently use a paper towel, cloth or even a paint brush to gently remove any excess bits of soap left behind by the detailing tool.
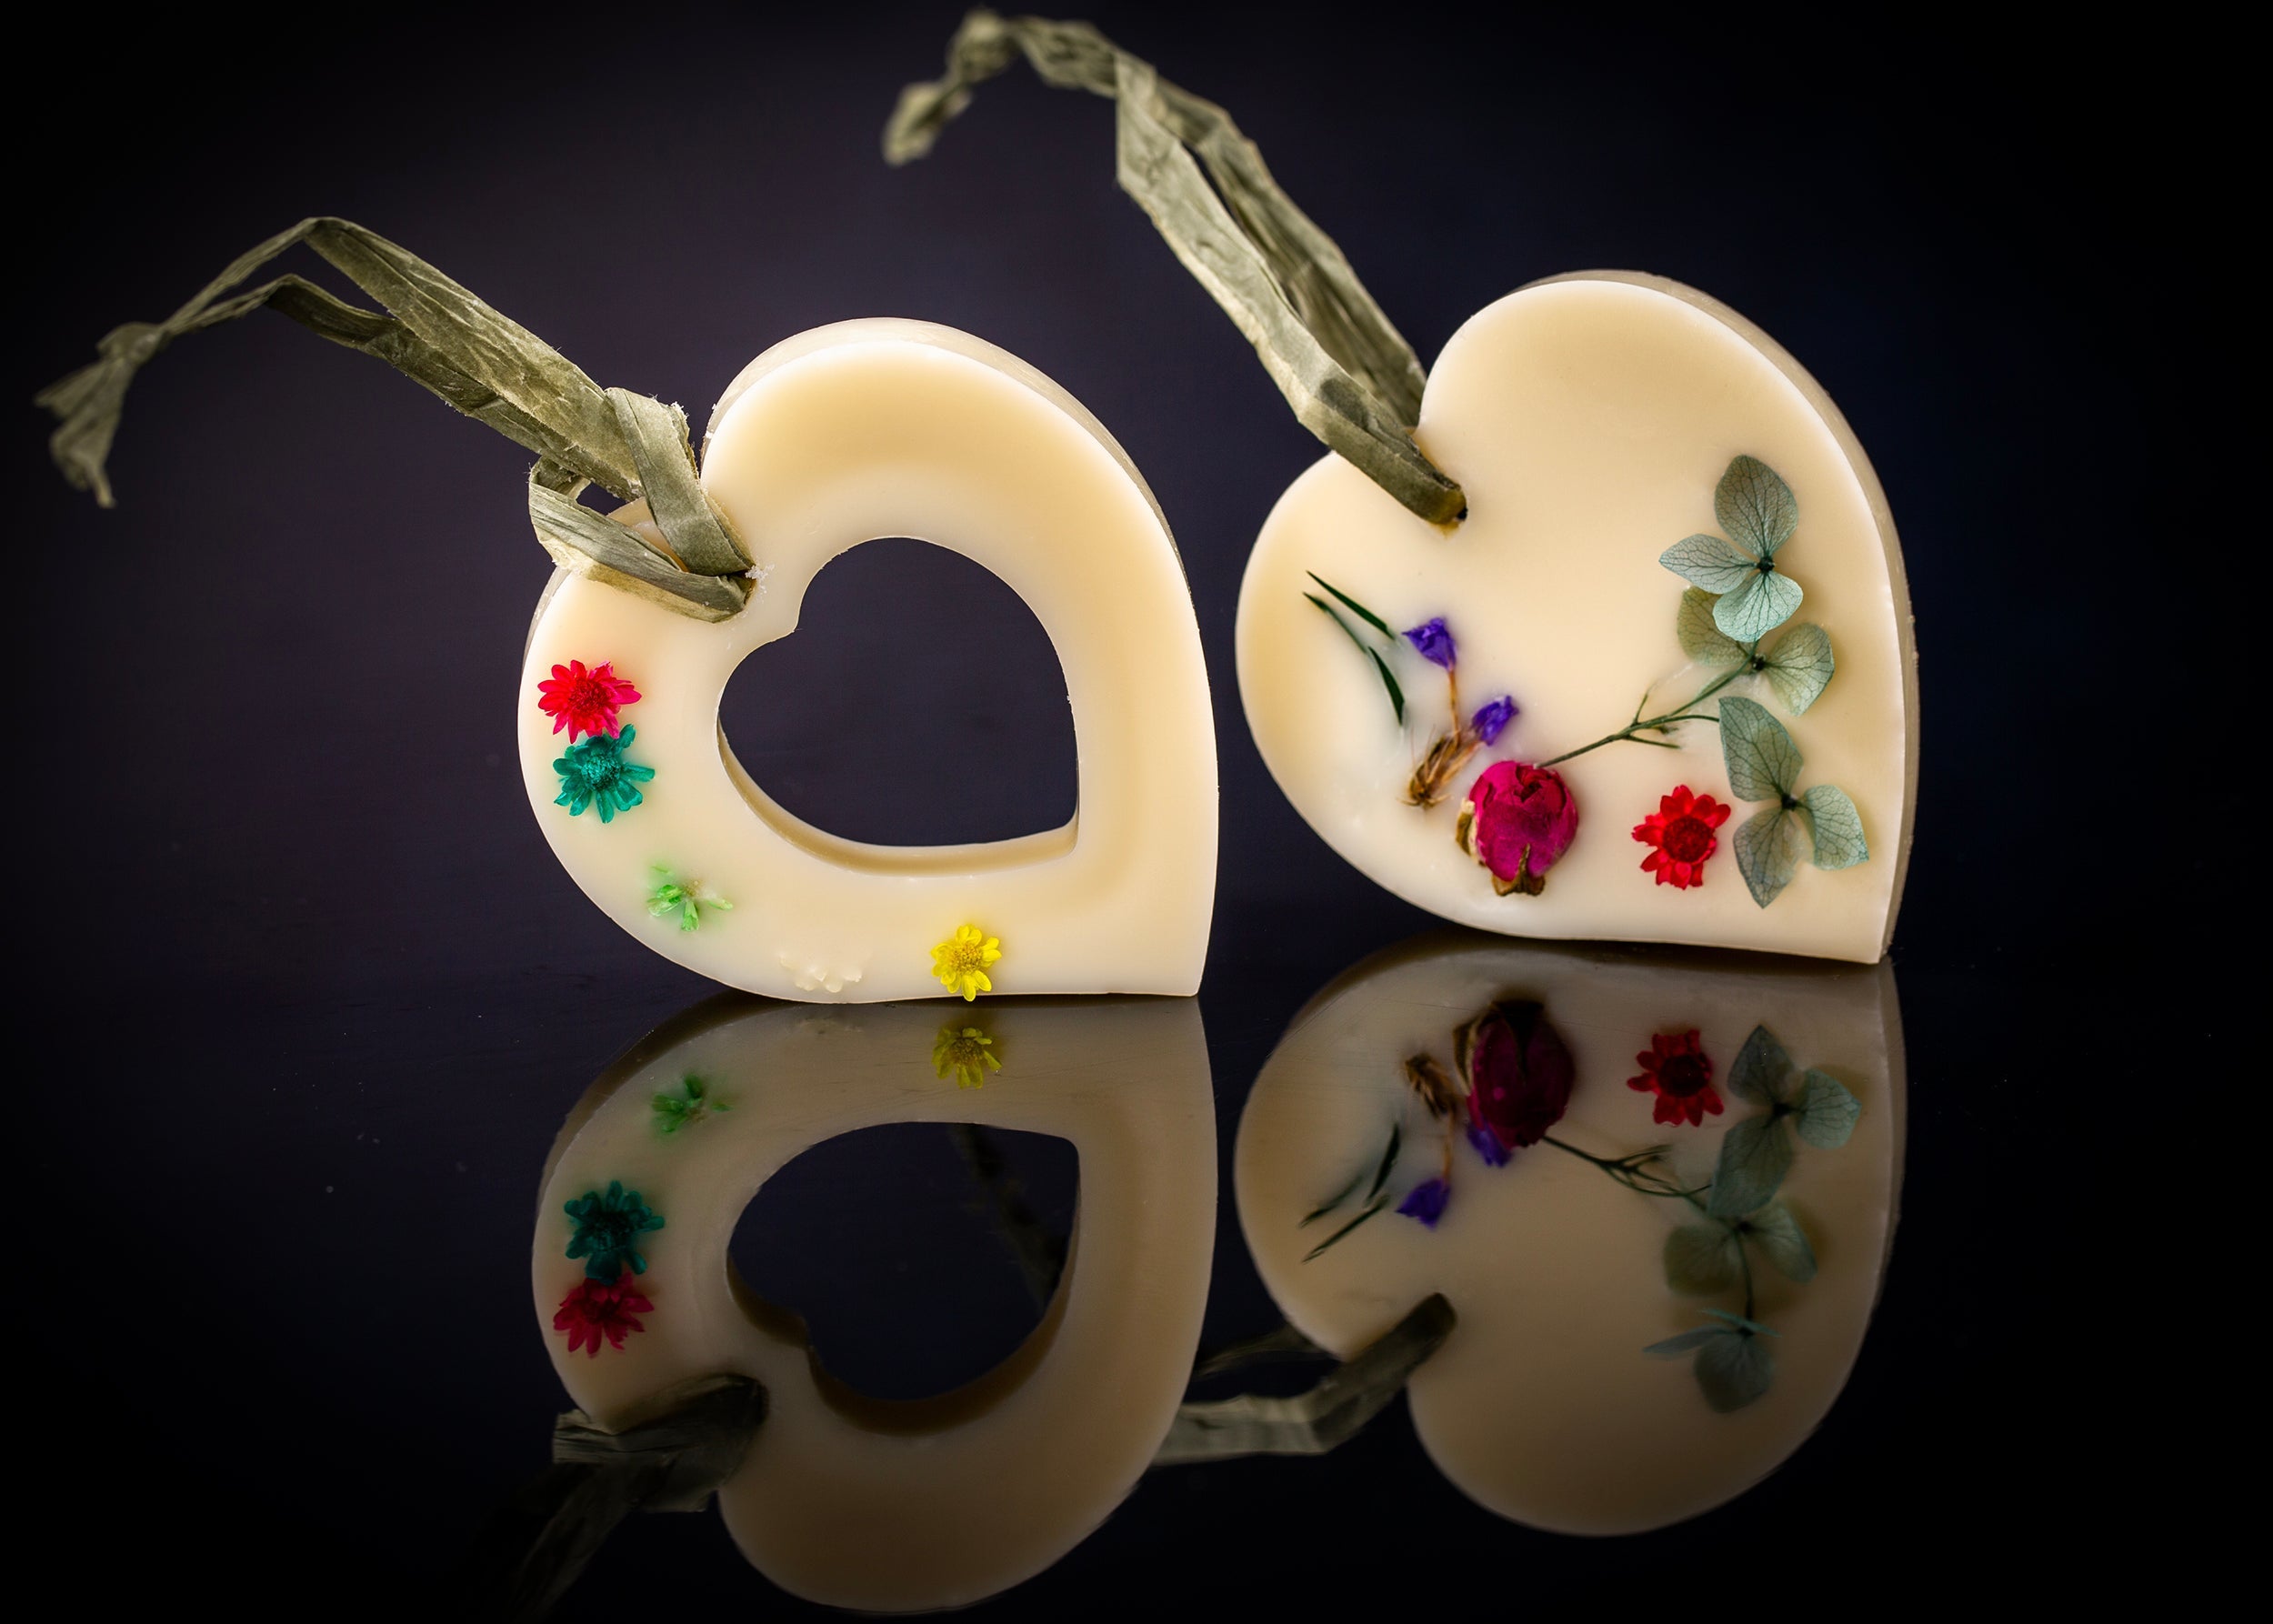
Finishing Touches:
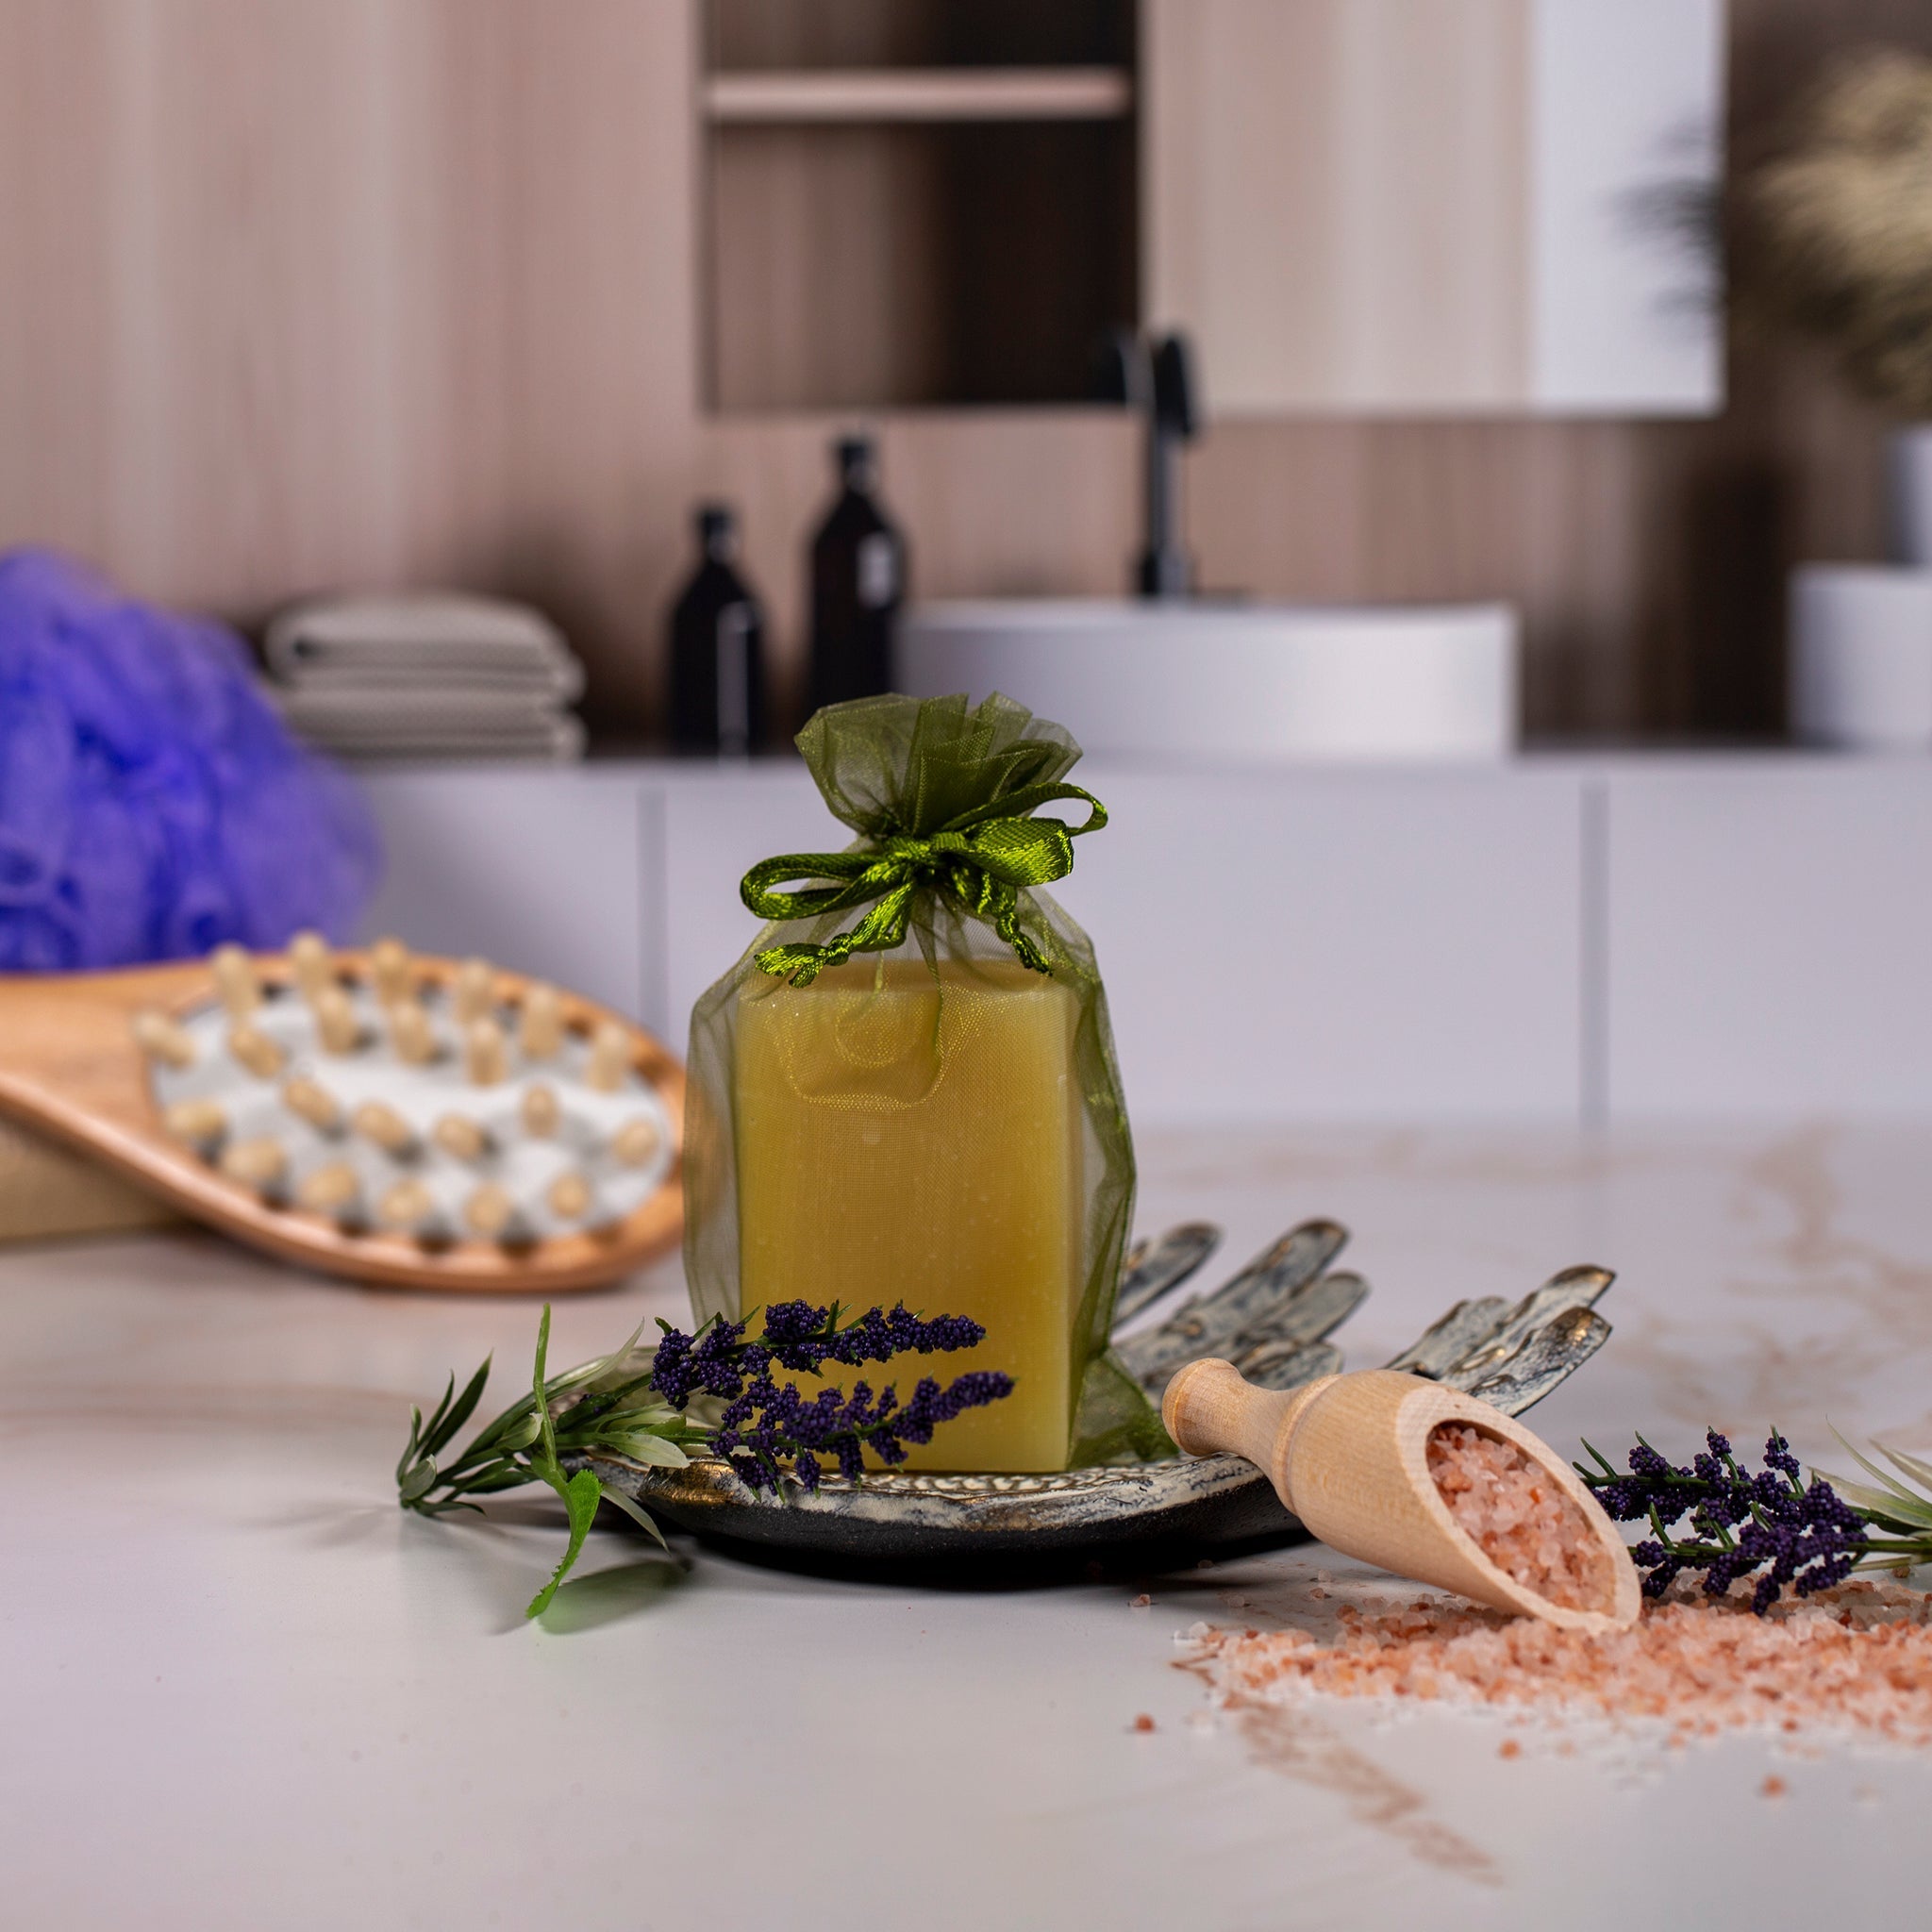
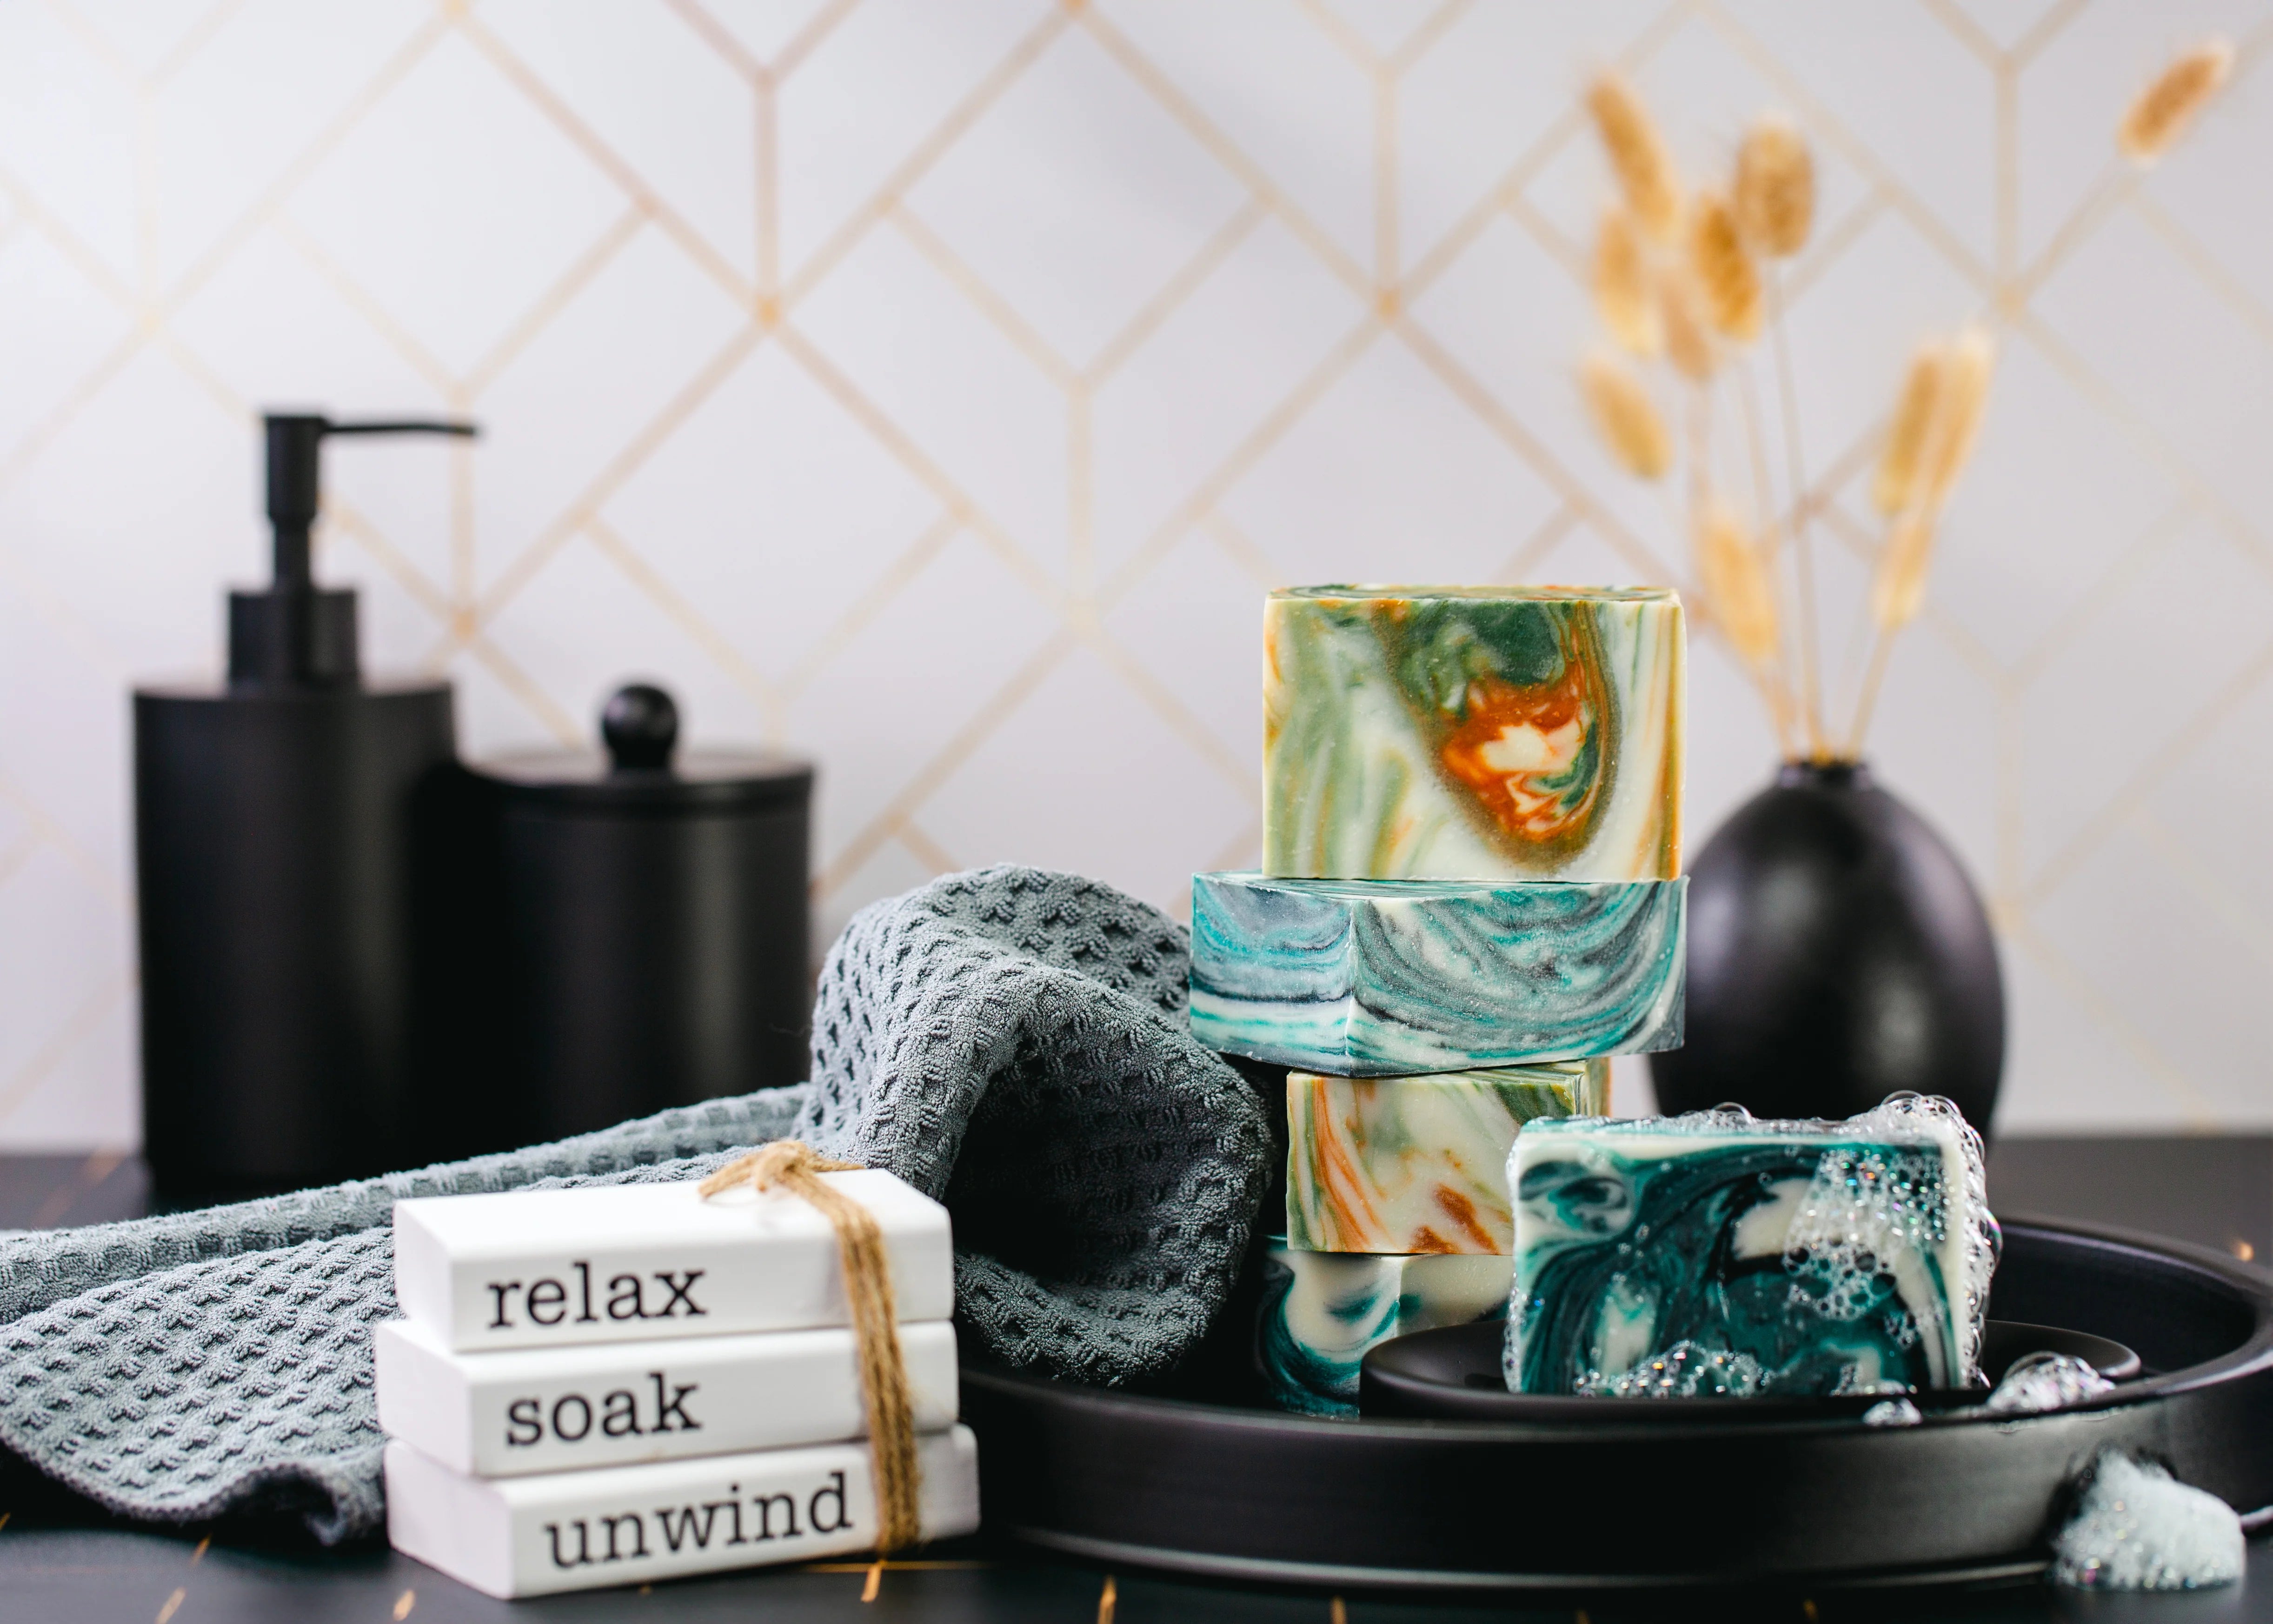
To put the finishing touches on your soap, you can be as creative as you would like. As you can see from the picture at the top, we used some rope and evergreen needles to give our soap a natural earthy look.
Click Here for a PDF Copy of this Recipe