


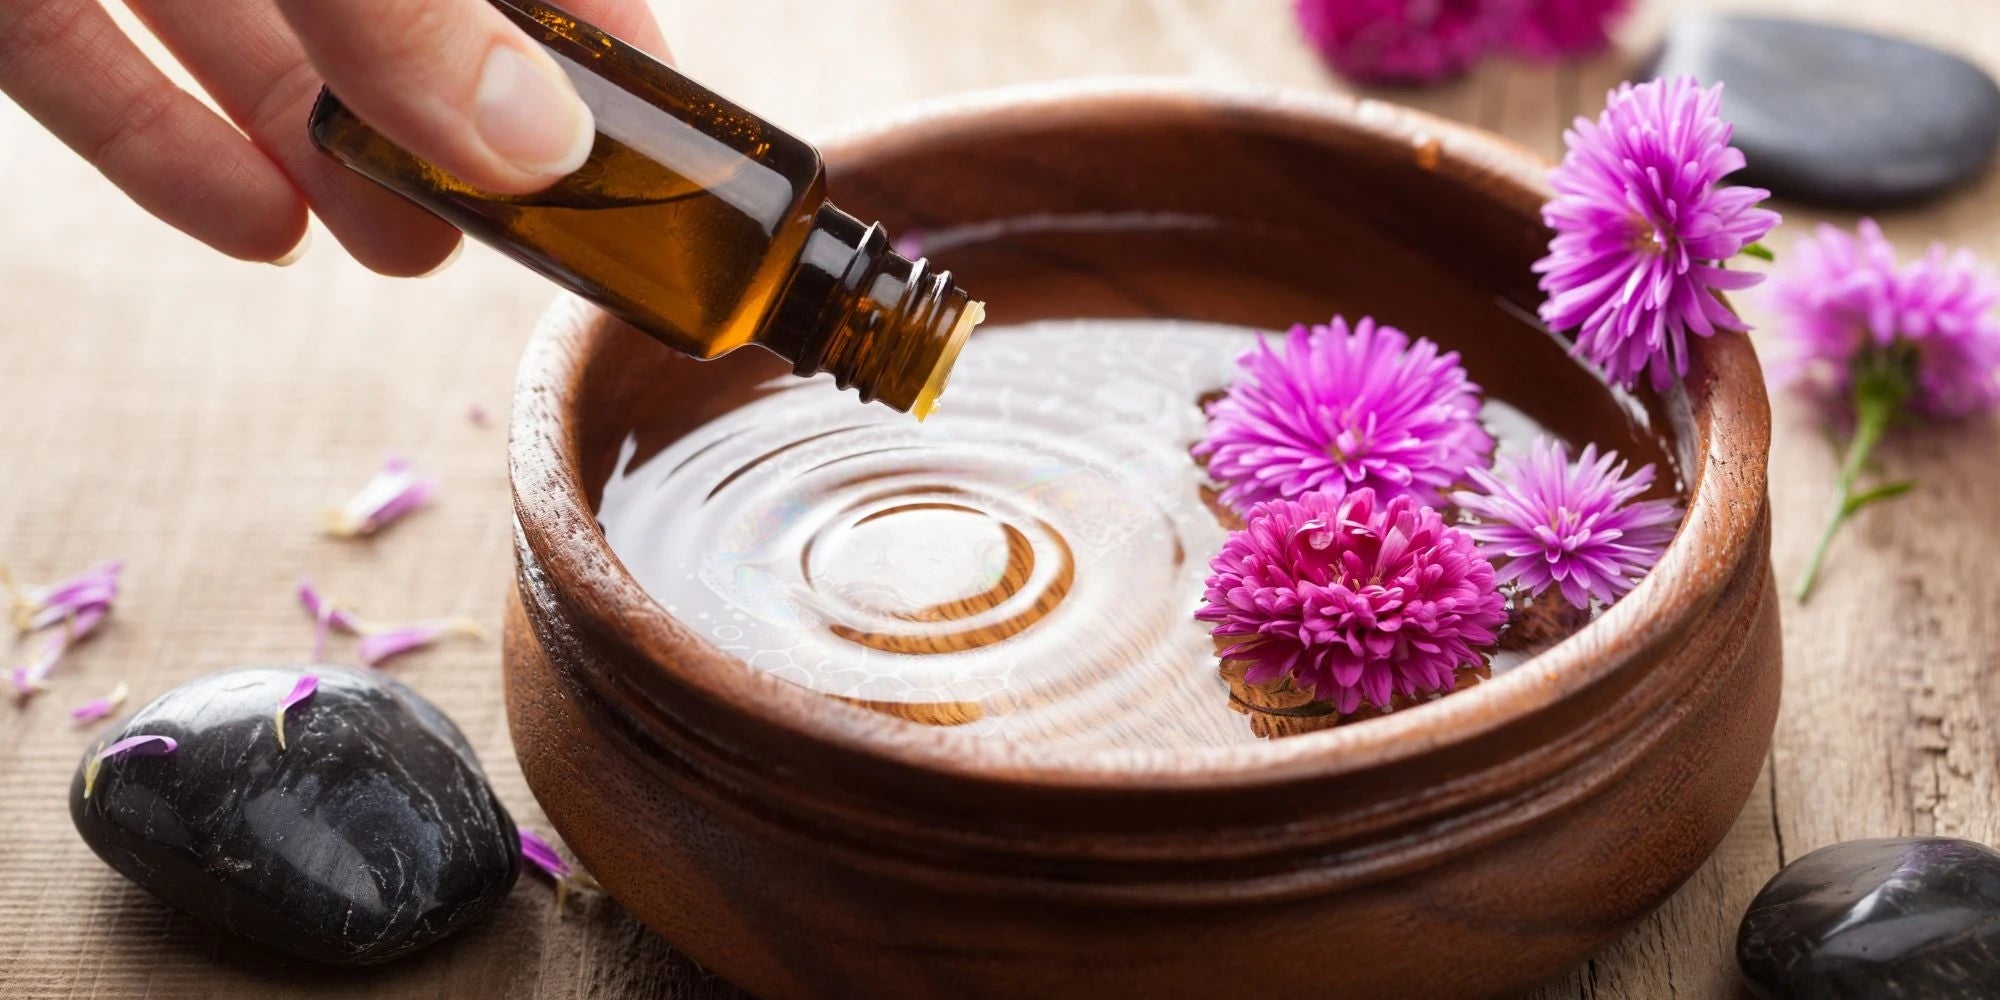


Bring a little Halloween fun to your bath time with these bright orange Jack-o’-Lantern bath bombs! Each fizzy pumpkin is made with skin-loving avocado oil, moisturizing kokum butter, and polysorbate 80 to help disperse oils evenly in the tub. Scented with juicy mango fragrance and colored a cheerful pumpkin orange, these bath bombs fizz, foam, and leave the water silky smooth.
Once they’re fully dried, the magic touch comes in—painting playful Jack-o’-Lantern faces using a simple mix of onyx mica and isopropyl alcohol. The result? A fun and festive bath treat that looks just like mini pumpkins until they hit the water and transform your bath into a fruity, fizzy experience.
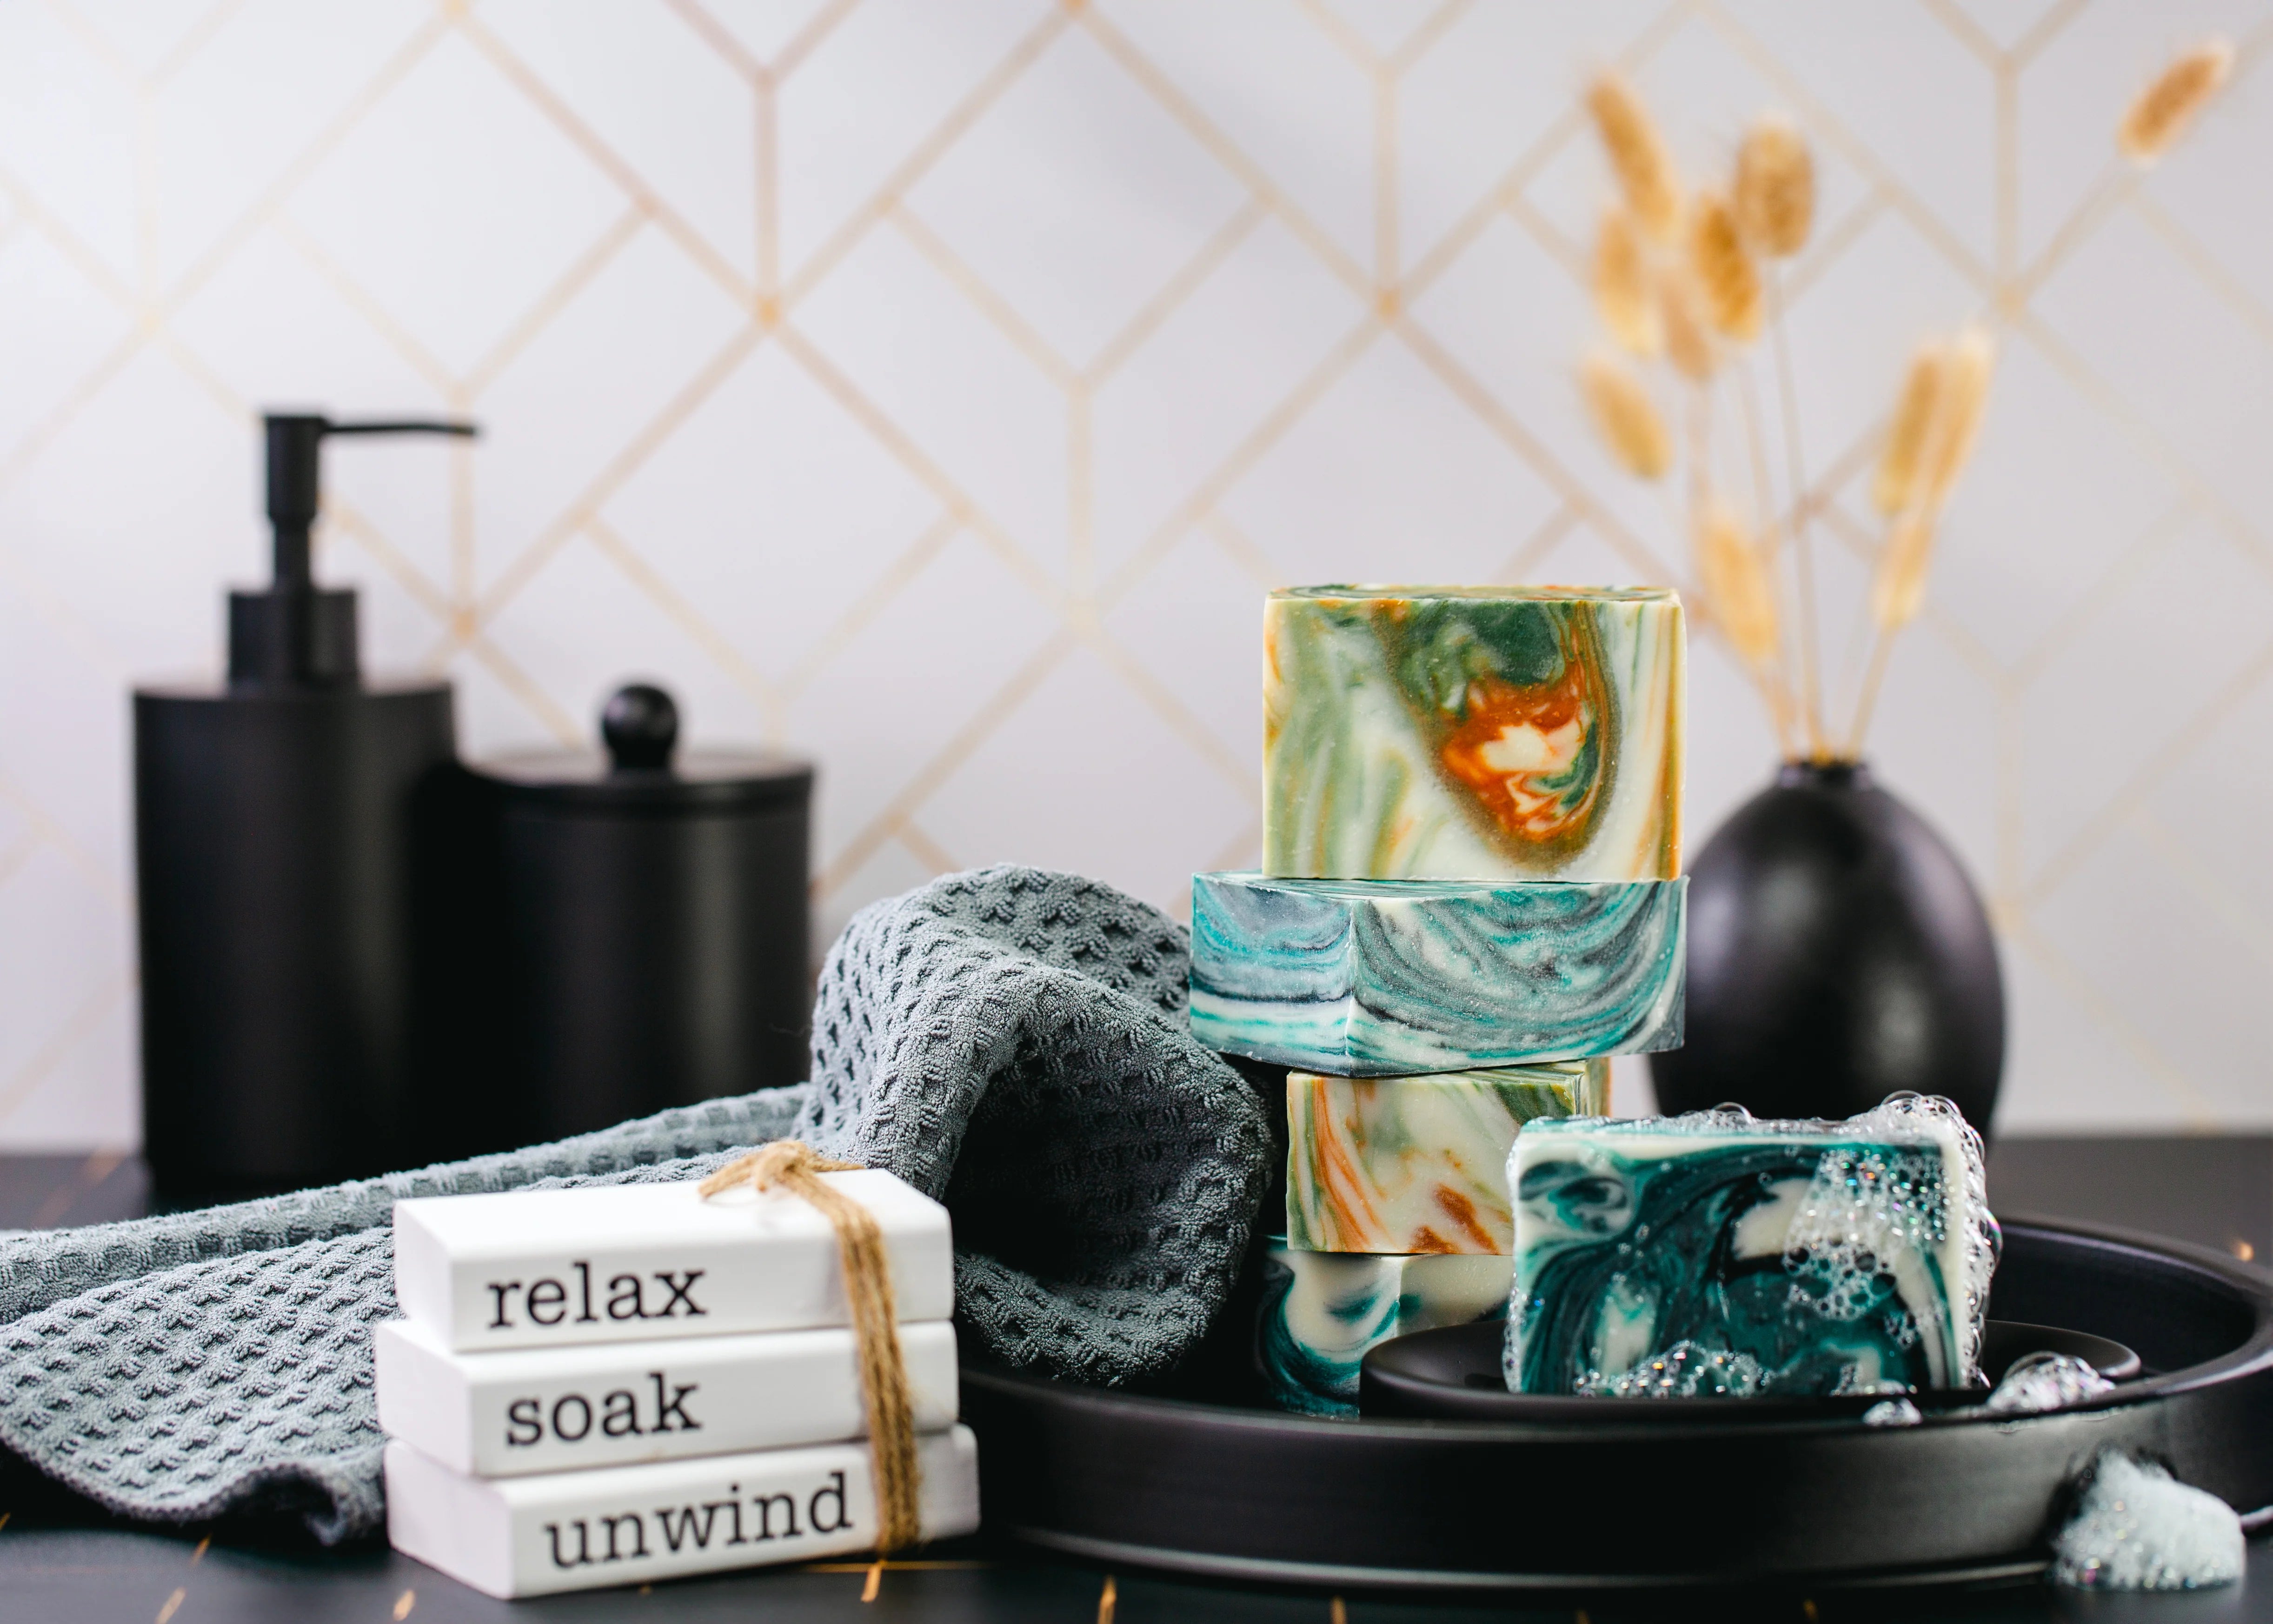
These are a perfect DIY project for spooky season—easy to make, fun to decorate, and extra fun to drop into the tub for a Halloween-inspired soak!
Click here to download the Step-by-Step PDF Guide!
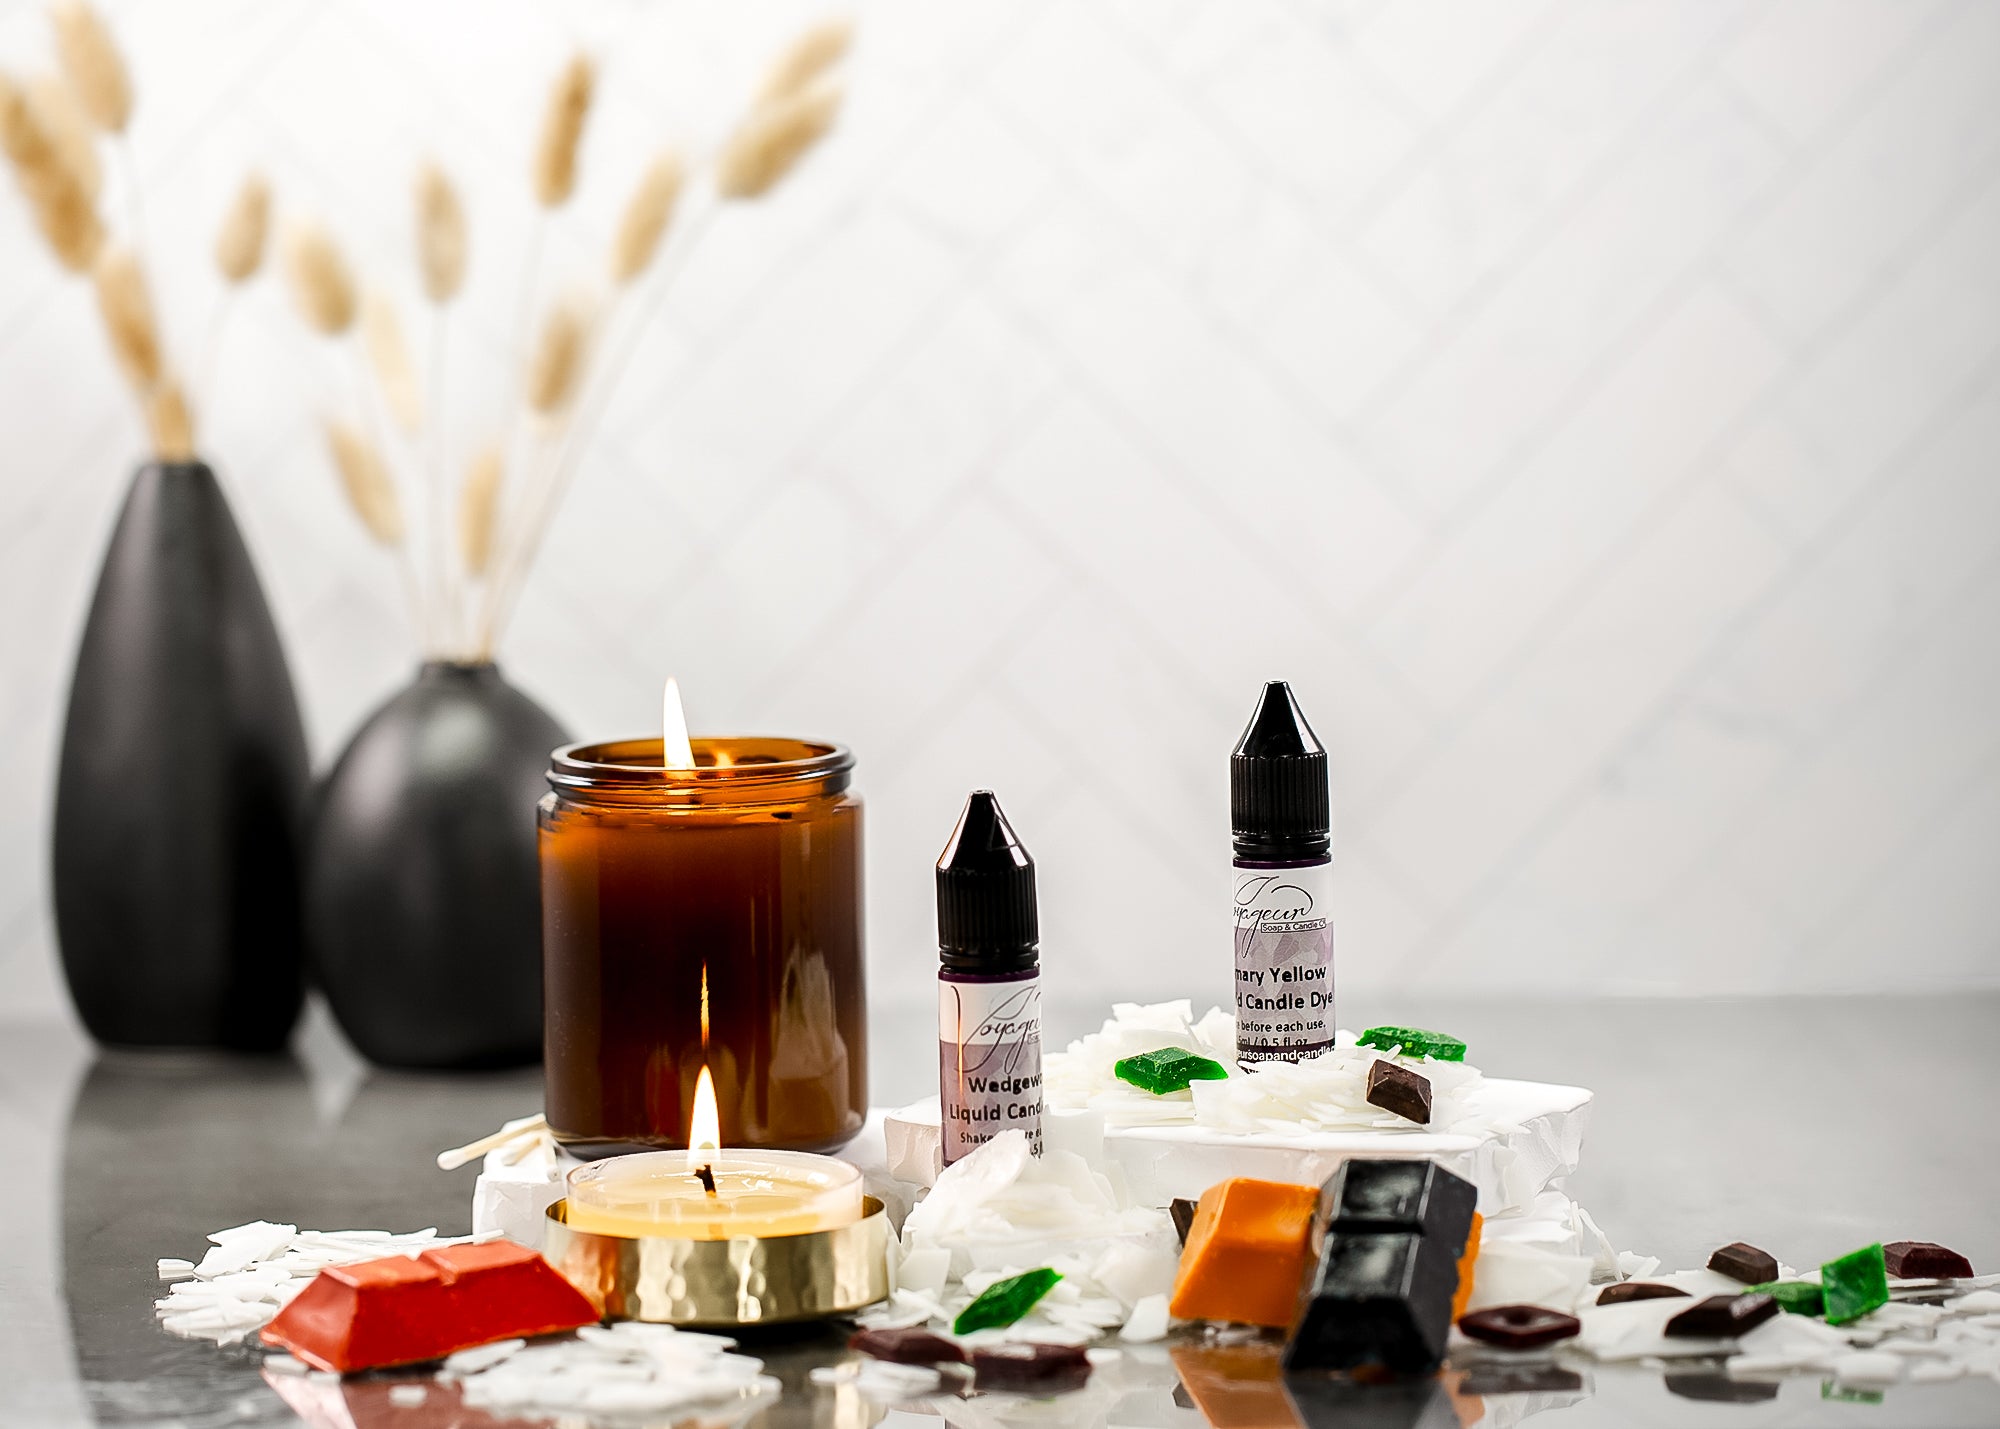
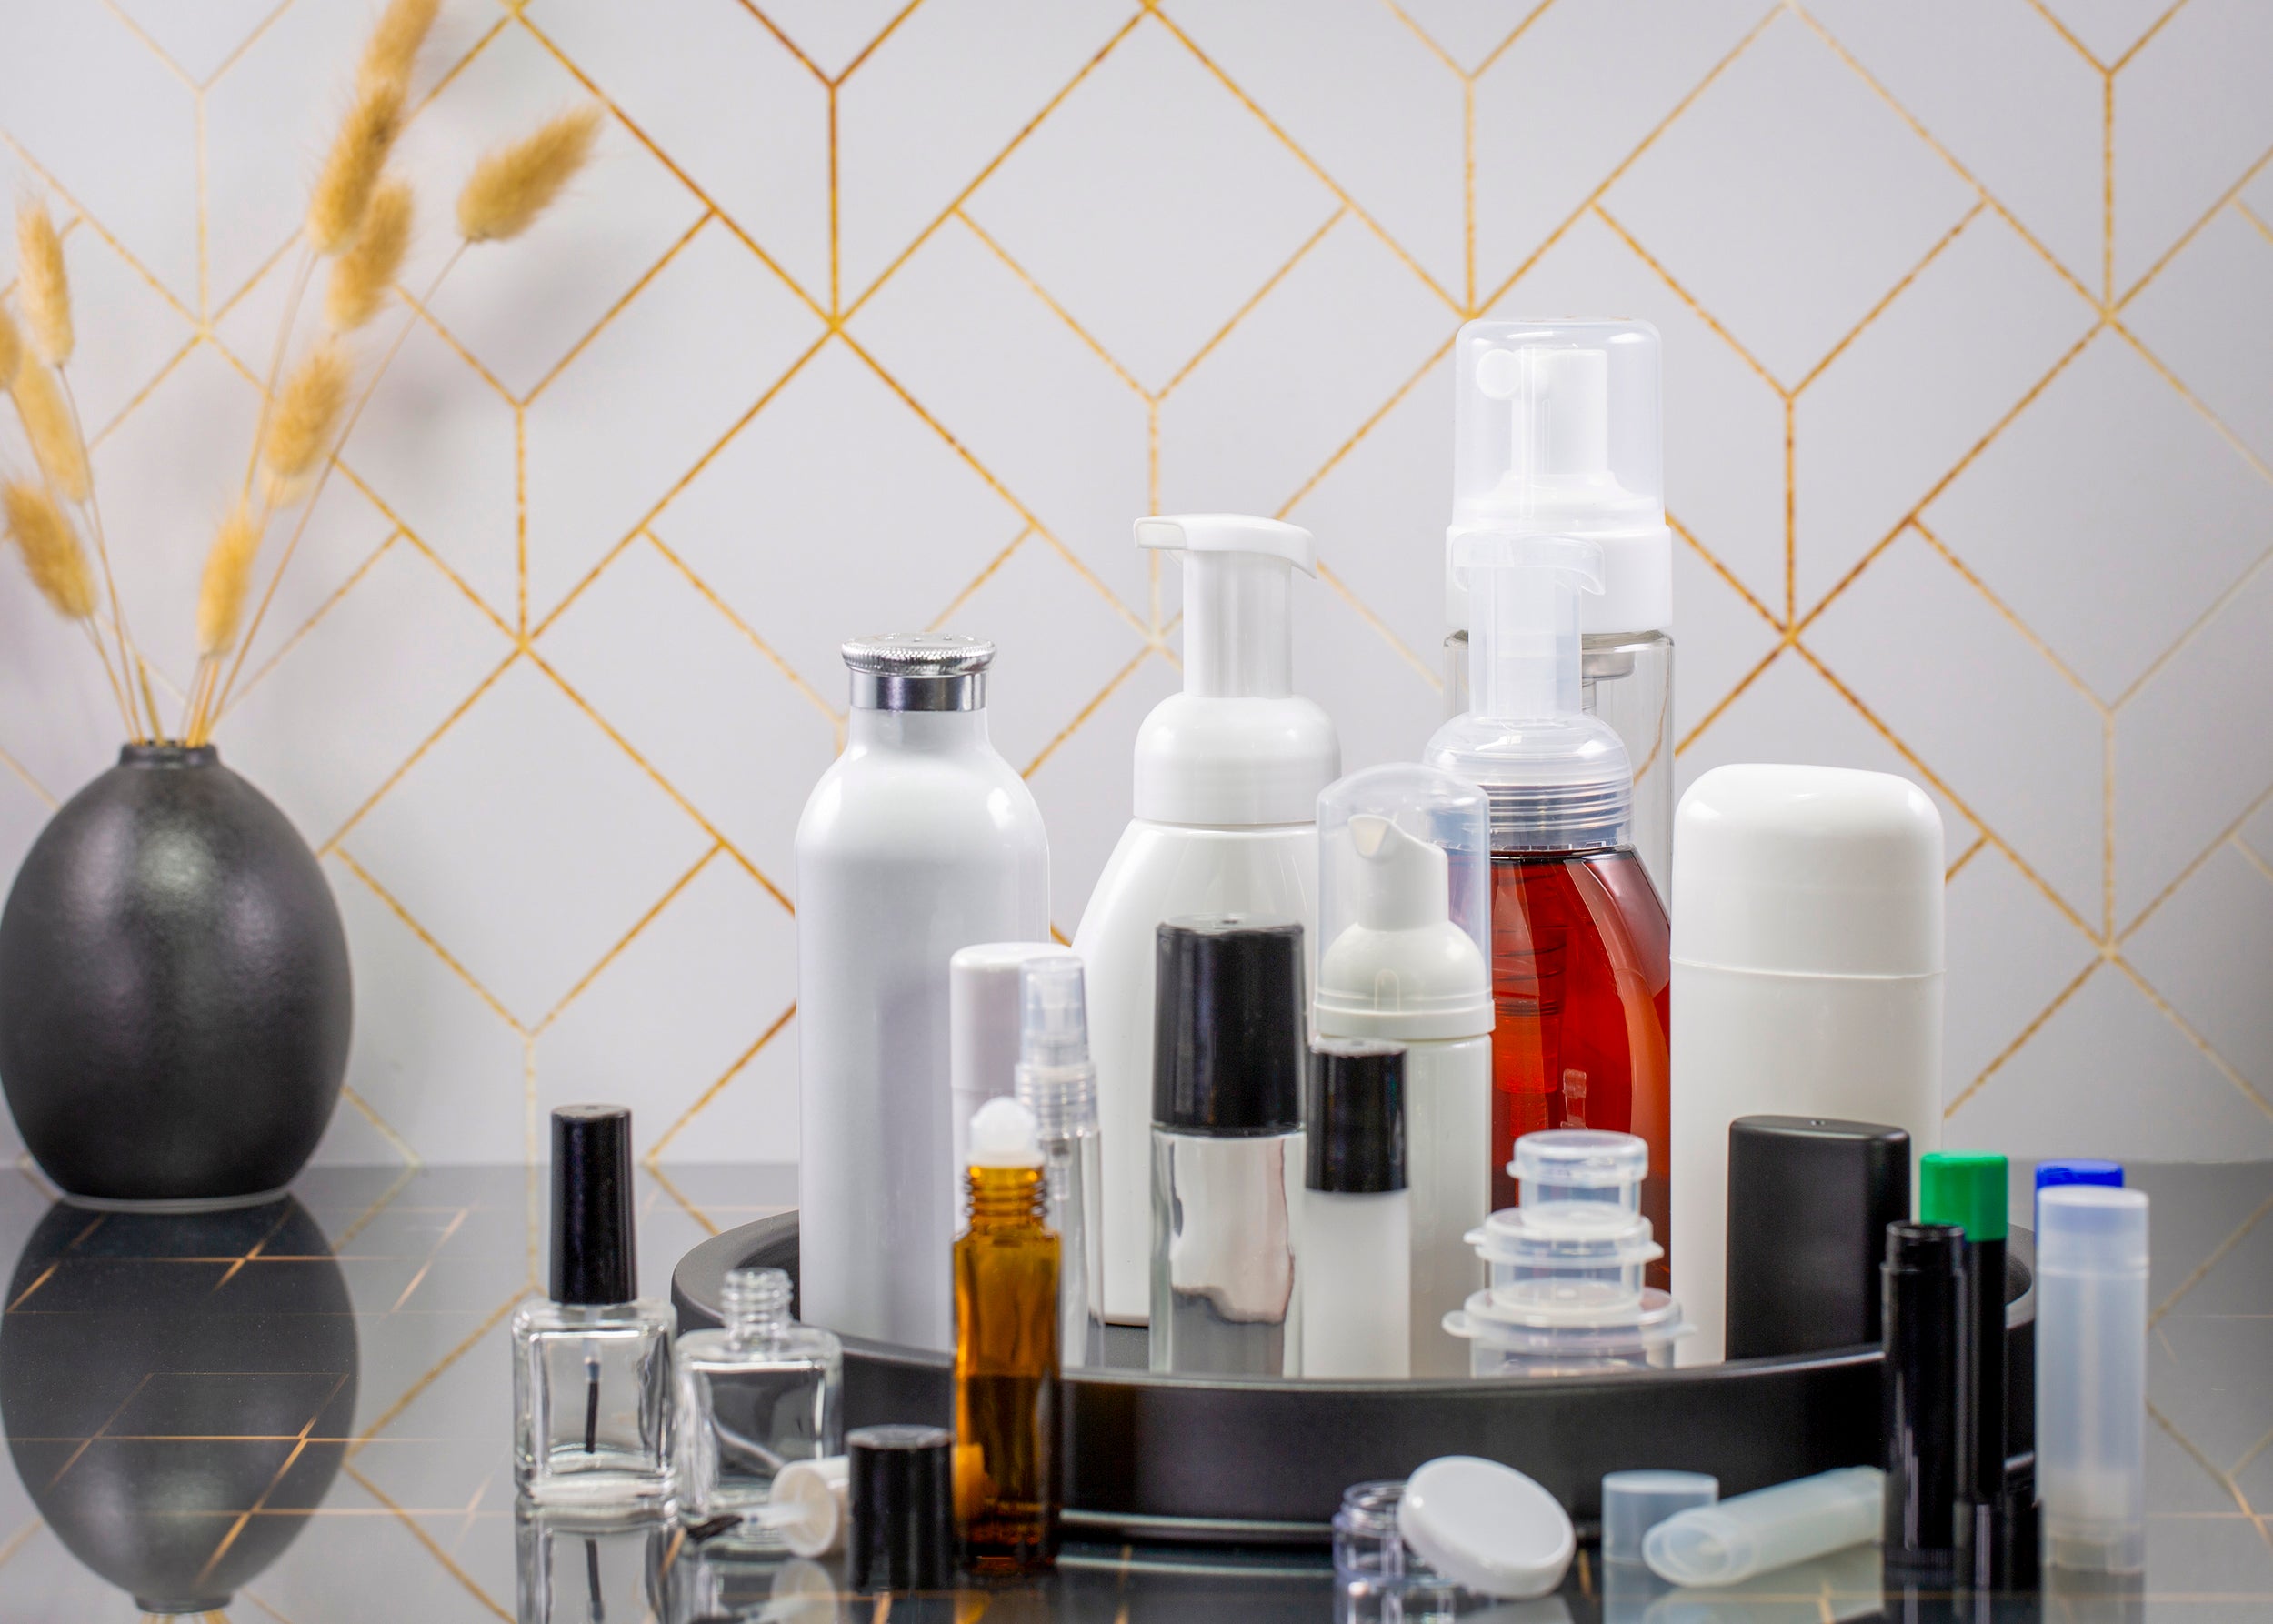
Recommended Ingredients:
Dry Ingredients:
- 285 g Baking Soda (Sodium Bicarbonate)
- 143 g Citric Acid
- 22 g Cornstarch
- 11 g Cream of Tartar
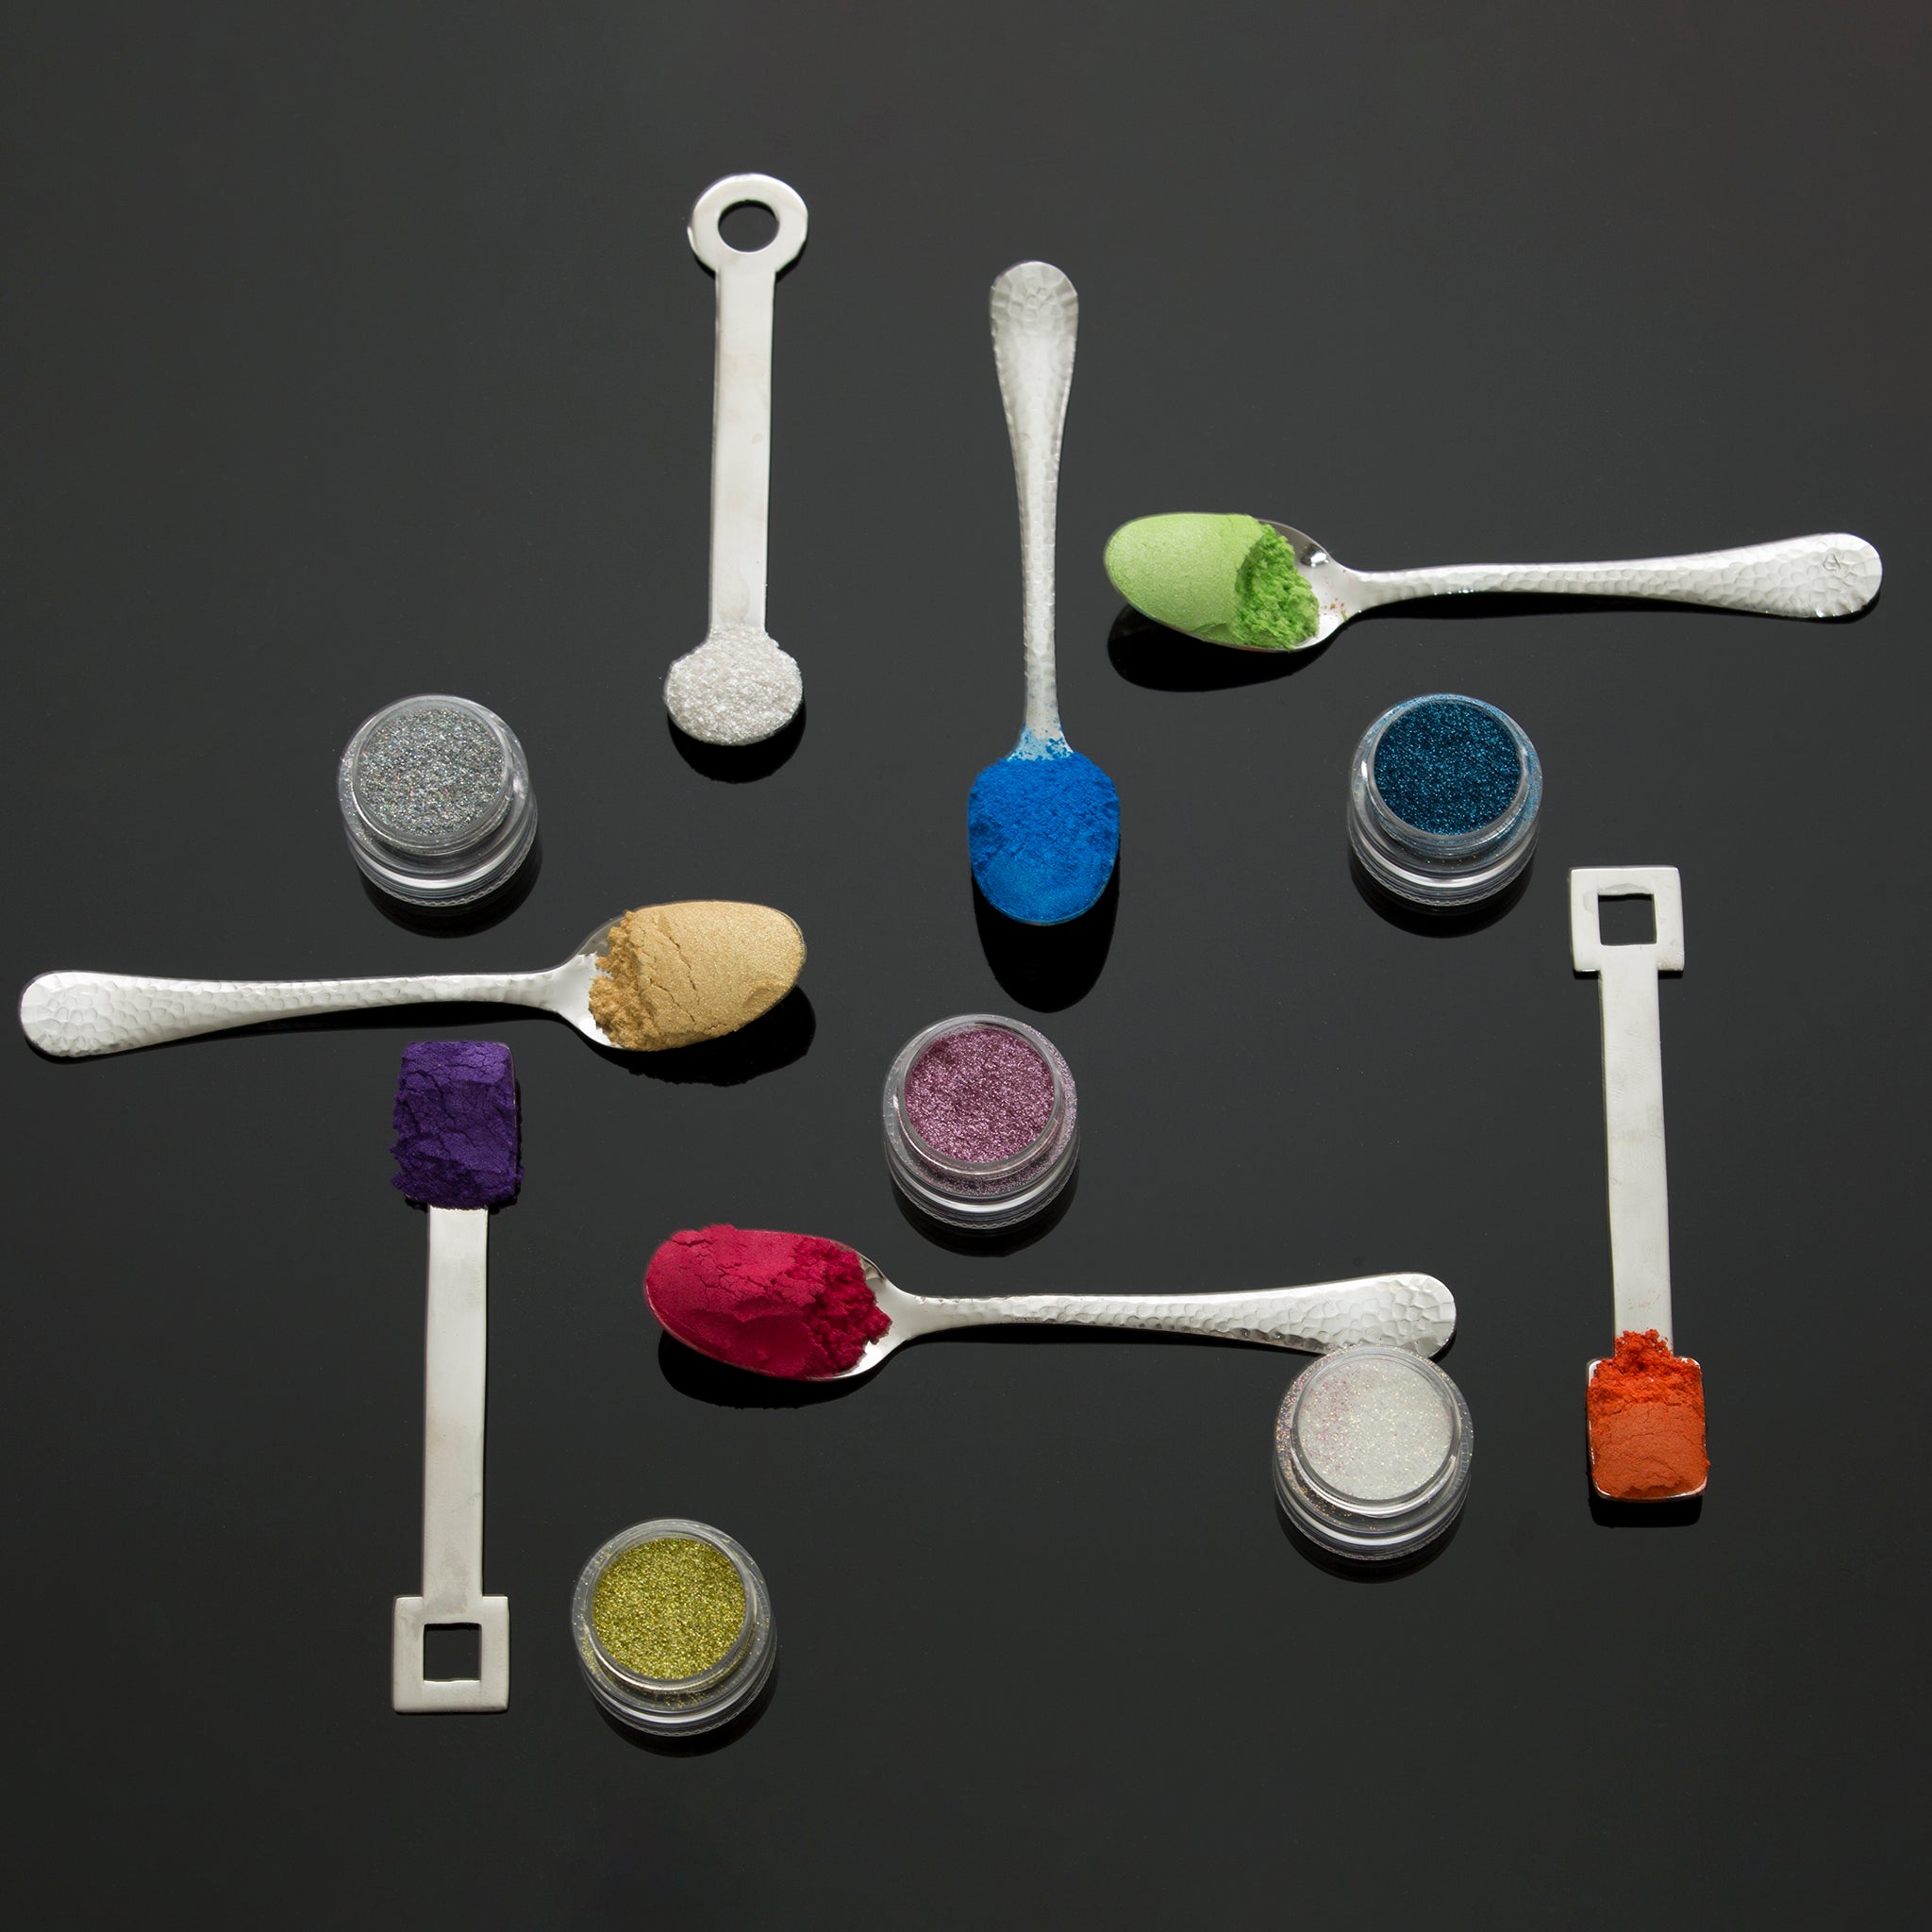
- Orange bath bomb colorant (to desired shade)
-
Onyx mica (for painting faces)
Wet Ingredients:
- 13 g Avocado Oil
- 9 g Kokum Butter (melted)
- 7 g Polysorbate 80
- 9 g Mango Fragrance Oil
- Isopropyl alcohol (99%) (for painting + spritzing if mixture is too dry)
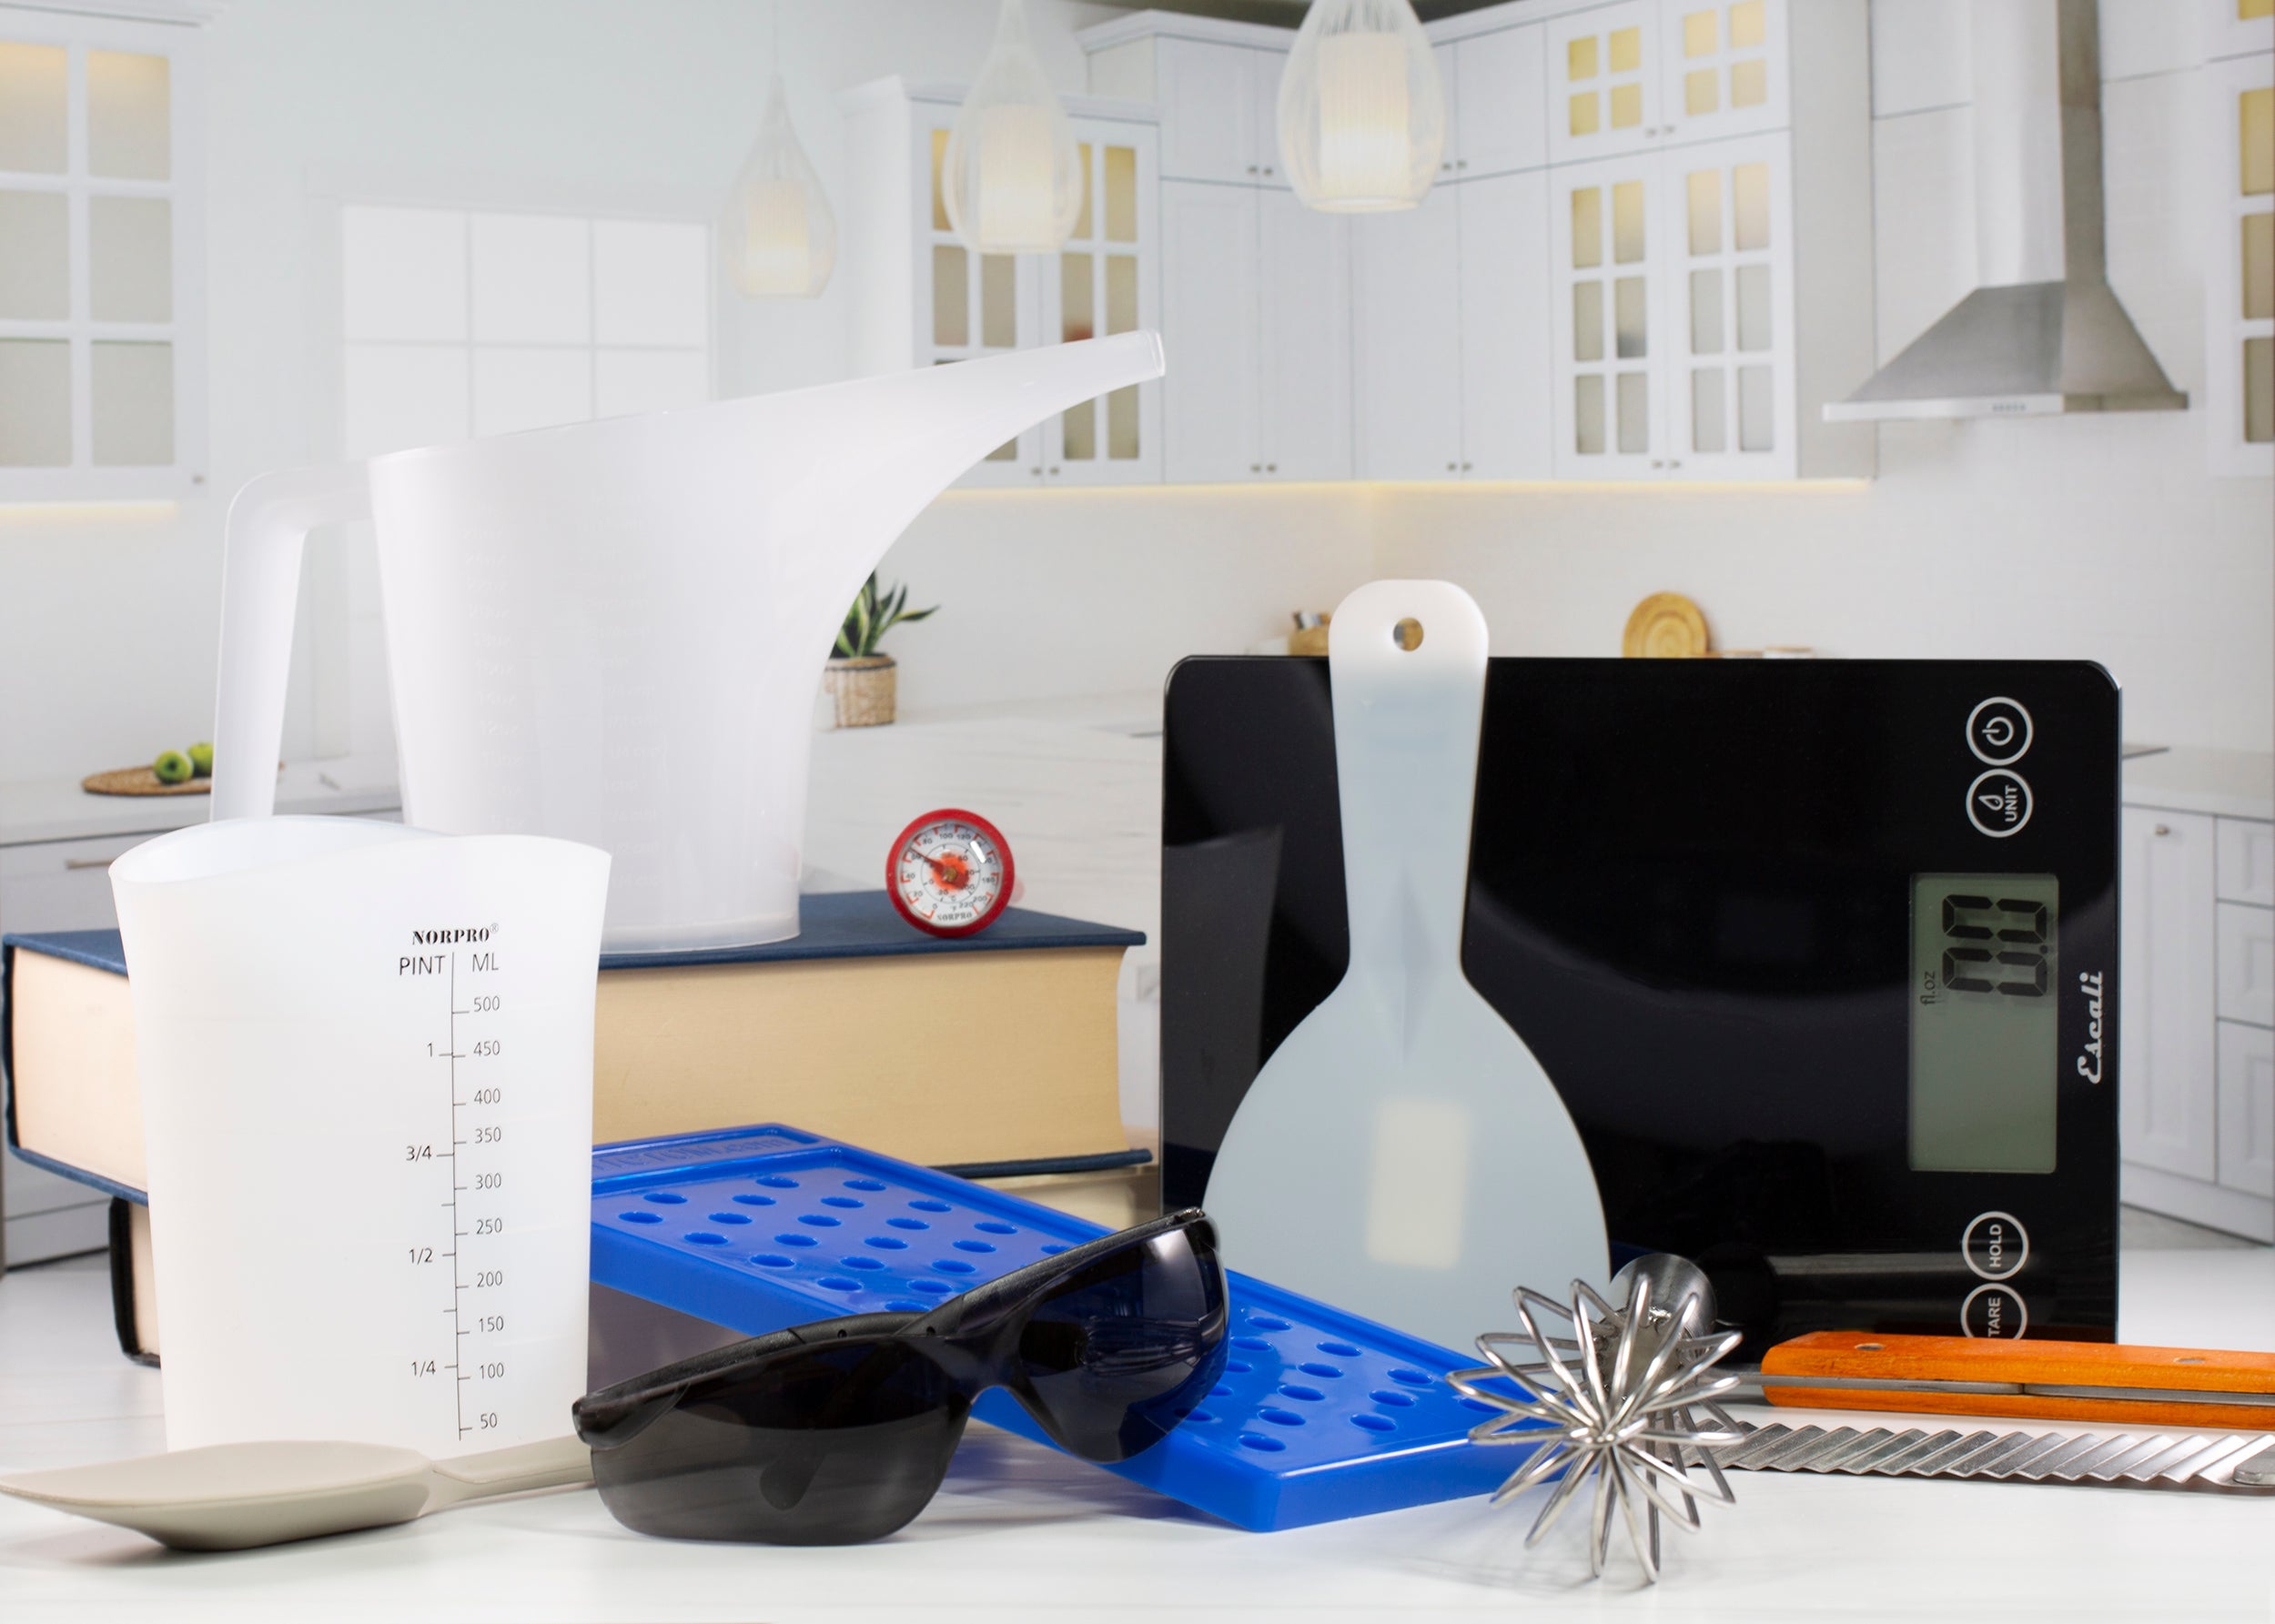
Recommended Utensils:
- Large mixing bowl
- Digital scale
- Heat-safe container (for melting kokum butter)
- 2.5" Sphere – 3D Printed Bath Bomb Mold (for 3 bombs)
- Spray bottle with isopropyl alcohol
- Parchment paper or tray for drying
-
Small mixing cup + fine paintbrush
Directions:
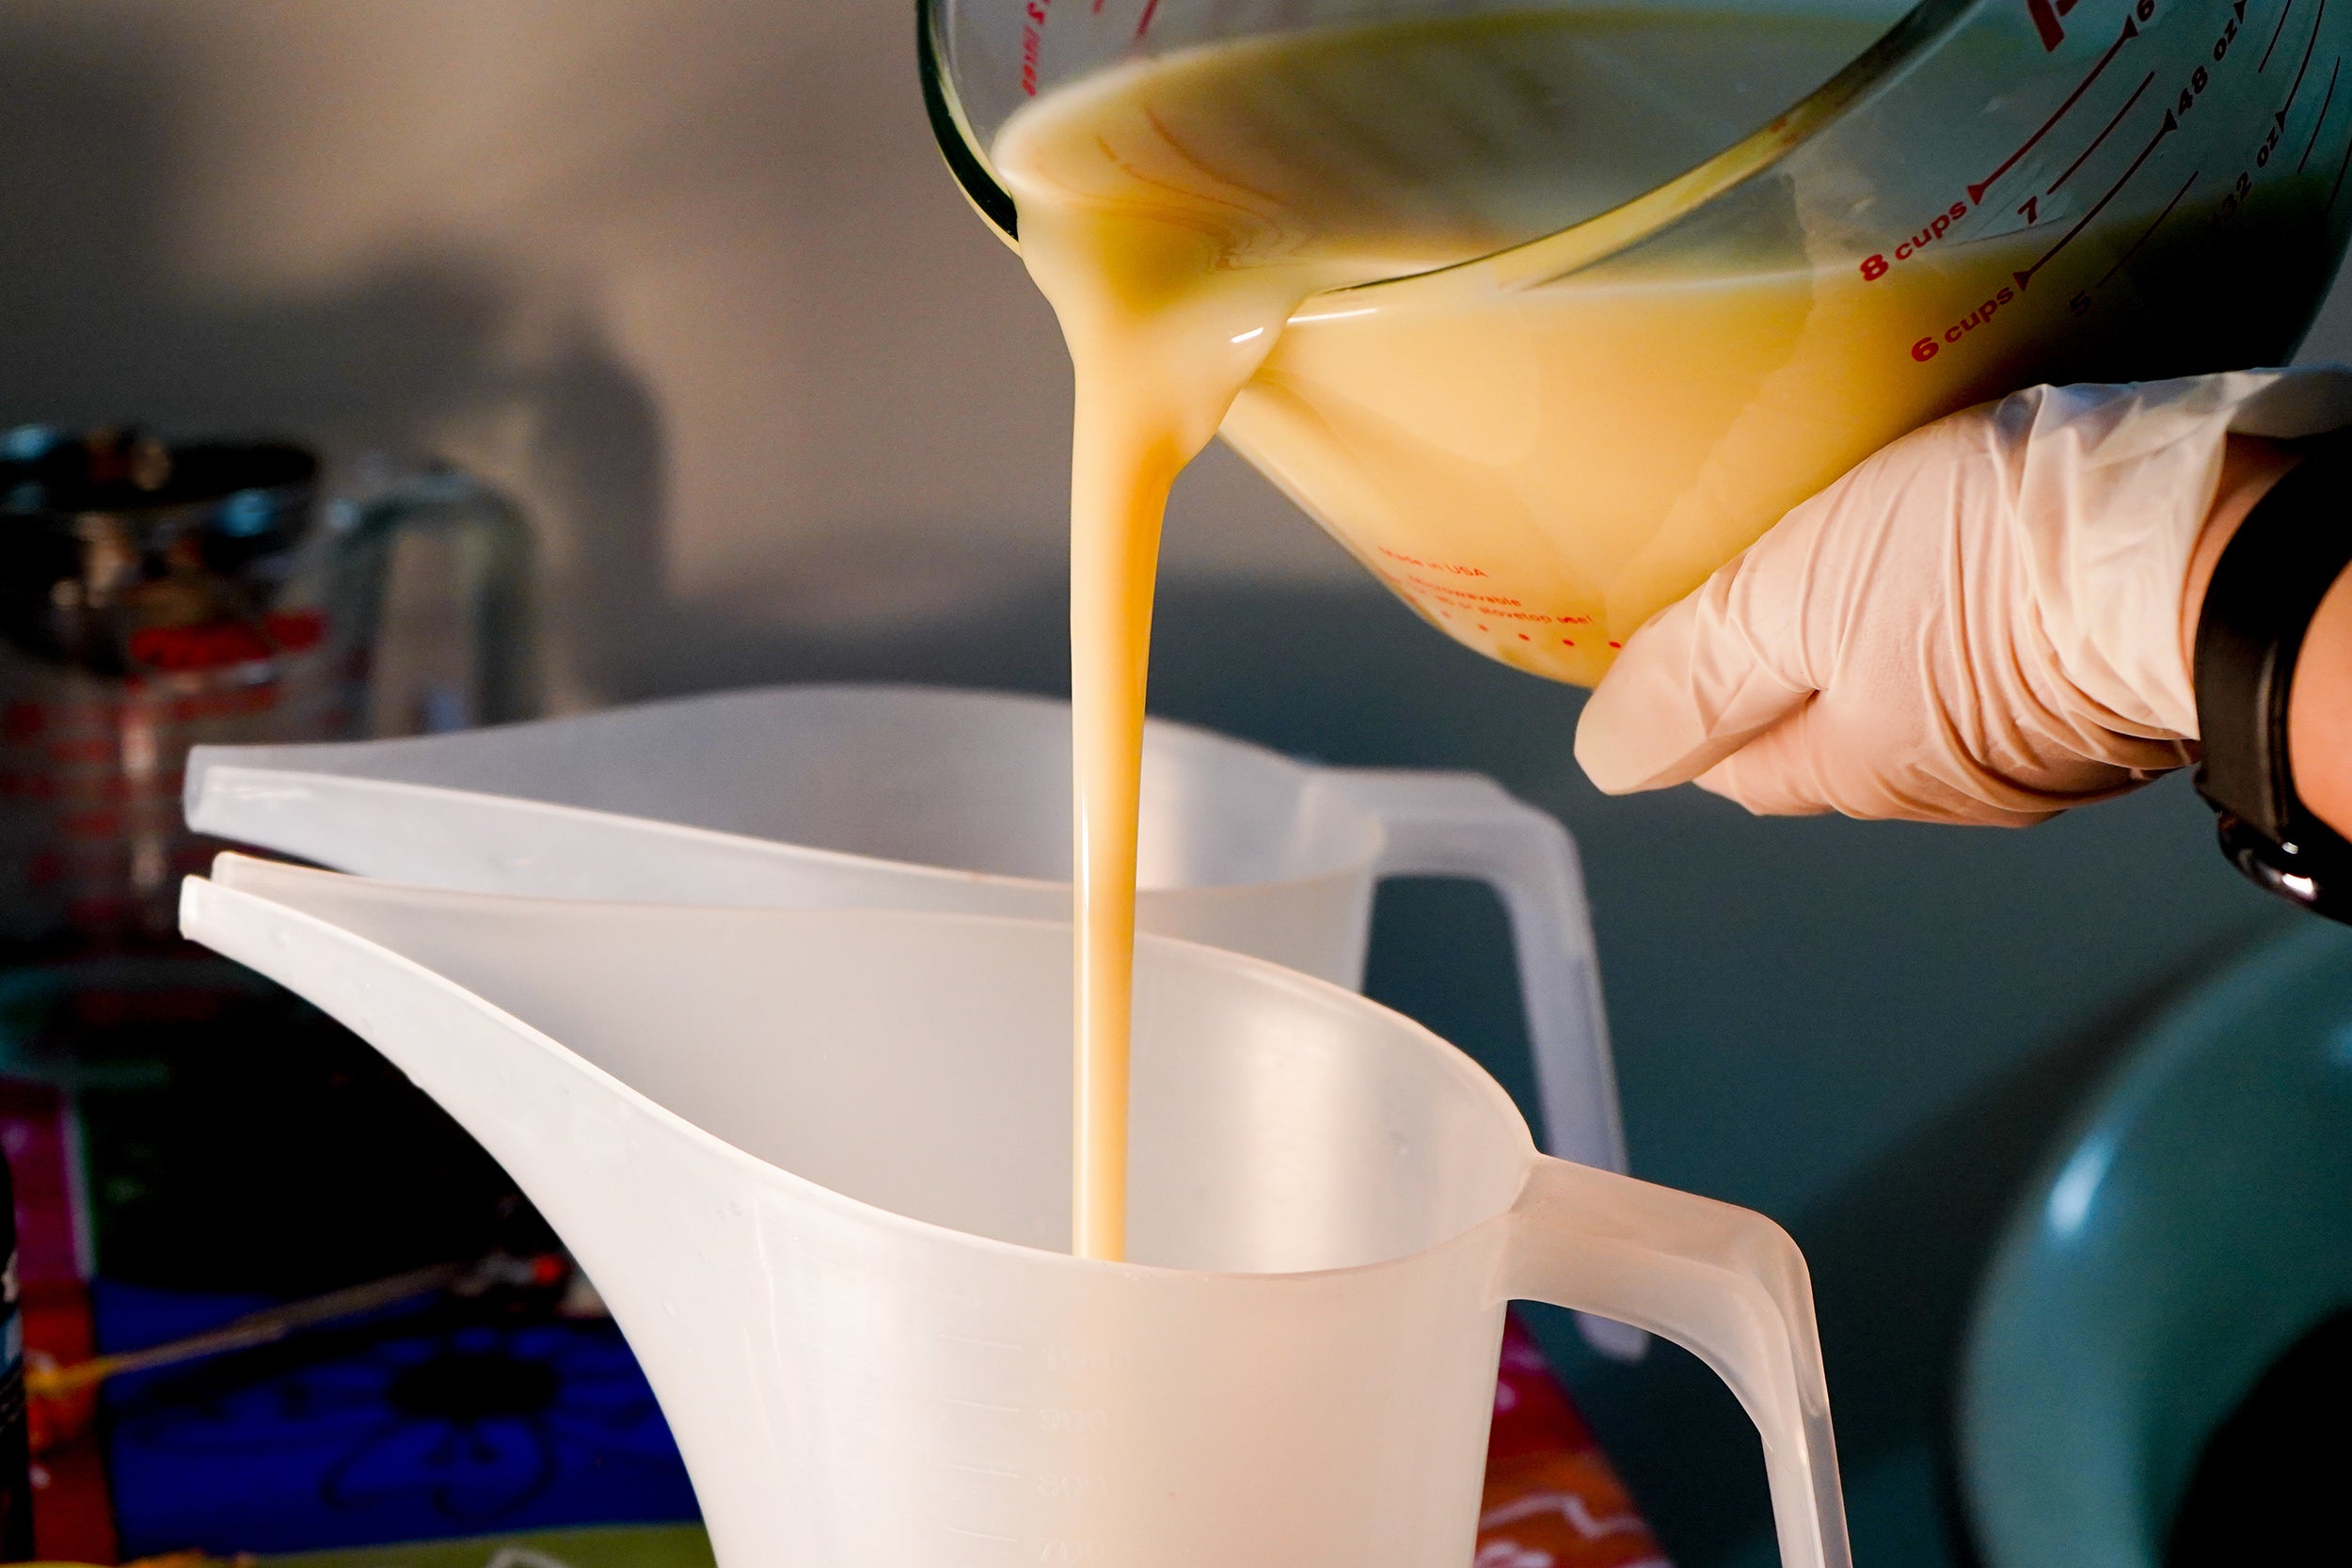
- Step 1: In a large mixing bowl,sift and mix together 285g Baking Soda, 143g Citric Acid, 22g Cornstarch, 11g Cream of Tartar and the Orange bath bomb colorant.
- Step 2: Then add into the same bowl 13g Avocado Oil, 9g Kokum Butter (melted), 7g Polysorbate 80, and 9g Mango Fragrance Oil.
-
Step 3: Mix well, then fill the Bath Bomb Mold with the Bath Bomb Mix, but do not push the mix in just level the mix with the sleeve brush off any excess mix.
- Step 4: Once you have filled the sleeve, use the top piece of the mold and place on top.
- Step 5: Now push down on the top part of the mold either in your hands or on a table to form the Bath Bomb.
- Step 6: This will cause a bit of a suction between mold and Bath Bomb which you can easily break by tapping the back of a metal spoon against the mold.
- Step 7: Once you tapped a few times against all sides, place mold on the table and push the sleeve up.
- Step 8: Remove the sleeve and brush with your thumb or index finger around the exposed ring of the bath bomb to smoothen it out.
- Step 9: Now use the spoon and gently tap against the top part of the mold while holding onto it to break the suction.
- Step 10: Carefully pull the top part of the mold diagonally up. Now carefully hold onto the exposed part of the Bath Bomb, while turning it upside down so it won't fall out. Place over the drying Tray or large bubble wrap and gently tap with the back of the spoon to release from the mold. Then repeat the process. Should the Bath Bomb break you can just start over by reusing the mix, as long as it's done within roughly 30 min,if it's too dry spray it with some water. Let Bath Bombs dry for at least 24h before painting.
-
Step 11: In a small dish, mix onyx mica with a little isopropyl alcohol to create “paint.” Then use a fine paintbrush to paint faces onto each bomb. Allow painted designs to dry completely before handling or packaging.
Warning & Usage:
- For external use only — do not ingest.
- Keep away from children and pets until supervised bath time.
- Surfaces may become slippery — use caution.
- Discontinue use if irritation occurs.
- Store bath bombs in a cool, dry place.
Usage:
Drop one bath bomb into warm bath water, let it fizz and release its color, fragrance, and skin-softening oils. Enjoy!
Dry and Store:
Let your steamers dry in a cool, dry place for 24 hours. Once dry, package in airtight bags or shrink wrap. Store away from humidity to prevent activation.
Humidity:
Humidity can cause Bath Bomb mix to become tricky. We prefer working with this recipe between 30% to 50% humidity.
We also found that adding clay to the recipe can help at a higher humidity.If the mix activates , try adding a little bit of clay .
This recipe was tested at 43% humidity in a room temperature of 26 degrees. We highly recommend working in a space with a humidifier.
If for some reason the Bath Bombs do crumble , do not throw out the mix(or any leftovers from making Bath Bombs, rather package it and sell it as a Bath Bomb powder).
Note:
All recipes are provided for the use of the customers of Voyageur Soap & Candle Company Ltd. Their electronic or print reproduction is strictly forbidden.
All formulas and recipes have been formulated by Voyageur but we accept no liability as to their effectiveness or the success of the formulas when being made. It is essential that good manufacturing practices are followed in their use, and it is the responsibility of the user to meet the appropriate regulatory requirements of their jurisdiction in all matters.
All formulas remain the property of Voyageur, and their reproduction or redistribution is strictly forbidden without our written consent.
Here’s how to maintain your 3D Printed PETG molds:
1. Cleaning: To clean the molds, simply wipe them with a damp cloth, or hand wash with minimal water. Do not submerge molds in water or place in the dishwasher, as PETG is best maintained with minimal water exposure.
2. Drying: After wiping, allow the molds to air dry completely before storing. This step is crucial to prevent any moisture buildup, which could affect the mold's integrity and possibly activate your bath bomb during production.
3. Storage: Store the molds in a cool, dry place away from direct sunlight. PETG is UV resistant, but prolonged exposure to sunlight can degrade any plastic over time.
4. Handling: Handle the molds carefully to avoid any damage. PETG is impact resistant, which makes it less likely to crack or break compared to other plastics, such as PLA, but it is still best to avoid rough handling.
5. Temperature: Keep the molds away from high temperatures; PETG can withstand higher temperatures than many other plastics, such as PLA, but it is still best to avoid environments hotter than 75°C (167°F).
6. Usage: Use the molds for their intended purpose. PETG's strength and flexibility make it suitable for regular use without fear of deformation under normal conditions.
7. Chemicals: PETG is highly chemical resistant, making it safe to use with a variety of dyes and essential oils commonly used in bath bomb production.
By following these care instructions, you can ensure the longevity and performance of your 3D printed bath bomb molds, while also benefiting from the robust and versatile properties of this eco-friendly, recyclable material.