

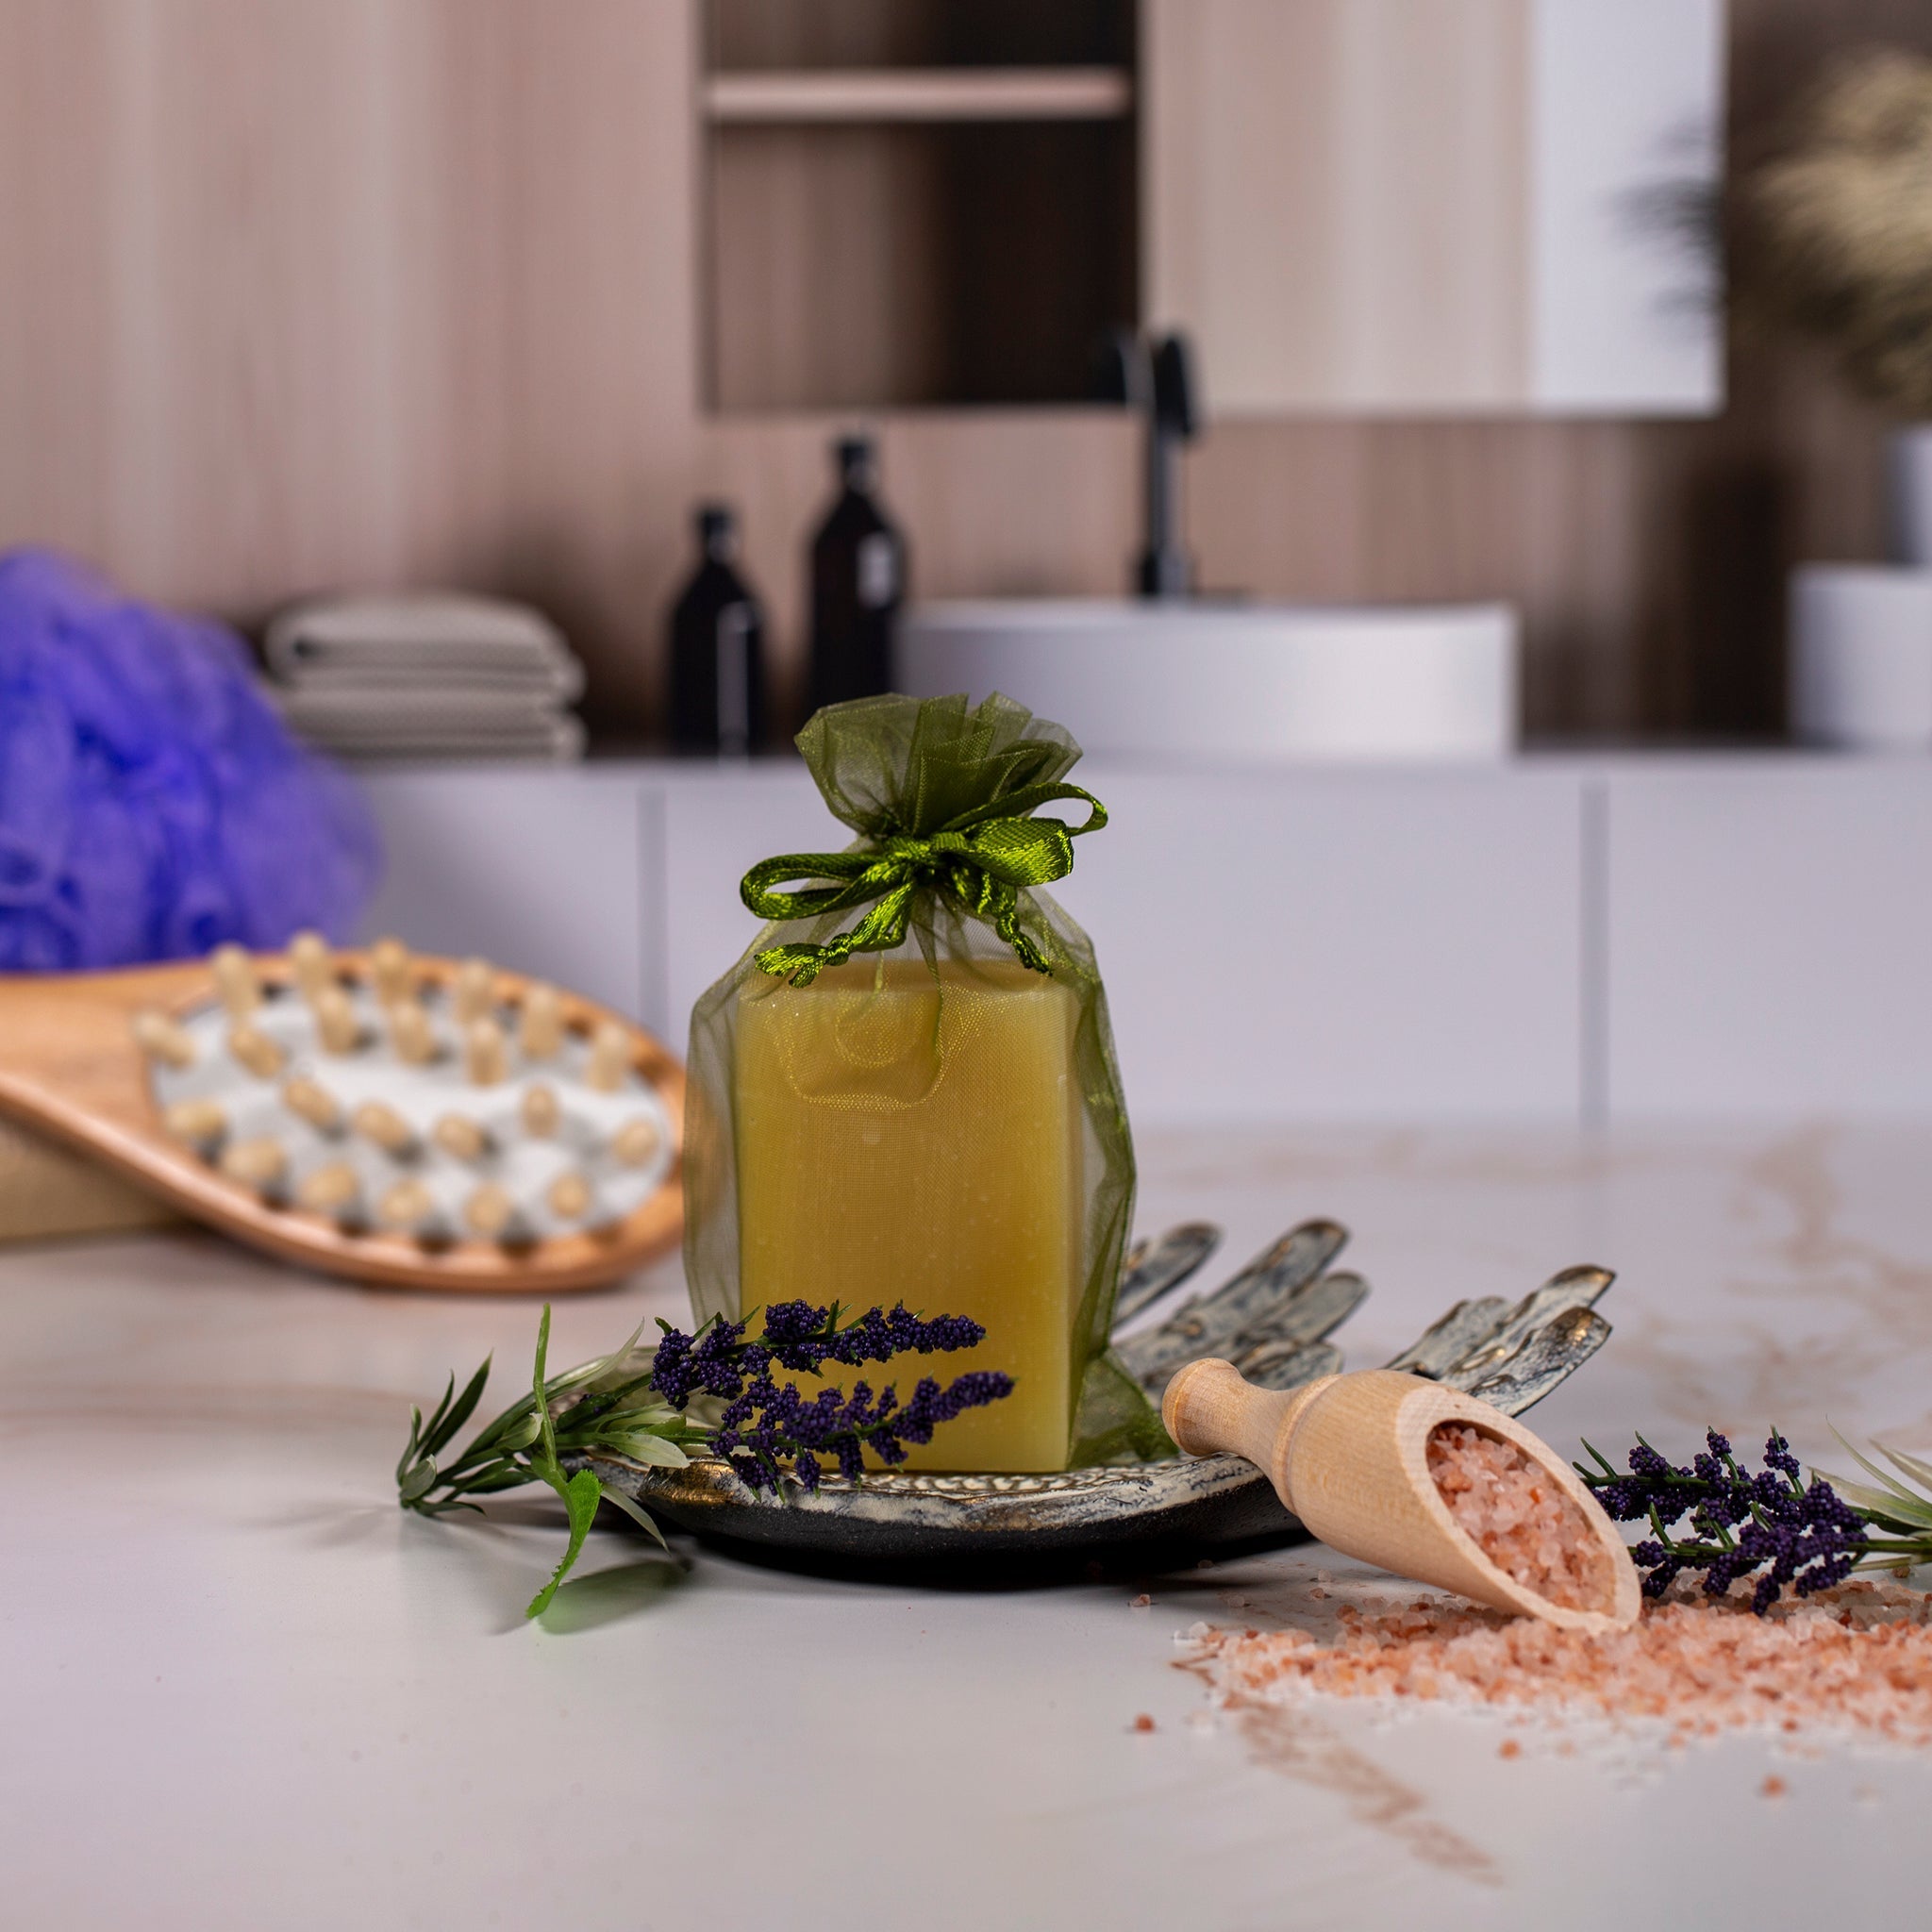
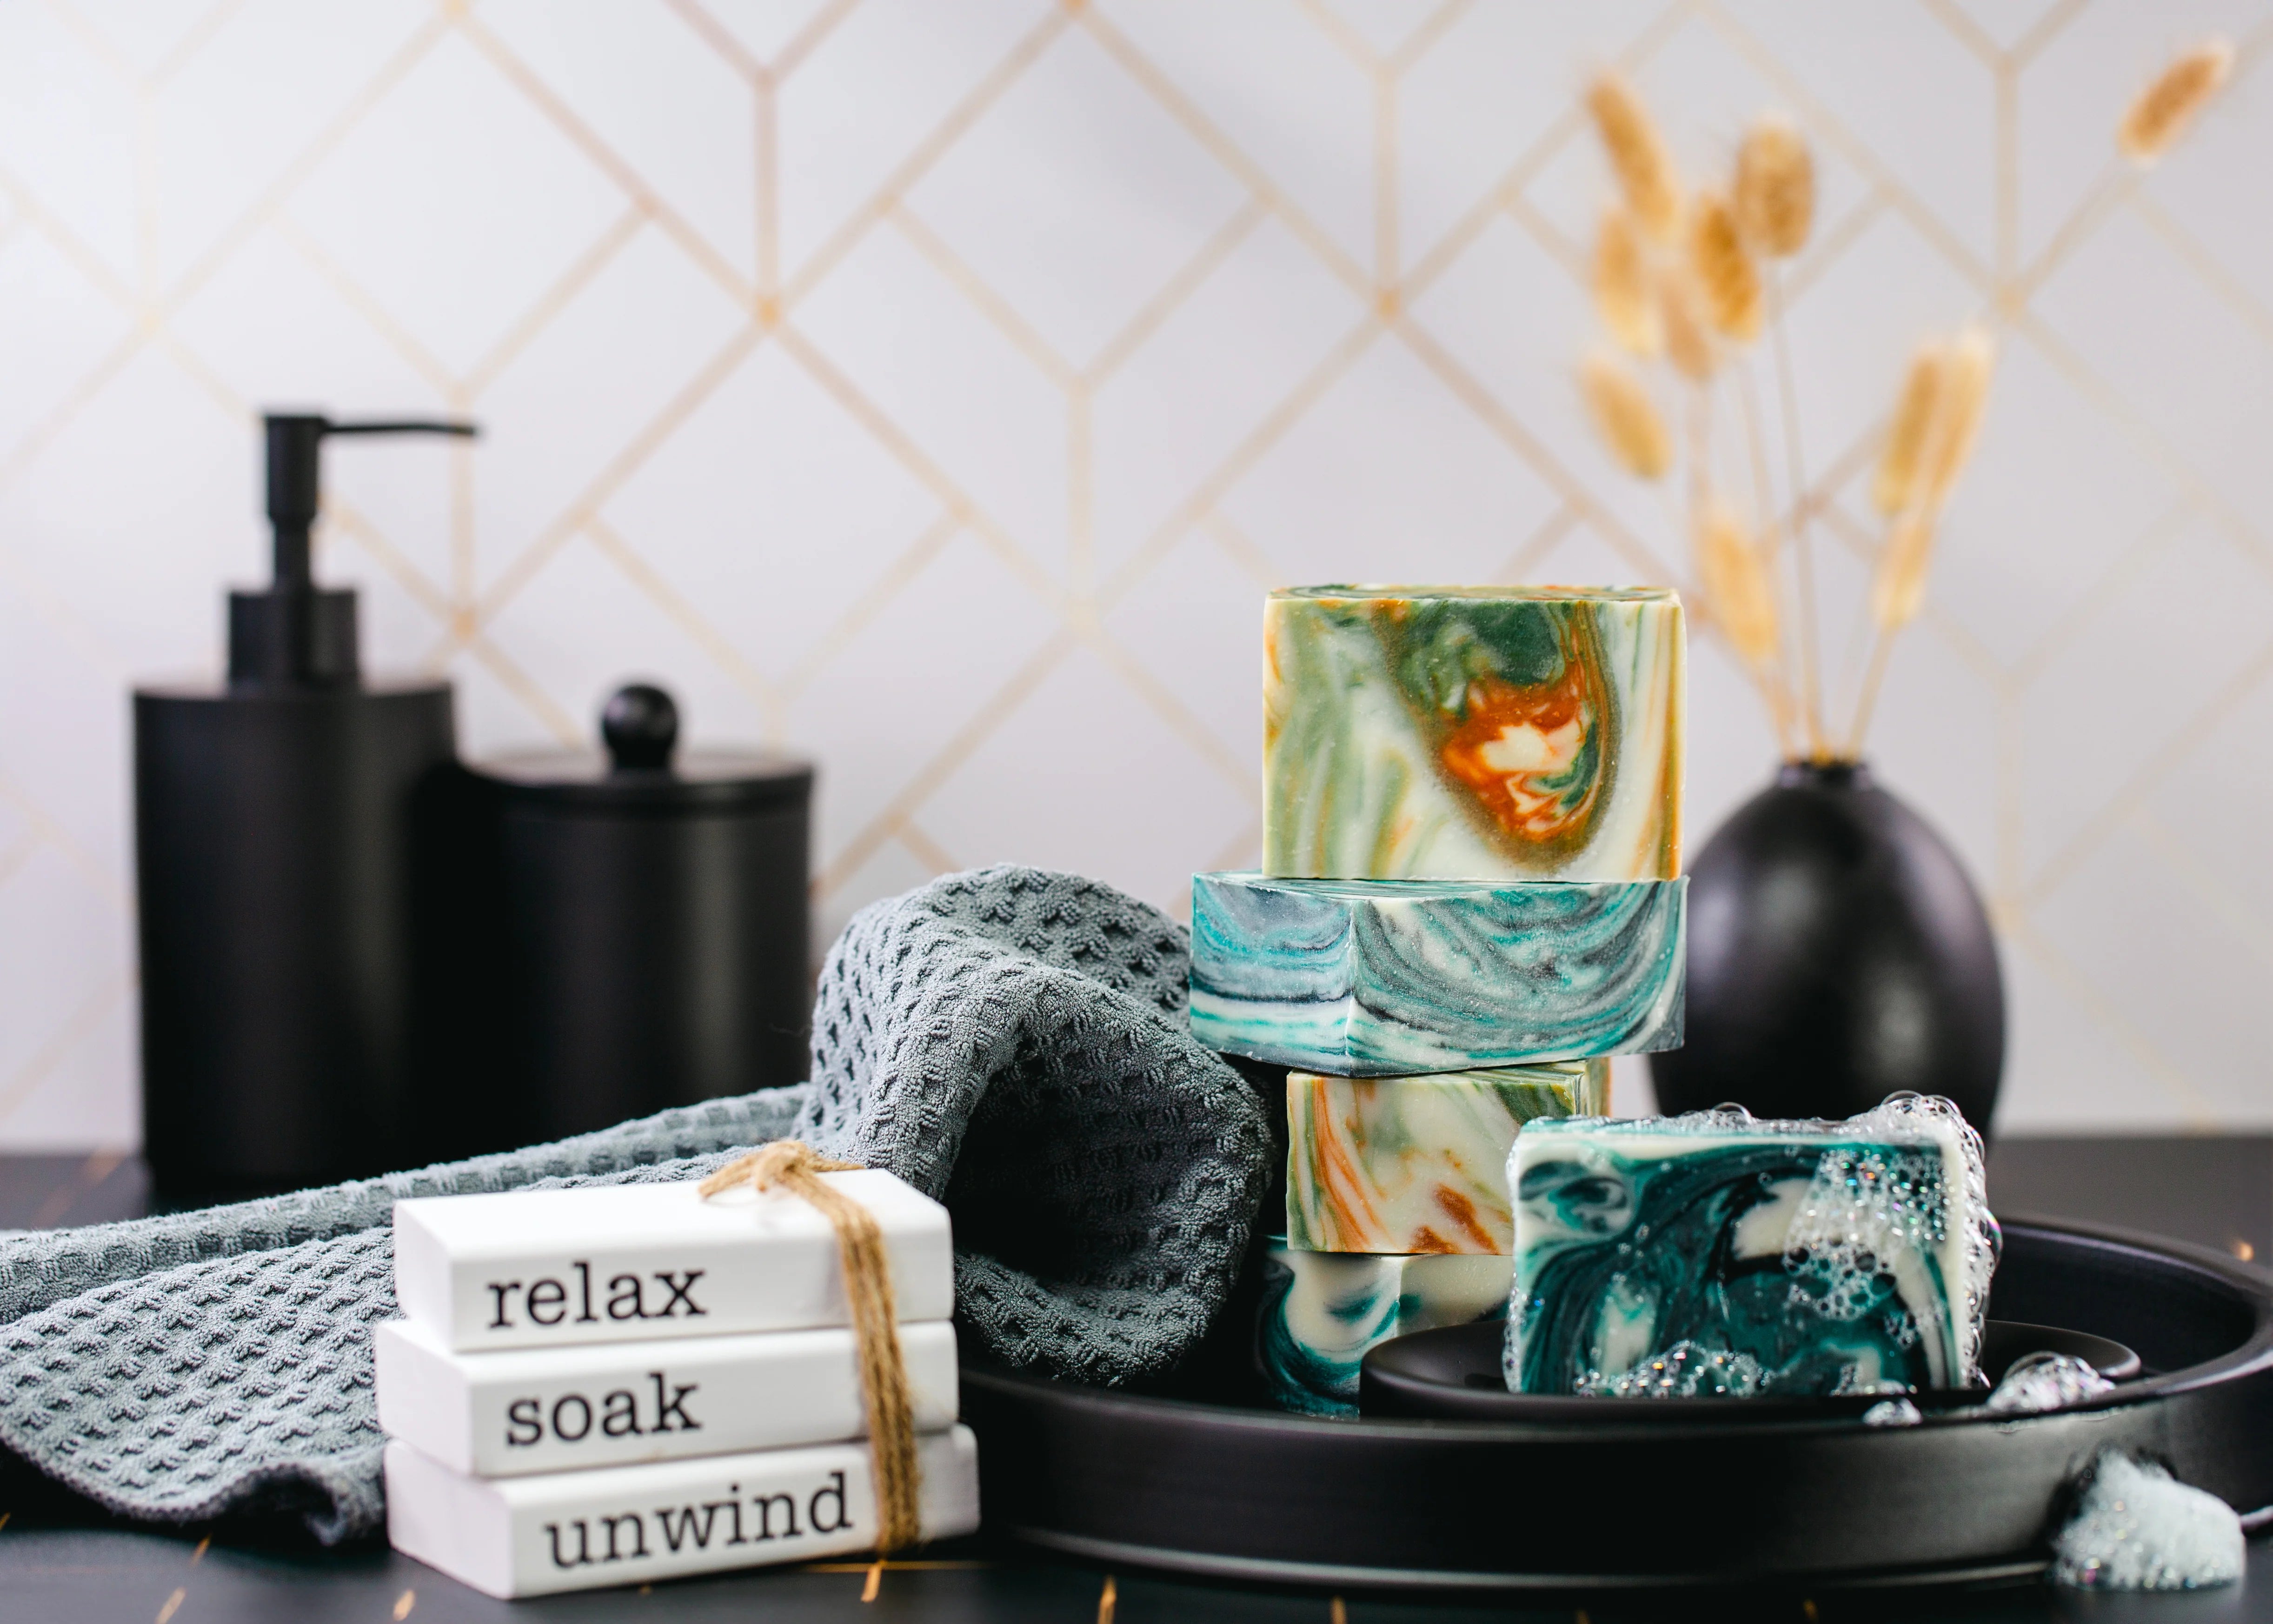

Create a scenic mountain landscape in soap form with layered water, forest, mountains, and sky. Using Stephenson Natural Transparent Melt & Pour Soap, Stephenson Shea Butter Melt & Pour Soap, colourful mica pigments, and Lavender Sea Salt Fragrance Oil, this project transforms simple layers into a detailed landscape design.
The Sculpted Layer Set (6) + Mini Tall Skinny Silicone Loaf Mold makes it easy to add depth and dimension to each layer. Although originally designed for cold process soap, the acrylic scrapers can also be used successfully with melt and pour soap when each layer is allowed to fully harden before shaping. The set includes three double-sided scrapers featuring six unique contour designs. For this project, the mountain range and wave profiles are used to create the landscape, while the remaining scraper designs offer even more opportunities for creative soap making projects.
Click here to download the Step-by-Step PDF Guide!
Makes ~ approximately 6 x 1” bars
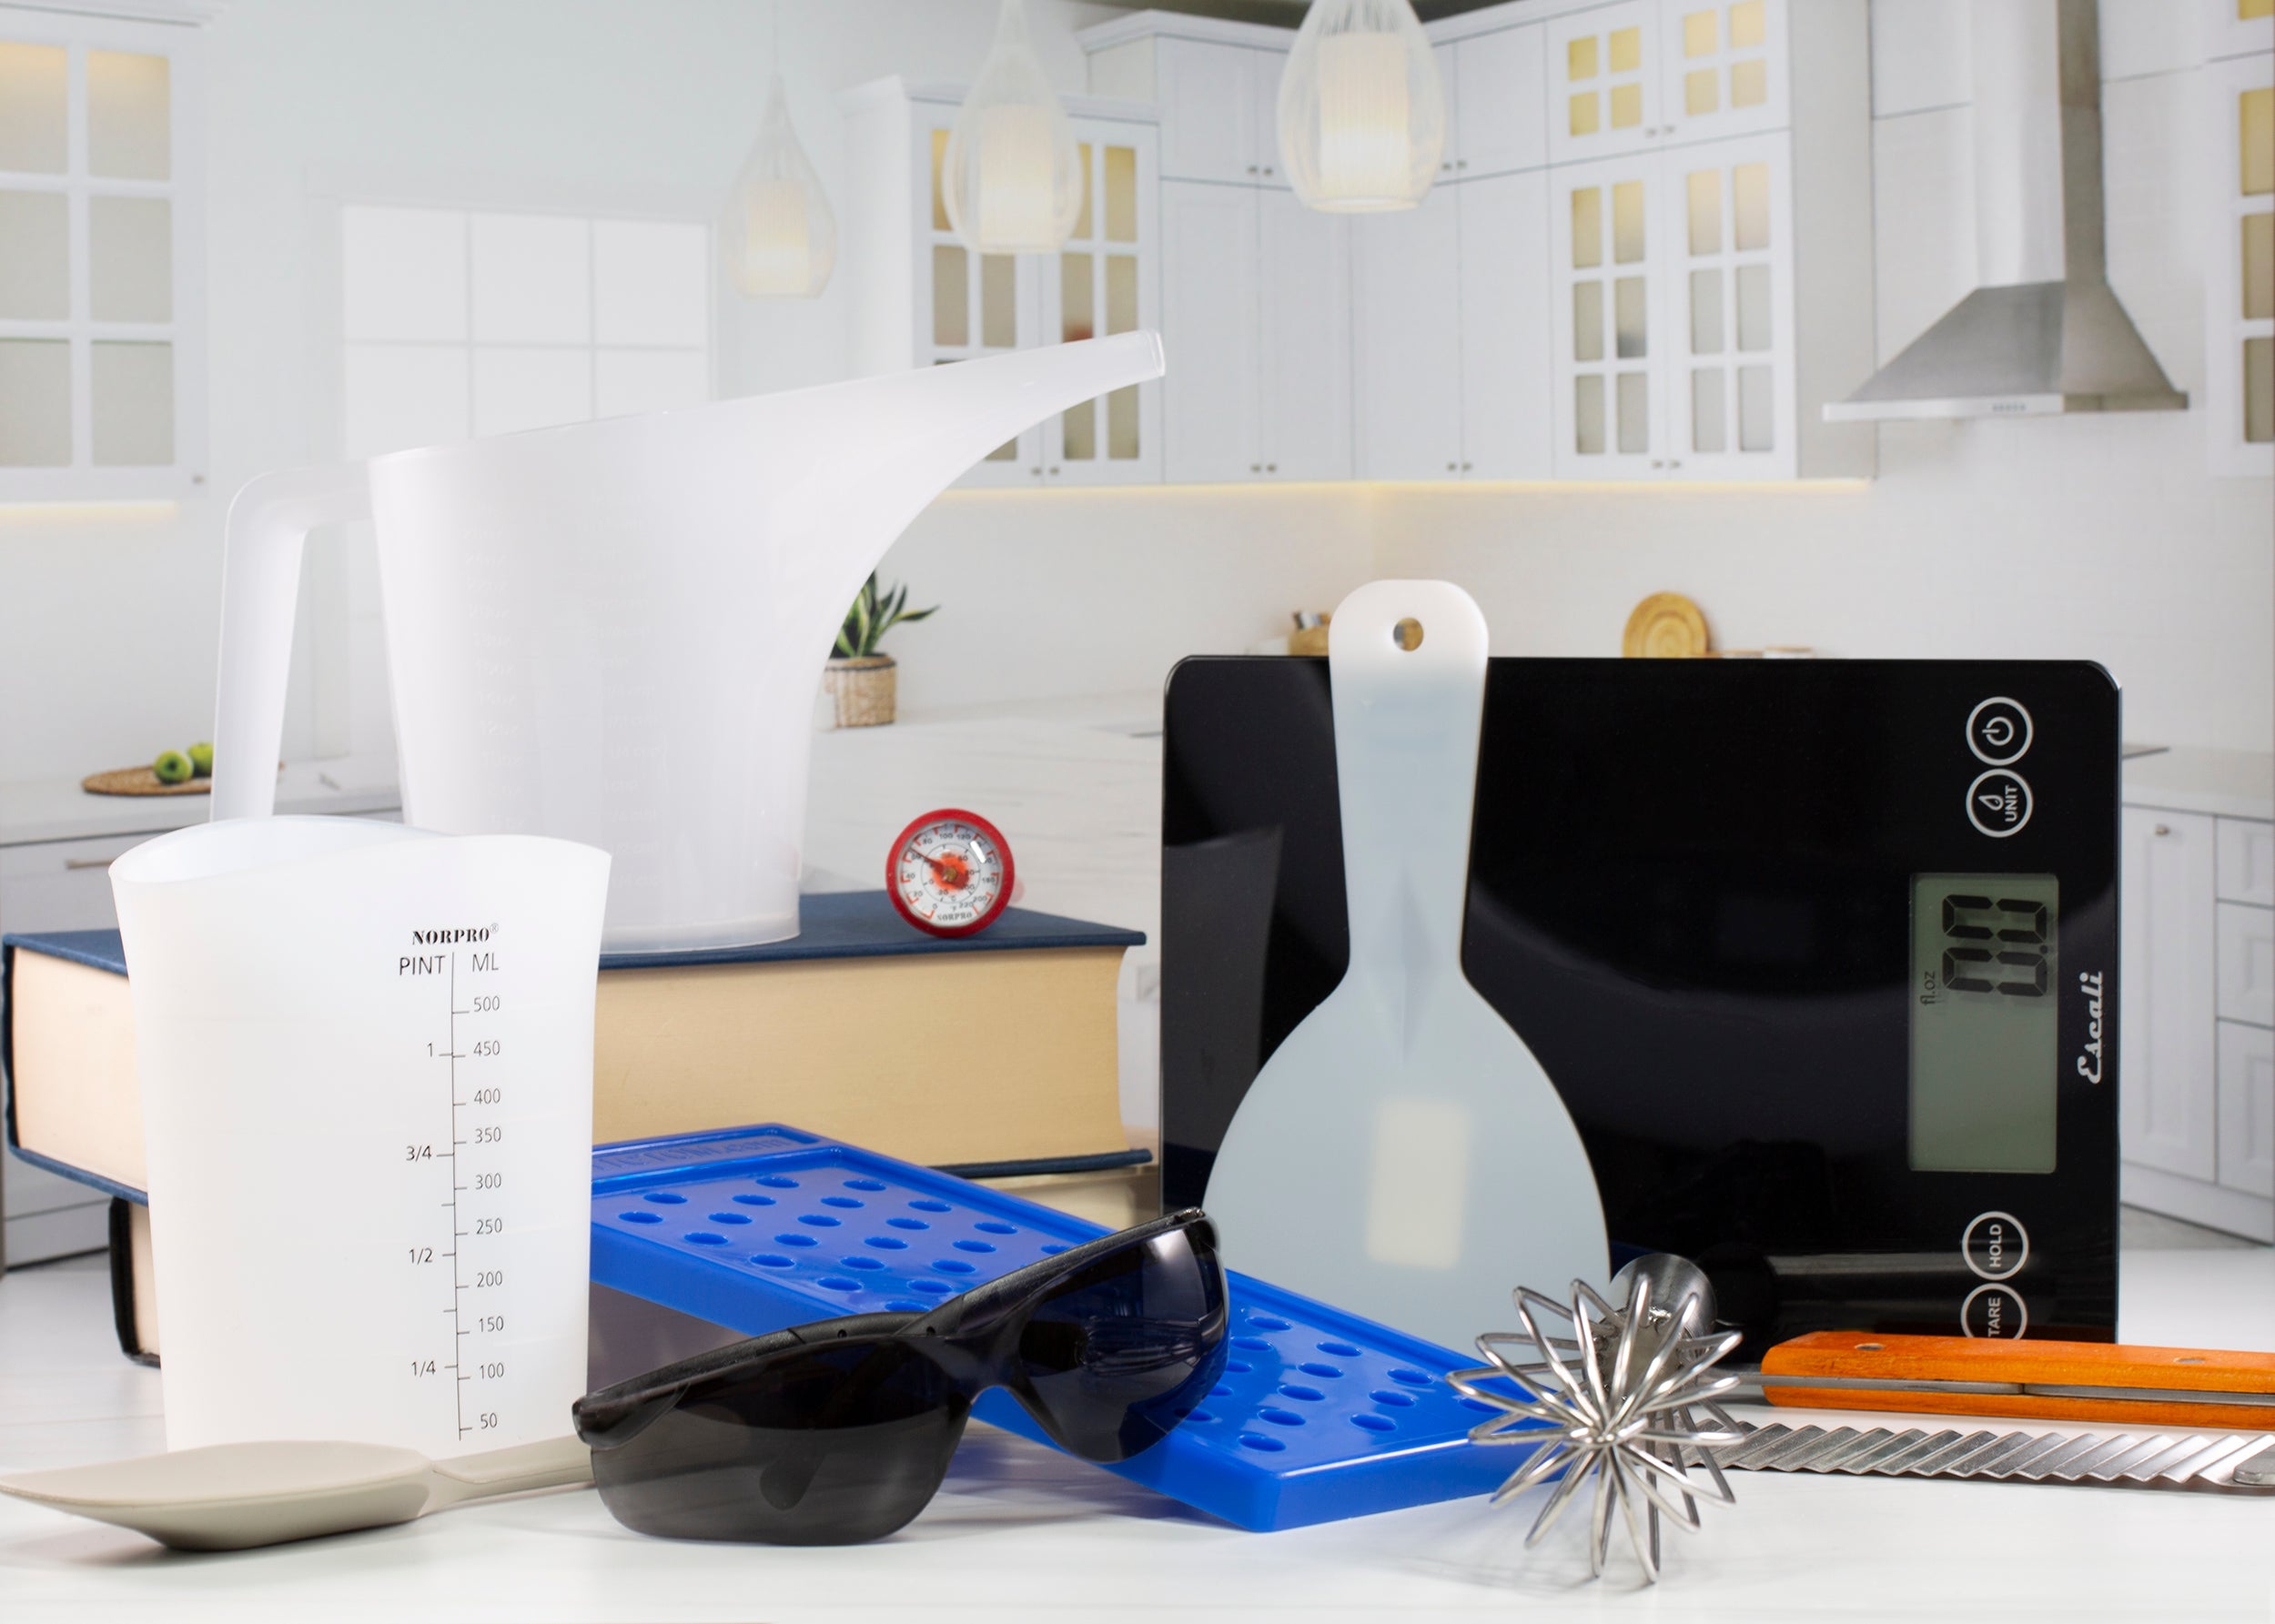
Recommended Equipment:
- Digital Scale
- Heat-safe Measuring Cups
- Microwave
- Stirring Spatula
- Small Mixing Cups
- 0.15 cc Measuring Spoon
- Spray Bottle with Isopropyl Alcohol
- Sculpted Layer Set (6) + Mini Tall Skinny Silicone Loaf Mold
- Knife or Soap Cutter
Formula:
| Ingredient | Usage Rate (%) |
Weight
(g)
|
| Stephenson Shea Butter Melt & Pour Soap | 56.6 | 430 |
| Stephenson Natural Transparent Melt & Pour Soap | 41.4 | 315 |
| Lavender Sea Salt Fragrance Oil | 2% | 12 |
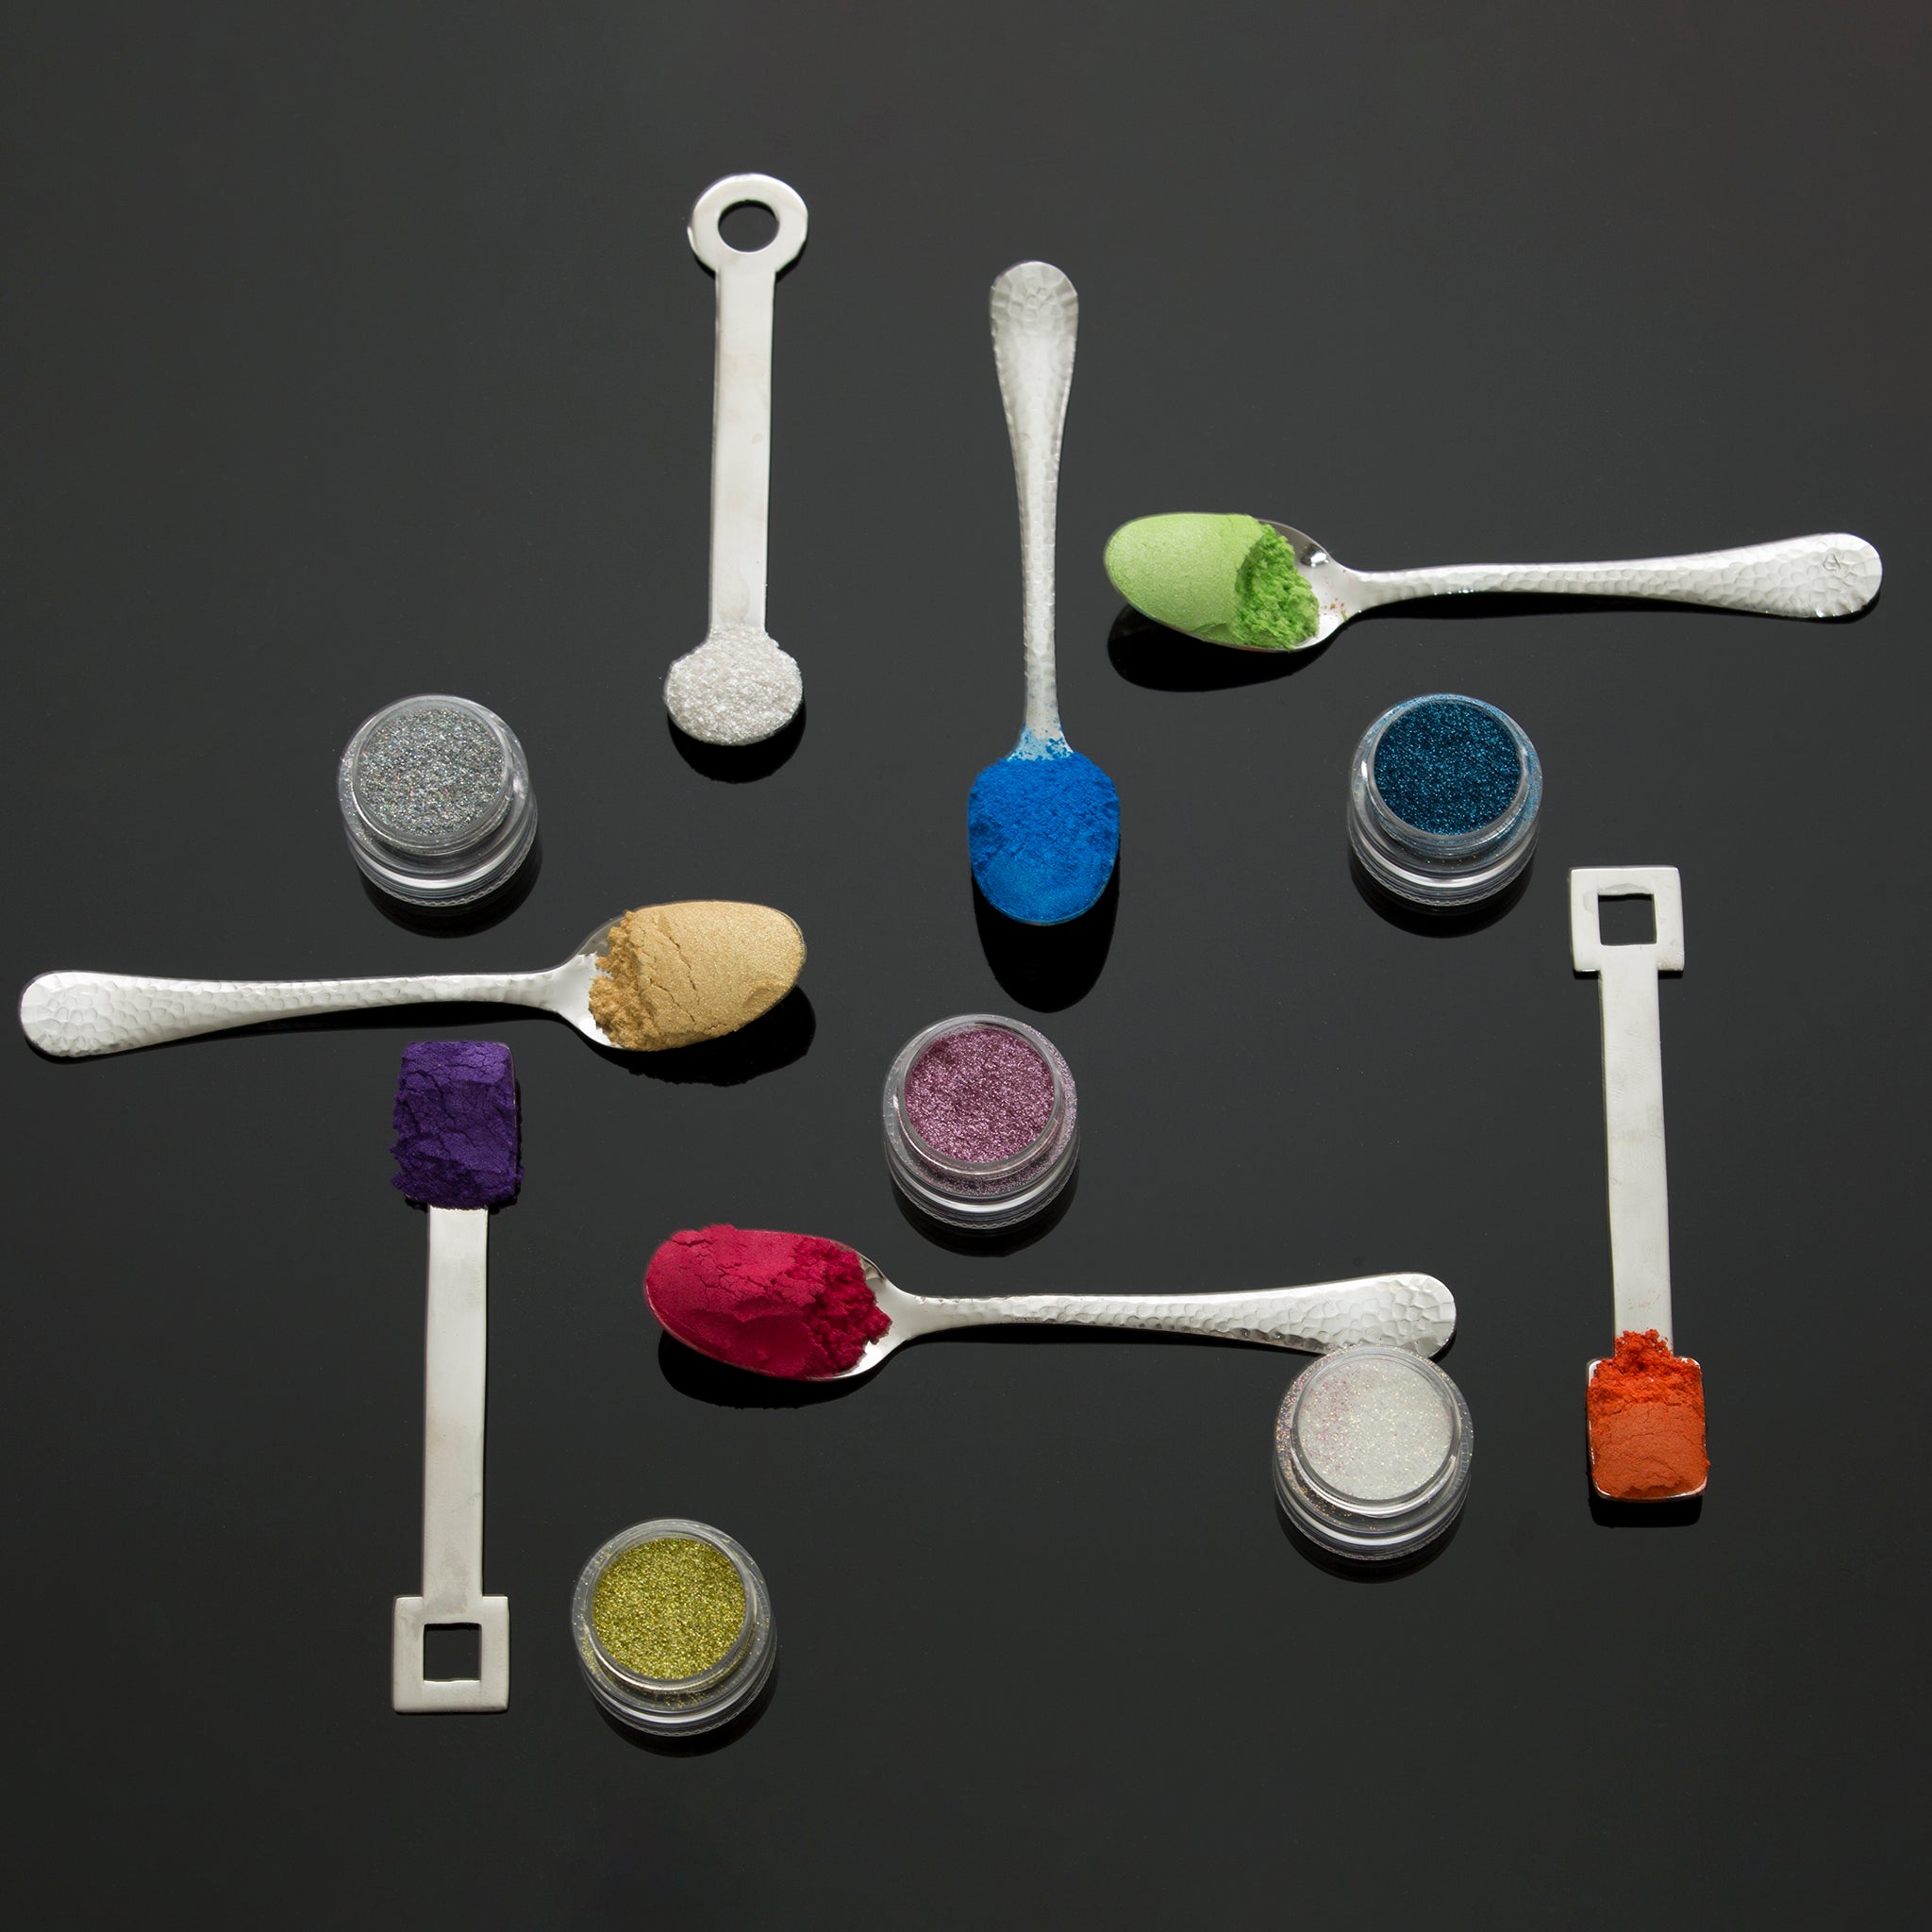
| Blue Lagoon Mica | 1x 0.15CC Scoop | |
| In the Tropics Mica | 1x 0.15CC Scoop | |
| Hunter Green Mica | 4x 0.15CC Scoop | |
| Bronze Mica | 3 x 0.15CC Scoop | |
| Onyx Mica | 6 x 0.15CC Scoop | |
| Sapphire Blue Mica | 4 x 0.15CC Scoop |
Featured Ingredients:
Stephenson Natural Transparent Melt & Pour Soap
Stephenson Natural Transparent Melt & Pour Soap provides the crystal-clear layers used to create the water elements in this landscape design. Its excellent clarity allows colourants to shine while adding depth and dimension to the finished bars. The high-foaming, sulphate-free formula produces a gentle cleanse and leaves skin feeling refreshed and hydrated.
Stephenson Shea Butter Melt & Pour Soap
Stephenson Shea Butter Melt & Pour Soap provides the opaque layers used throughout this landscape design. Its smooth, creamy appearance creates beautiful contrast against the transparent water layers while helping colours appear rich and well-defined within the finished soap. Formulated with shea butter and glycerin, this vegetable-derived soap base produces a gentle cleanse with a creamy lather and pleasant skin feel. Its neutral odour also provides excellent fragrance lift, making it easy to customize with a wide variety of fragrance oils.
Lavender Sea Salt Fragrance Oil
Lavender Sea Salt Fragrance Oil combines fresh coastal notes with calming lavender, driftwood, and soft amber. The clean, breezy aroma pairs beautifully with the mountain and water scenery, creating a scent that feels both relaxing and inspired by nature.
Blue Lagoon Mica
Blue Lagoon Mica creates the deeper water layer at the base of the soap. Its vibrant blue-green hue brings to mind clear tropical waters and adds richness and depth to the landscape scene.
In The Tropics Mica
In The Tropics Mica is used to create the lighter water layer above the deeper blue tones. Its shimmering aqua colour helps build dimension within the water and enhances the illusion of movement created by the sculpted wave design.
Hunter Green Mica
Hunter Green Mica forms the forest layer of the landscape. The rich green colour resembles evergreen trees and natural foliage, helping to separate the water and mountain elements while adding depth to the overall design.
Bronze Mica
Bronze Mica creates the warm mountain layer within the soap. Its earthy brown tone captures the look of sunlit rock formations and provides a natural transition between the forest and darker mountain silhouette layers.
Onyx Mica
Onyx Mica is used to create the mountain silhouette layer. The deep black colour adds contrast and definition, helping the mountain peaks stand out against the surrounding landscape.
Sapphire Blue Mica
Sapphire Blue Mica colours the sky layer and adds a dramatic backdrop to the finished scene. When used lightly, it creates a soft sky effect while allowing details from the landscape below to remain visible.
Instructions:
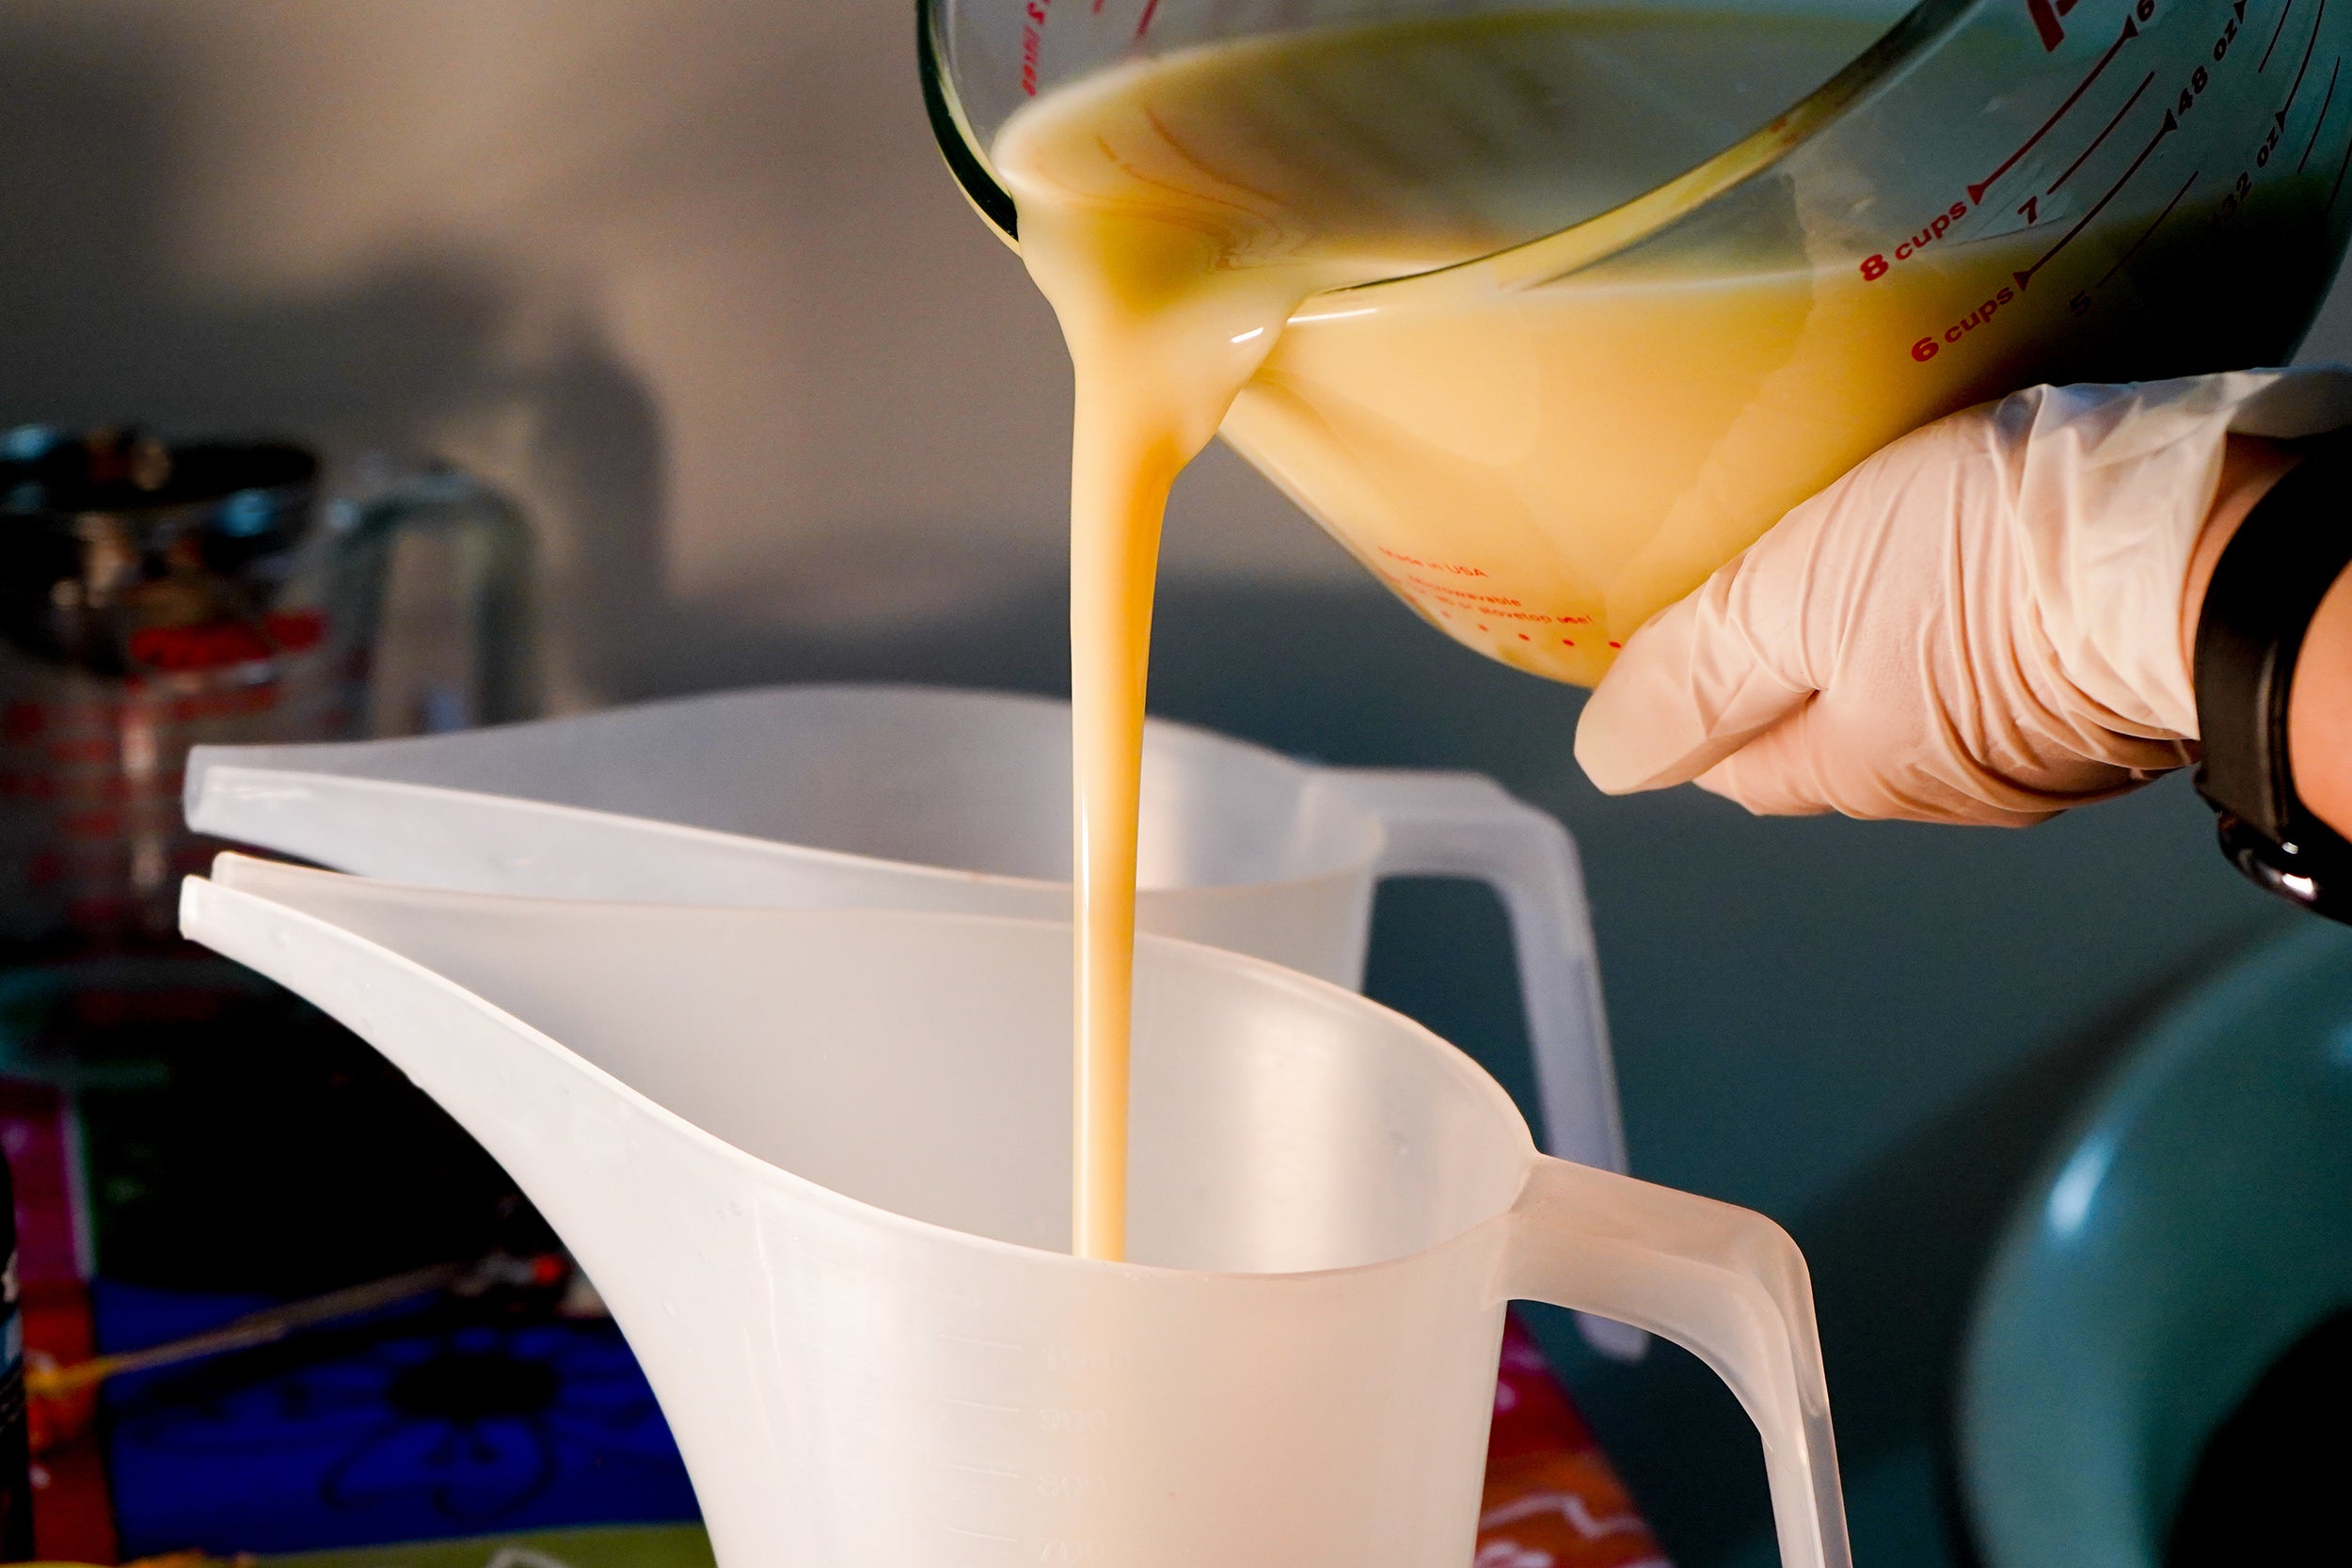
Step 1: Cut approximately 90 g of Stephenson Natural Transparent Melt & Pour Soap into small cubes and melt using short bursts in the microwave until fully liquid. Add 2 g of Lavender Sea Salt Fragrance Oil and stir gently. In a small cup, disperse 1 scoop (0.15 cc) of Blue Lagoon Mica in a small amount of isopropyl alcohol before mixing it into the melted soap. Stir until the colour is completely uniform, then pour the soap into the Mini Tall Skinny Silicone Loaf Mold.
Step 2: Allow the soap to cool and harden completely. Once fully set, place the wavy acrylic scraper into the guide bar and adjust the height until the scraper just touches the soap surface. Gently pull the scraper through the soap to remove a small amount of material and create the first water contour. Remove any soap shavings before continuing.
Step 3: Melt 90 g of Stephenson Natural Transparent Melt & Pour Soap and add 2 g of Lavender Sea Salt Fragrance Oil. Disperse 1 scoop (0.15 cc) of In The Tropics Mica in isopropyl alcohol and stir it into the soap until evenly coloured. Spritz the sculpted water layer with isopropyl alcohol and carefully pour the soap over top. Allow the layer to fully harden before adjusting the guide bar slightly higher than before. Using the same wavy scraper, gently remove a small amount of soap to create a second water contour. Discard the soap shavings before moving on to the next layer.
Step 4: Cut and melt 90 g of Stephenson Shea Butter Melt & Pour Soap. Add 2 g of Lavender Sea Salt Fragrance Oil. Disperse 4 scoops (0.15 cc each) of Hunter Green Mica in a small amount of isopropyl alcohol and stir into the melted soap until evenly coloured. Spritz the previous layer with isopropyl alcohol and slowly pour the green soap directly on top of the sculpted water layers. Allow the soap to cool and harden completely before proceeding.
Step 5: Melt 90 g of Stephenson Shea Butter Melt & Pour Soap and add 2 g of Lavender Sea Salt Fragrance Oil. Disperse 3 scoops (0.15 cc each) of Bronze Mica in isopropyl alcohol and mix thoroughly into the soap.
Spritz the forest layer with isopropyl alcohol and pour the bronze soap into the mold. Once the layer has fully hardened, install the mountain range scraper into the guide bar and adjust it until it lightly touches the soap surface. Carefully scrape away a portion of the layer to create the mountain profile, then remove any soap shavings.
Step 6: Melt 90 g of Stephenson Shea Butter Melt & Pour Soap and add 2 g of Lavender Sea Salt Fragrance Oil. Disperse 6 scoops (0.15 cc each) of Onyx Mica in isopropyl alcohol and stir into the soap until fully blended. Spritz the sculpted mountain layer with isopropyl alcohol and pour the black soap on top. Allow the layer to harden completely before reinstalling the mountain range scraper. Adjust the guide bar slightly higher than before and gently scrape away a portion of the black layer to reveal the mountain silhouette beneath. Remove any excess soap shavings.
Step 7: Cut 90 g of Stephenson Shea Butter Melt & Pour Soap into cubes. Melt most of the soap but leave a few small pieces unmelted. Add 2 g of Lavender Sea Salt Fragrance Oil. Disperse 4 scoops (0.15 cc each) of Sapphire Blue Mica in isopropyl alcohol and stir into the soap. Mix gently, allowing some of the white soap pieces to remain visible. These pieces will create a soft cloud-like effect in the finished bars. Spritz the previous layer with isopropyl alcohol and pour the sky layer into the mold. For additional texture, lightly drag a fork across the surface before the soap fully hardens to create a rustic, handcrafted finish.
Step 8: Allow the soap loaf to cool and harden for approximately 3–4 hours before removing it from the mold. Once unmolded, place the loaf on its side and cut into approximately 1-inch bars. Melt and pour soap is ready to use as soon as it has hardened and does not require curing. If the bars will not be used immediately, wrap them in shrink wrap or plastic wrap to help prevent glycerin dew, which can form when moisture from the air is attracted to the soap.
Tips for Success
Allow Layers to Fully Harden Before Sculpting
Unlike cold process soap, melt and pour soap must be completely firm before using the acrylic scrapers. Attempting to shape a soft layer may cause tearing, dragging, or uneven contours.
Spray Isopropyl Alcohol Between Layers
A light but thorough spritz of isopropyl alcohol helps each layer bond securely to the next and reduces the risk of layer separation.
Control Pouring Temperatures
Allow freshly melted soap to cool slightly before pouring. Soap that is too hot can soften or partially melt the sculpted layer beneath it, reducing the definition of your design.
Work With Small Batches
Preparing one layer at a time allows for better colour control and makes it easier to monitor the setting time needed before sculpting.
Advanced Maker Notes
Minimize Surface Bubbles
Spritz freshly poured soap with isopropyl alcohol immediately after pouring to remove surface bubbles and create a smoother finish.
Preserving Sculpted Details
For the sharpest contours, allow each layer to become fully firm before scraping. If the soap feels slightly flexible when pressed, allow additional time before shaping.
Experiment With Scraper Heights
Adjusting the guide bar between layers can dramatically change the finished appearance. Small height changes create subtle contours, while larger adjustments can produce more dramatic landscape features and stronger visual depth.
Using Transparent and Opaque Bases Together
Combining transparent and opaque melt and pour bases helps create contrast and dimension within landscape scenes. Transparent layers can add depth, while opaque layers provide definition and visual separation.
Preventing Glycerin Dew
Melt and pour soap naturally contains glycerin, which attracts moisture from the air. In humid environments, small droplets may form on the soap surface over time. Wrapping bars in plastic wrap or shrink wrap soon after they have fully cooled can help minimize this effect.
Avoid Overheating Melt & Pour Soap
Excessive heat can cause moisture loss, reduce lather quality, and increase the likelihood of sweating after the soap has cooled. Melt only until the soap is fully liquid and avoid prolonged heating.
Colour Depth in Transparent Soap
Micas often appear more vibrant and intense in transparent soap bases than in opaque bases. When working with clear soap, start with a smaller amount of colourant and add more as needed.
Note:
These formulations are provided as a guide and may be used for personal or commercial applications. Voyageur Soap & Candle Company Ltd. accepts no liability for the performance, effectiveness, or outcomes of products made using these formulations. Users are responsible for proper testing, safe formulation practices, and compliance with all applicable regulations.
If you have any questions regarding this recipe, please email us at customerservice@voyageursoapandcandle.com or call us at 1-800-758-7773.