


A Handmade Floral Gift for Spring and Every Special Occasion
Fresh flowers are always beautiful, but why not give a bouquet that fizzes instead of fades
Our Daisy Bath Bombs are a charming, spring-inspired project that transforms simple ingredients into handmade “flowers” that can be gifted and enjoyed. Designed to look like a bouquet in bloom, these bath bombs offer a creative alternative to traditional floral gifts, bringing together something thoughtful, personal, and a little unexpected.
With Mother’s Day around the corner, they make a lovely handmade gift idea, but they’re just as perfect for bridal showers, baby showers, birthdays, hostess gifts, or anytime you want to give someone flowers with a unique twist.
Click here to download the Step-by-Step PDF Guide.
Why We Love This Project
These daisy bath bombs bring together soft floral colours, beautiful fragrance, and the kind of handmade touch that makes a gift feel special.
Create them as:
- A spring-inspired bath bomb bouquet
- Bridal or baby shower favours
- Handmade birthday or hostess gifts
- A beautiful addition to gift baskets or product collections
They’re playful, elegant, and surprisingly easy to make.
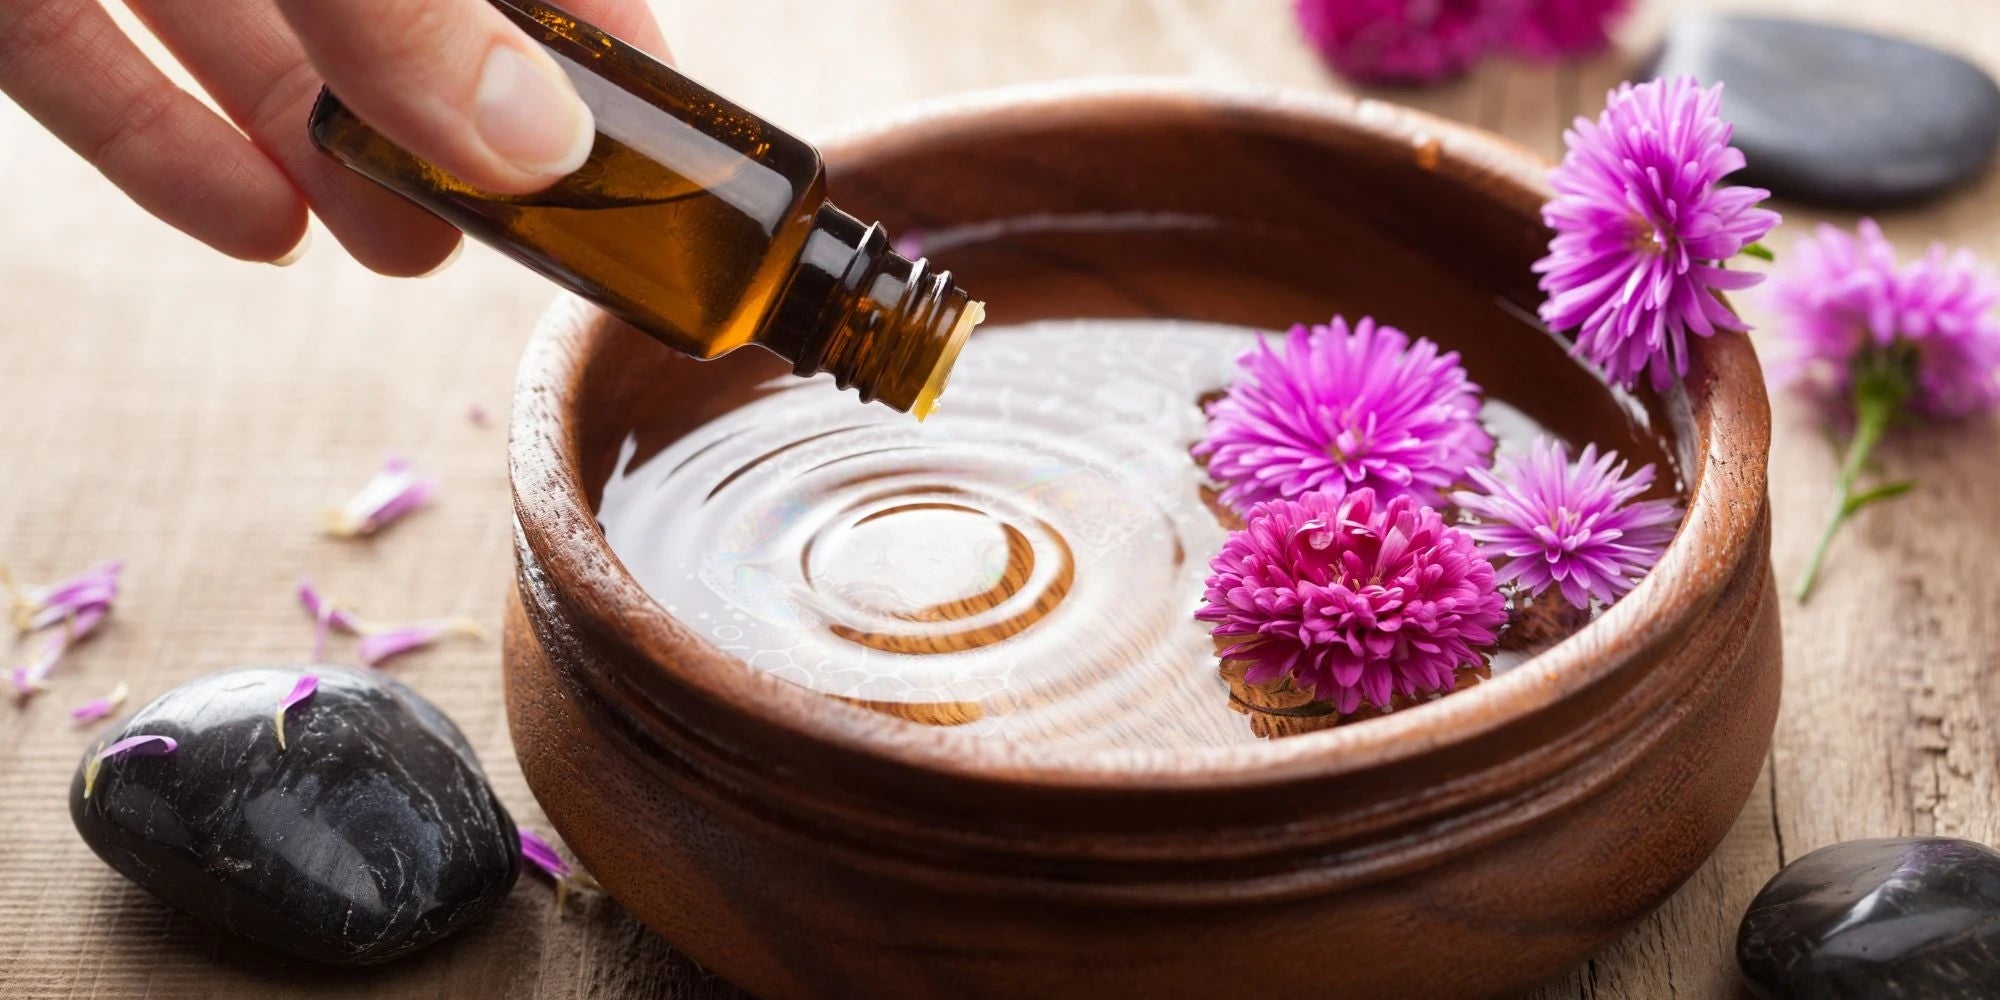
For this project, we recommend choosing soft, fresh floral fragrances that feel light, uplifting, and reminiscent of a spring bouquet in bloom.
Think delicate florals, gentle green notes, and clean spring-inspired scents that complement the daisy design and help create that fresh-picked floral feel in the bath.
Beautiful fragrance choices for this project included Indigo Bloom, Regency Fleur, Cherry Blossom, English Rose, Lavender and Sea Salt, Edible Bloom, Sweet Pea, and White Ginger Lily. Each brings its own floral character, from airy and romantic to fresh and garden-inspired, making it easy to create your own signature “bouquet.”
These types of scents pair beautifully with the floral theme and make these bath bombs feel as lovely to use as they are to gift. But the possibilities don’t end there. With hundreds of fragrances to choose from, you can create your own unique bouquet and customize this project to suit any occasion or personal style.
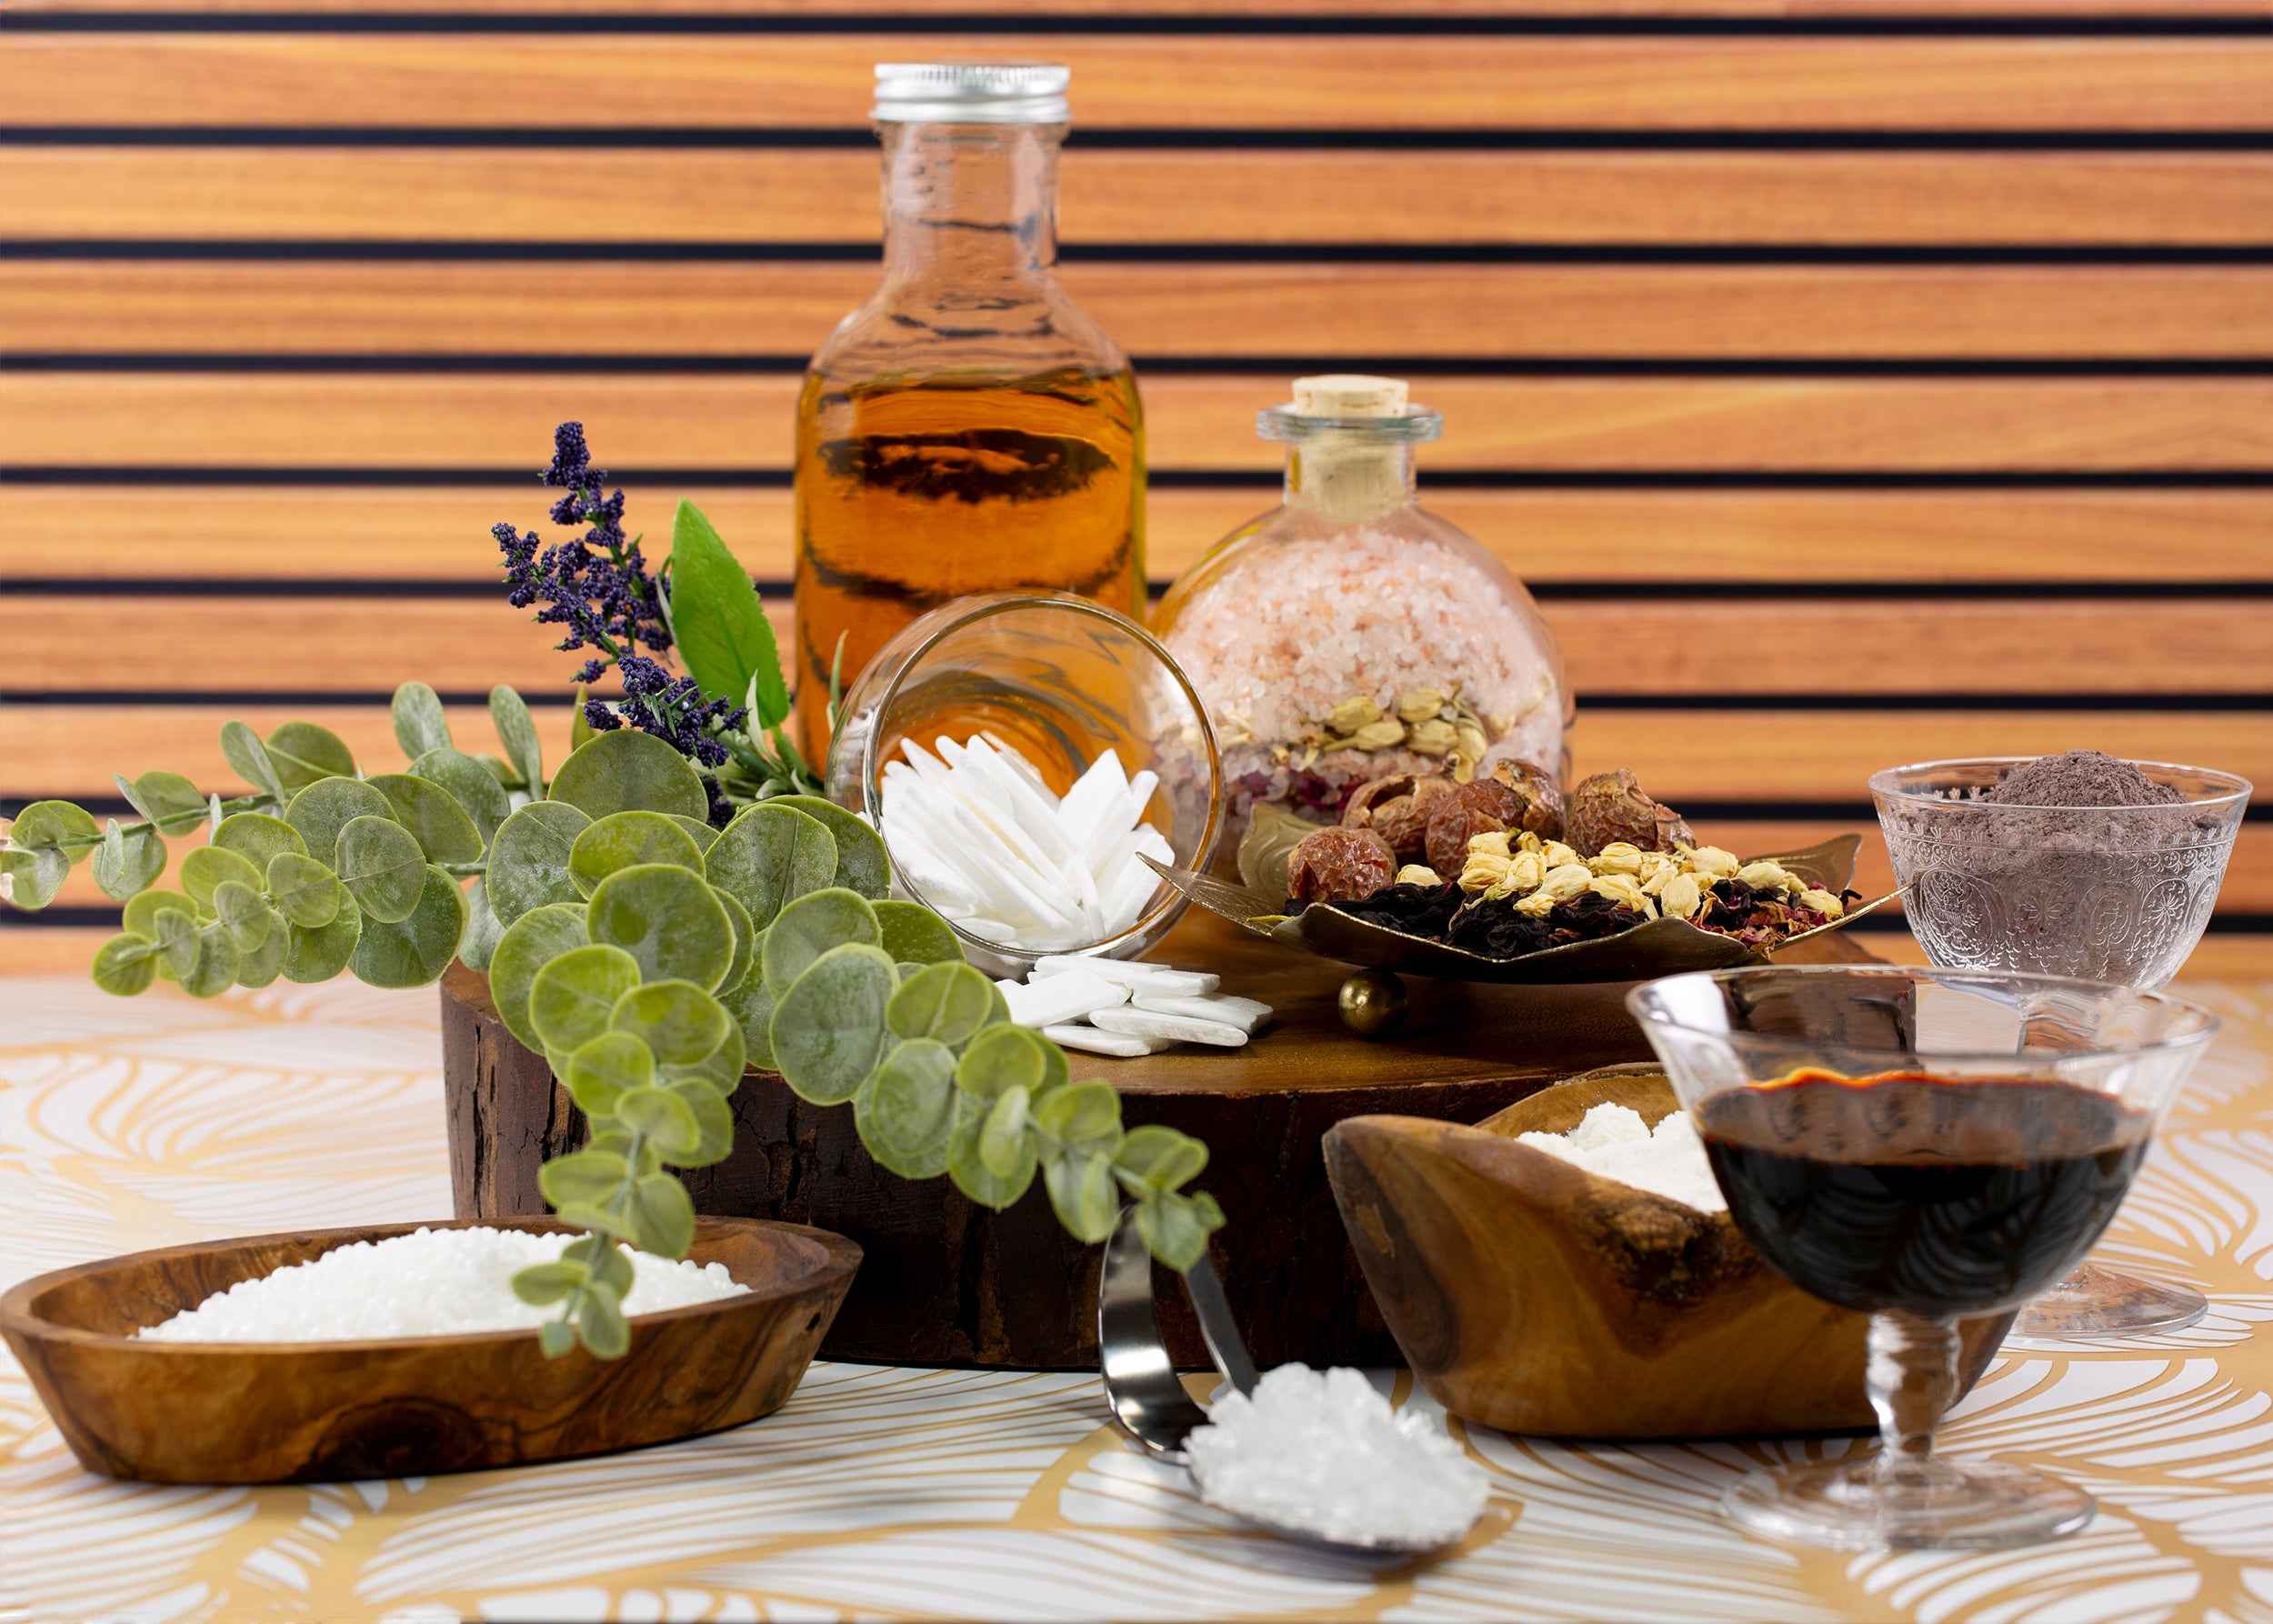
Spring Colour Palette Inspiration
Keep the colours bright, soft, and inspired by spring blooms:
- Daisy Petals: shades of pink, blue, pale yellow, and white
- Daisy Centre: warm yellow or golden tones, even hand-painted for added detail
- Optional Shimmer: a light dusting of mica on the outside of the bath bomb for subtle shimmer
- Colour Burst: tuck colourful embeds inside for a hidden burst of colour in the bath. Use our Embed Tray Mold for quick and easy embed creation.
- Decorative Painting: Once bath bomb is fully dried, you may mix isopropyl alcohol with a small amount of mica or powder colourant to create a paint for your batch bombs. Use a fine brush to add decorative accents.
A gentle contrast between the petal and centre colours helps the daisy design stand out while keeping the finished bath bombs elegant, playful, and beautifully giftable. Get creative and make each bouquet unique.
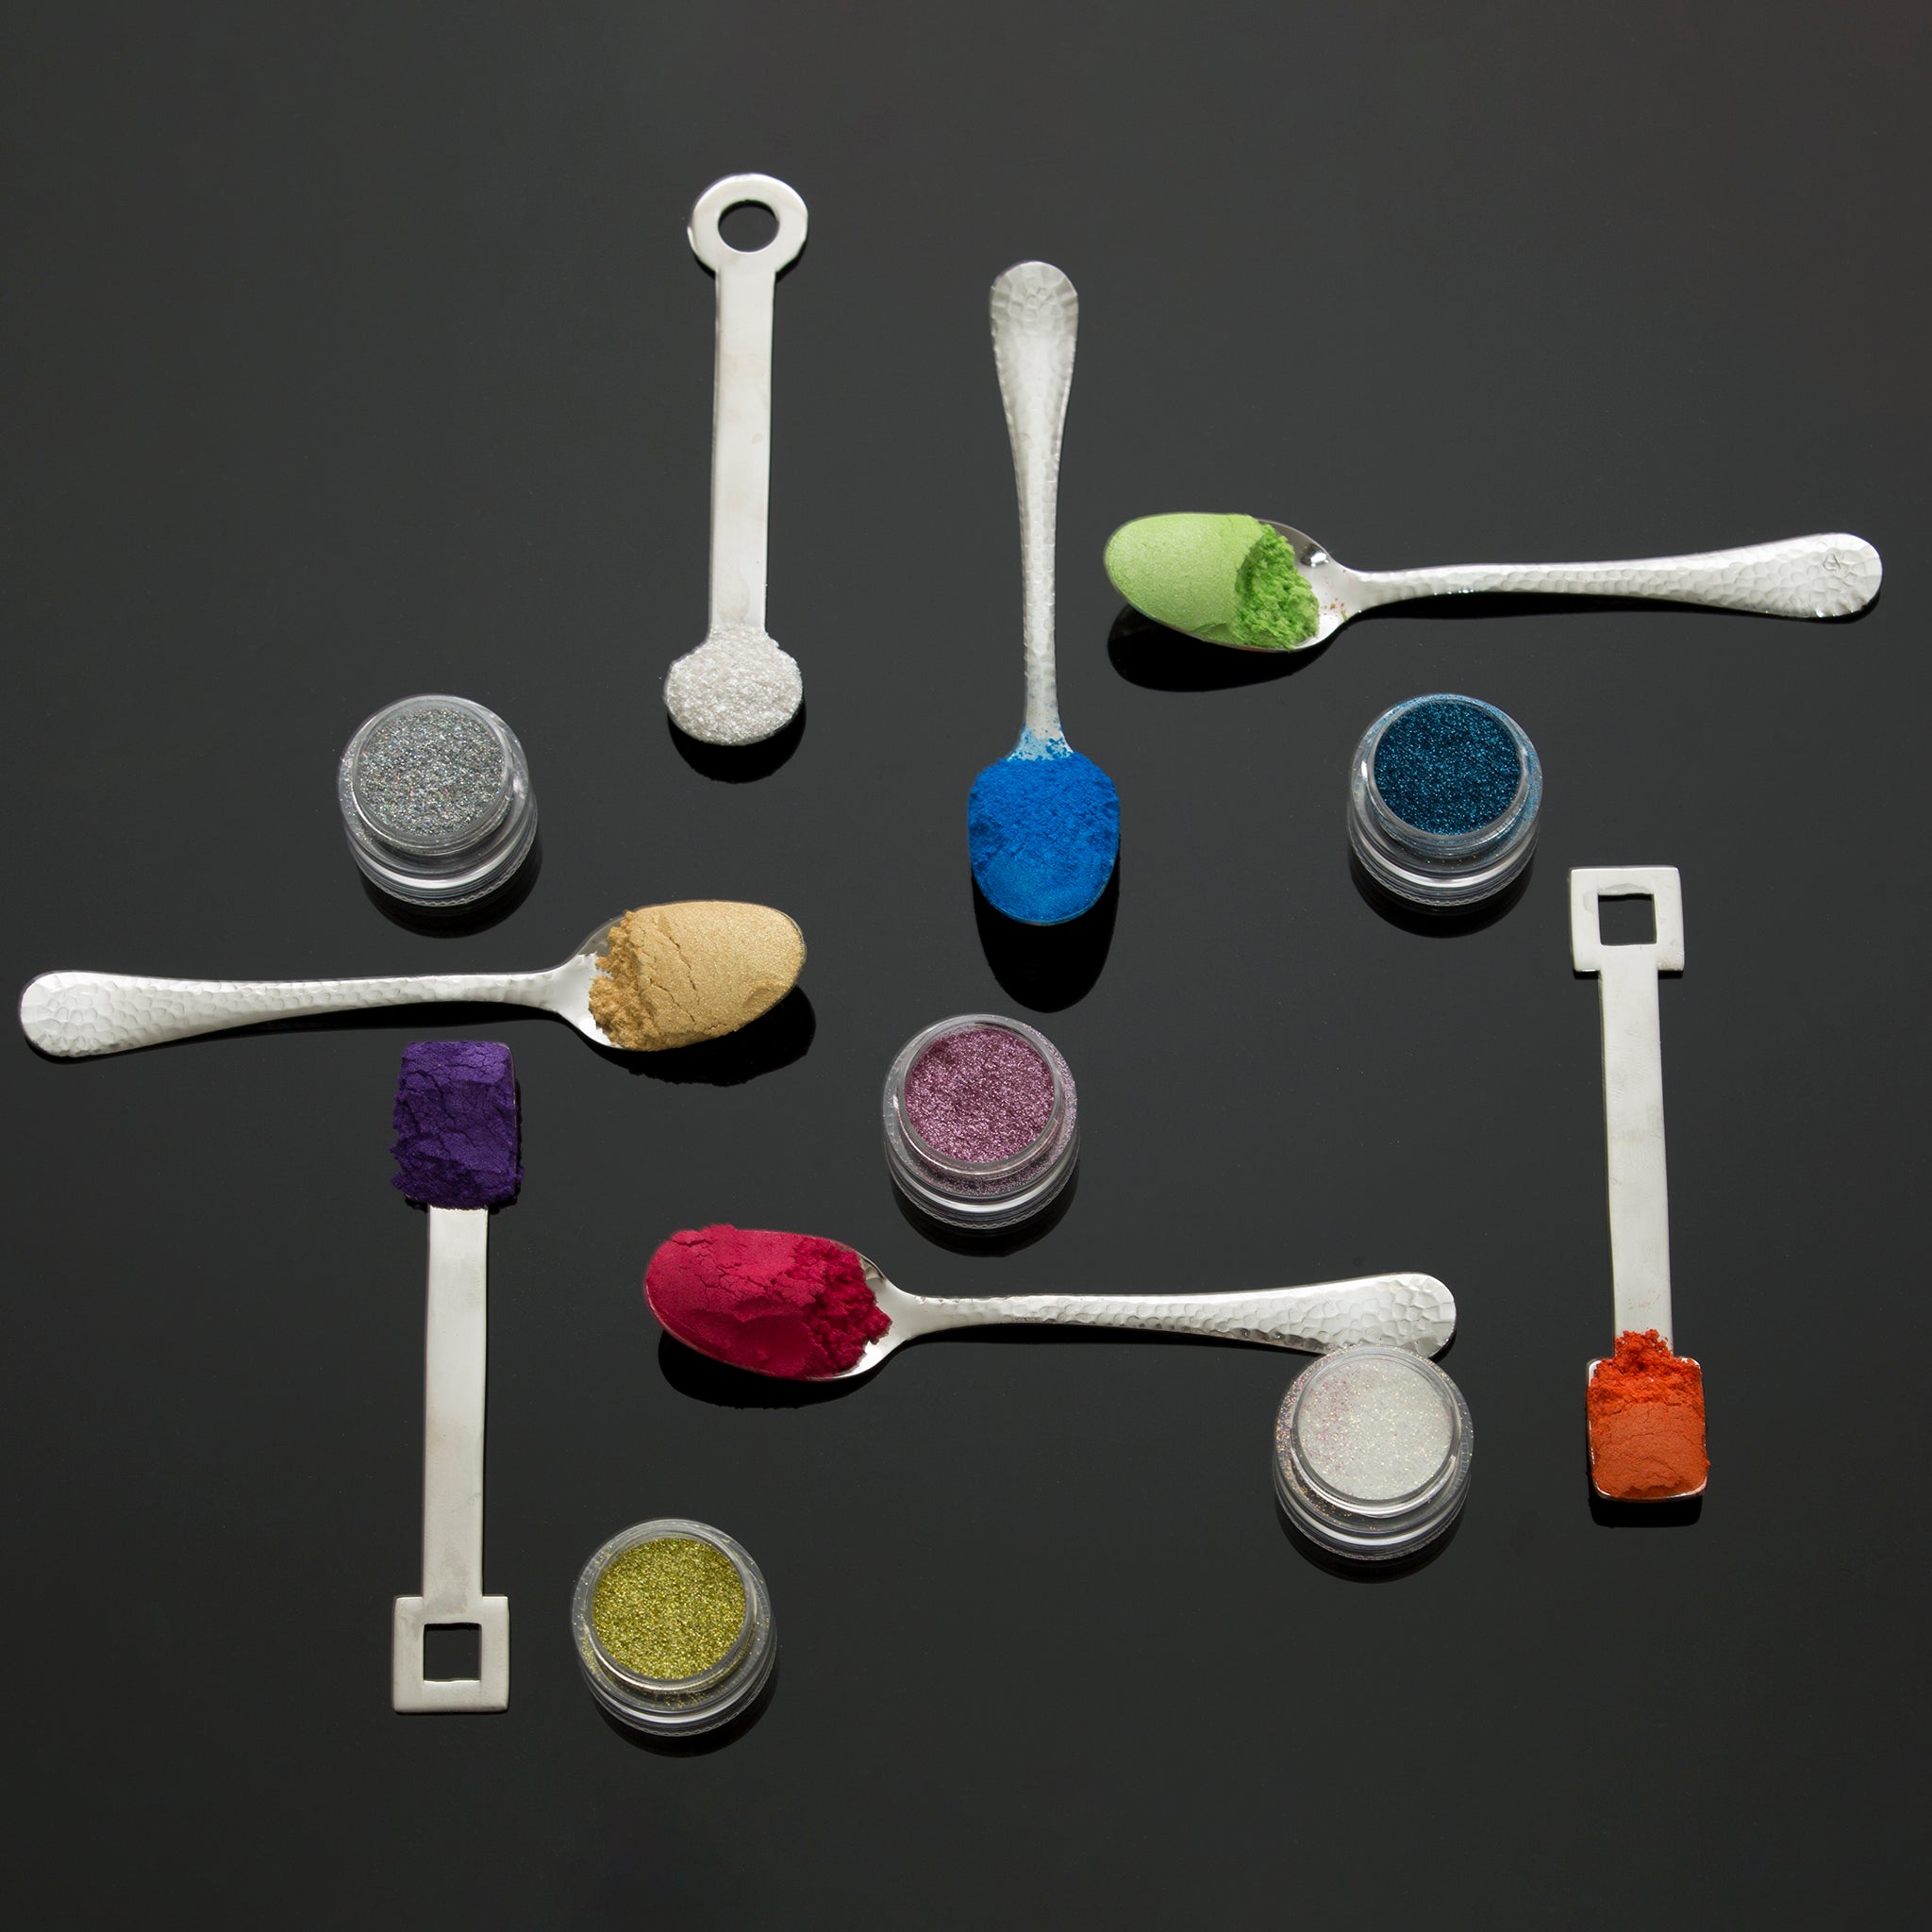
In this project, we’ve used a selection of Neon and Bath Bomb Colourants, but micas are another beautiful way to achieve soft or vibrant shades, and can even add a subtle touch of shimmer to the petals when applied with a soft brush, or incorporated into the bath bomb mixture for luminous colour throughout.
Makes 6x ~120g Daisy Bath Bombs
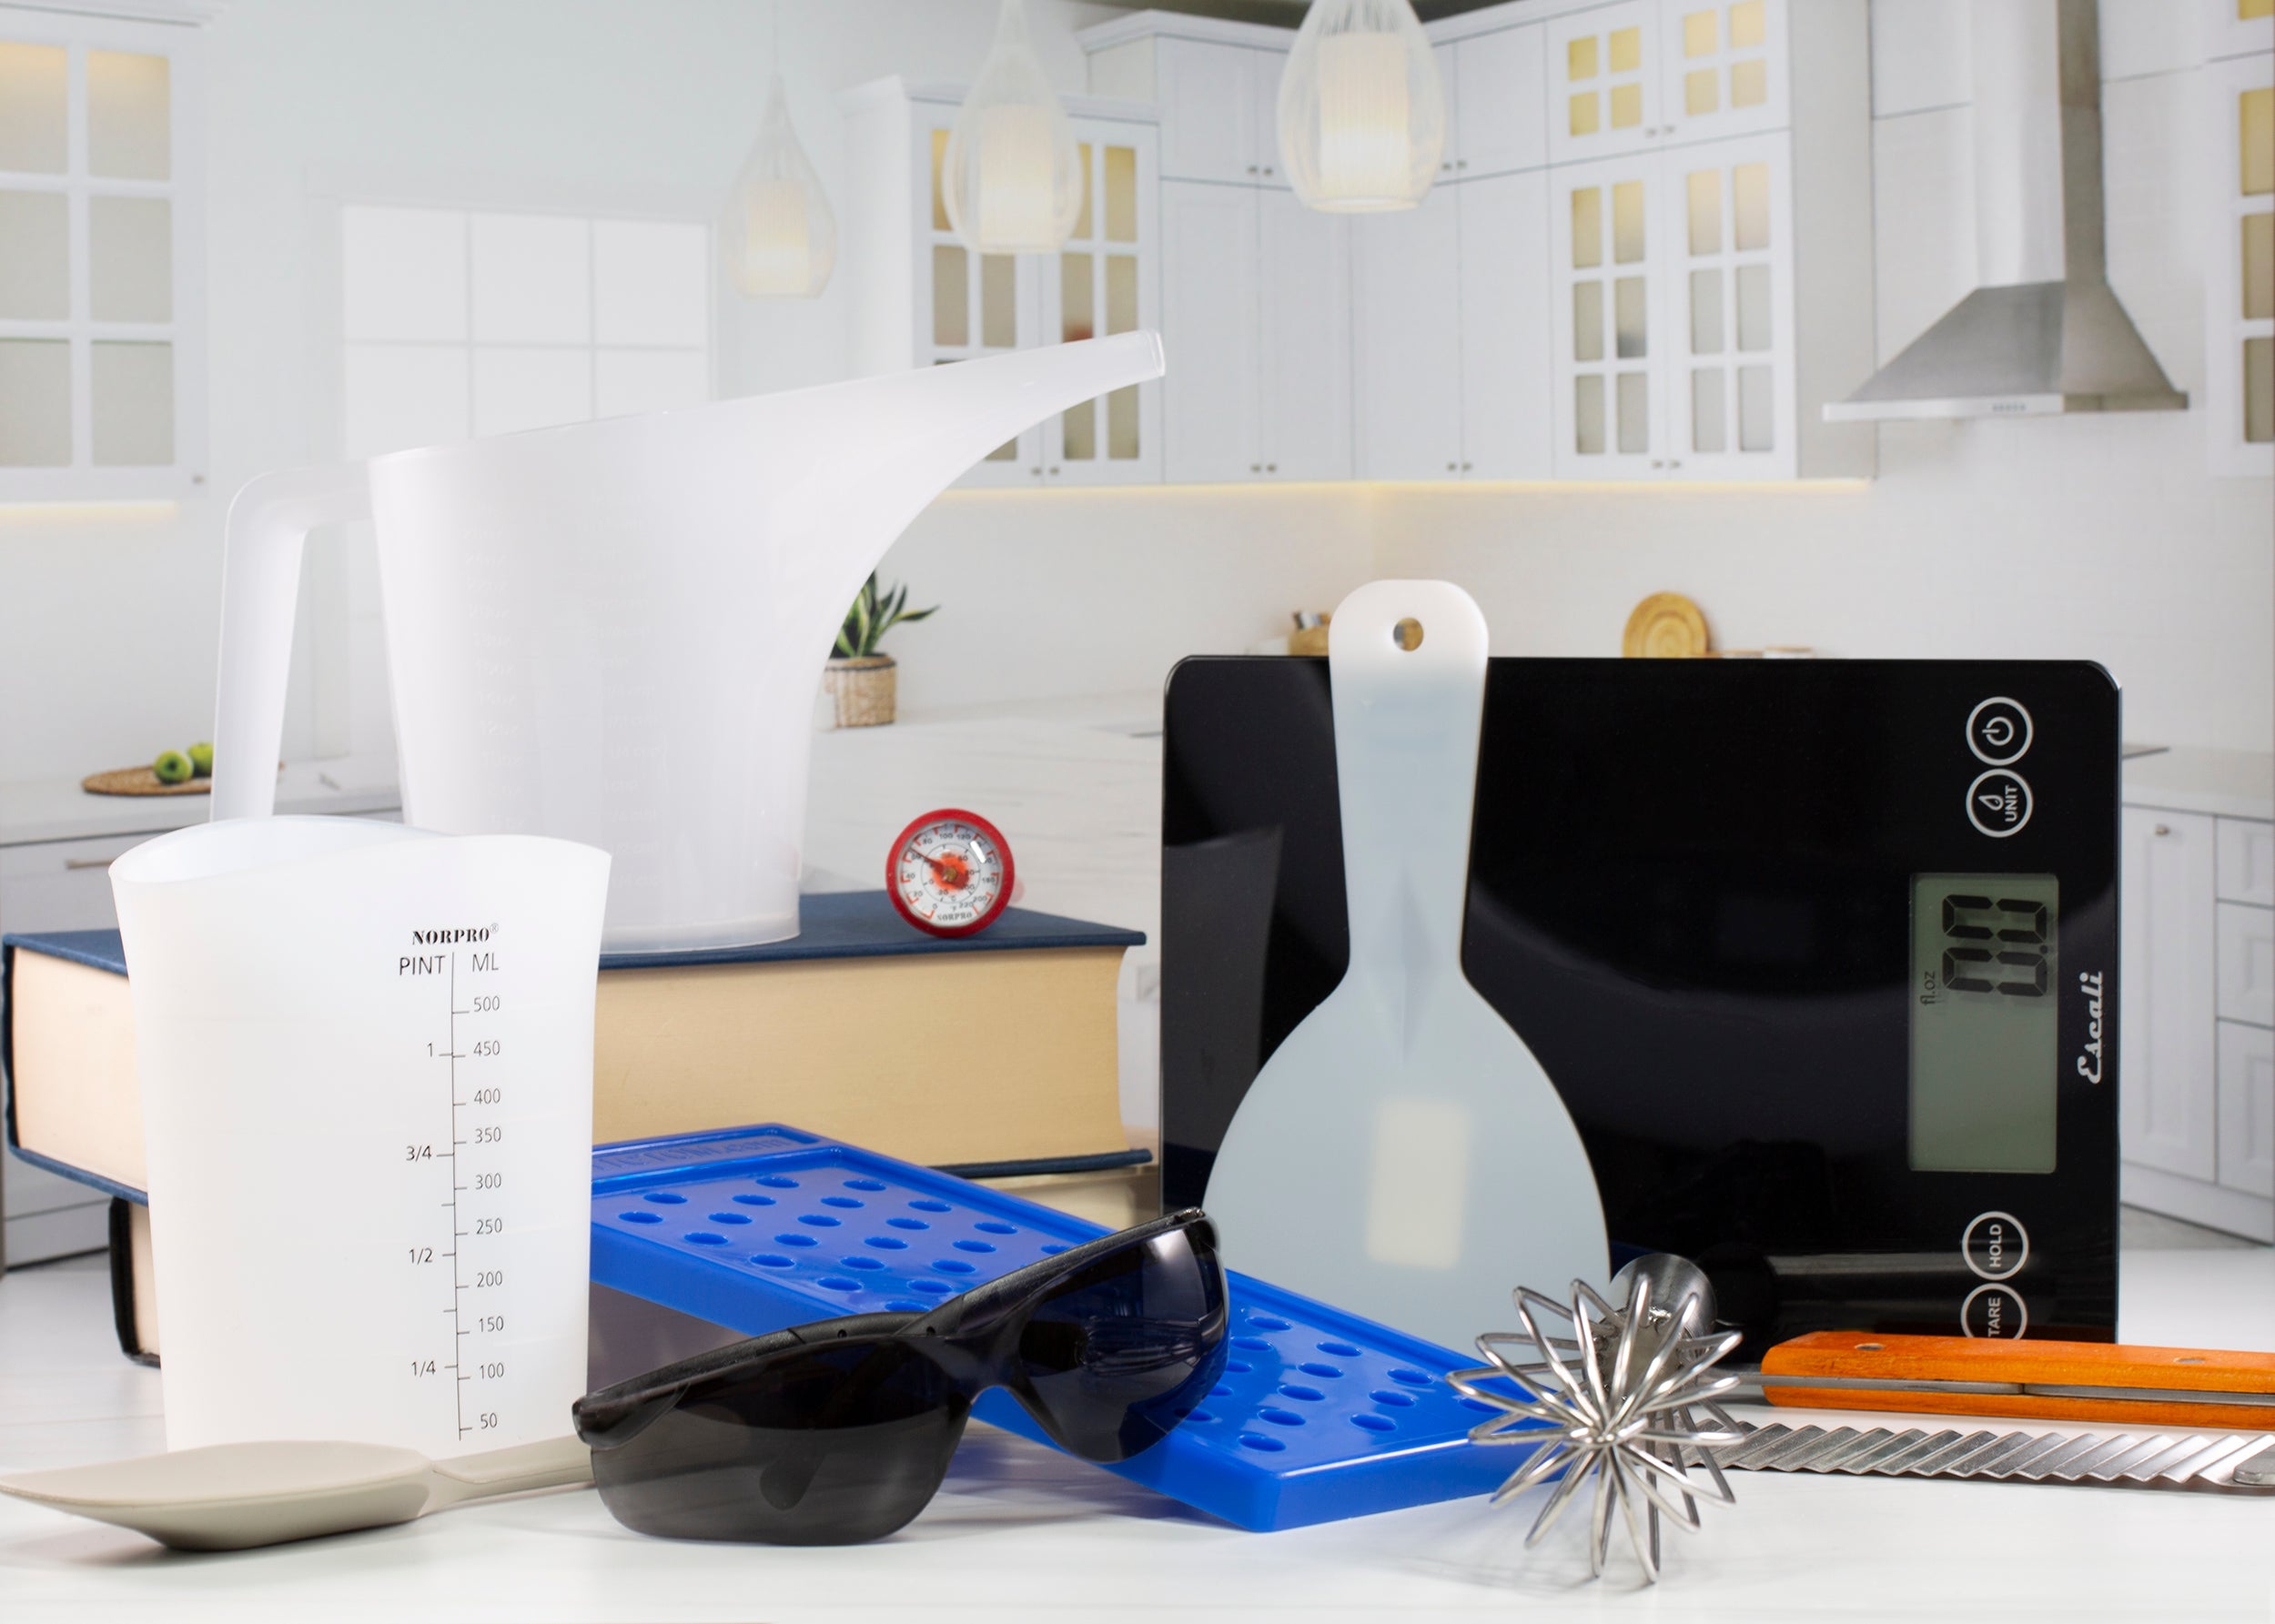
Recommended Equipment:
- Scale
- Gloves
-
Daisy Flower - 3D Printed Bath Bomb Mold
- Metal Spoon
- Sift
- 1-4 Mixing Bowls (for multiple colours)
Basic Daisy Bath Bomb Formula
Dry Ingredients:
- Sodium Bicarbonate - Baking Soda 400g
- Citric Acid 250g
- Corn Starch White 15g
-
Lathanol LAL Surfactant Powder - SLSA 10g
- Cream of Tartar 8g
Bath Bomb Colours such as:
Bath Bomb Blue Colour - Blue 1 Lake
Bath Bomb Red Colour - Red 40 Lake
Bath Bomb Yellow Colour - Yellow 5 Lake
Bath Bomb Orange Colour - Yellow 6 Lake
Bath Safe Neon Powders such as:
Neon House Party Purple Powder
Neon Hot Pink Kisses Powder
Neon Magical Magenta Powder
Neon Yellow Electric Slide Powder
Wet Ingredients:
- Apricot Kernel Oil 8g
- Polysorbate 80 8g
- Avocado Butter 8g
- Fragrance of Choice (e.g. Indigo Bloom) 13g
- Witch Hazel Distillate with Mister
Ingredient Notes
Sodium Bicarbonate - Baking Soda: A core component of any bath bomb. Baking soda acts as the primary base and works with citric acid to create the signature fizzing reaction. It also helps soften the bath water for a gentle, skin-friendly soak.
Citric Acid: An essential counterpart to baking soda and a key component in every bath bomb. It reacts with the base to produce the effervescent fizz, helping disperse the ingredients evenly throughout the bath water.
Corn Starch White: Functions as a binder and filler while helping to slow the reaction slightly. It contributes to a softer, silkier feel in the bath water.
Cream of Tartar: Helps strengthen and stabilize the bath bomb structure, resulting in a harder, more durable product. It also supports a finer, more controlled fizz.
Lathanol LAL Surfactant Powder - SLSA: A mild surfactant that introduces gentle foam and helps disperse oils and butters more evenly in the water, improving rinse off and overall bath experience.
Apricot Kernel Oil: A lightweight emollient oil that helps condition the skin, leaving it feeling soft and smooth without a heavy or greasy after-feel.
Polysorbate 80: An emulsifier that helps disperse oils, butters, and fragrance in the bath water. It reduces oily residue and helps minimize ring around the tub.
Avocado Butter: A rich, conditioning butter that melts into the bath water, contributing to a more nourishing and comforting skin feel.
Fragrance of Choice: Provides the overall scent profile, enhancing the sensory experience and creating a more immersive and enjoyable bath.
Instructions:
-
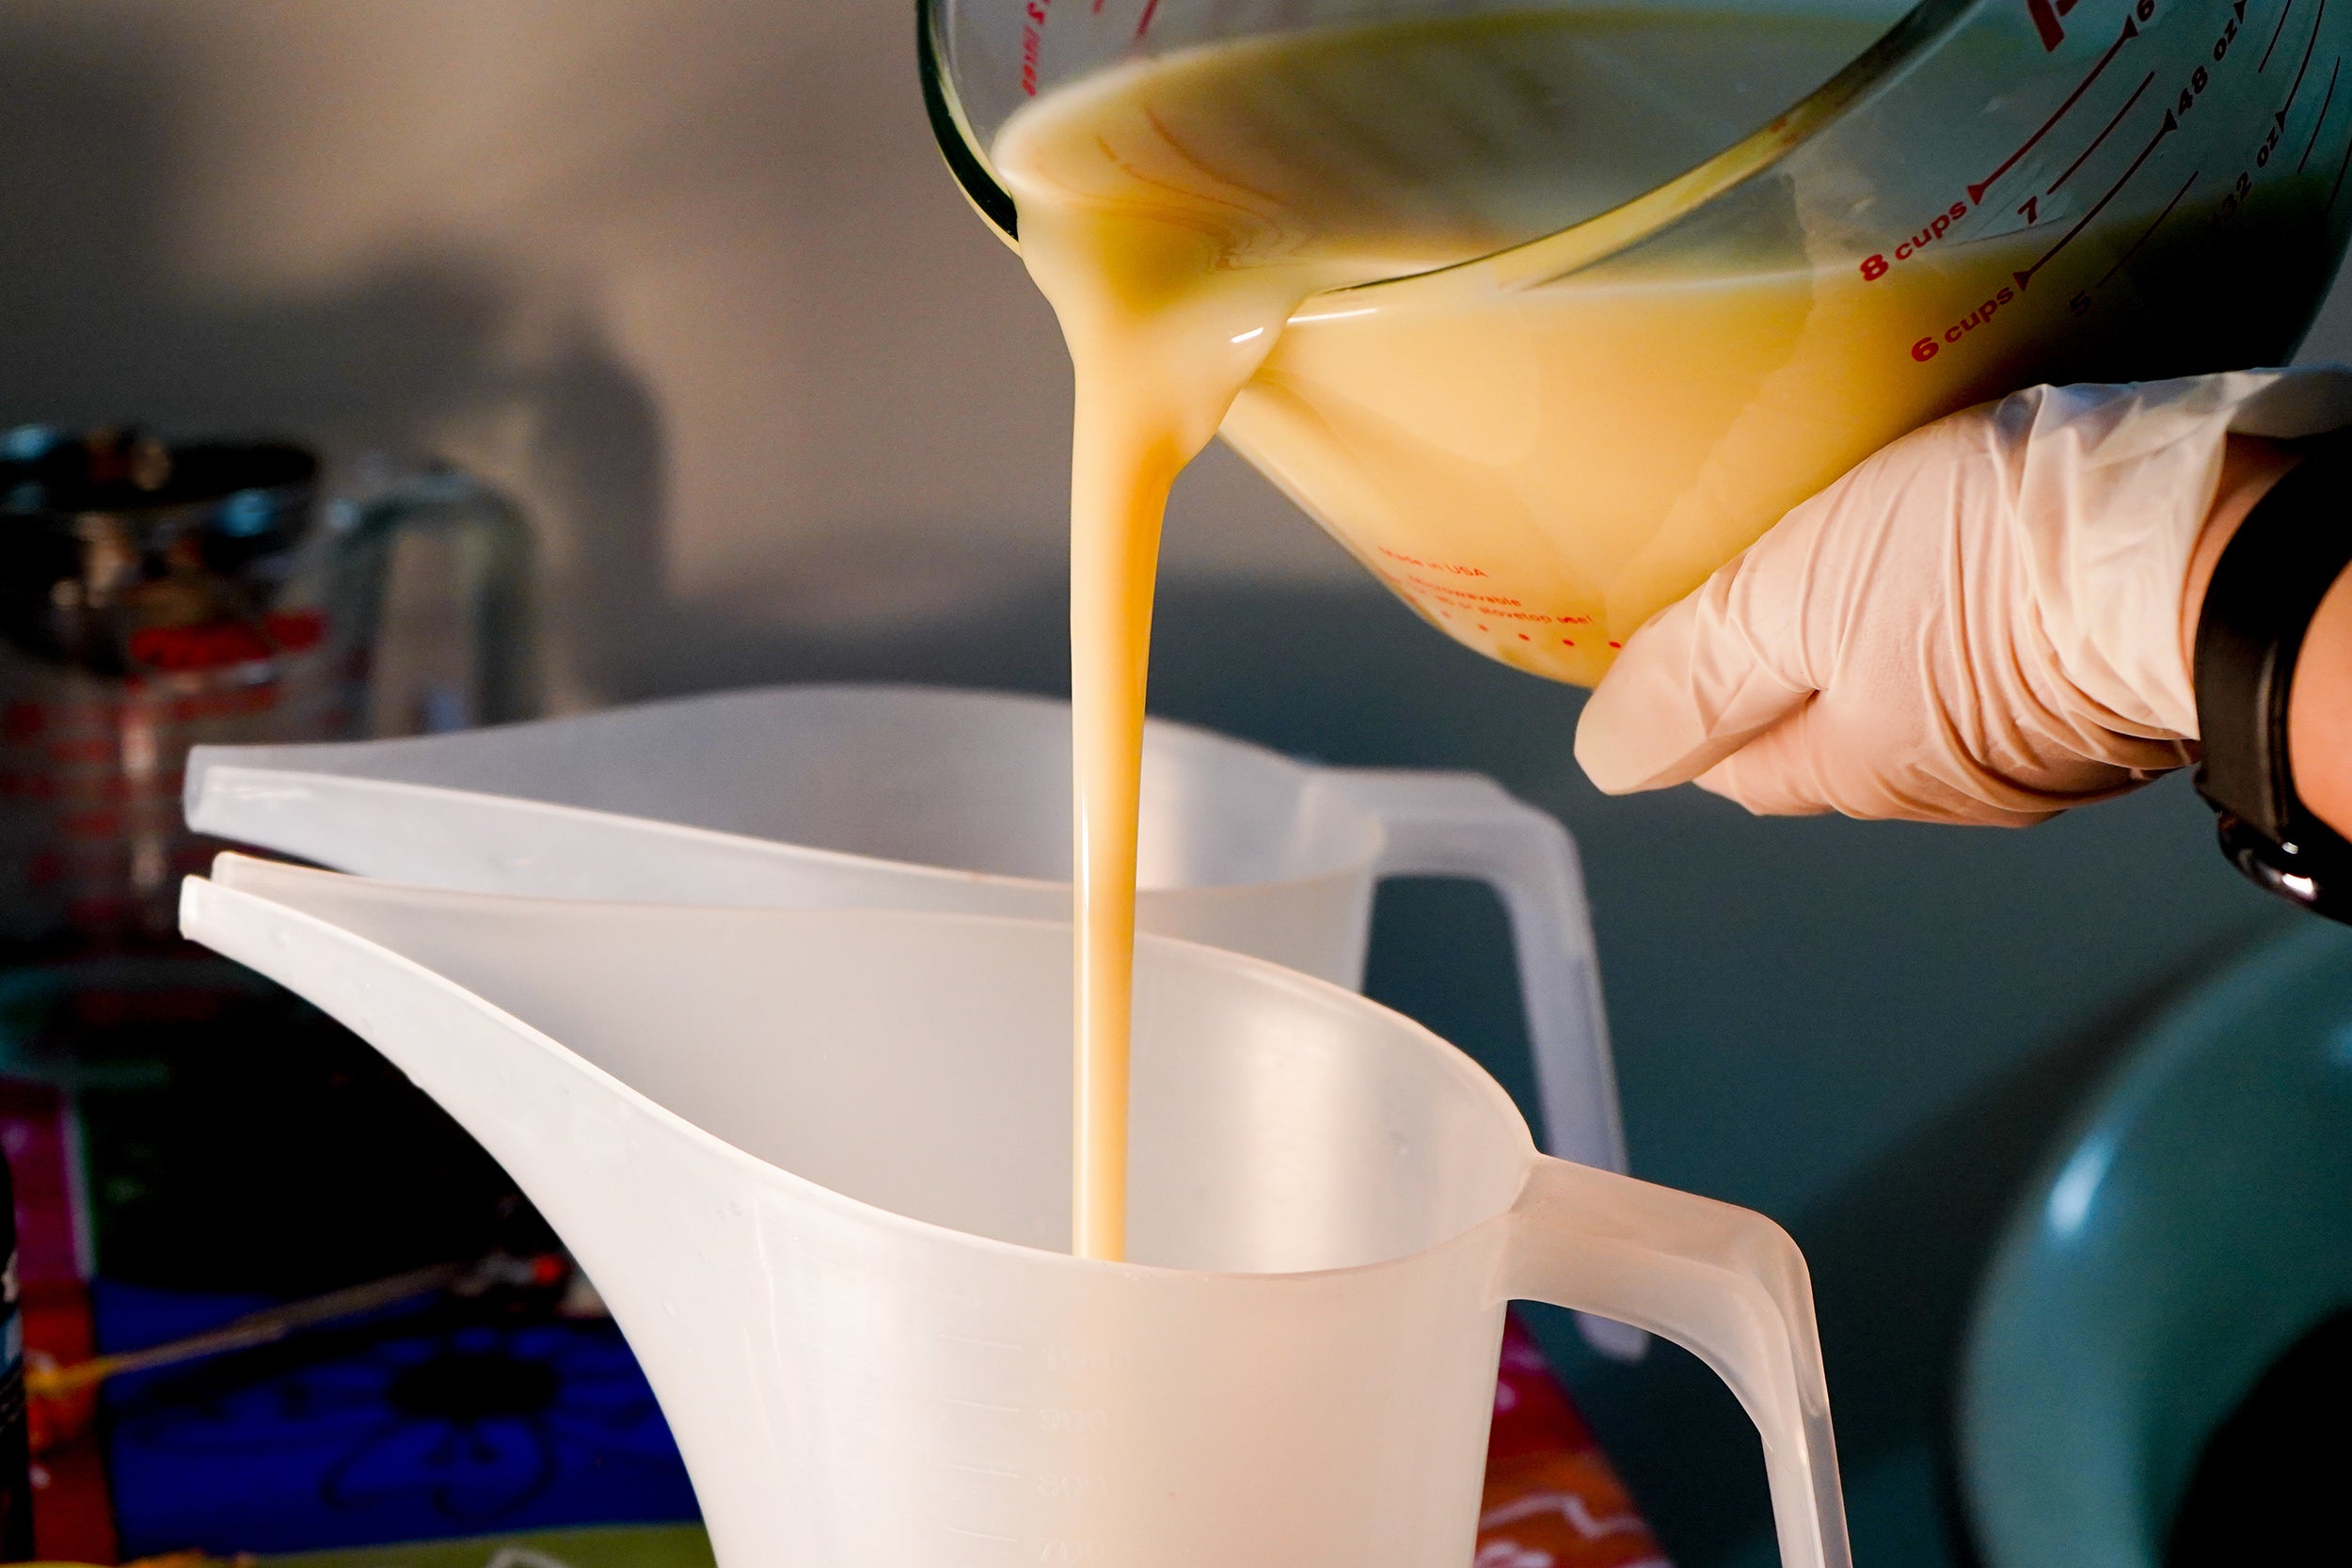
Measure the Avocado Butter and melt in a heat-safe cup using a microwave, in short 10 second bursts to prevent overheating.
-
Weigh and sift the Baking Soda, Corn Starch, and Cream of Tartar. Do not sift the Lathanol, as it is a very fine powder that can become airborne and may irritate the lungs. Leave the Citric Acid aside for now. It will be added at the end to prevent premature activation and drying of the mixture.
-
Add into the dry ingredients the melted Avocado Butter, Apricot Kernel Oil, Polysorbate 80, and Fragrance.
-
Mix all ingredients slowly and carefully to prevent the Lathanol from becoming airborne.
-
Once fully combined, add the Citric Acid. No sifting is required. Mix again until completely incorporated.
-
Perform a drop test by squeezing a small amount of mixture in your hand and dropping it back into the bowl. If it holds together, it is ready.
If it crumbles, lightly mist with witch hazel or distilled water and mix again. Avoid over-spraying, as this can cause the mixture to activate or puff up.
-
At this stage, add your choice of bath-safe powder colourants or micas. Split your mix in separate bowls if you're planning to use multiple colours.
Adjust colour gradually. For pastel tones, begin with 1 x 0.15 cc scoop, mix thoroughly, and increase if needed. Keep in mind that lighter amounts may not colour bath water.
-
Prepare your 3D printed bath bomb mold by removing the top piece (the section without the embossed Voyageur logo).
-
Ensure the bottom piece (with Voyageur logo) and sleeve are aligned and flush. Begin filling the mold with the mixture using a light, airy sprinkle. Do not pack. Continue until the mix reaches the top of the sleeve.
-
Wipe off any excess mixture using your index finger or palm and level the surface evenly.
-
Place the top part of the mold back on and press down firmly to form the daisy bath bomb shape. To release the bath bomb, gently tap all sides of the mold with a metal spoon while holding it securely to prevent movement.
-
Place the mold on a flat surface. Lift the bottom piece straight up (the section with the Voyageur logo). If it feels stuck, do not force it - tap more before attempting removal. Once part of the bath bomb is released, gently smooth any uneven areas using your index finger.
-
Carefully turn the mold upside down so the exposed bath bomb rests on the surface.
-
Tap lightly along the side of the sleeve, then gently push it upward to release the sides of the bath bomb.
-
Gently tap the remaining top part of the mold with a spoon. If it releases easily, lift it straight upward to remove. Once fully released, leave bath bombs to dry undisturbed in a safe place. Ideally use a humidity-controlled environment.
-
Use any remaining bath bomb mixture. You may add different colours or embeds. Consider colour theory when combining shades to avoid unintended bath water tones.
-
For a daisy with a contrasting center you can use two colours such as pink and white. Begin by adding a small amount of white bath bomb mixture into the center of the mold first. If needed, use a clean, dry paint brush to gently guide the mixture into the middle of the flower design.
-
Next, sprinkle your chosen petal colour (such as pink, or any colour of choice) into the mold until it is filled.
-
Smooth off any excess with your index finger or palm. Finally, add a small additional amount of white bath bomb mixture directly into the center area of the mold to reinforce the flower’s middle. Proceed with the rest of the molding process as usual.
-
Once unmolded, the petals will reflect the chosen colour, while the center of the flower remains white, creating a soft two-tone floral effect.
- Once fully dried, you may mix isopropyl alcohol with a small amount of mica (ensure it is lip-safe). Use a fine brush to add decorative accents.
Styling Your Bath Bombs as a Bouquet
These daisy bath bombs can be beautifully arranged to resemble a floral bouquet, making them a thoughtful and creative gift presentation for Mother’s Day or special occasions.
To create a bouquet-style display:
- Arrange the bath bombs in a shallow basket, box, or decorative tray
- Nestle them into tissue paper, crinkle fill, or soft packing material to hold them in place and give the illusion of a standing bouquet.
- Layer colours and shapes to mimic a natural floral arrangement
- Add faux greenery, dried botanicals, or ribbon for a finished look
Optional: Decorative “Stem” Attachment
- For a more playful, floral-inspired presentation, you may attach a popsicle stick to the back of each bath bomb using a small amount of melted melt-and-pour soap as an adhesive.
- Once set, these can be gently placed into floral foam inside a container to create a bouquet-style arrangement.
Please note:
This method is best suited for display or gifting. Due to the delicate nature of bath bombs, this style is not recommended for transport or retail handling.
Finishing Touch
Complete your arrangement with a ribbon and a handmade gift tag. This adds a personal, heartfelt element, perfect for gifting.
How to Use
Fill your bathtub with warm water to your preferred level. Carefully remove the daisy bath bomb from the popsicle stick if desired. The stick can also be left in place for presentation, but it is recommended to remove it before bathing.
Gently place the bath bomb into the water and allow it to fully dissolve. As it fizzes, enjoy the release of colour, fragrance, and gentle skin-conditioning ingredients as they disperse through the bath.
Relax and soak, allowing the bath to transform into a soft, aromatic floral experience inspired by a spring bouquet.
Note:
These formulations are provided as a guide and may be used for personal or commercial applications. Voyageur Soap & Candle Company Ltd. accepts no liability for the performance, effectiveness, or outcomes of products made using these formulations. Users are responsible for proper testing, safe formulation practices, and compliance with all applicable regulations.
If you have any questions regarding this recipe, please email us at sales@voyageursoapandcandle.com or call us at 1-800-758-7773.