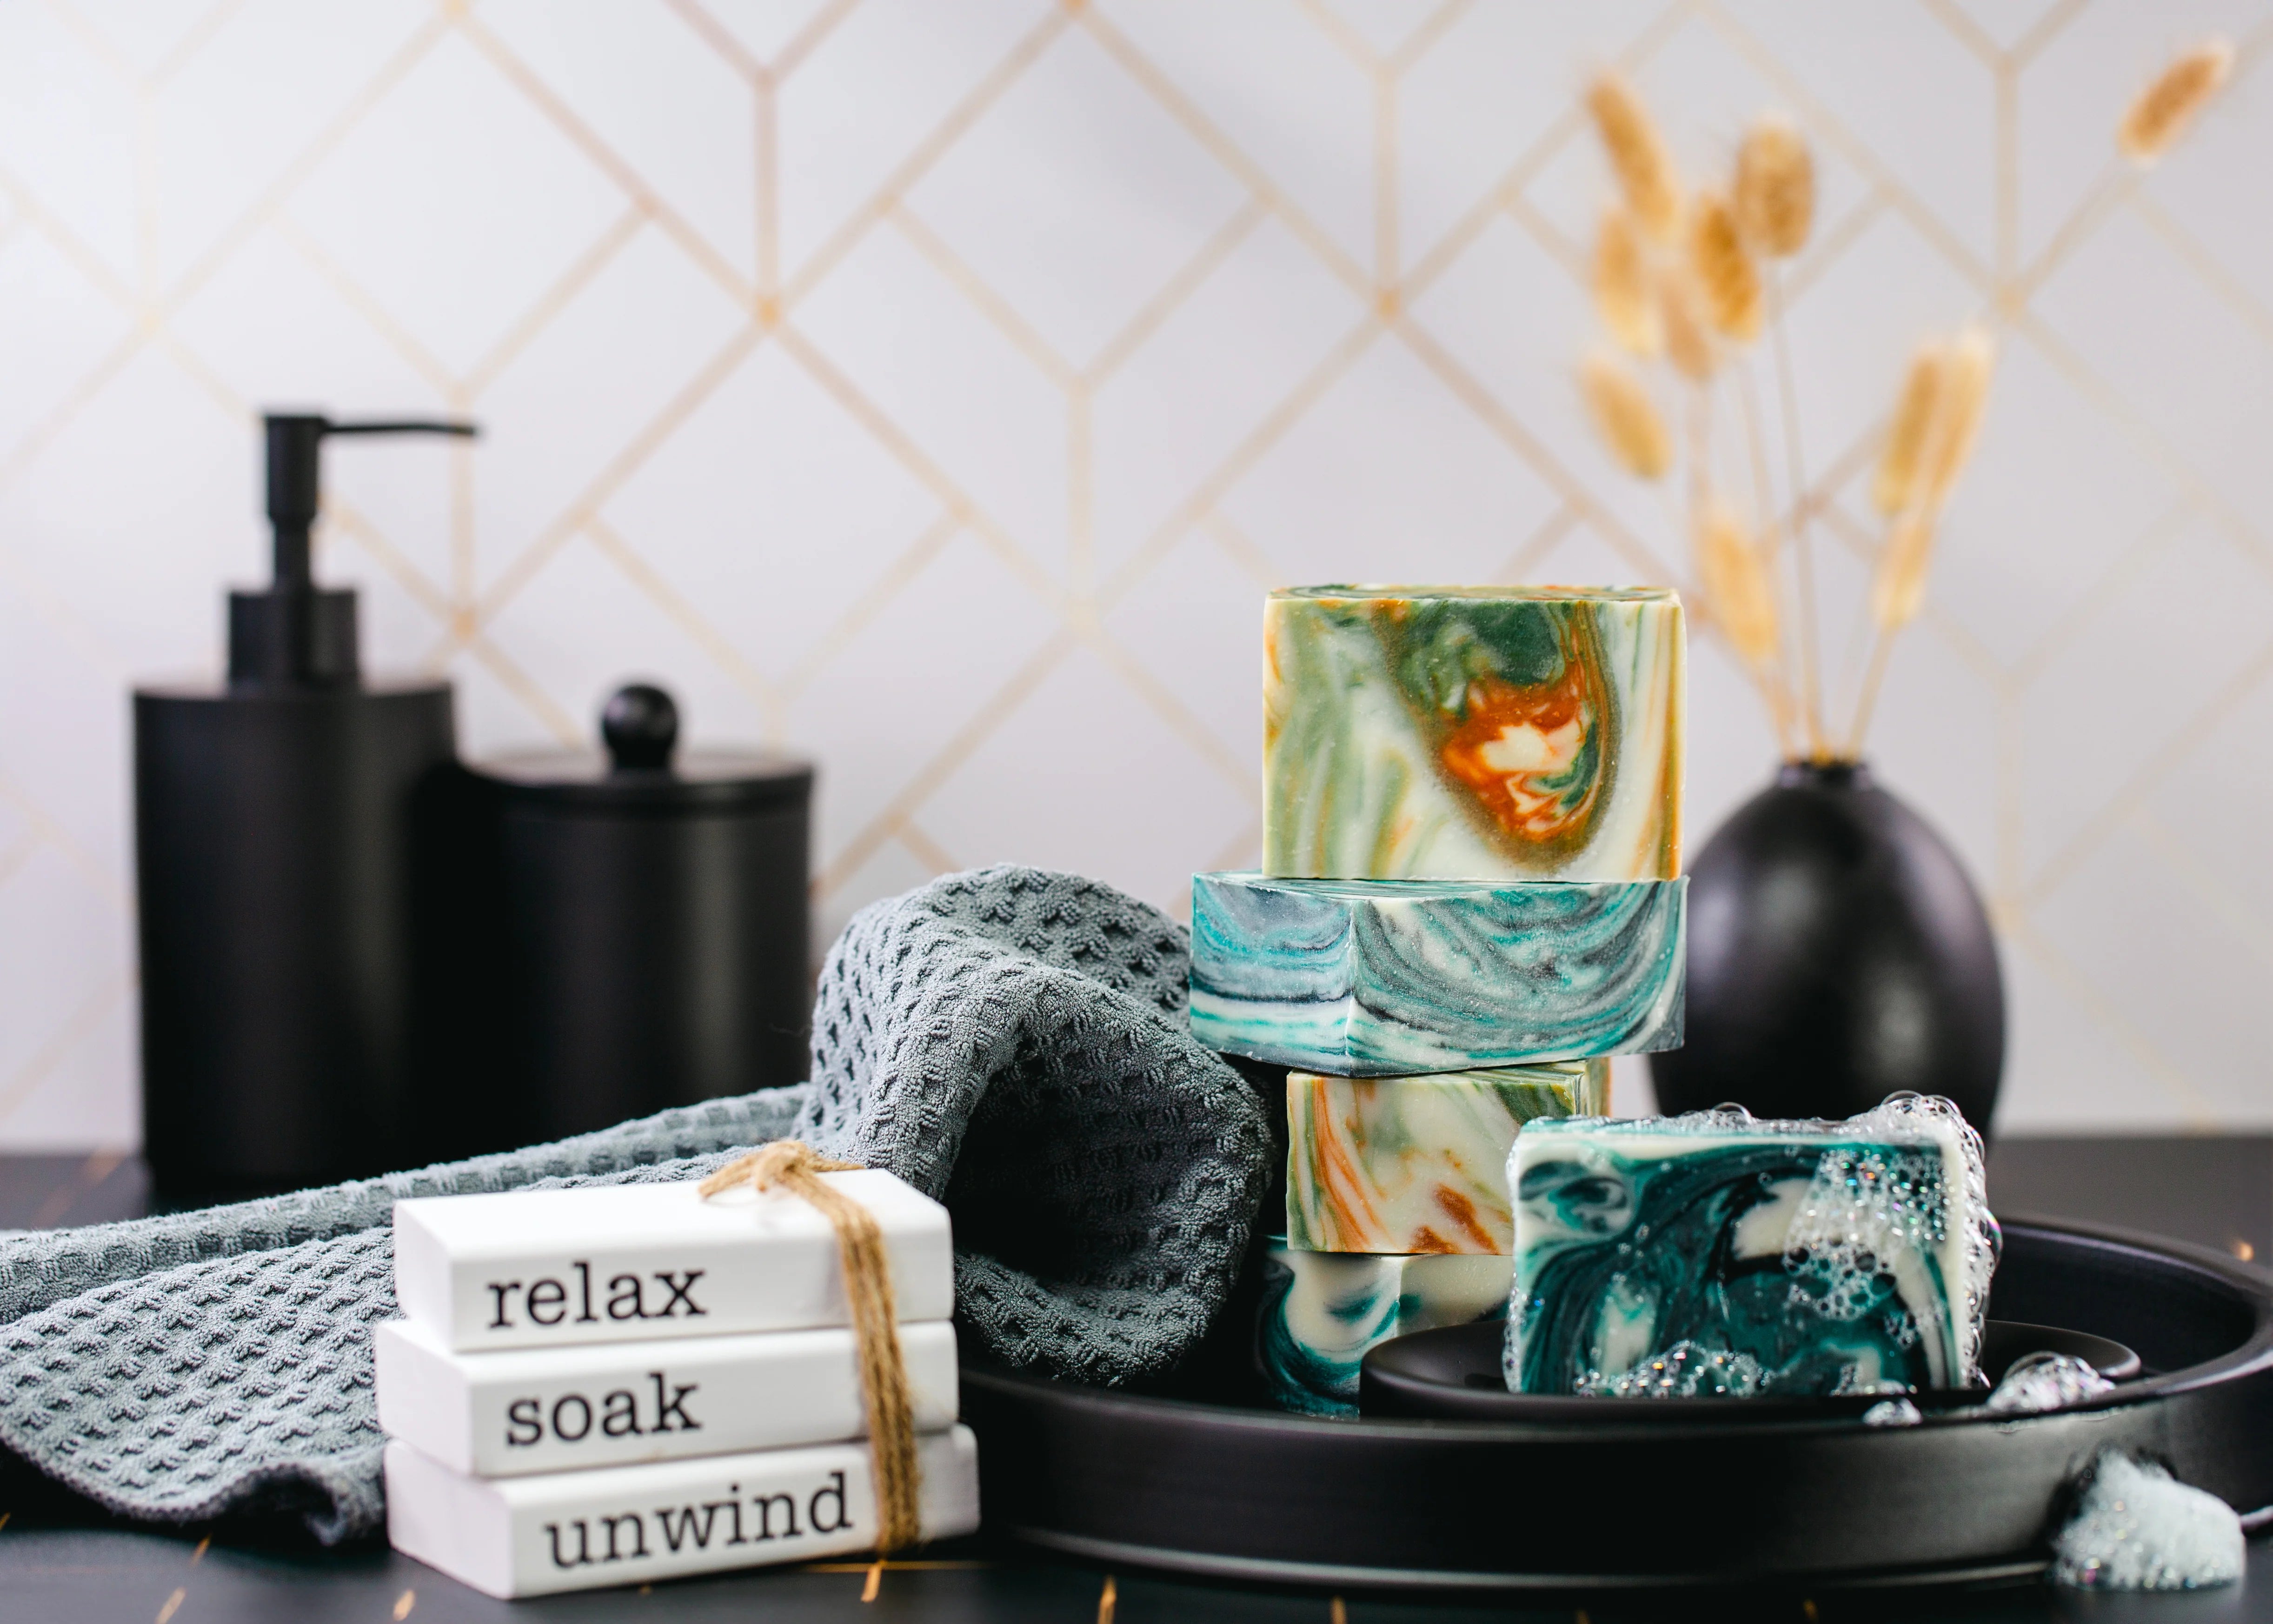
Experience the ultimate fall indulgence with our Pumpkin Pie Goat Milk Soap, topped with a luscious swirl of Whipped Soap. This creamy, nourishing soap combines the rich, soothing benefits of goat milk with the irresistible scent of spiced pumpkin pie, featuring notes of cinnamon, nutmeg, and vanilla. The luxurious whipped soap topping adds an extra layer of decadence, making each use feel like a delightful treat for your skin. Perfect for capturing the cozy, nostalgic essence of the season, this soap is as beautiful as it is pampering.
What you will need:
Recommended ingredients:
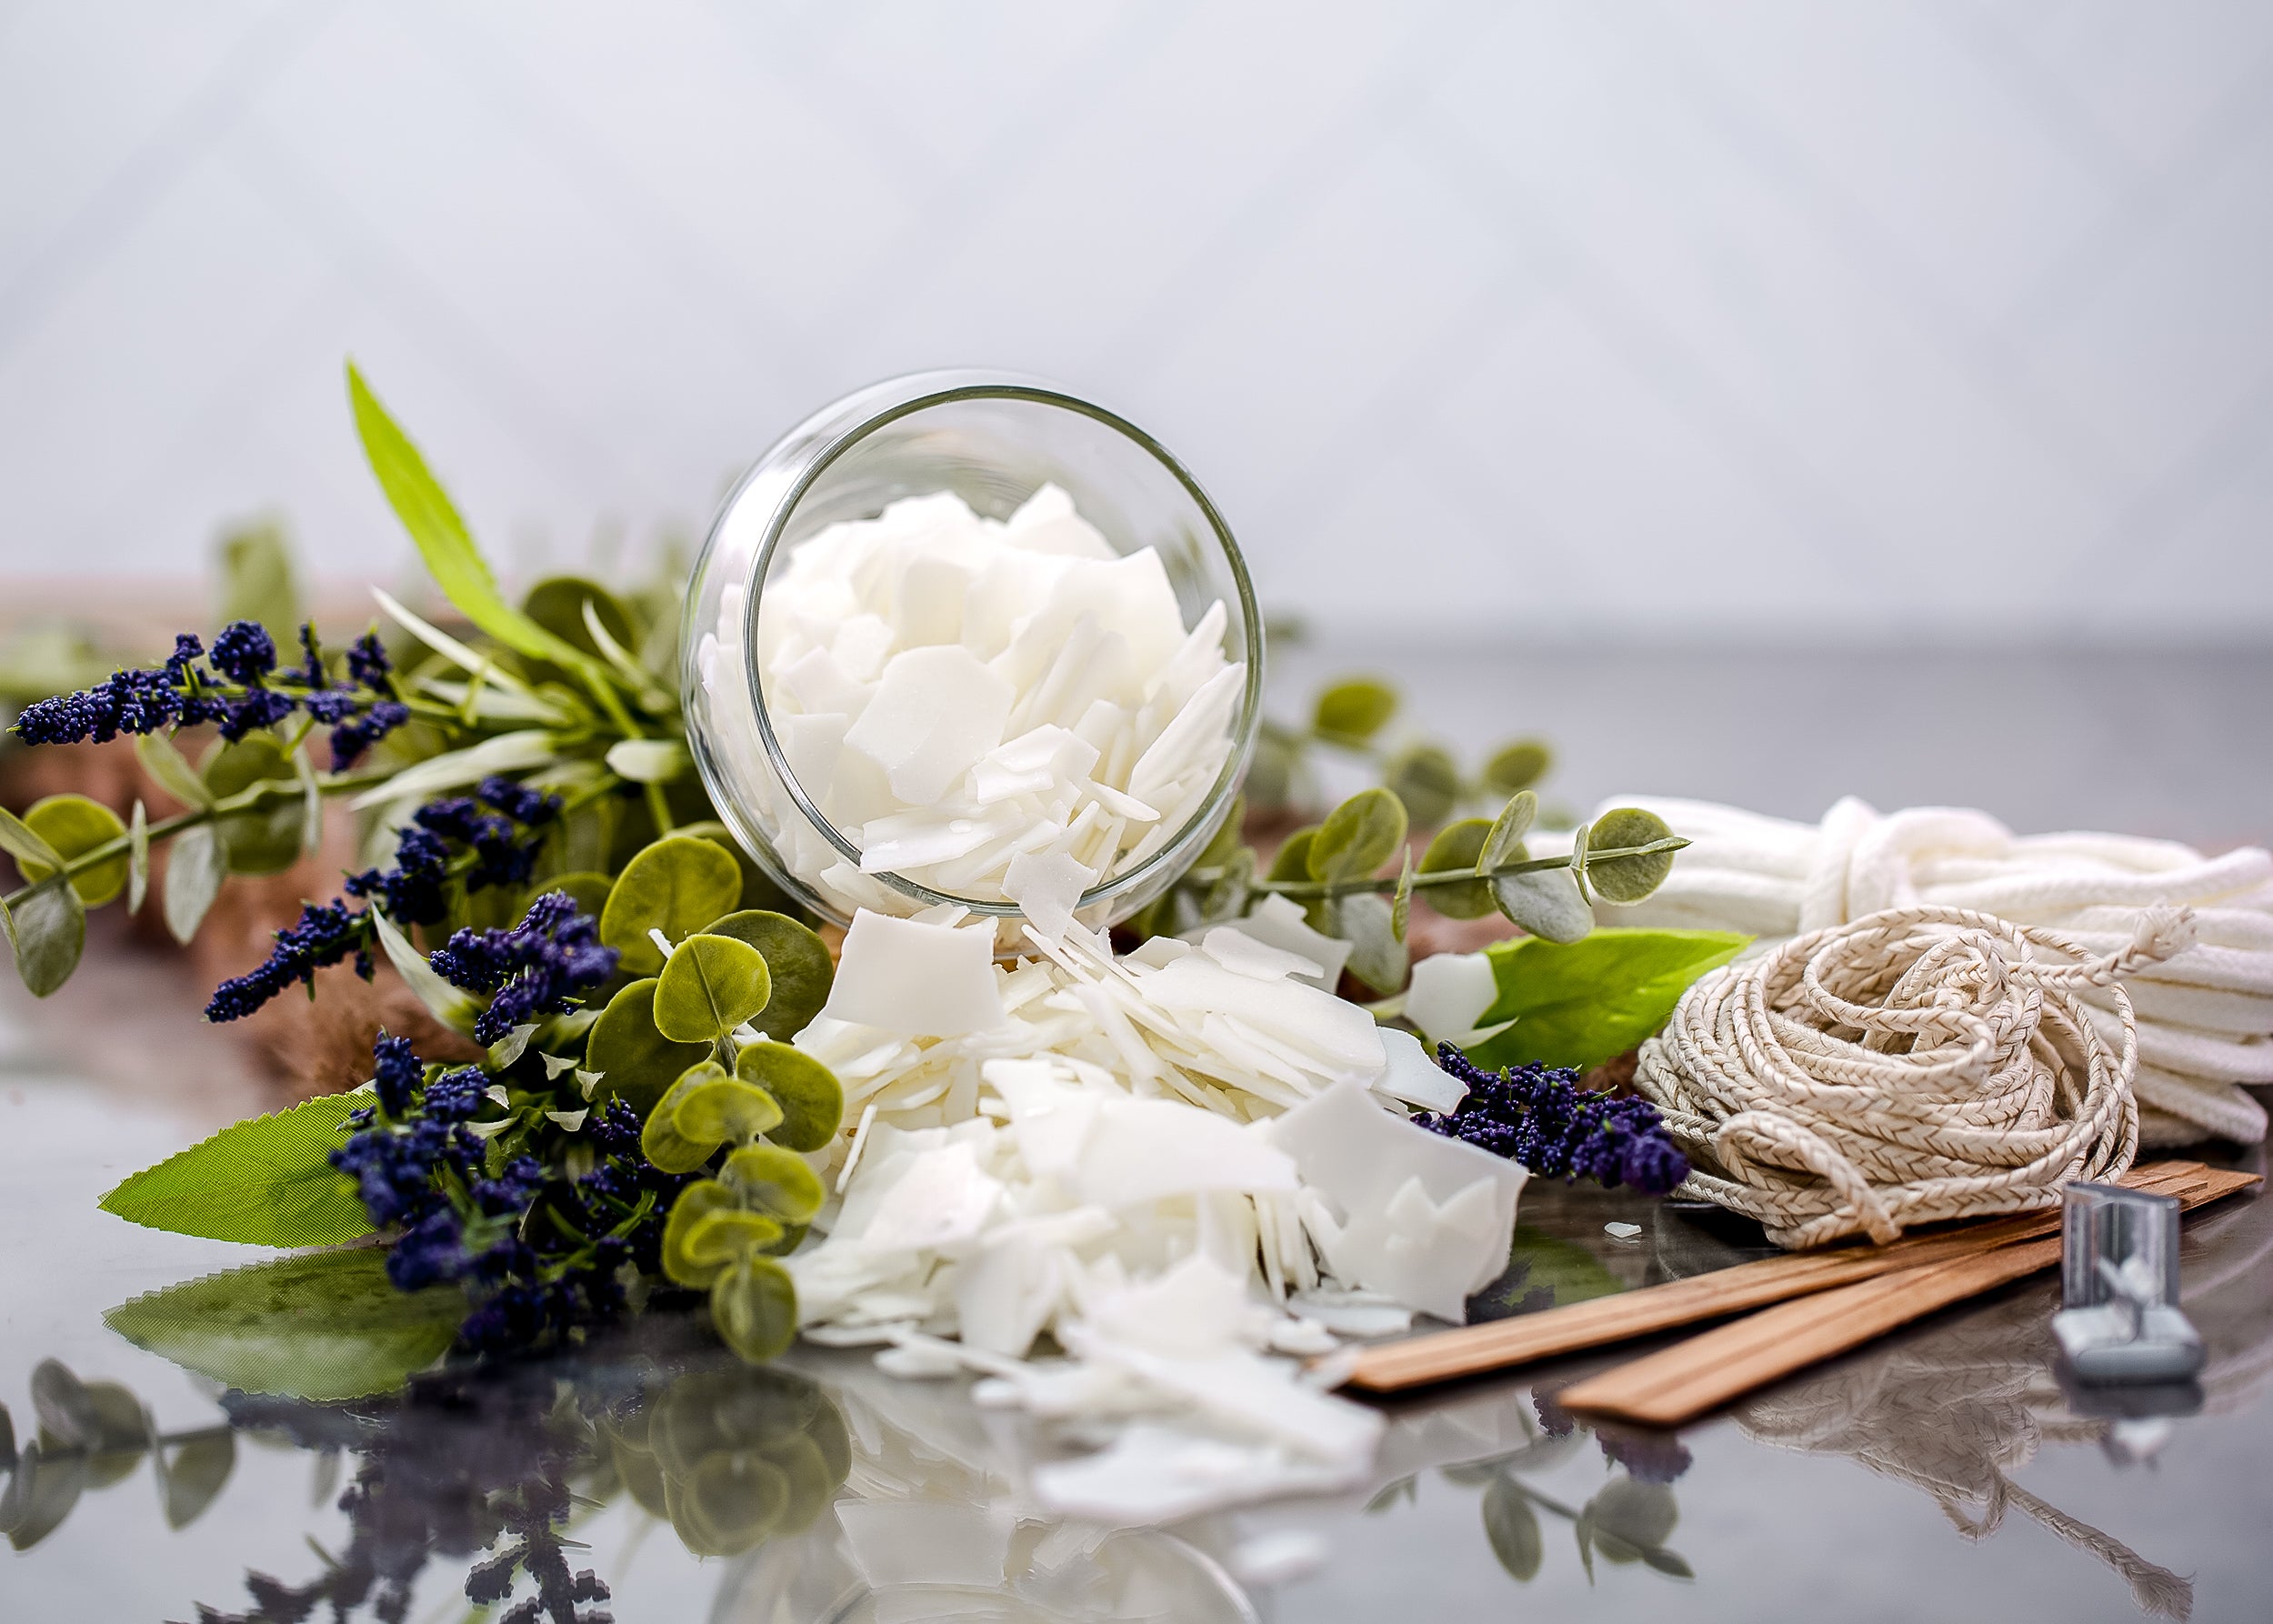
Soap
- Goat's Milk Cold Process Soap Kit
- Distilled Water - 450 grams / ml – as directed in Kit Instructions
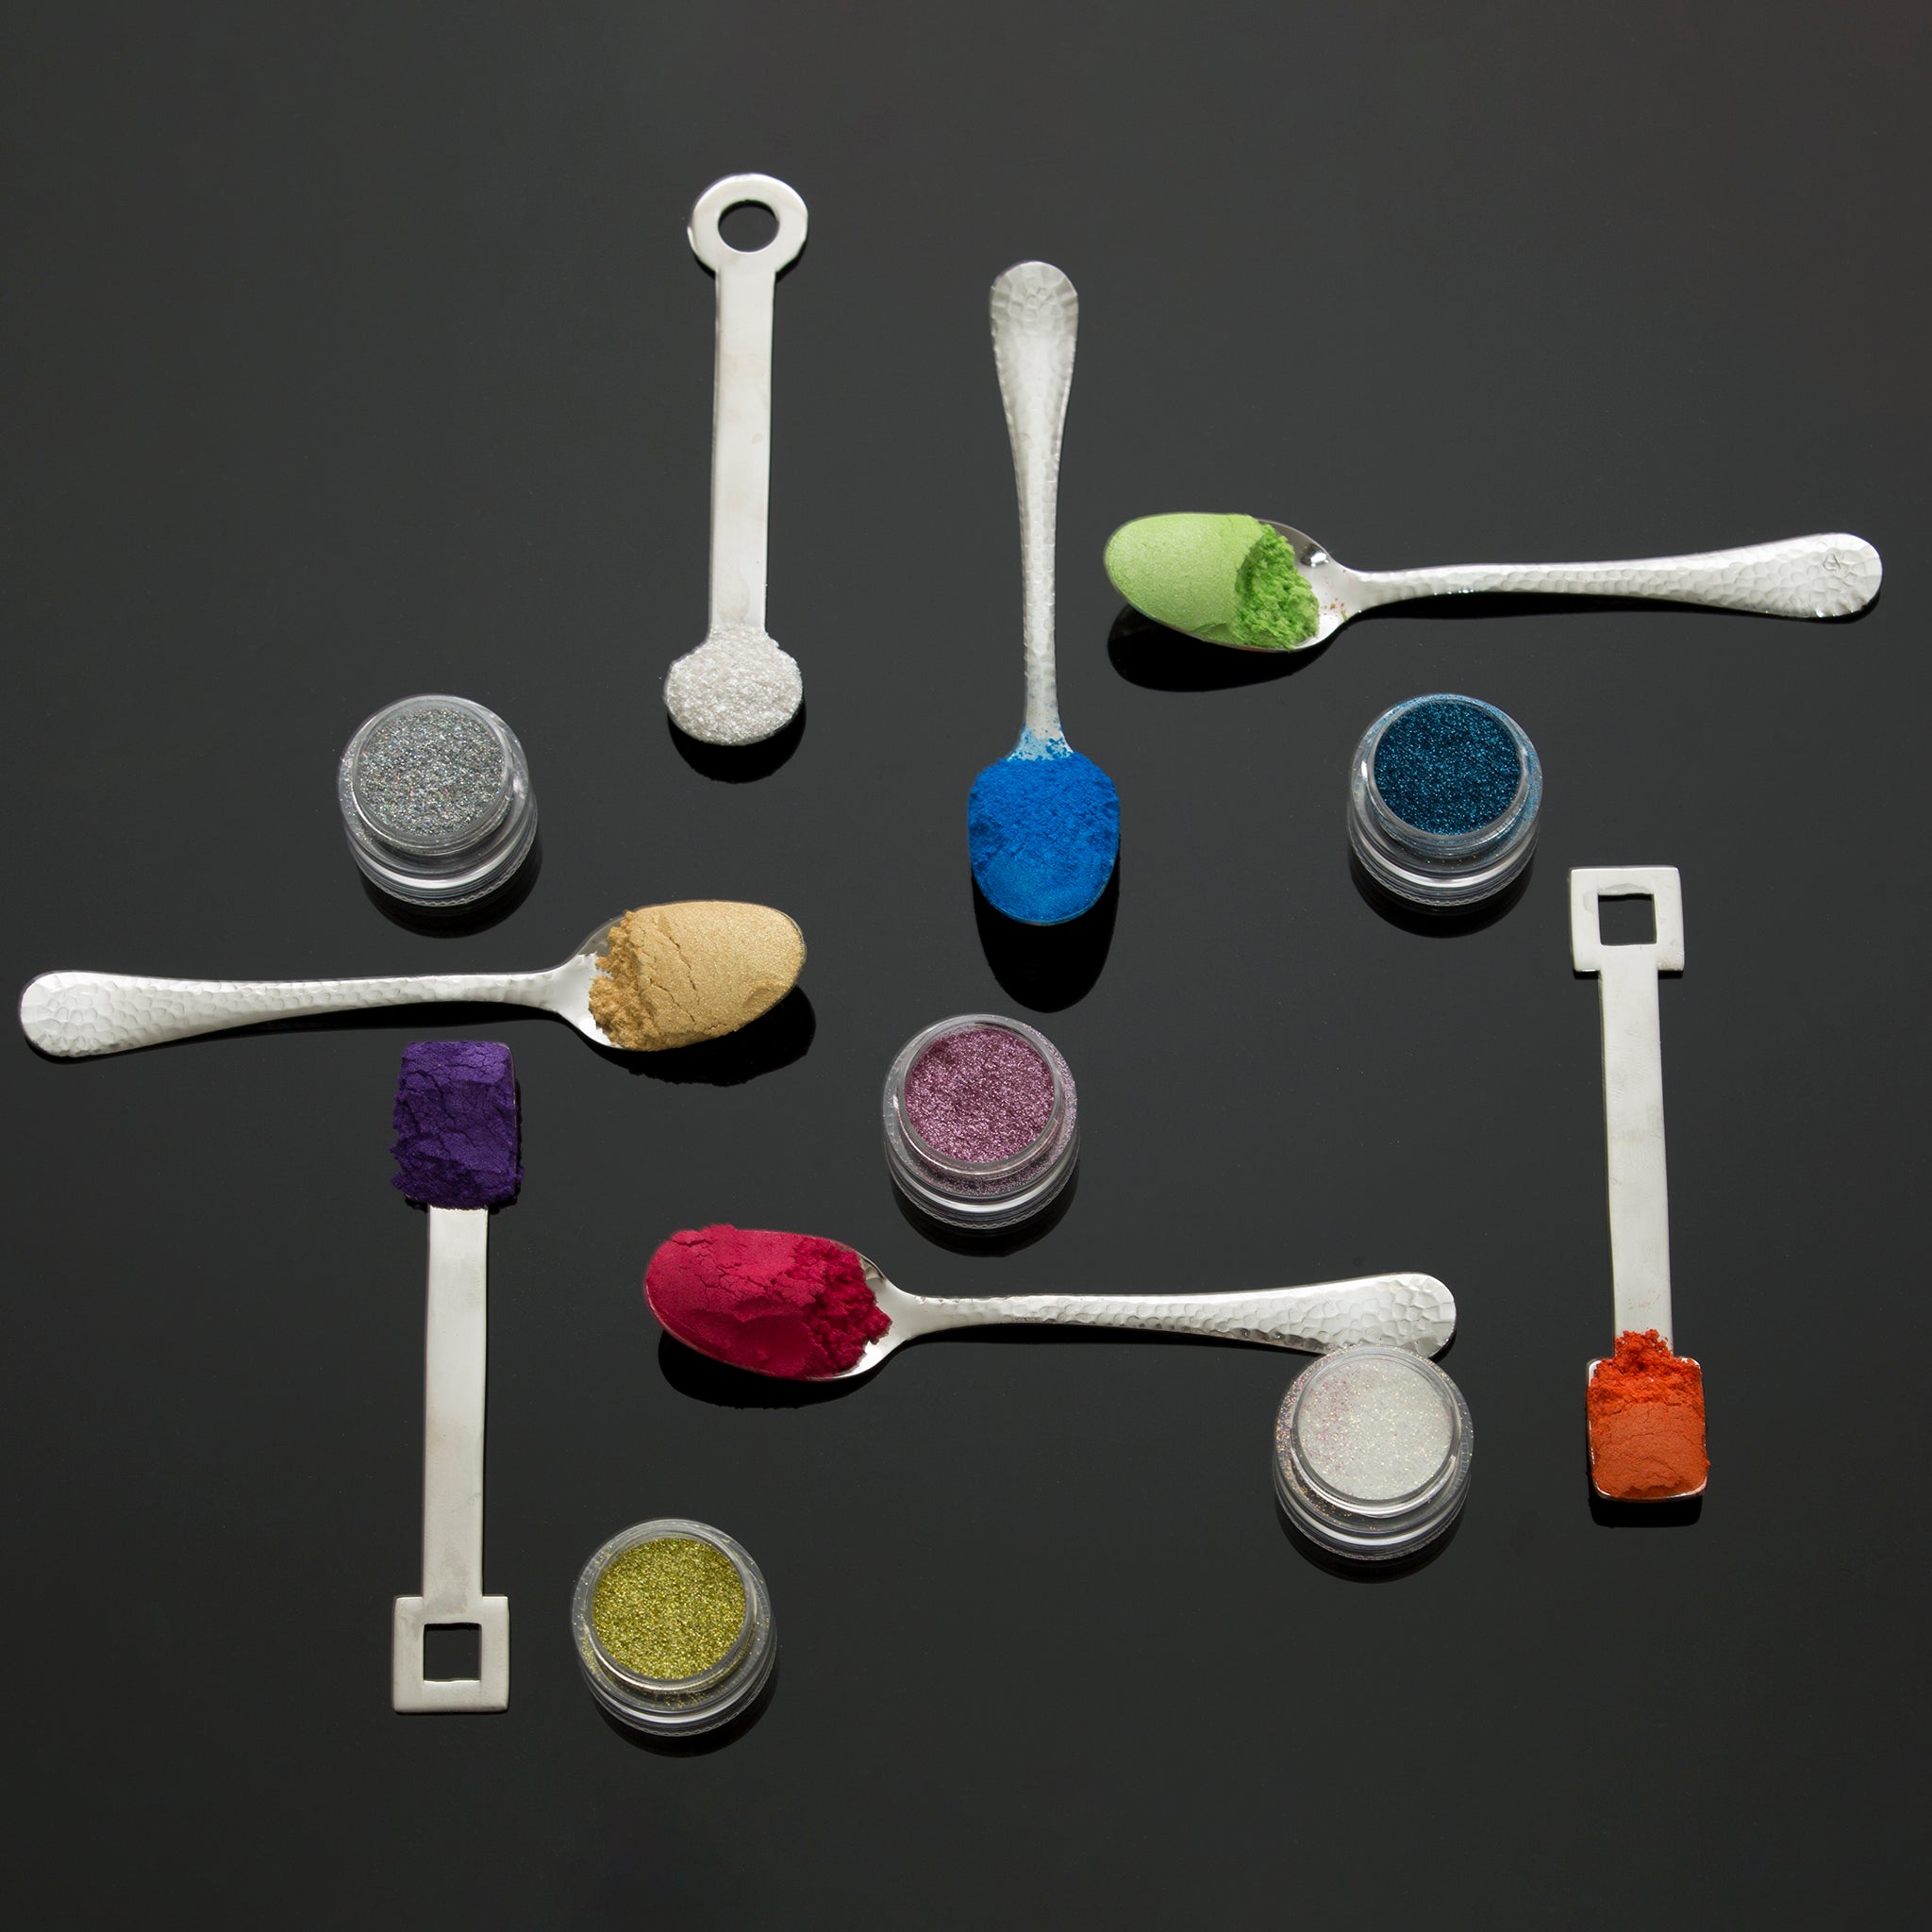
- Summer Sunset Mica - 10 grams
- Titanium Dioxide Oil or Water Soluble - 28 grams
- Pumpkin Pie Fragrance Oil - 30 ml
- Coconut Oil Fractionated (Or Other Oil to Grease Mold – Optional)
Frosting
- Butter Cream Frosting Fragrance Oil - 15ml to 30ml
- SFIC Low-Sweat White Melt & Pour Soap Base - 227 grams
- Glycerin Vegetable Cosmetic 99.5% - 30 grams
- Foaming Bath Whip - 227 grams
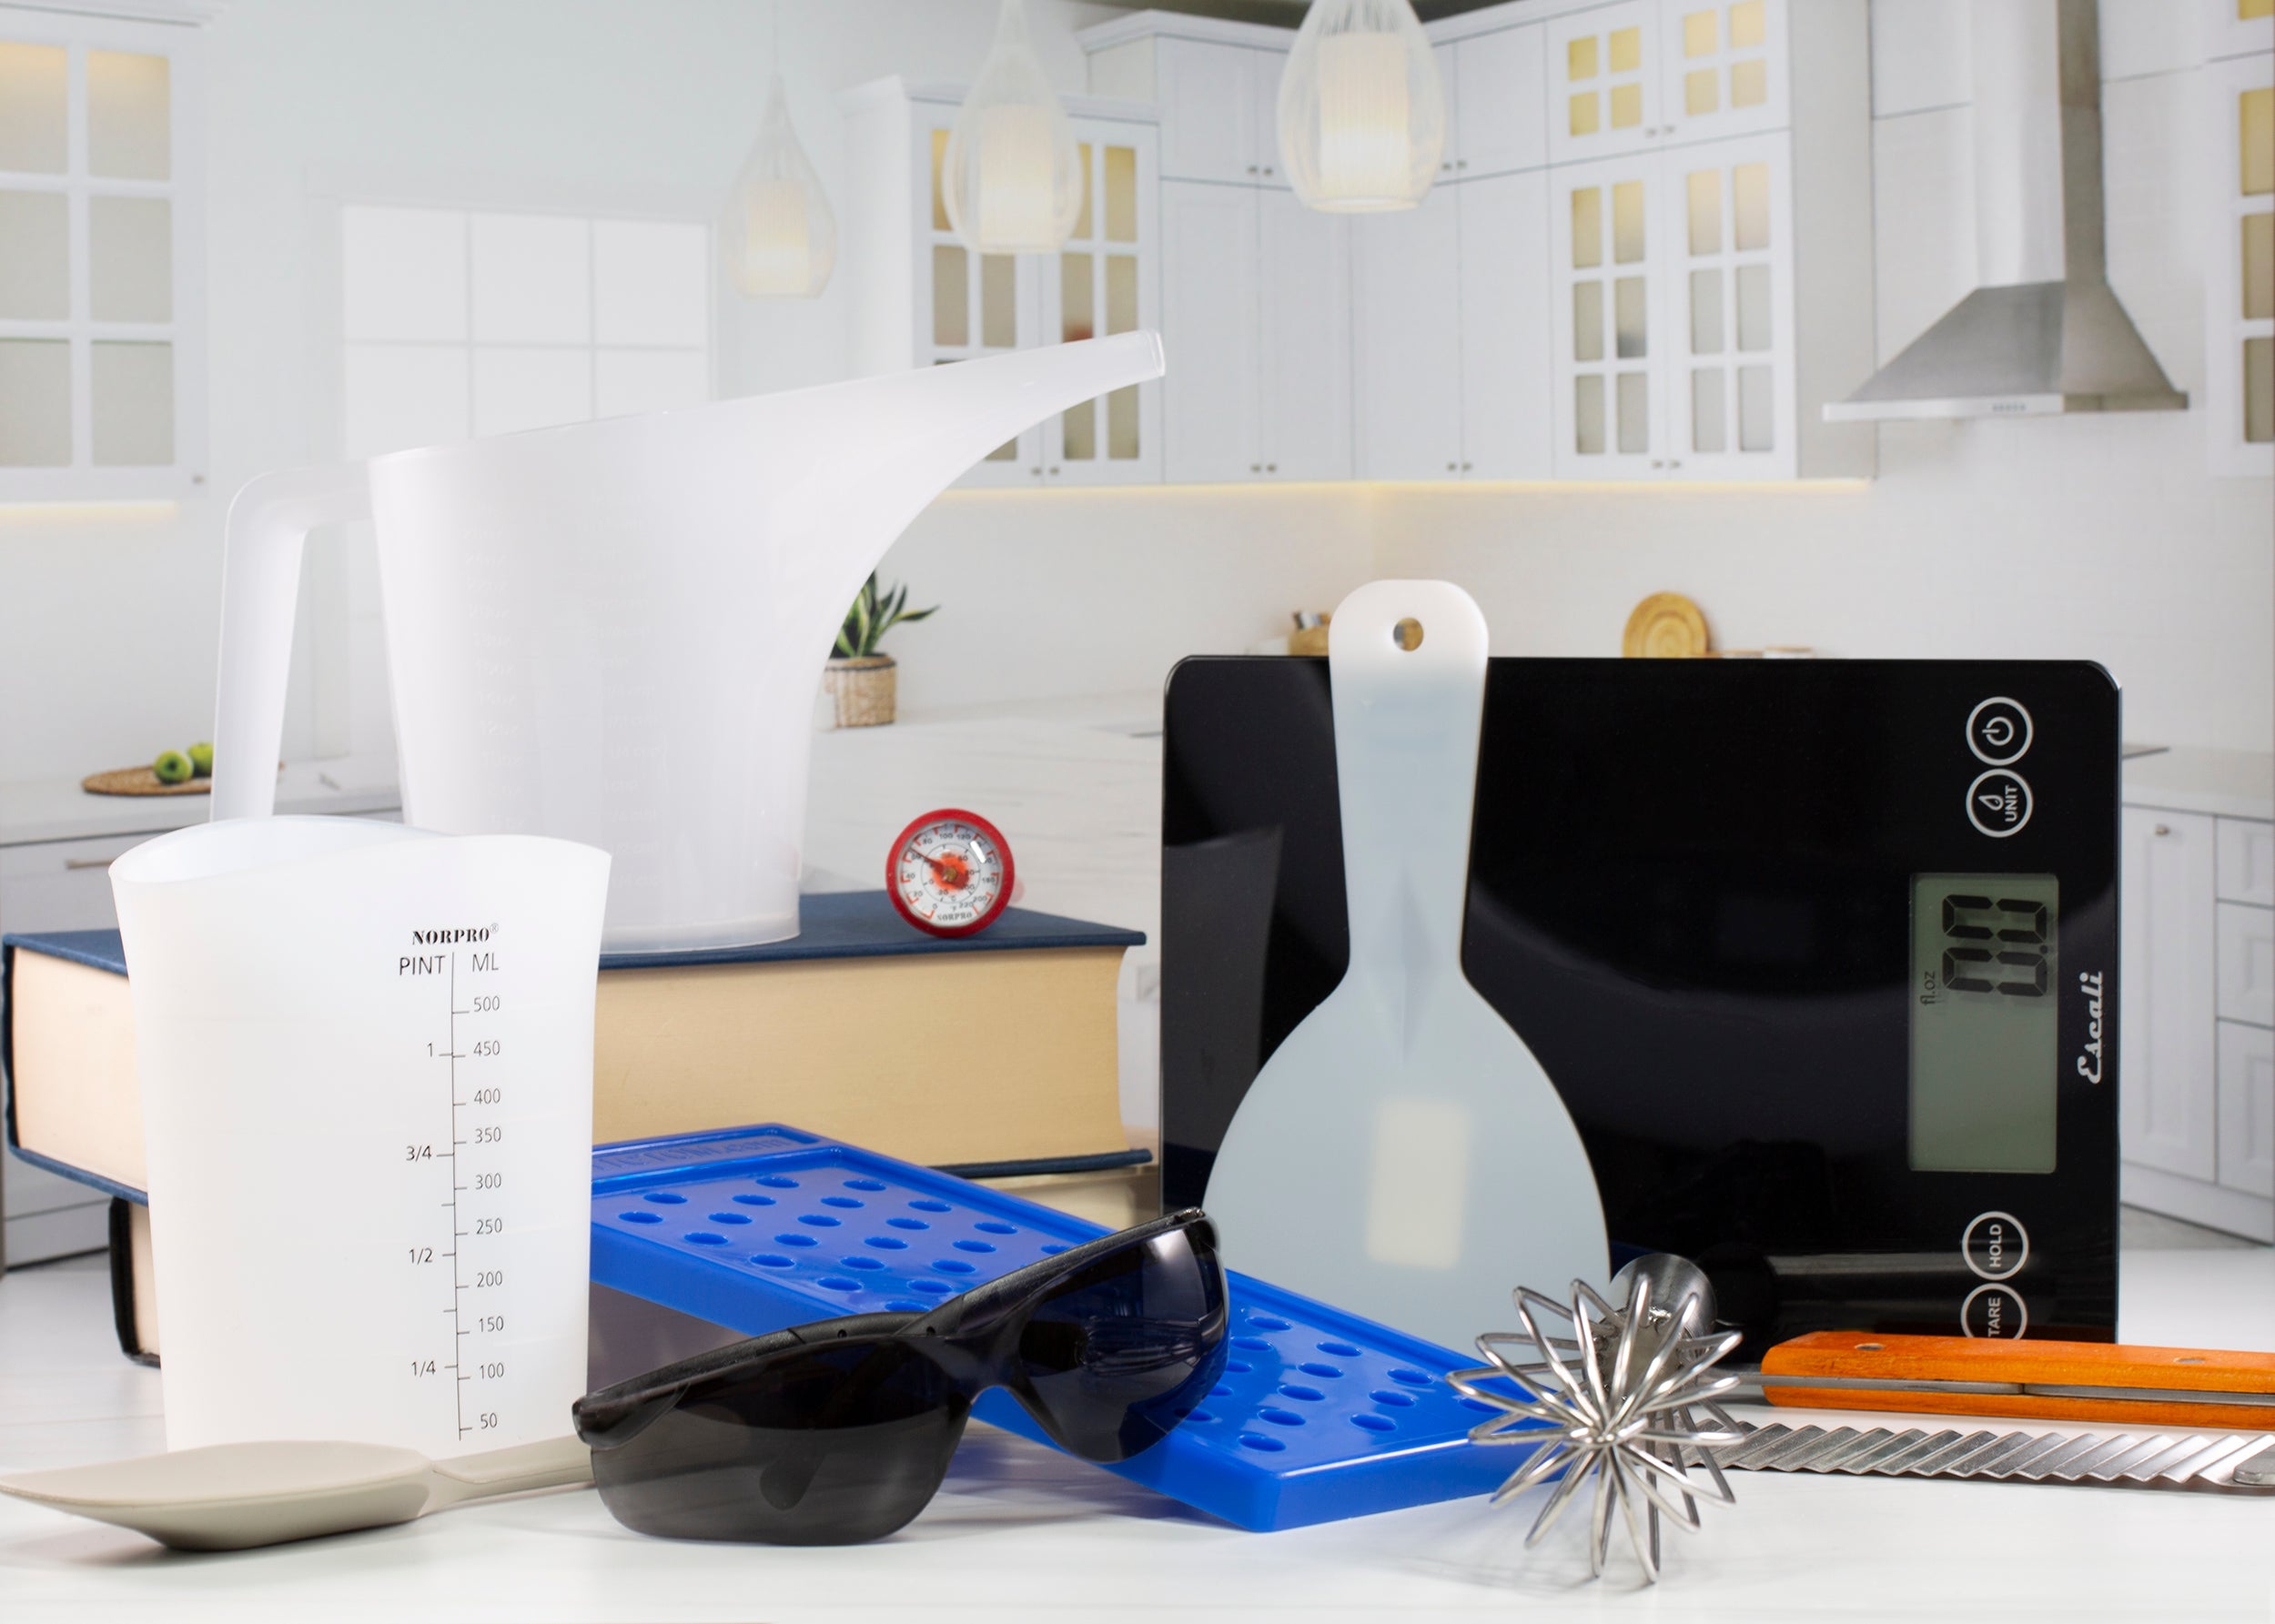
Recommended equipment:
- Soap Mold of Your Choice
- Plastic Bowl - 2x
- Plastic or Glass Measuring Cup
- 10 piece Decorating Kit / Piping Bag
- Whisk
- Thermometer
- Scale
- Emersion Blender
- Plastic Mixing Cups
- Stir Sticks (Coffee Stir Sticks Work Great)
- Latex Gloves
- Paper Towel
- Apron
- Safety Glasses
- Freezer Paper
- Towels - 2 to 3
- Step 1: Begin by opening your Goat's Milk Cold Process Soap Kit. We always suggest reading through the instructions as if you are not familiar with Cold Process Soap Making it is always good to get a sense of what steps you will need to follow as things move quickly upon adding the Lye Solution to your soap oils.
- Step 2: Place the 3 Bottles of soap oils, with caps off, into microwave or if a microwave is unavailable into a bowl of hot water.
- Step 3: Heat your 3 bottles of soap oils in 45 second intervals until they are liquid enough to pour into one large bowl.
- Step 4: Place the bowl that is filled with the 3 bottles of soap oils into the microwave and heat in 45-60 second intervals until it reaches a temperature of 100-120 degrees Fahrenheit.
- Step 5: Once your oils are heated, stir gently with a whisk to ensure they are fully mixed. The oils can now be set aside.
- Step 6: Next, measure out your water (450mL) into a Plastic or Glass Measuring Cup. Carefully pour your lye into the measured water, stirring gently to help it dissolve. The initial fumes from the Lye may be strong so you may wish to step away for a few minutes before gently stirring the solution to ensure all of the lye has dissolved.
- Step 7: The lye solution at this point will be extremely hot and will need time to cool down. The oils you have heated and the lye solution will both need to be 95-100 degrees Fahrenheit before mixing them together so check the temperatures of each while stirring occasionally. (You may need to reheat your oils a couple of times during this process while to lye solution cools)
- Step 8: While waiting for your oil and lye solutions to reach 95-100 degrees Fahrenheit, you can begin to get your mold and colours ready. For this soap, we did a swirl so we prepared 2 mixing cups, 1 of Titanium Dioxide diluted in a bit water as well as 1 mixing cup of Summer Sunset Mica diluted in a bit of water.
- TIP: Adding powdered colourants to your soap works best when they are first mixed with a bit of water or oil as this helps to achieve a smooth and consistent colour, rather than spots of colour.
- Step 9: Get your mold ready and in reach for when you are ready to pour your soap. We like to put a small amount of Coconut Oil Fractionated onto a paper towel or cloth to wipe the inside of the mold. This helps the soap slide out once it has had a day or two to set.
- Step 10: Add about 3/4 of a cup of hot water to the Goat Milk Powder provided in your soap kit and stir until it is relatively smooth and set aside.
- Step 11: Now that both your oil and lye solutions are at 95-100 degrees Fahrenheit, you can slowly pour your lye solution into the bowl containing your oils, gently stirring with your whisk. Use of the whisk is recommended initially so that your mixture can combine.
- Step 12: Now you can begin alternating with using your whisk and an electric stick blender. We try to only use the electric stick blender for 5-10 seconds at a time.
- Step 13: When you see your soap begin to thicken or come to a light trace, you can add the full 30mL of Pumpkin Pie Fragrance Oil. For a lighter scent, you can use less of the fragrance if you prefer.
- Step 14: Now, take the Goats Milk that you made using the Goats Milk Powder in Step 10 and stir it into your soap.
- Step 15: Continue stirring with only your whisk (no more stick blender!) to ensure your fragrance is thoroughly combined.
- Step 16: Using a spoon or ladle, separate out about 2 cups of your soap into a measuring cup to which you will be adding your Titanium Dioxide for the swirl colour (If you would like your soap to be whiter in appearance, separate out more at this stage).
- Step 17: Taking your prepared colours, slowly add the Summer Sunset to the Main Batch of your soap, and the Titanium Dioxide to the Measuring Cup Portion.
- TIP: It is recommended to add your colourant a bit at a time until you achieve the colour you wish to see. Always go a little darker than you would like as your soap will lighten a bit as it cures.
- Step 18: You're almost done! Take the measuring cup of your now white soap and pour it into the bowl with the rest of your soap. Make sure you do not pour it in only one spot as you want some of the white to be swirled throughout. Hold the measuring cup, low and all around the bowl to achieve this effect.
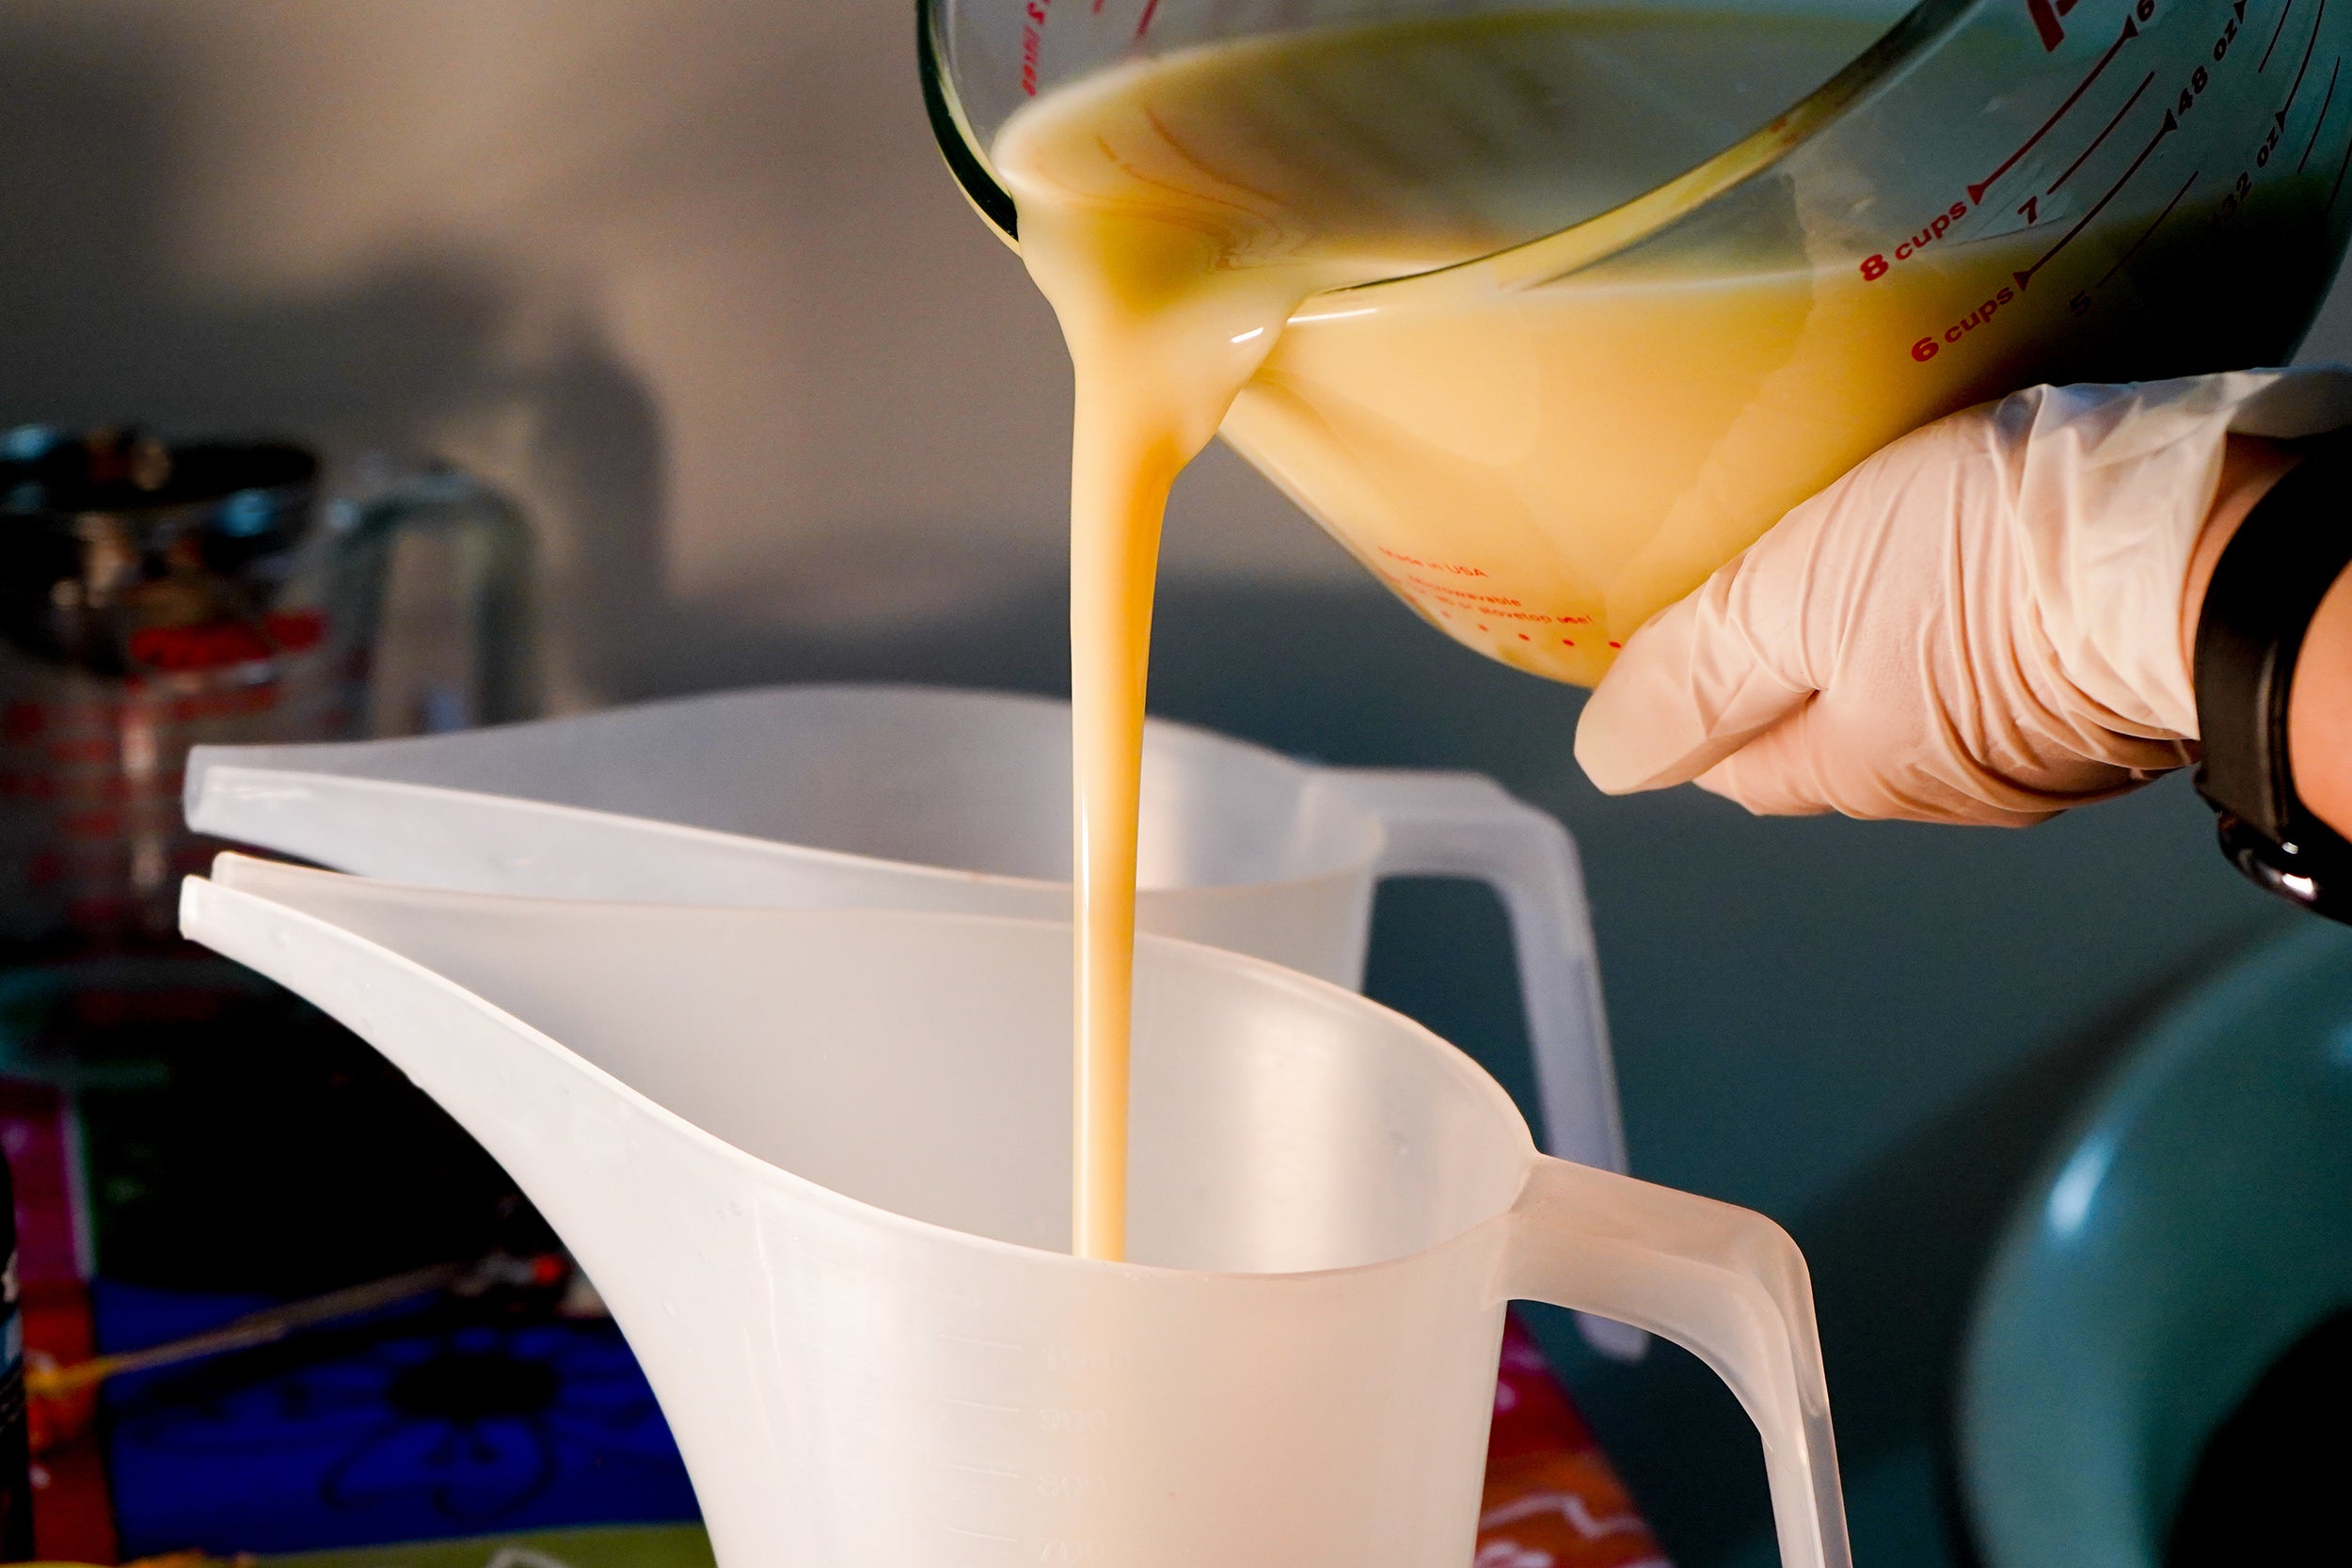
- Step 19: Do Not Stir (Unless you want to lose your swirl)! Pour the soap directly into your mold. You should see streaks of white in the orange as you pour.
- - Step 20: Gently tap the mold against the table to help everything settle flat and release any air pockets. Cover the mold with a bit of freezer paper, then cover your mold with towels to keep it insulated.
- Step 21: Congratulations, your soap is now made and all you have to do is wait! If you will be cutting the soap as we did, it is recommended to remove it from the mold the following day so that it is still soft enough to cut. If you have any trouble removing the soap from the mold you can place the entire thing in the freezer for 10 minutes to an hour (depending on how stuck it is) and then your soap should slide right out.
We have added a little bit of soap "Whipping Cream" to our Pumpkin Pie piece for that extra little bit of fun! If you would like to do the same follow these steps:
- Step 1: Cut the Melt & Pour Soap into chunks and place them in a glass or plastic measuring cup.
- Step 2: Heat the soap until it is melted using 45 second intervals so as not to burn the soap.
- Step 3: In a separate small bowl, place 30 grams of Glycerin and warm it in the microwave.
- Step 4: Pour the warmed Glycerin into your melted Melt & Pour Soap and stir to combine.
- Step 5: Now, add the Foaming Bath Whip to the melted soap mixture and stir until you see the bath whip soften and break into small bits (The bath whip will likely not mix completely but that's okay).
- Step 6: Using a stick blender or hand mixer, mix the soap on low speed until it begins to thicken.
- Step 7: Add in the Butter Cream Frosting Fragrance Oil a small amount at a time until you achieve the aroma you enjoy.
- Step 8: Thoroughly mix the fragrance in at low speed, making sure to get right down to the bottom of the bowl.
- Step 9: Turn your hand mixer to high and quickly whip for 30 seconds.
- Step 10: Now you can scoop the soap into a piping bag and attach a decorating tip of your choice. Now get creative and decorate how you see fit!
- TIP: If your soap seems to thin to pipe, place it into the fridge for about 15 minutes to allow it to thicken. If you soap starts to harden before you are finished piping, you can place it back into the bowl and whip it slightly with the hand mixer to soften it.


