






Bring a touch of the tropics into your space with this highly realistic coconut-inspired candle. Designed to mimic the appearance of a freshly opened coconut, this project uses layered pillar wax and gel wax to recreate the shell, flesh, and coconut water in a single sculpted form.
Although it may appear as though wax has been poured into a real coconut shell, the entire piece is constructed from wax using a foil-form shaping technique. This approach allows for natural, organic contours and subtle imperfections that are difficult to achieve with standard rigid molds.
The finished candle often surprises viewers at first glance, with many assuming a real coconut shell has been used as the vessel. This visual illusion is intentional and forms the core design concept of the project.
Scented with Island Coconut Fragrance Oil, the candle delivers a rich, creamy coconut aroma with strong cold throw performance, making it ideal as both a decorative display piece and a fragrance feature.
Makes ~ 1x Candle
Recommended Equipment:
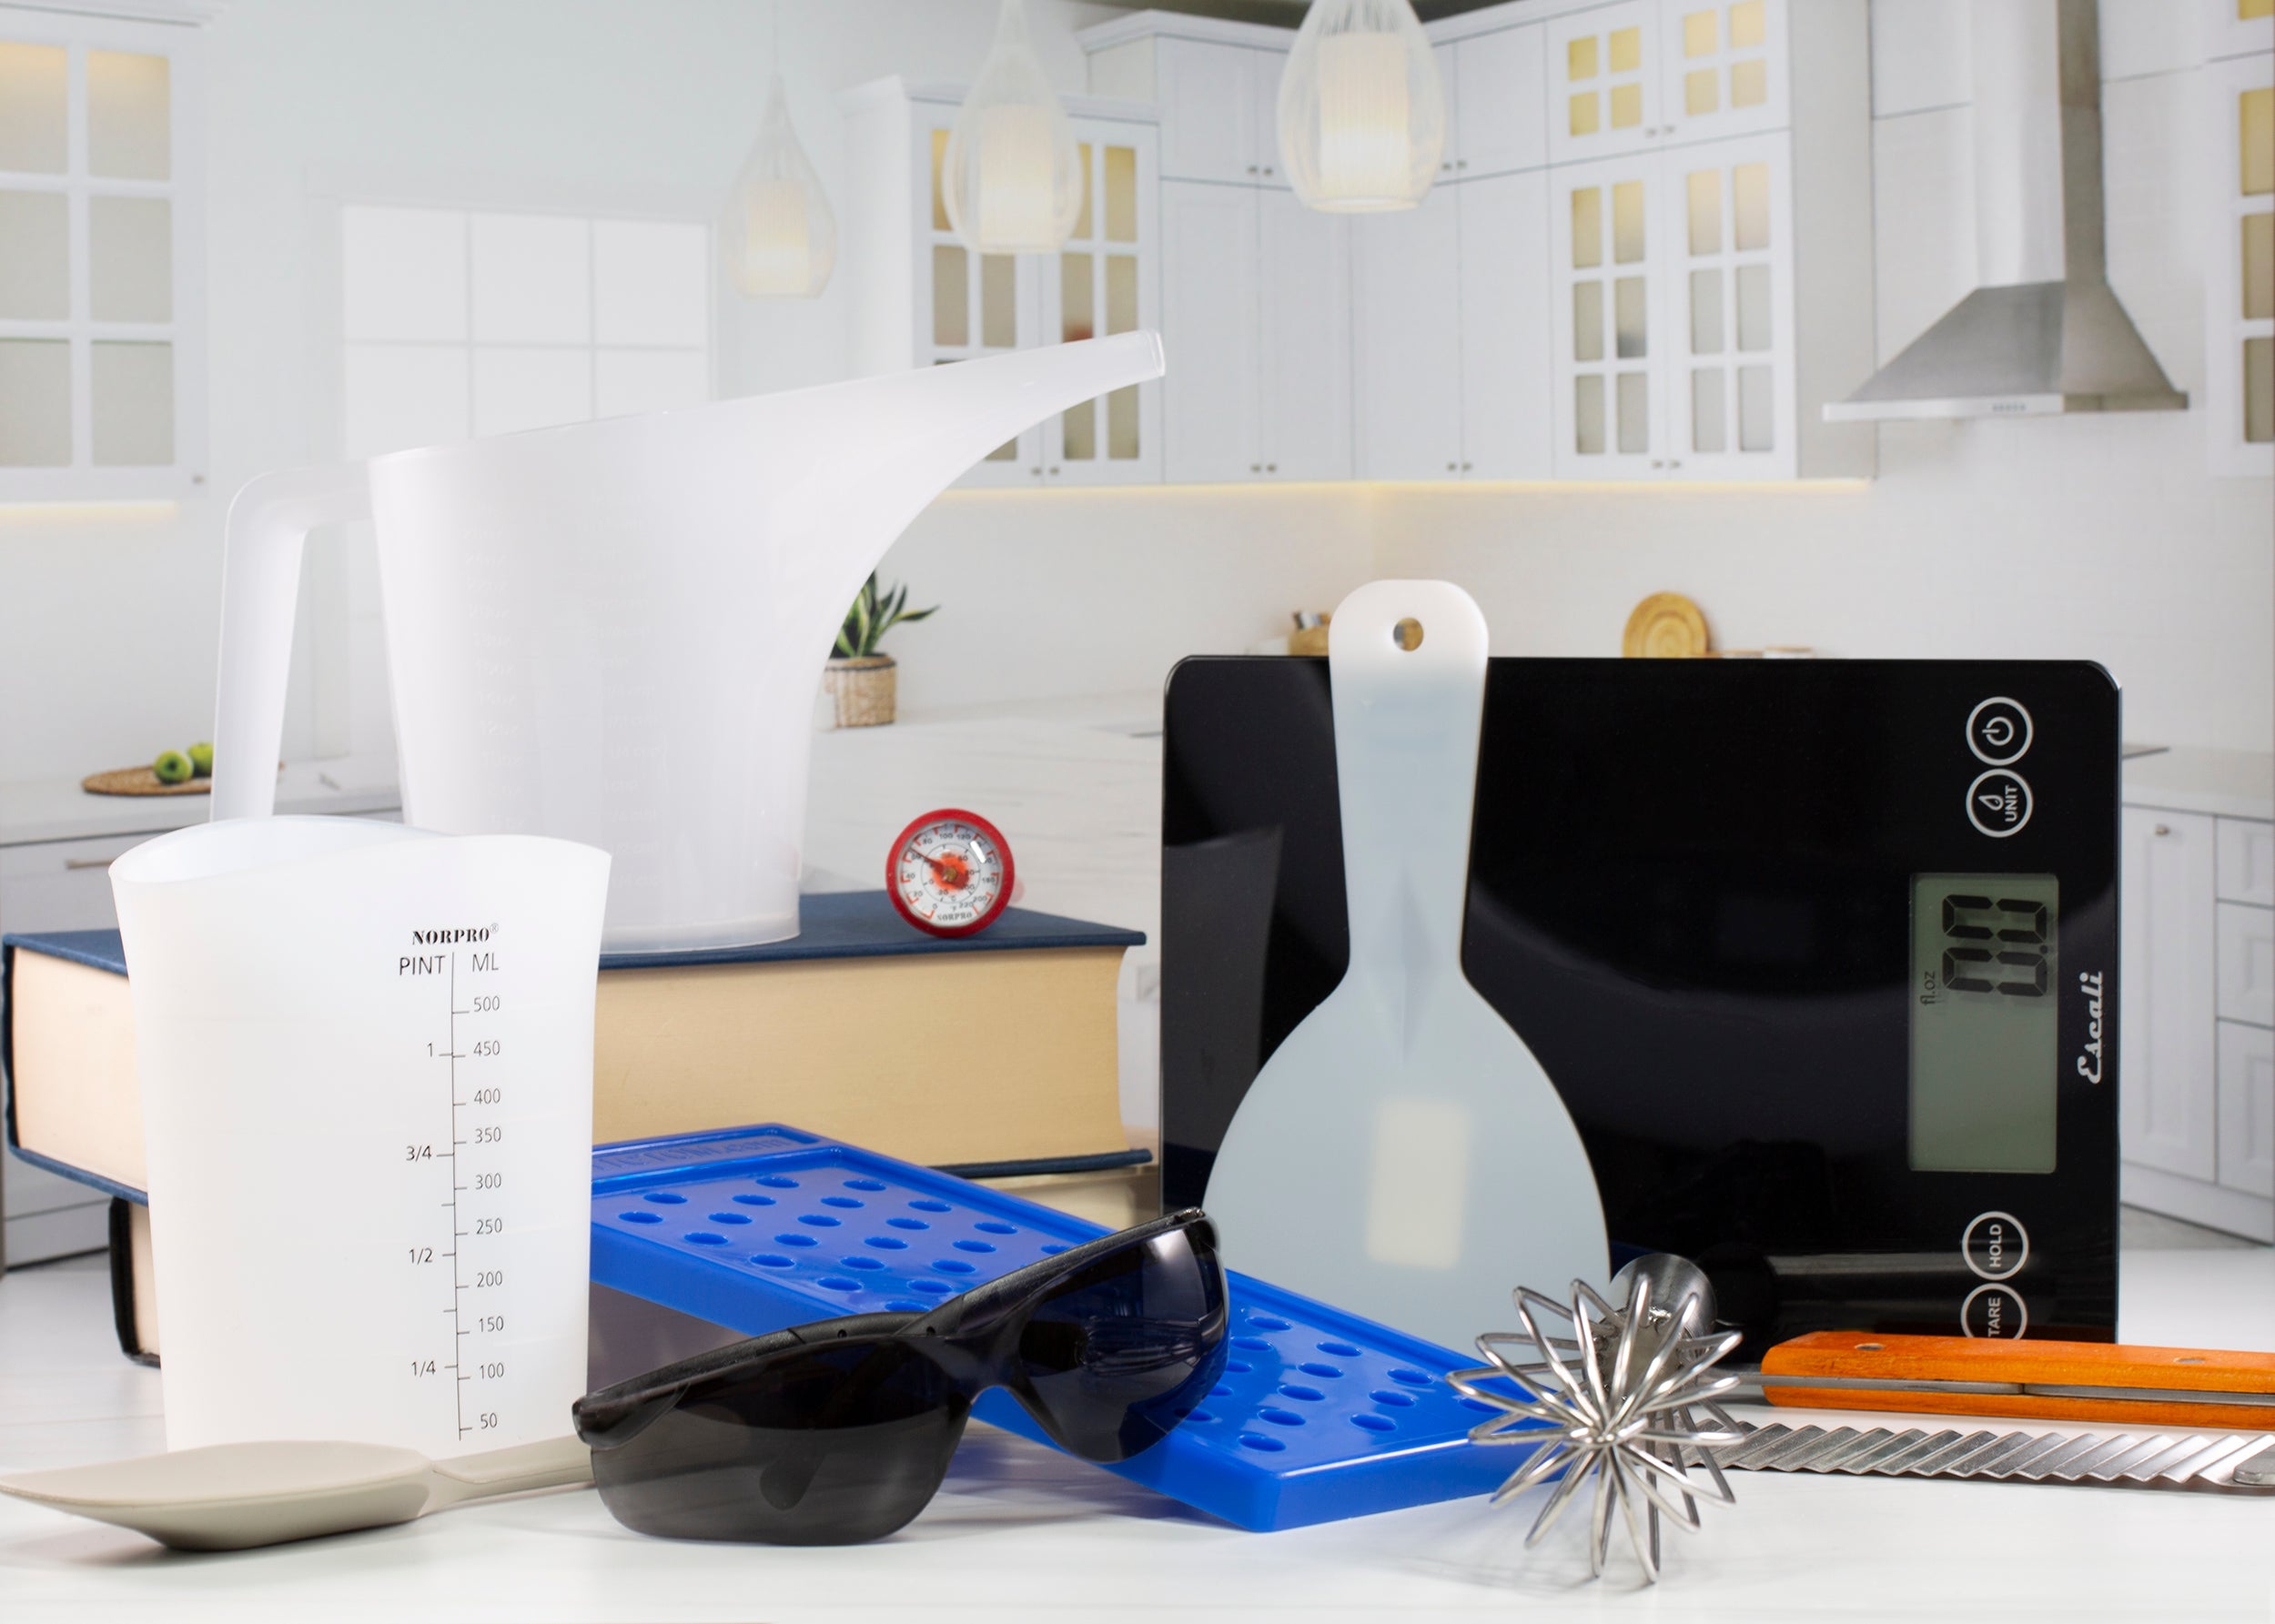
- Digital Scale
- Double Boiler or Wax Melting System
- Heat Gun
- Professional Digital Read Thermometer
- Aluminum Pouring Pot – 1 lb
- Stirring Utensils
- Real Coconut
- Hammer or Heavy Knife
- Screwdriver, Skewer, or Similar Tool
- Aluminum Foil
- Scissors
- Craft Knife or Carving Tool
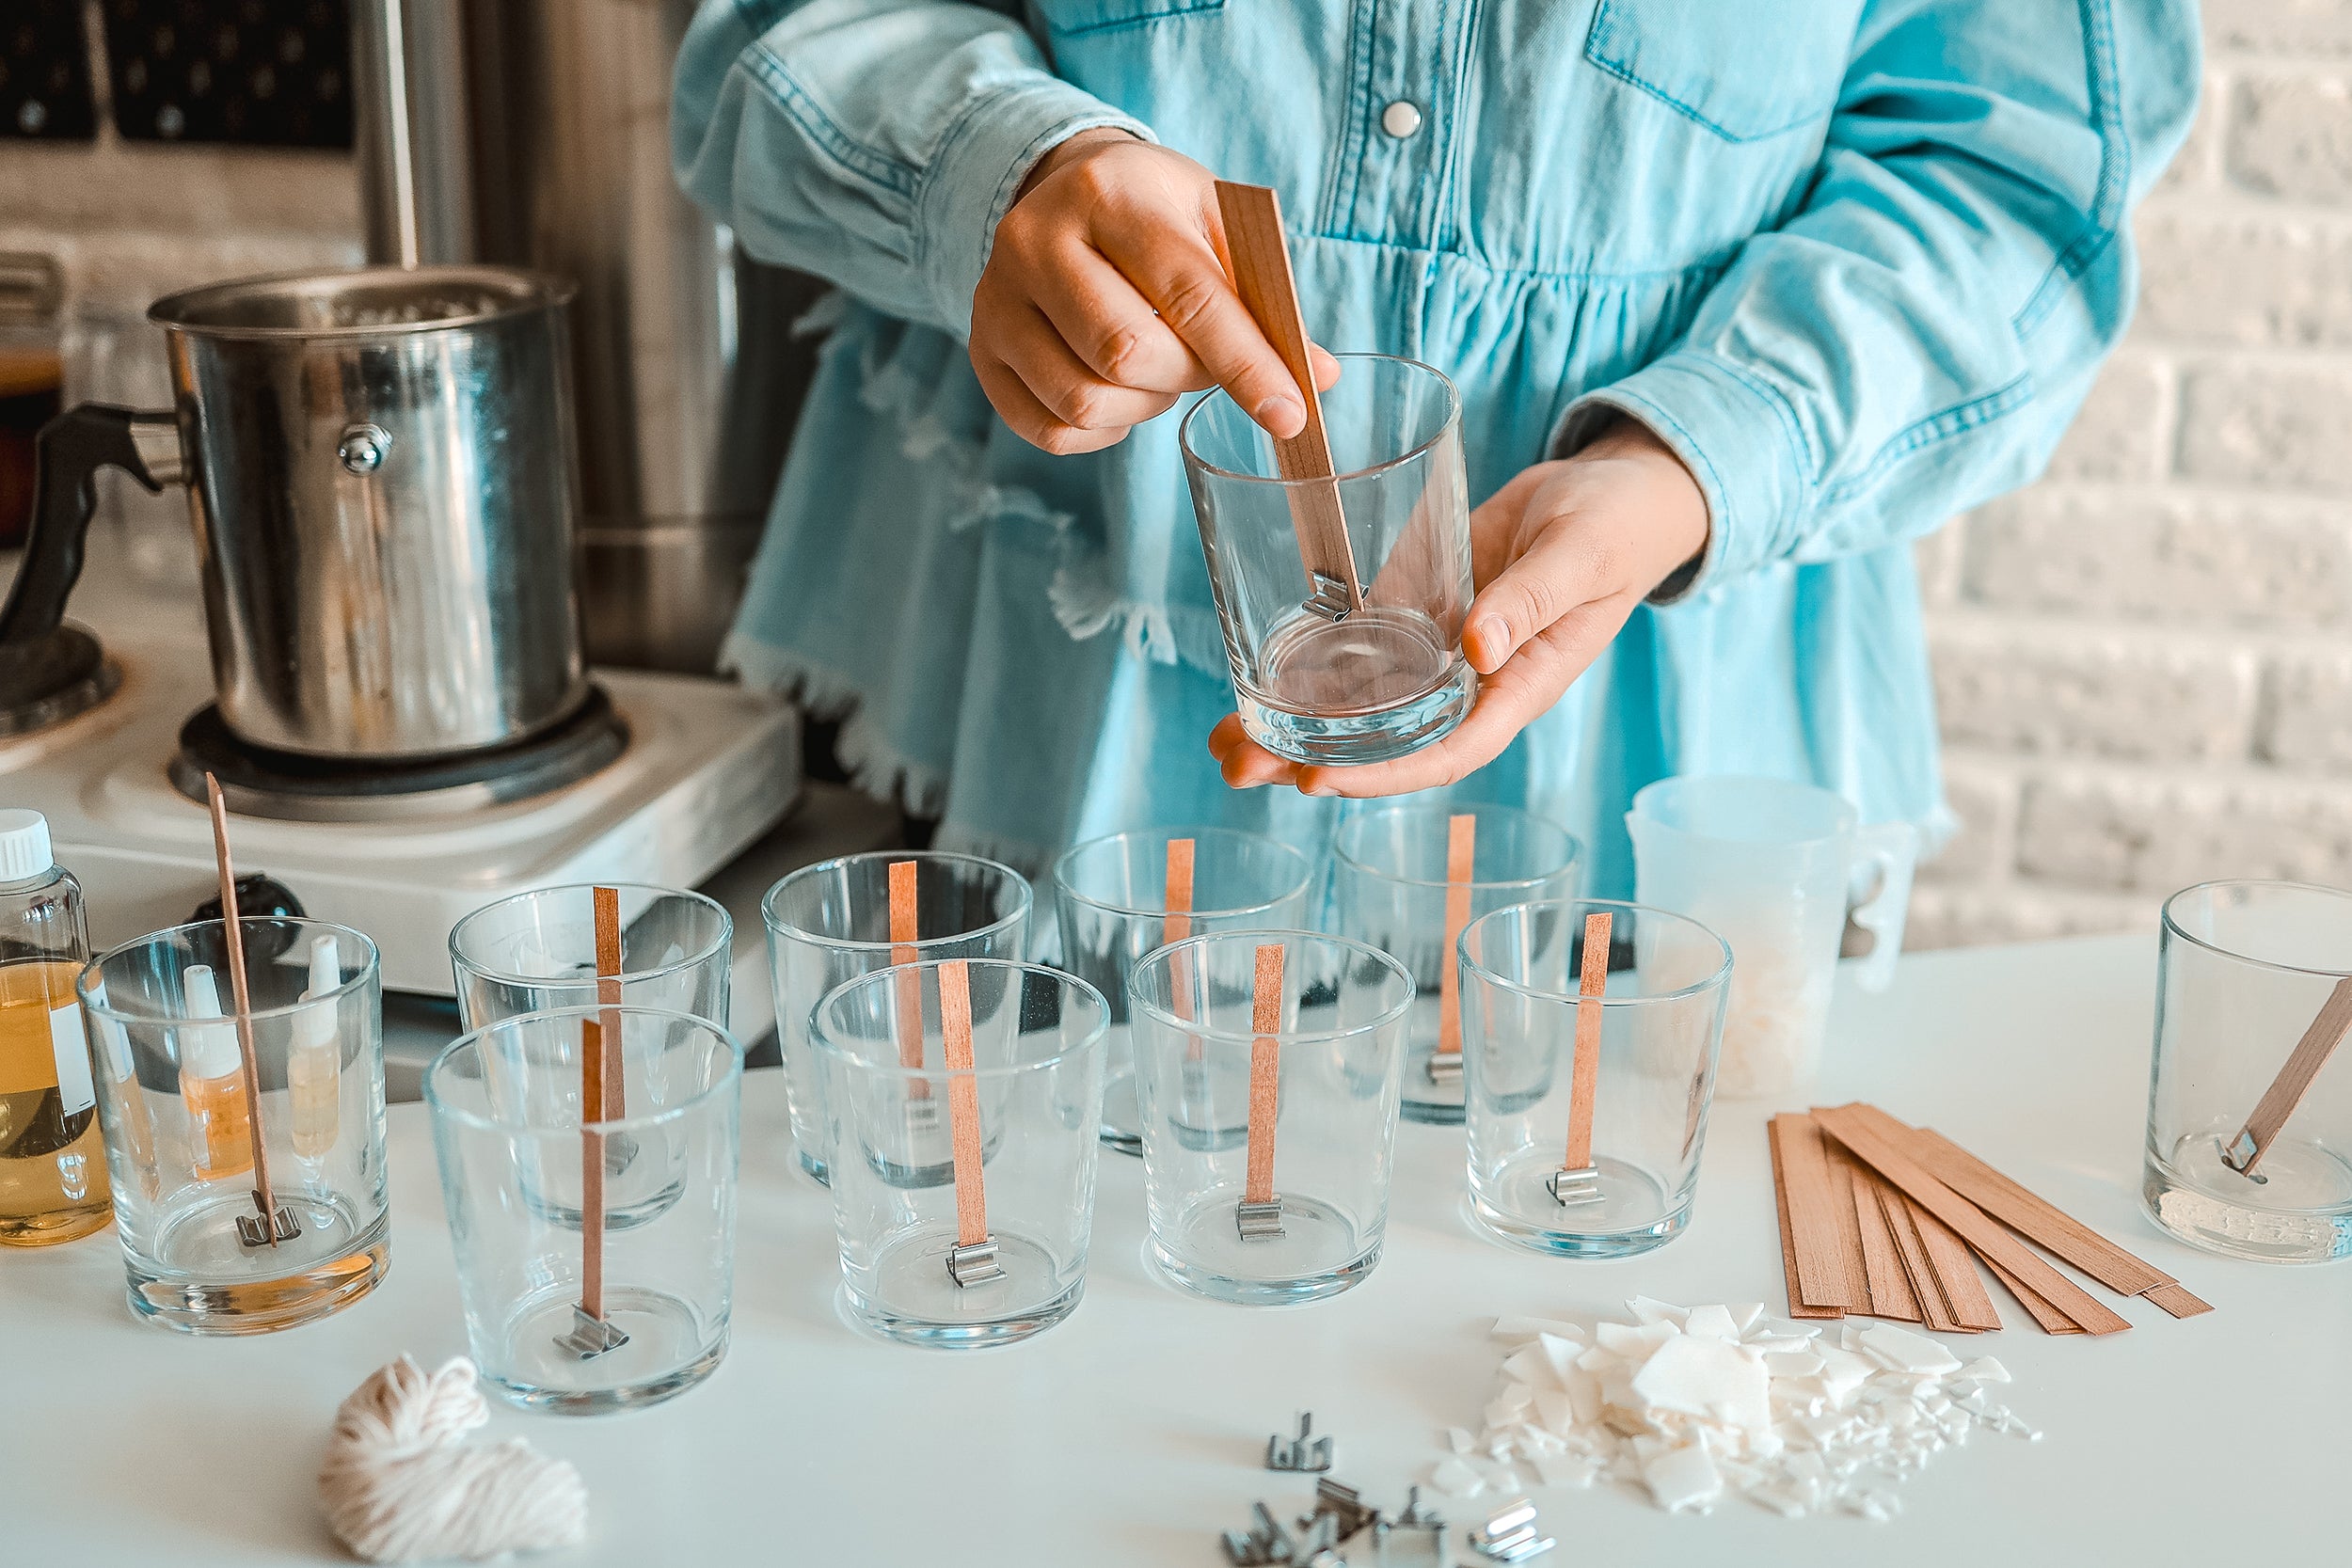
- Bow Tie Wick Bar
- Small Paint Brush
- Paper Towels
- Heat-Resistant Work Surface
Formula:
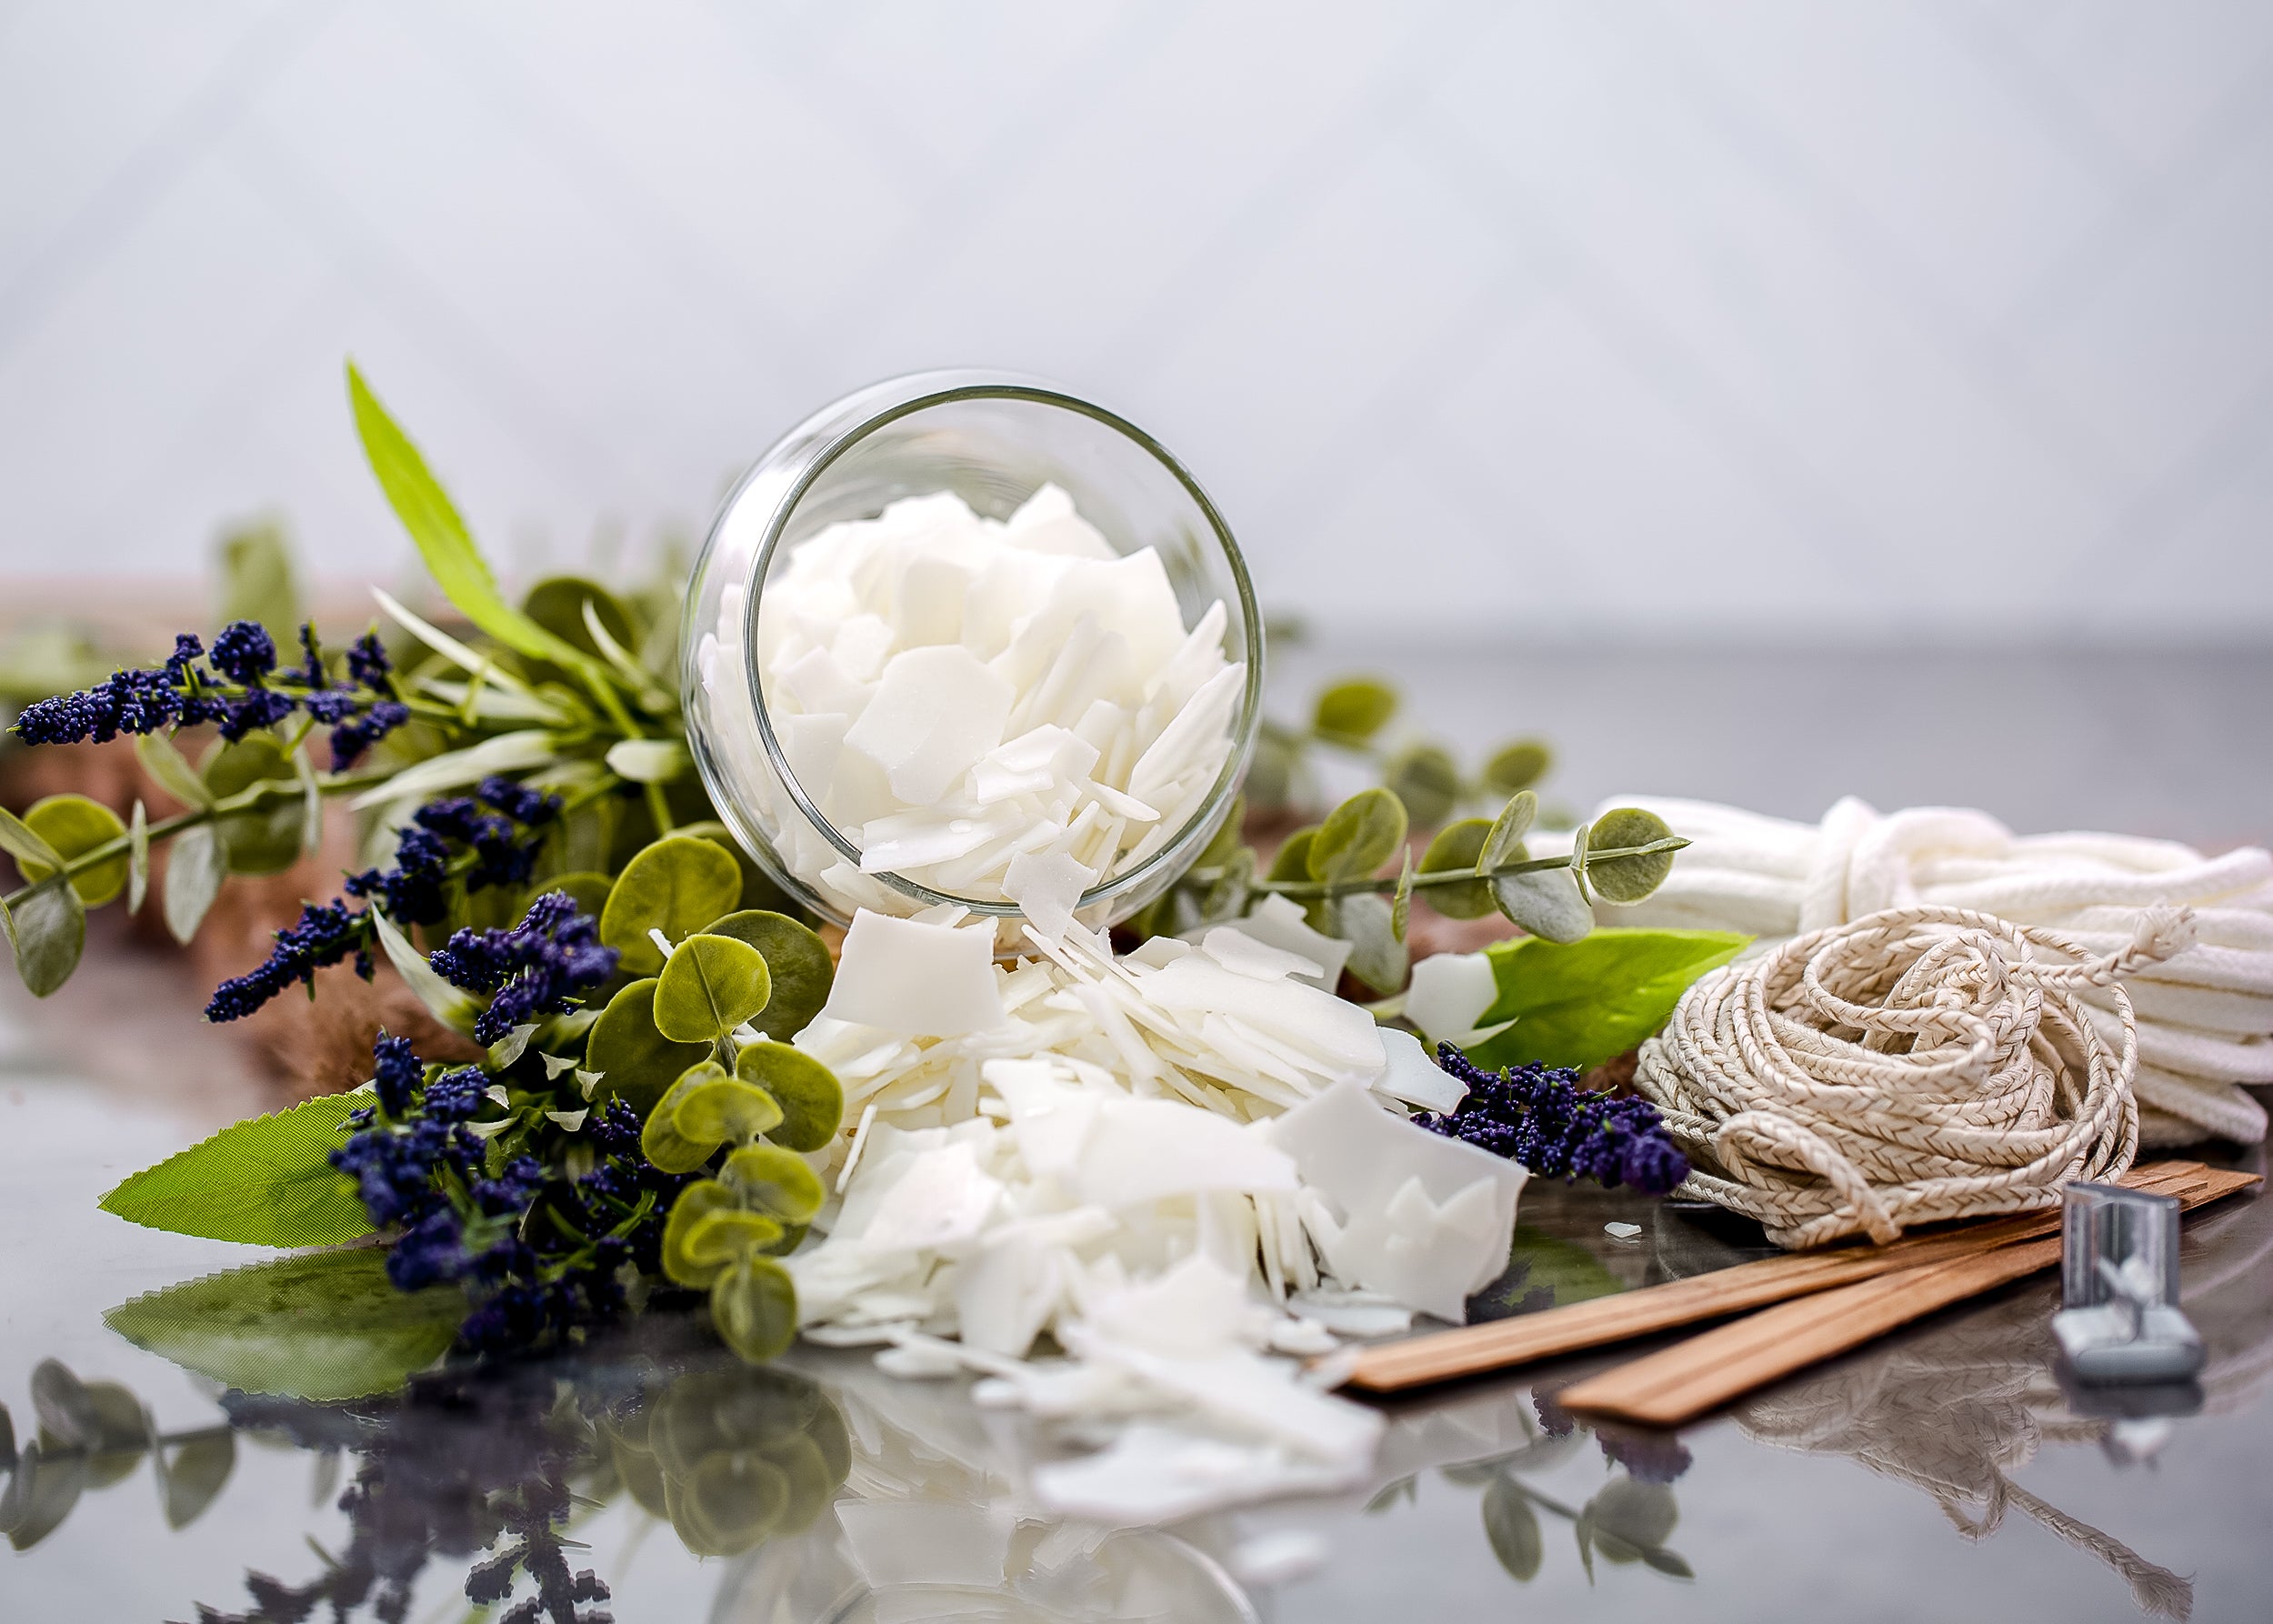
- Blended Waxes - BW 921 Natural Pillar Wax Blend - 240 g
- Versagel C MP Candle Gel Wax - 40 g
- Island Coconut Fragrance Oil - 27 g
- ECO 8 Pre-tabbed Candle Wick 6” Height x1
- Cappuccino Mica- 2 g
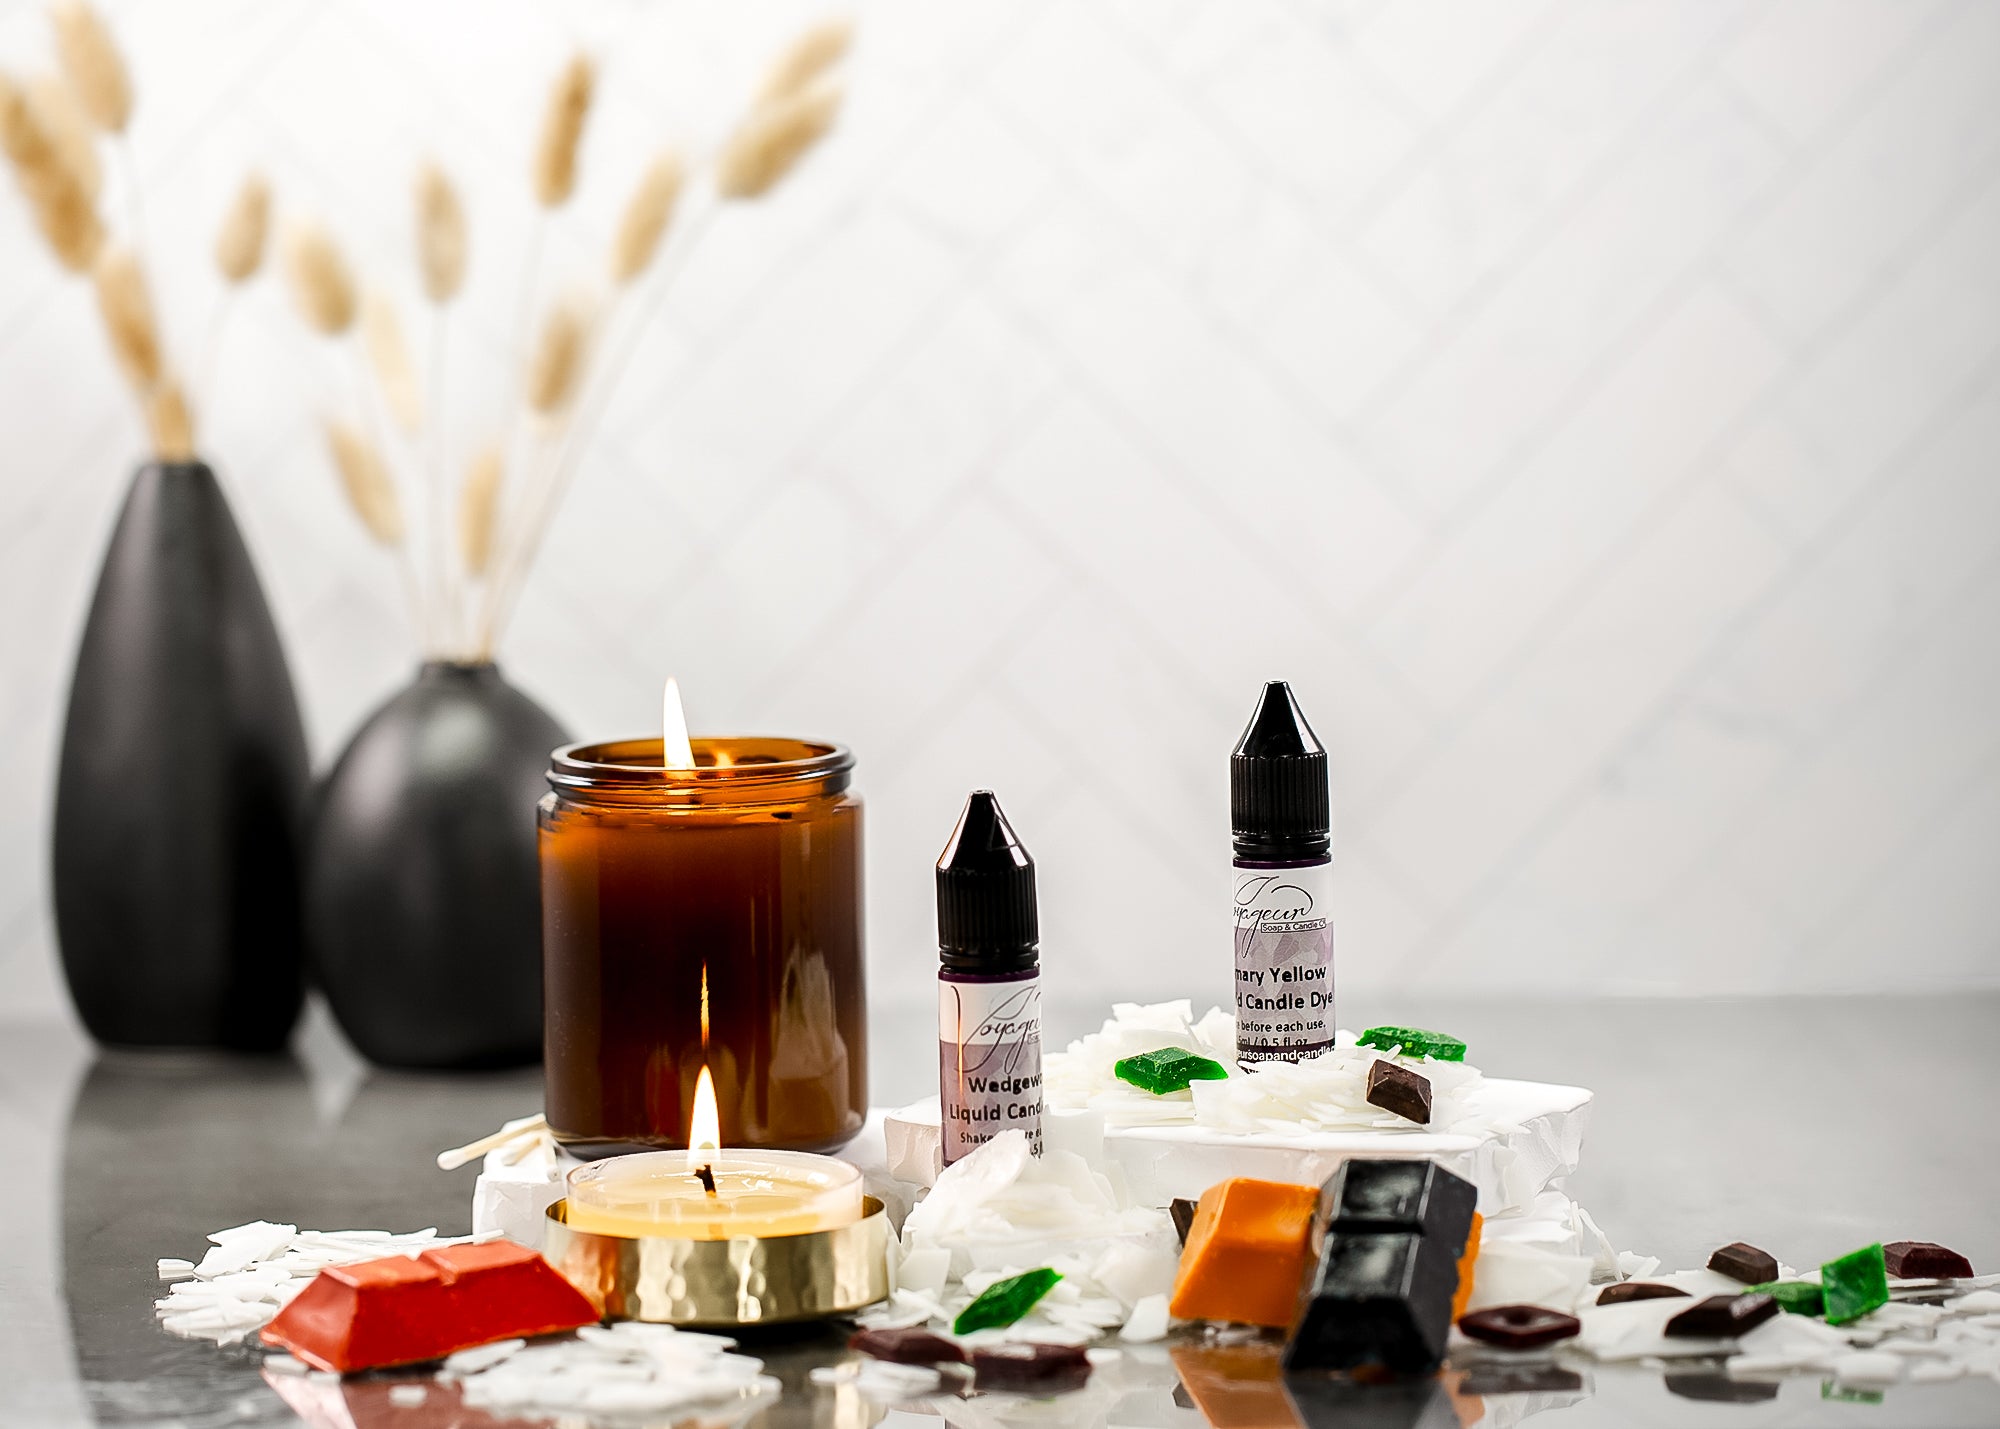
- Eco Reach Liquid Candle Dye - Brown
Ingredient Profile:
Blended Waxes - BW 921 Natural Pillar Wax Blend
A soy-based pillar wax blend designed for freestanding and sculptural candles with excellent structural stability. It melts cleanly at ~71°C (160°F) and supports layering techniques due to its fast-setting nature. Ideal for creating the shell and flesh effect in this coconut design.
Versagel C MP Candle Gel Wax
A medium-density clear gel wax used to create a transparent, glass-like effect in decorative candle work. It holds fragrance well and allows embedded visual effects such as the “coconut water” centre in this project. Best worked with careful temperature control to maintain clarity.
Island Coconut Fragrance Oil
A tropical fragrance blend of coconut, pineapple, florals, vanilla, and musk designed for strong cold throw in candle applications. It performs well in both pillar and gel wax systems without destabilising structure. A small amount delivers a rich, long-lasting aroma.
ECO 8 Pre-tabbed Candle Wick 6” Height
A cotton and paper-core wick designed for vegetable-based waxes and medium pillar diameters. It offers stable burn performance and self-trimming behaviour for cleaner combustion. In this sculptural design, it is best suited for decorative or closely supervised use.
Cappuccino Mica
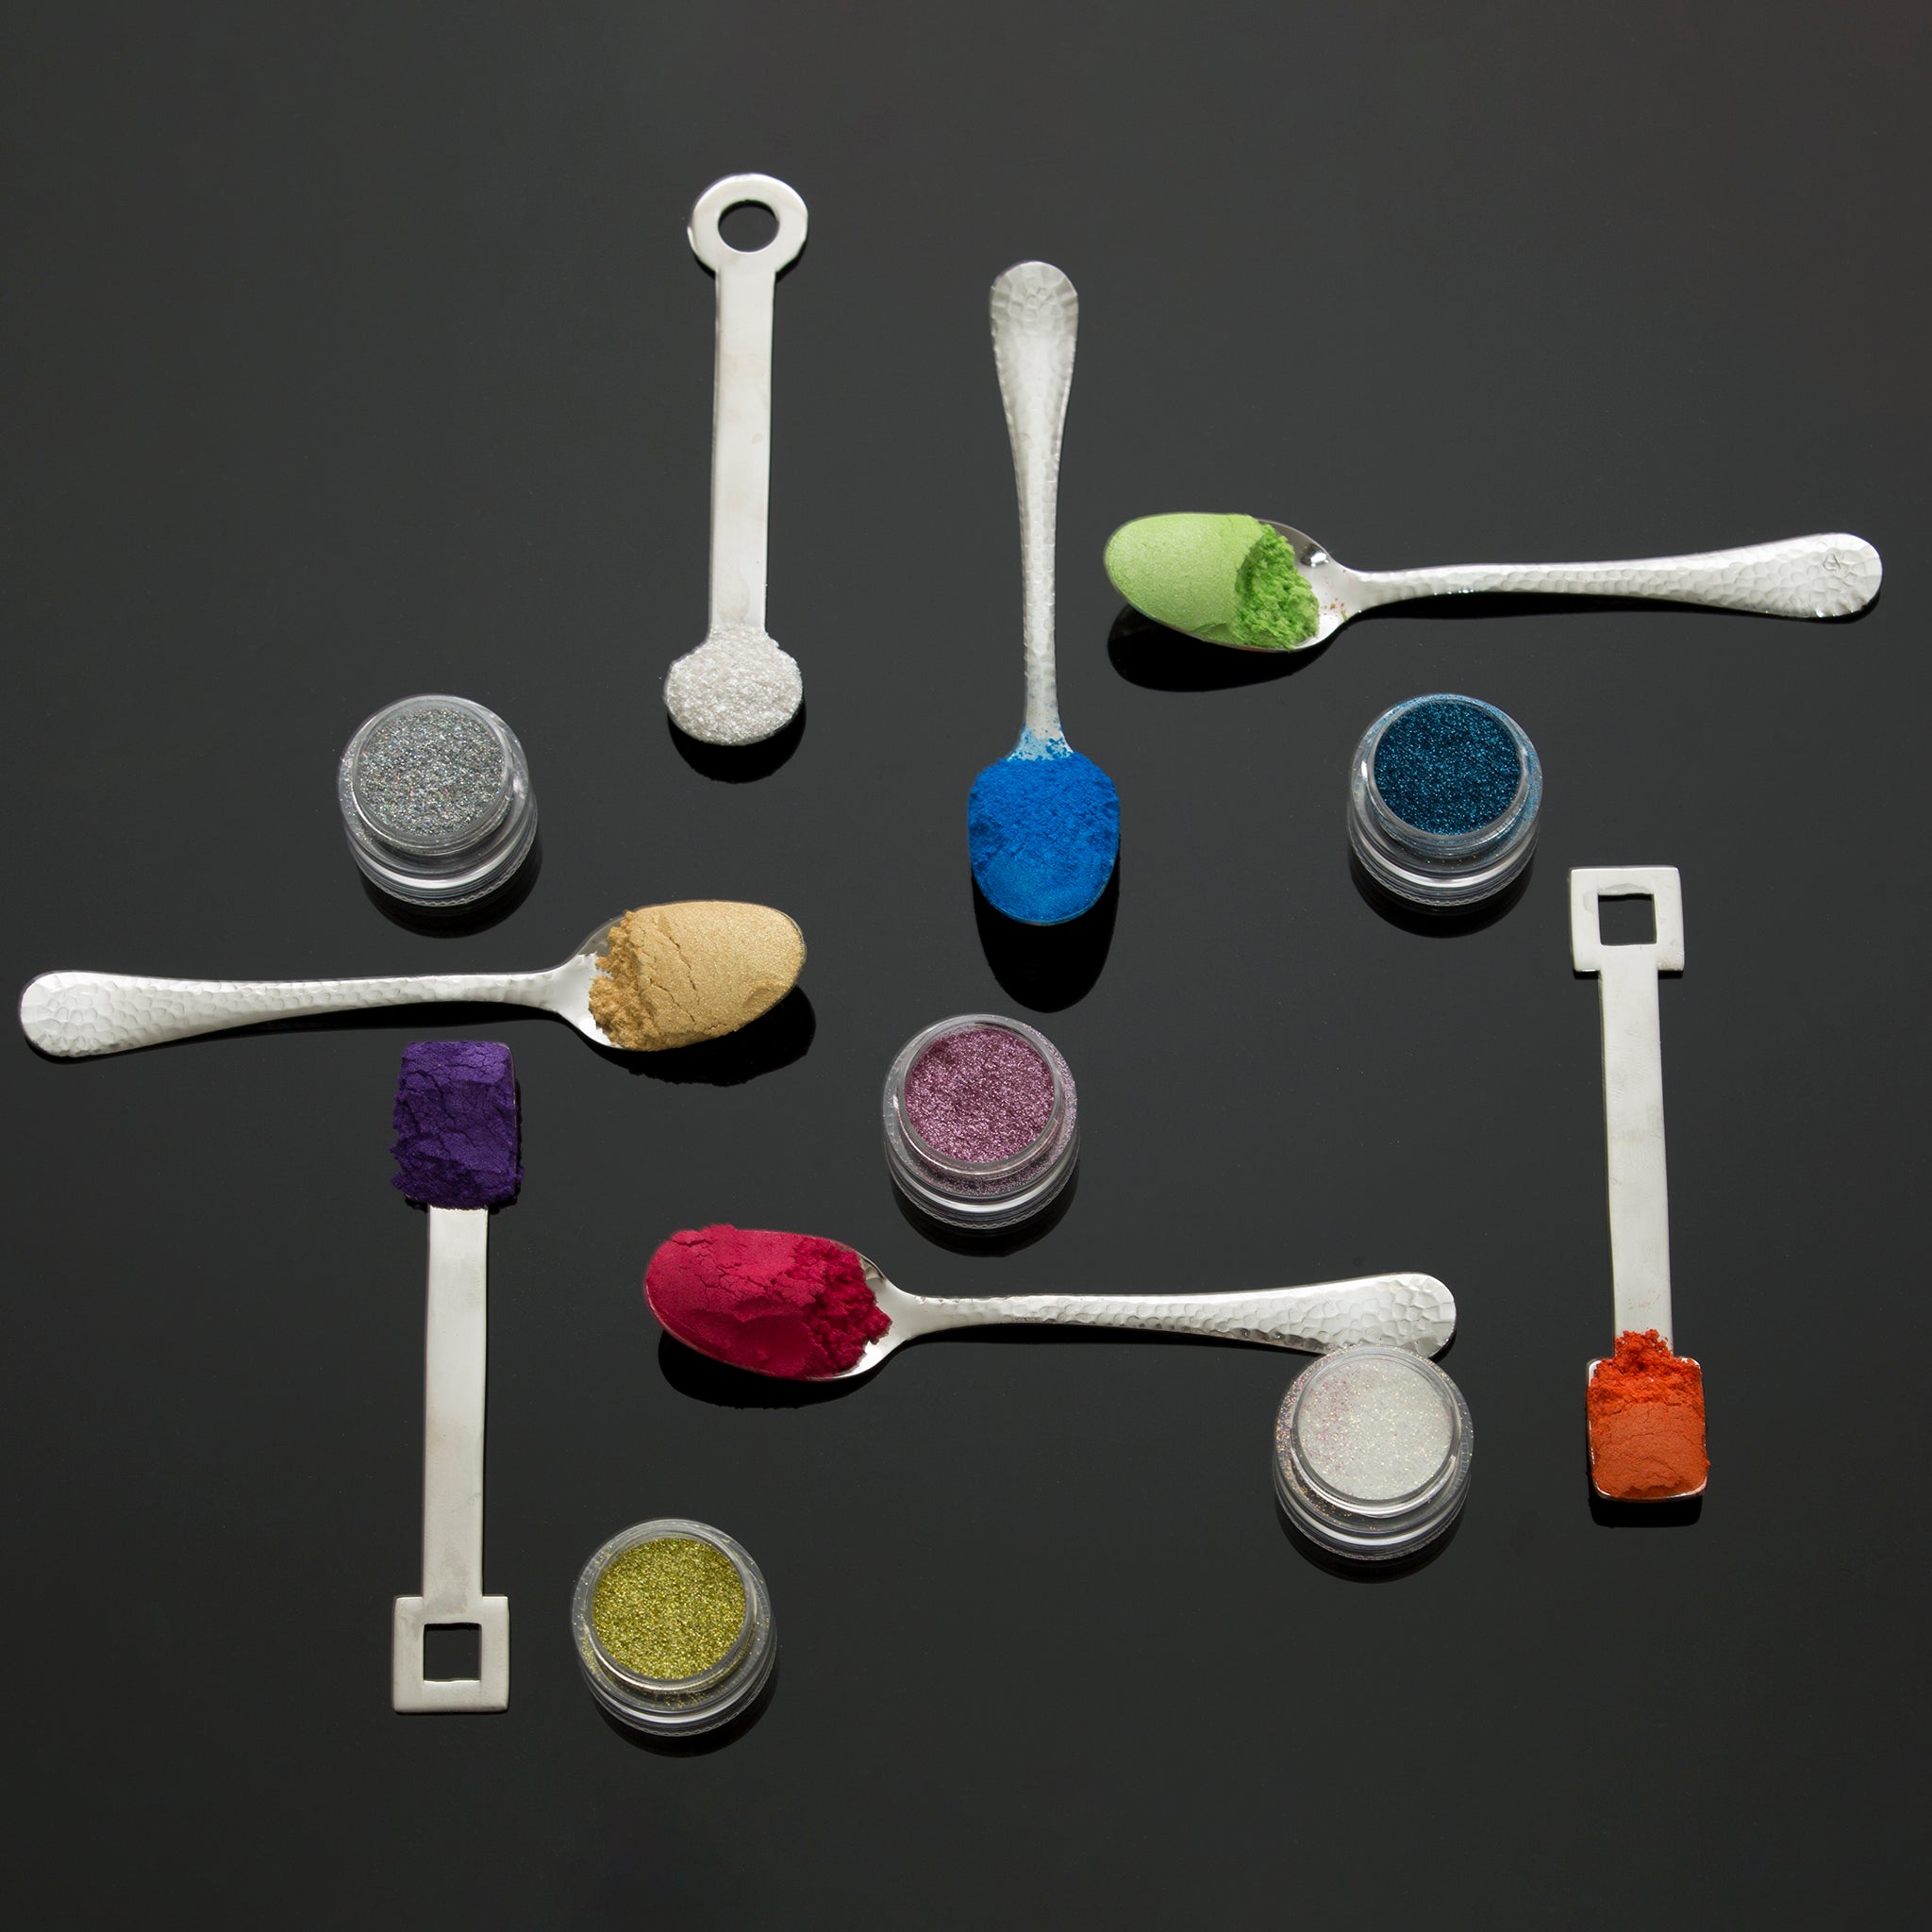
A warm brown mica pigment used to create natural shading and depth in wax-based projects. It disperses easily in melted wax and enhances realism in layered or textured candle surfaces. Ideal for building the coconut shell effect.
Eco Reach Liquid Candle Dye - Brown
A highly concentrated liquid dye that delivers consistent colour dispersion in wax systems. It allows precise shade control for detailed candle designs without affecting burn performance when used correctly. A few drops are sufficient for rich brown tones.
Decorative Use & Safety Notes
This coconut candle is designed primarily as a decorative sculptural piece. While a wick has been included for completeness of design, the finished form is not intended for regular burning due to its natural rounded base and layered gel core construction.
The curved underside may affect stability on flat surfaces, and the internal gel wax layer is intended for visual effect rather than sustained heat performance.
For this reason, this candle is best enjoyed as a decorative display piece where its layered coconut design can be fully appreciated.
If burned, always place on a completely stable, heat-resistant dish with full supervision, and discontinue use if any movement or instability is observed.
Preparing a fresh Coconut Shell
Step 1: Begin by draining the coconut water. Locate the three "eyes" at one end of the coconut and pierce one of the softer eyes using a screwdriver, skewer, or similar tool. Turn the coconut upside down over a bowl and allow the liquid to drain completely.
Step 2: Carefully crack the coconut in half using a hammer or the back of a heavy knife. Strike around the centre until the shell separates into two halves.
Step 3: Remove the coconut flesh from the shell and clean the interior thoroughly. Allow the shell to dry completely before proceeding.
Step 4: Line the inside of one coconut half with aluminum foil, pressing the foil firmly against the shell to capture its natural shape and texture. Carefully remove the foil insert while maintaining its shape. This foil form will serve as the mold for the candle.
Instructions:
Step 1: Begin by creating the mold. Fold a sheet of aluminum foil in half to create a double layer for added strength. Press the foil firmly into the inside of a clean coconut shell, working from the centre outward until the natural shape and contours of the shell are captured. Once the shape has been fully formed, carefully wrap the excess foil around the rim of the shell to help support the mold. Gently remove the foil insert while maintaining its shape. This foil form will be used as the candle mold.
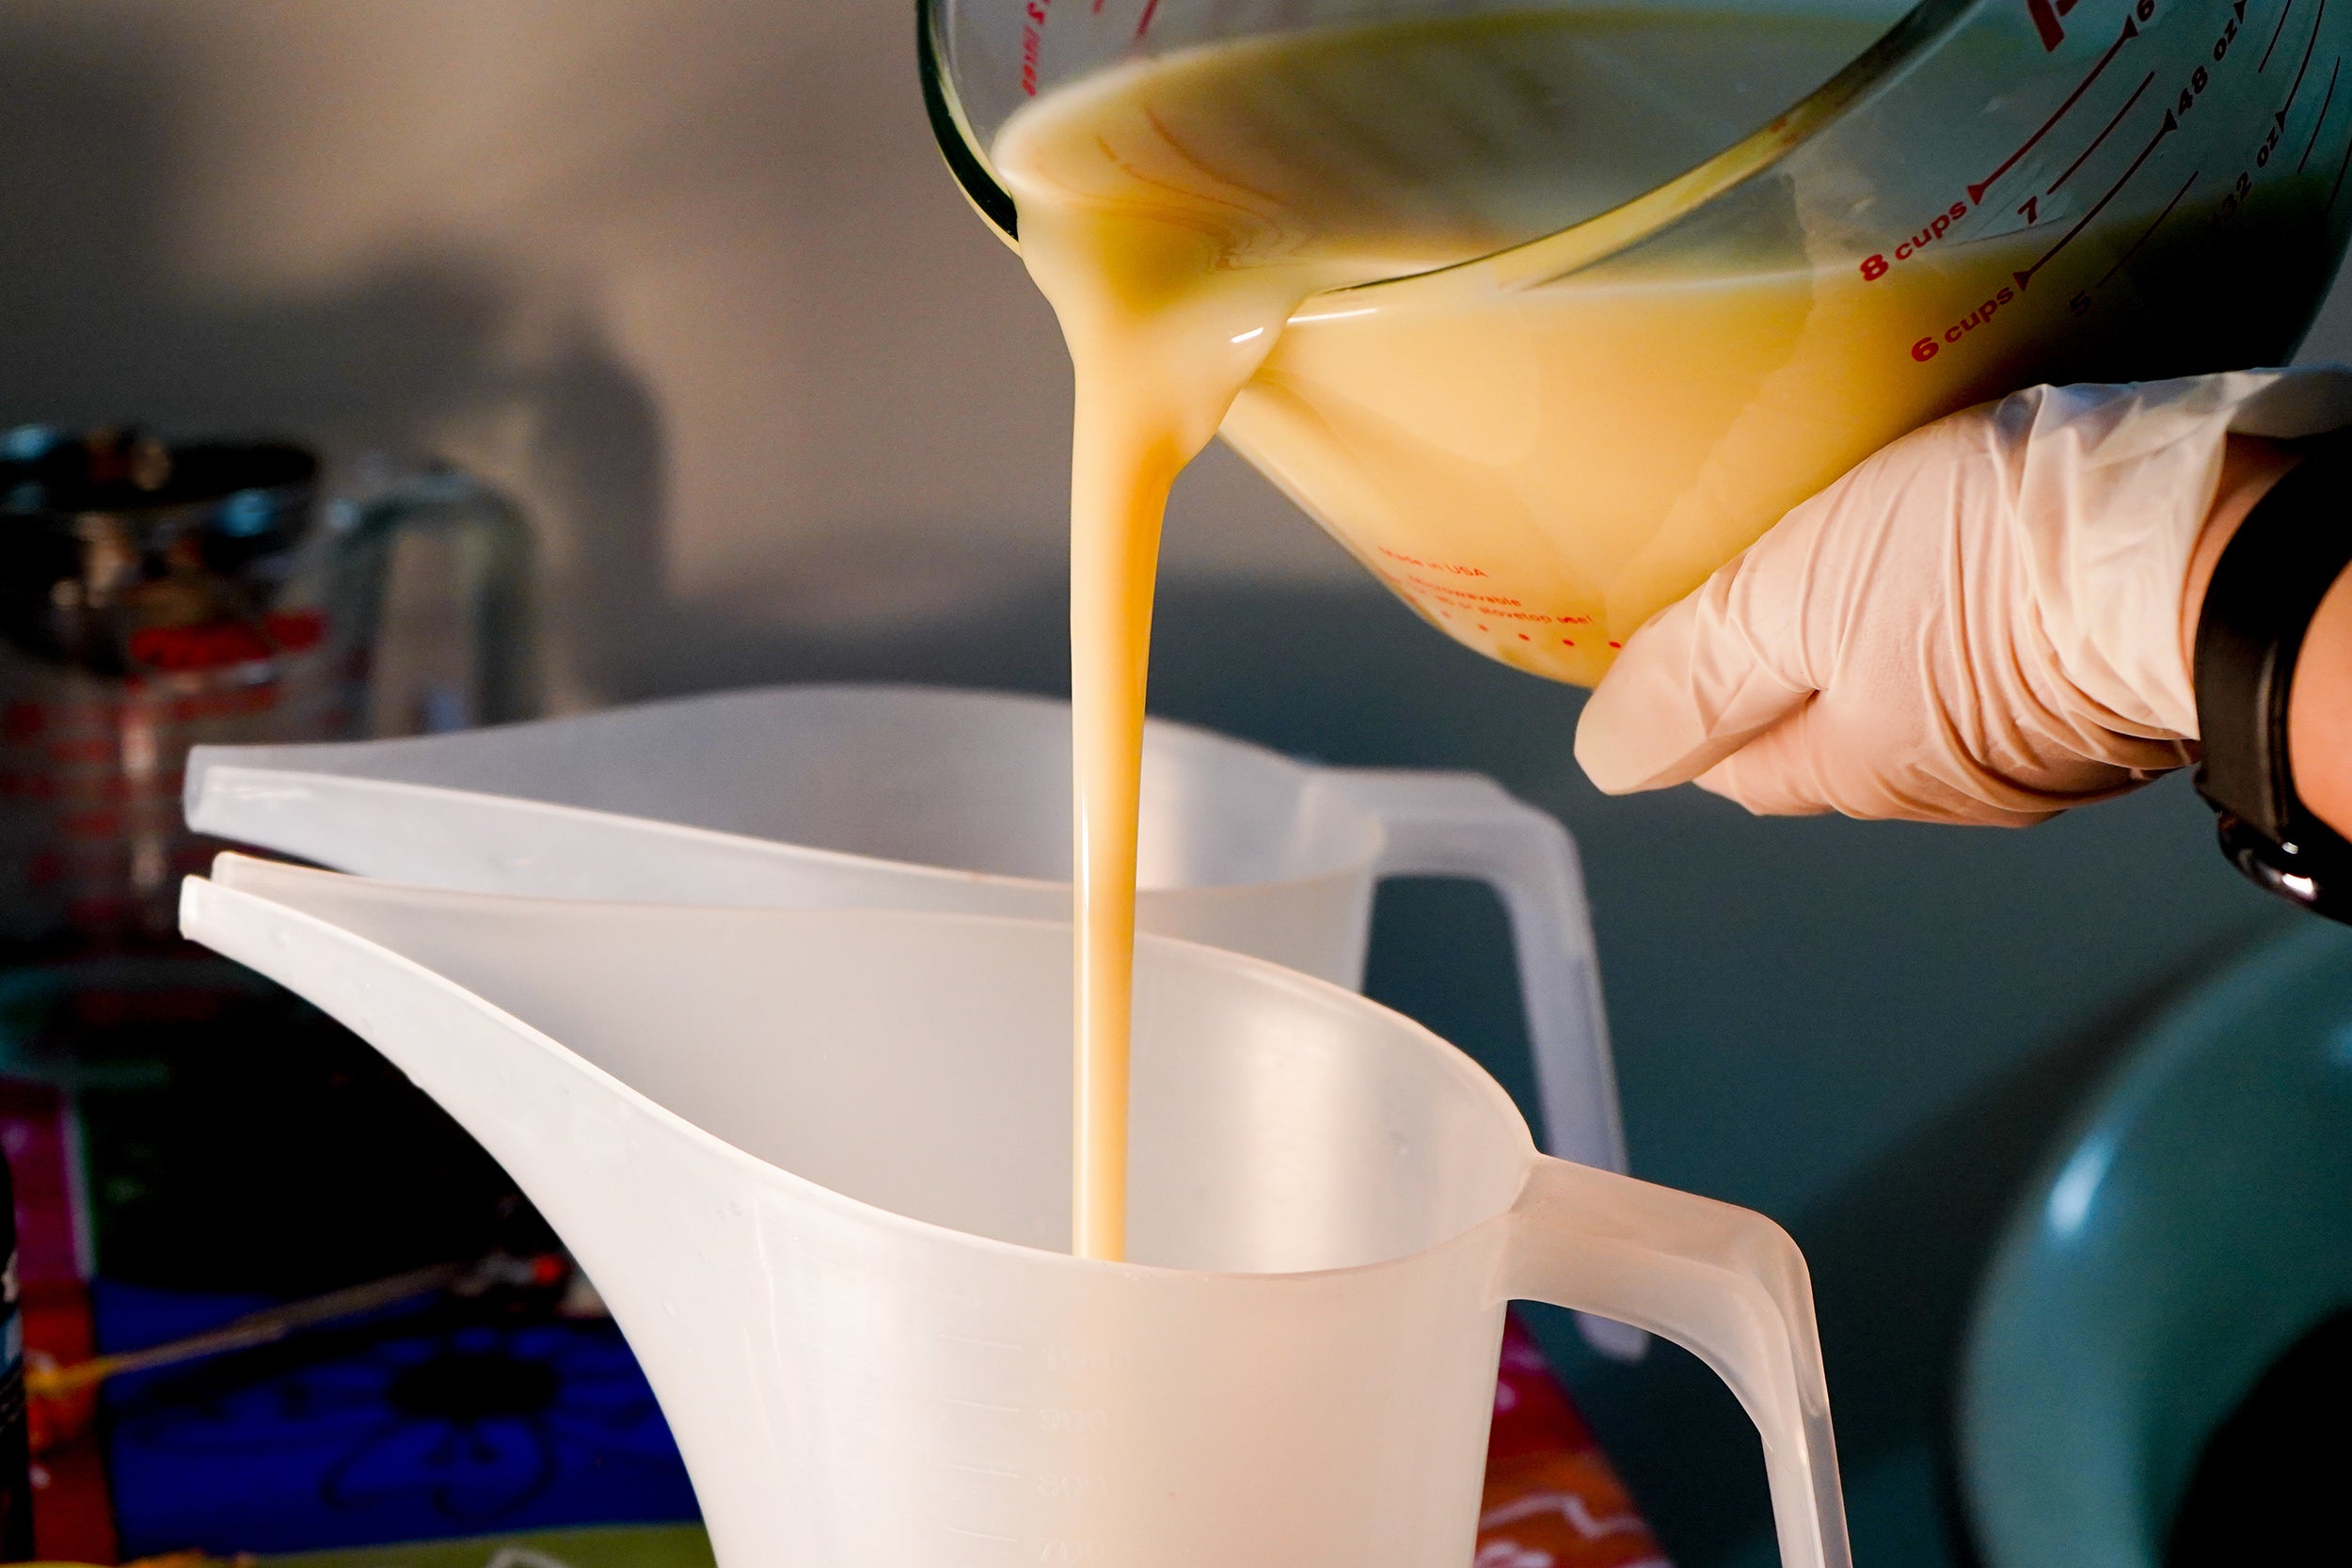
Step 2:Weigh 120g of BW 921 Natural Pillar Wax Blend into a heat-safe pouring pitcher and melt to approximately 71°C (160°F).Step 3: Remove the wax from the heat source and add 12g of Island Coconut Fragrance Oil along with brown mica. Stir thoroughly until the fragrance and colour are fully incorporated. If desired, perform a colour test by placing a small drop of wax onto a cool surface and allowing it to harden. Adjust the colour if needed before proceeding.
Step 4: Allow the wax to cool slightly to approximately 66–71°C (150–160°F). This working range allows the wax to remain fluid enough for coating while beginning to set quickly once applied to the mold. Pour a small amount of brown wax into the foil mold. Immediately rotate and tilt the mold so the wax flows across the surface and begins to set into a shell-like layer. Pour off any excess wax back into the pitcher. Repeat this process as needed, working in thin layers, until a stable and even brown coating has formed inside the mold. Allow the brown layer to cool and harden completely.
Step 5: Weigh a second 120g portion of BW 921 Natural Pillar Wax Blend into a clean pouring pitcher and melt to approximately 71°C (160°F).
Step 6: Remove the wax from the heat source and add 12g of Island Coconut Fragrance Oil. Stir thoroughly until evenly incorporated. No colour is required, as the natural colour of the wax creates the appearance of fresh coconut flesh. Allow the wax to cool slightly to approximately 66–68°C (150–155°F) before pouring.
Step 7: Pour the white wax into the mold and rotate as needed to coat the interior surface. Build this layer thicker than the brown shell layer to recreate the look of the white flesh found inside a freshly opened coconut. Additional applications may be used if a thicker layer is desired.
Step 8: Pour a small amount of additional white wax into the centre cavity and immediately position an ECO 8-6" wick in the centre. Use a skewer, wick bar, or popsicle stick to keep the wick upright and centred while the wax hardens.
Step 9: Allow the candle to cool completely before carefully removing the aluminum foil mold.
Step 10: Using a craft knife or carving tool, refine the rim of the candle by trimming away any rough foil impressions. Leave small irregularities, chips, and uneven sections around the edge to recreate the appearance of a naturally cracked coconut.
Step 11: For additional realism, lightly brush the exterior shell with Onyx Black mica, Bronze mica, or small amounts of Eco Reach Liquid Candle Dye - Brown. Concentrate the colour in textured areas and crevices to create depth and mimic the appearance of a natural coconut shell.
Step 12: Weigh 40g of Versagel C MP Candle Gel Wax into a heat-safe container and melt according to the manufacturer's instructions.
Step 13: Add approximately 2g of Island Coconut Fragrance Oil and stir gently until incorporated. Avoid excessive stirring, which may introduce air bubbles into the gel wax. Allow the gel wax to cool slightly before carefully pouring it into the center cavity of the candle. This layer will create the appearance of coconut water inside the finished candle.
Step 14: Allow the gel wax to fully set before trimming the wick to approximately 6 mm (1/4 inch).
Candle Making Tips & Best Practices for Layered Coconut Candles
This coconut candle is built using a layered wax construction technique combined with a decorative gel core. Because multiple wax systems are used within a single form, temperature control, layering thickness, and wick placement are essential to achieving both a stable structure and a realistic finish.
The gel wax centre in this design is decorative and intended to mimic coconut water. It should remain visually clear and undisturbed within the wax cavity. The wick must be placed exclusively within the pillar wax section to ensure proper burn performance and to prevent overheating of the gel layer.
For best results when working with layered pillar wax:
- Work within a controlled pouring range so each layer begins to set quickly without becoming brittle
- Pour in thin applications when building the coconut shell layer to maintain adhesion between coats
- Allow each wax layer to fully set before adding the next to preserve definition between “shell” and “flesh” effects
For the gel wax center:
- Pour slowly to minimize air bubbles and maintain clarity
- Avoid excessive stirring once fragrance is added
- Allow the gel to cool slightly before pouring to reduce disturbance of the underlying wax structure
Temperature management is especially important in this design. Pouring pillar wax too hot over a set layer may soften and distort previous work, while pouring too cool may prevent proper bonding between layers. Maintaining a moderate working range helps preserve the carved, organic coconut effect.
As with all candle projects, variations in wax type, fragrance load, mold shape, and environmental temperature will affect final results. Testing is strongly recommended when adjusting:
- fragrance percentages
- mica or dye load
- wick size or series
- mold thickness or shape
- pouring temperature range
Note:
These formulations are provided as a general guide for personal or commercial applications. Voyageur Soap & Candle Company Ltd. accepts no liability for the performance, effectiveness, or outcomes of products made using these formulations.
Users are responsible for conducting their own testing, following safe formulation practices, and ensuring compliance with all applicable regulations.
For formulation questions, please contact customer service at customerservice@voyageursoapandcandle.com or call 1-800-758-7773.