How to Make Soy Container Candles
STEP BY STEP
MAKING CONTAINER CANDLES
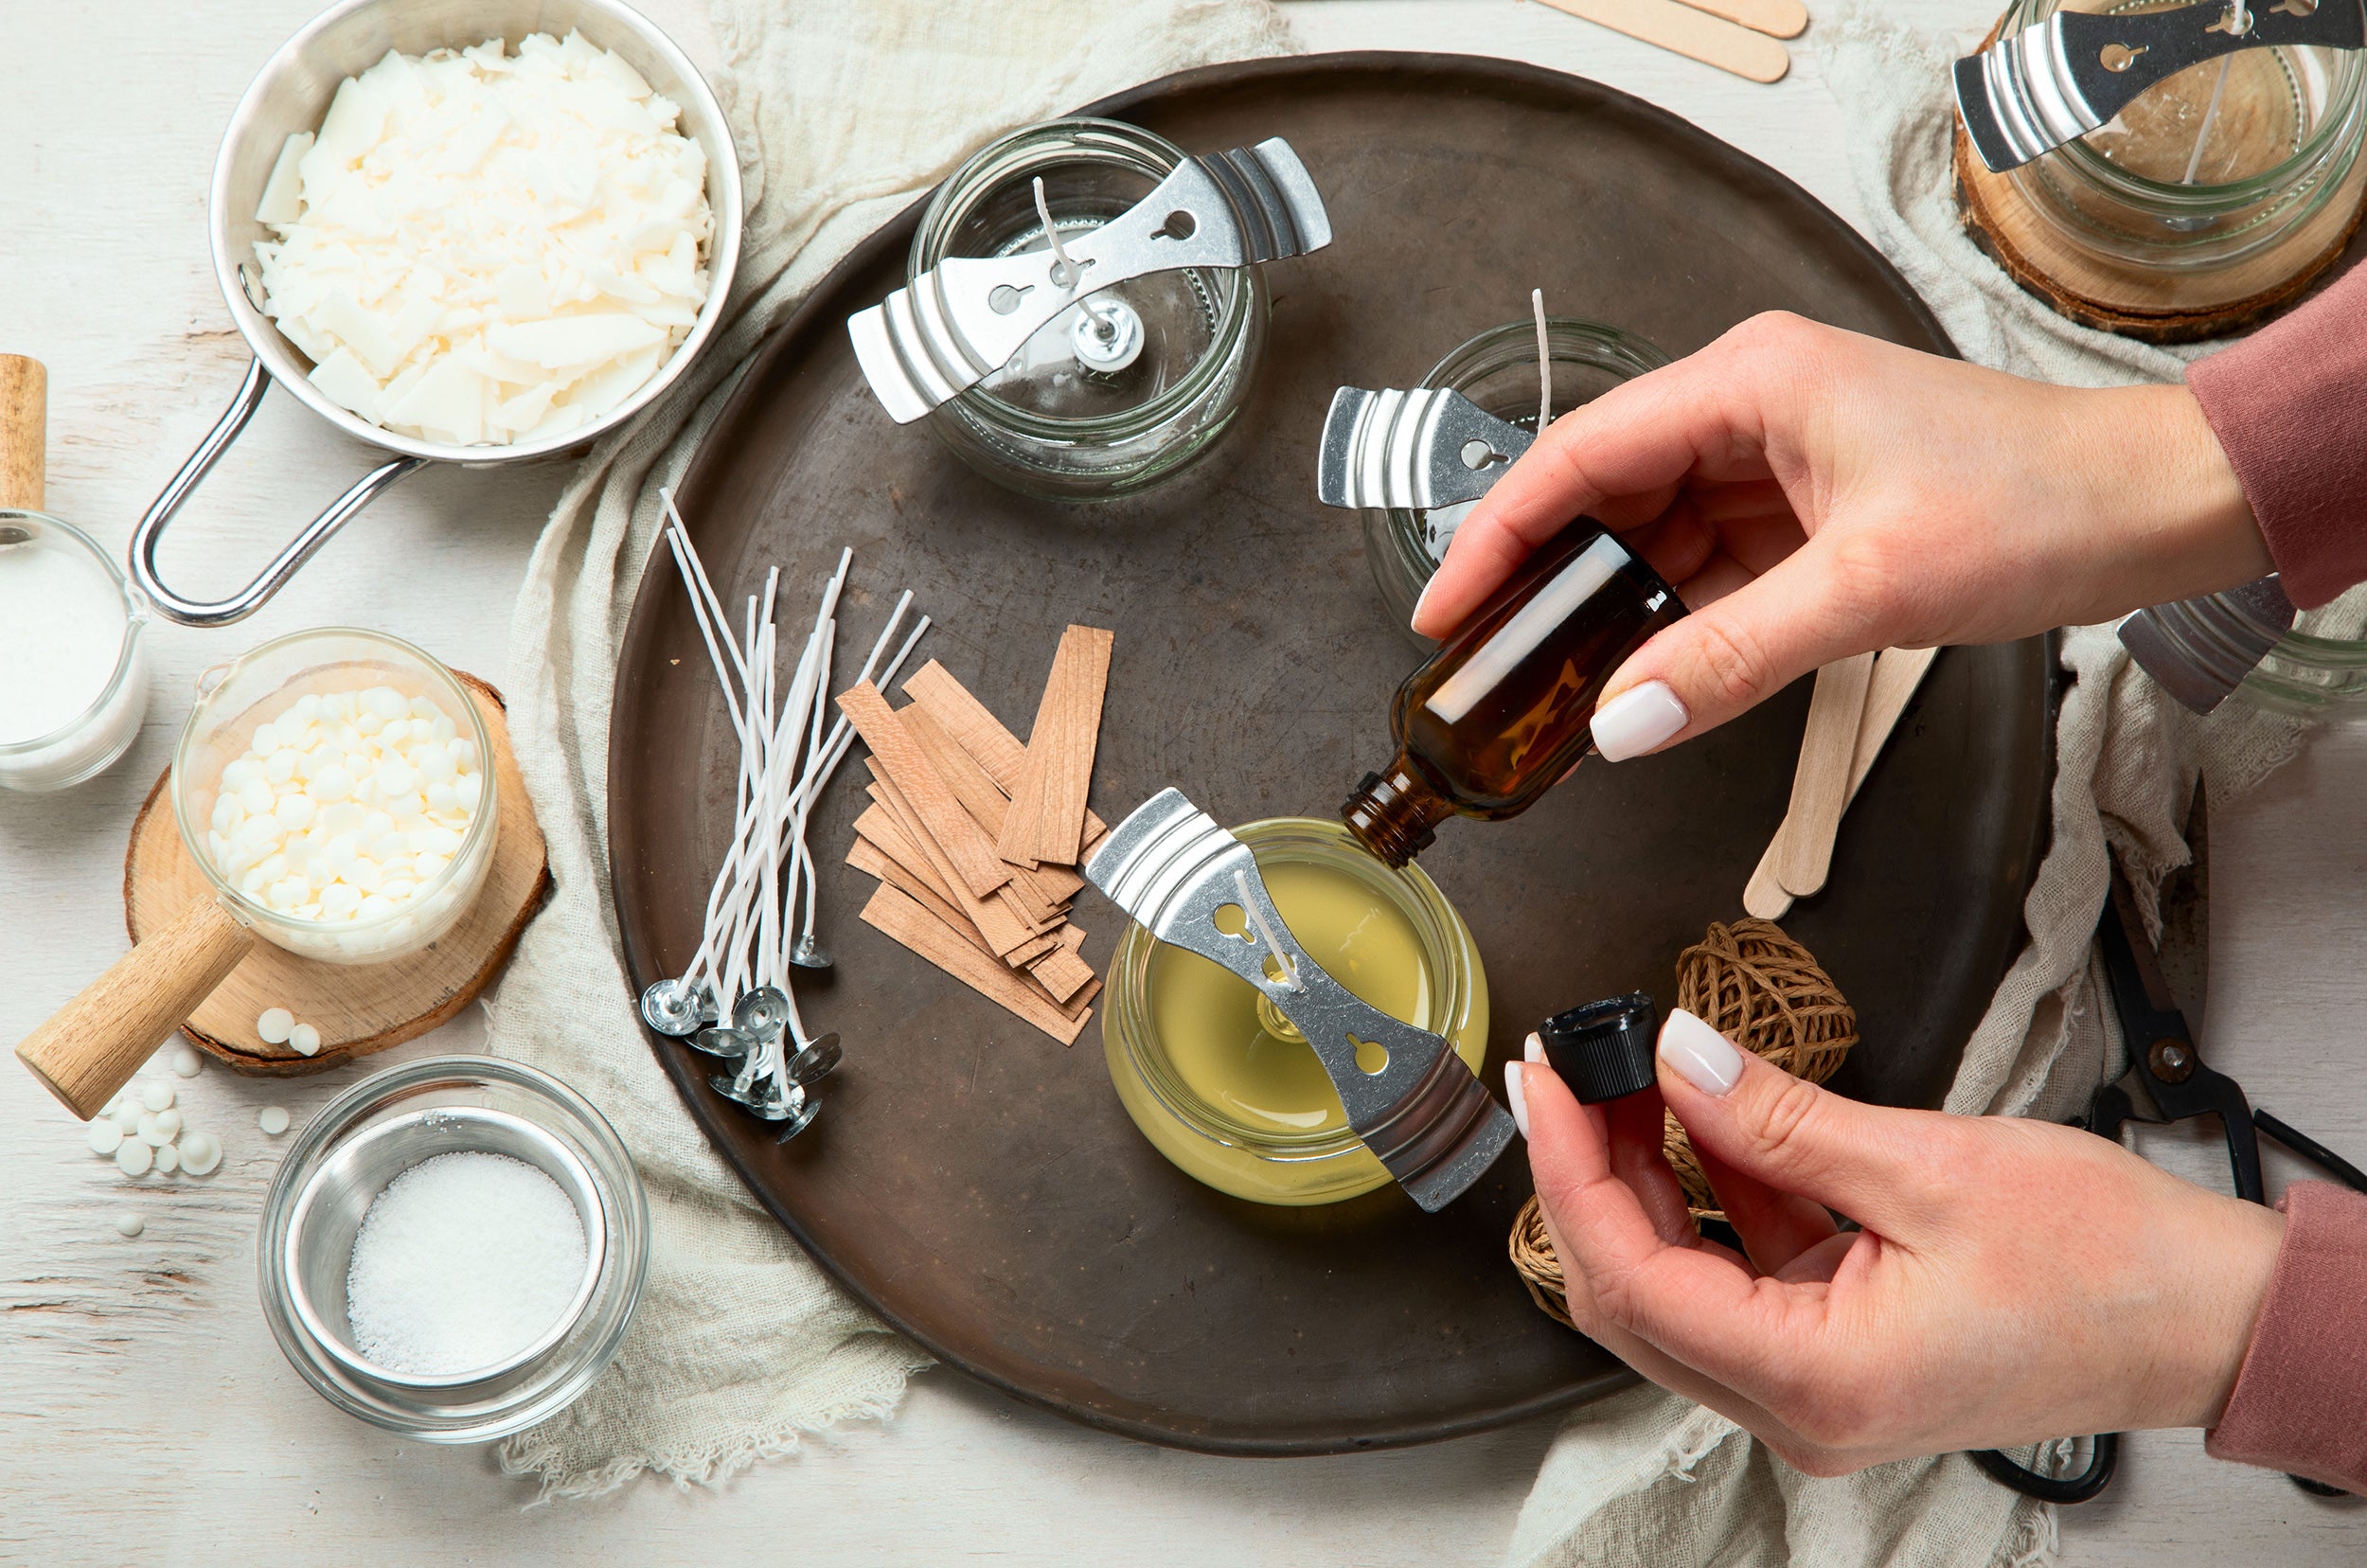
- Prepare you work surface by covering It with newspaper, freezer paper or other protective covering. This will keep wax off your counter and aid in cleanup. You can also use an old cookie sheet to pour your candles on just in case any spills occur. Remember that Candle Wax, Dye and Fragrance can stain surfaces so take extra care in protecting your countertops and surrounding area from spills or splashes in the home.
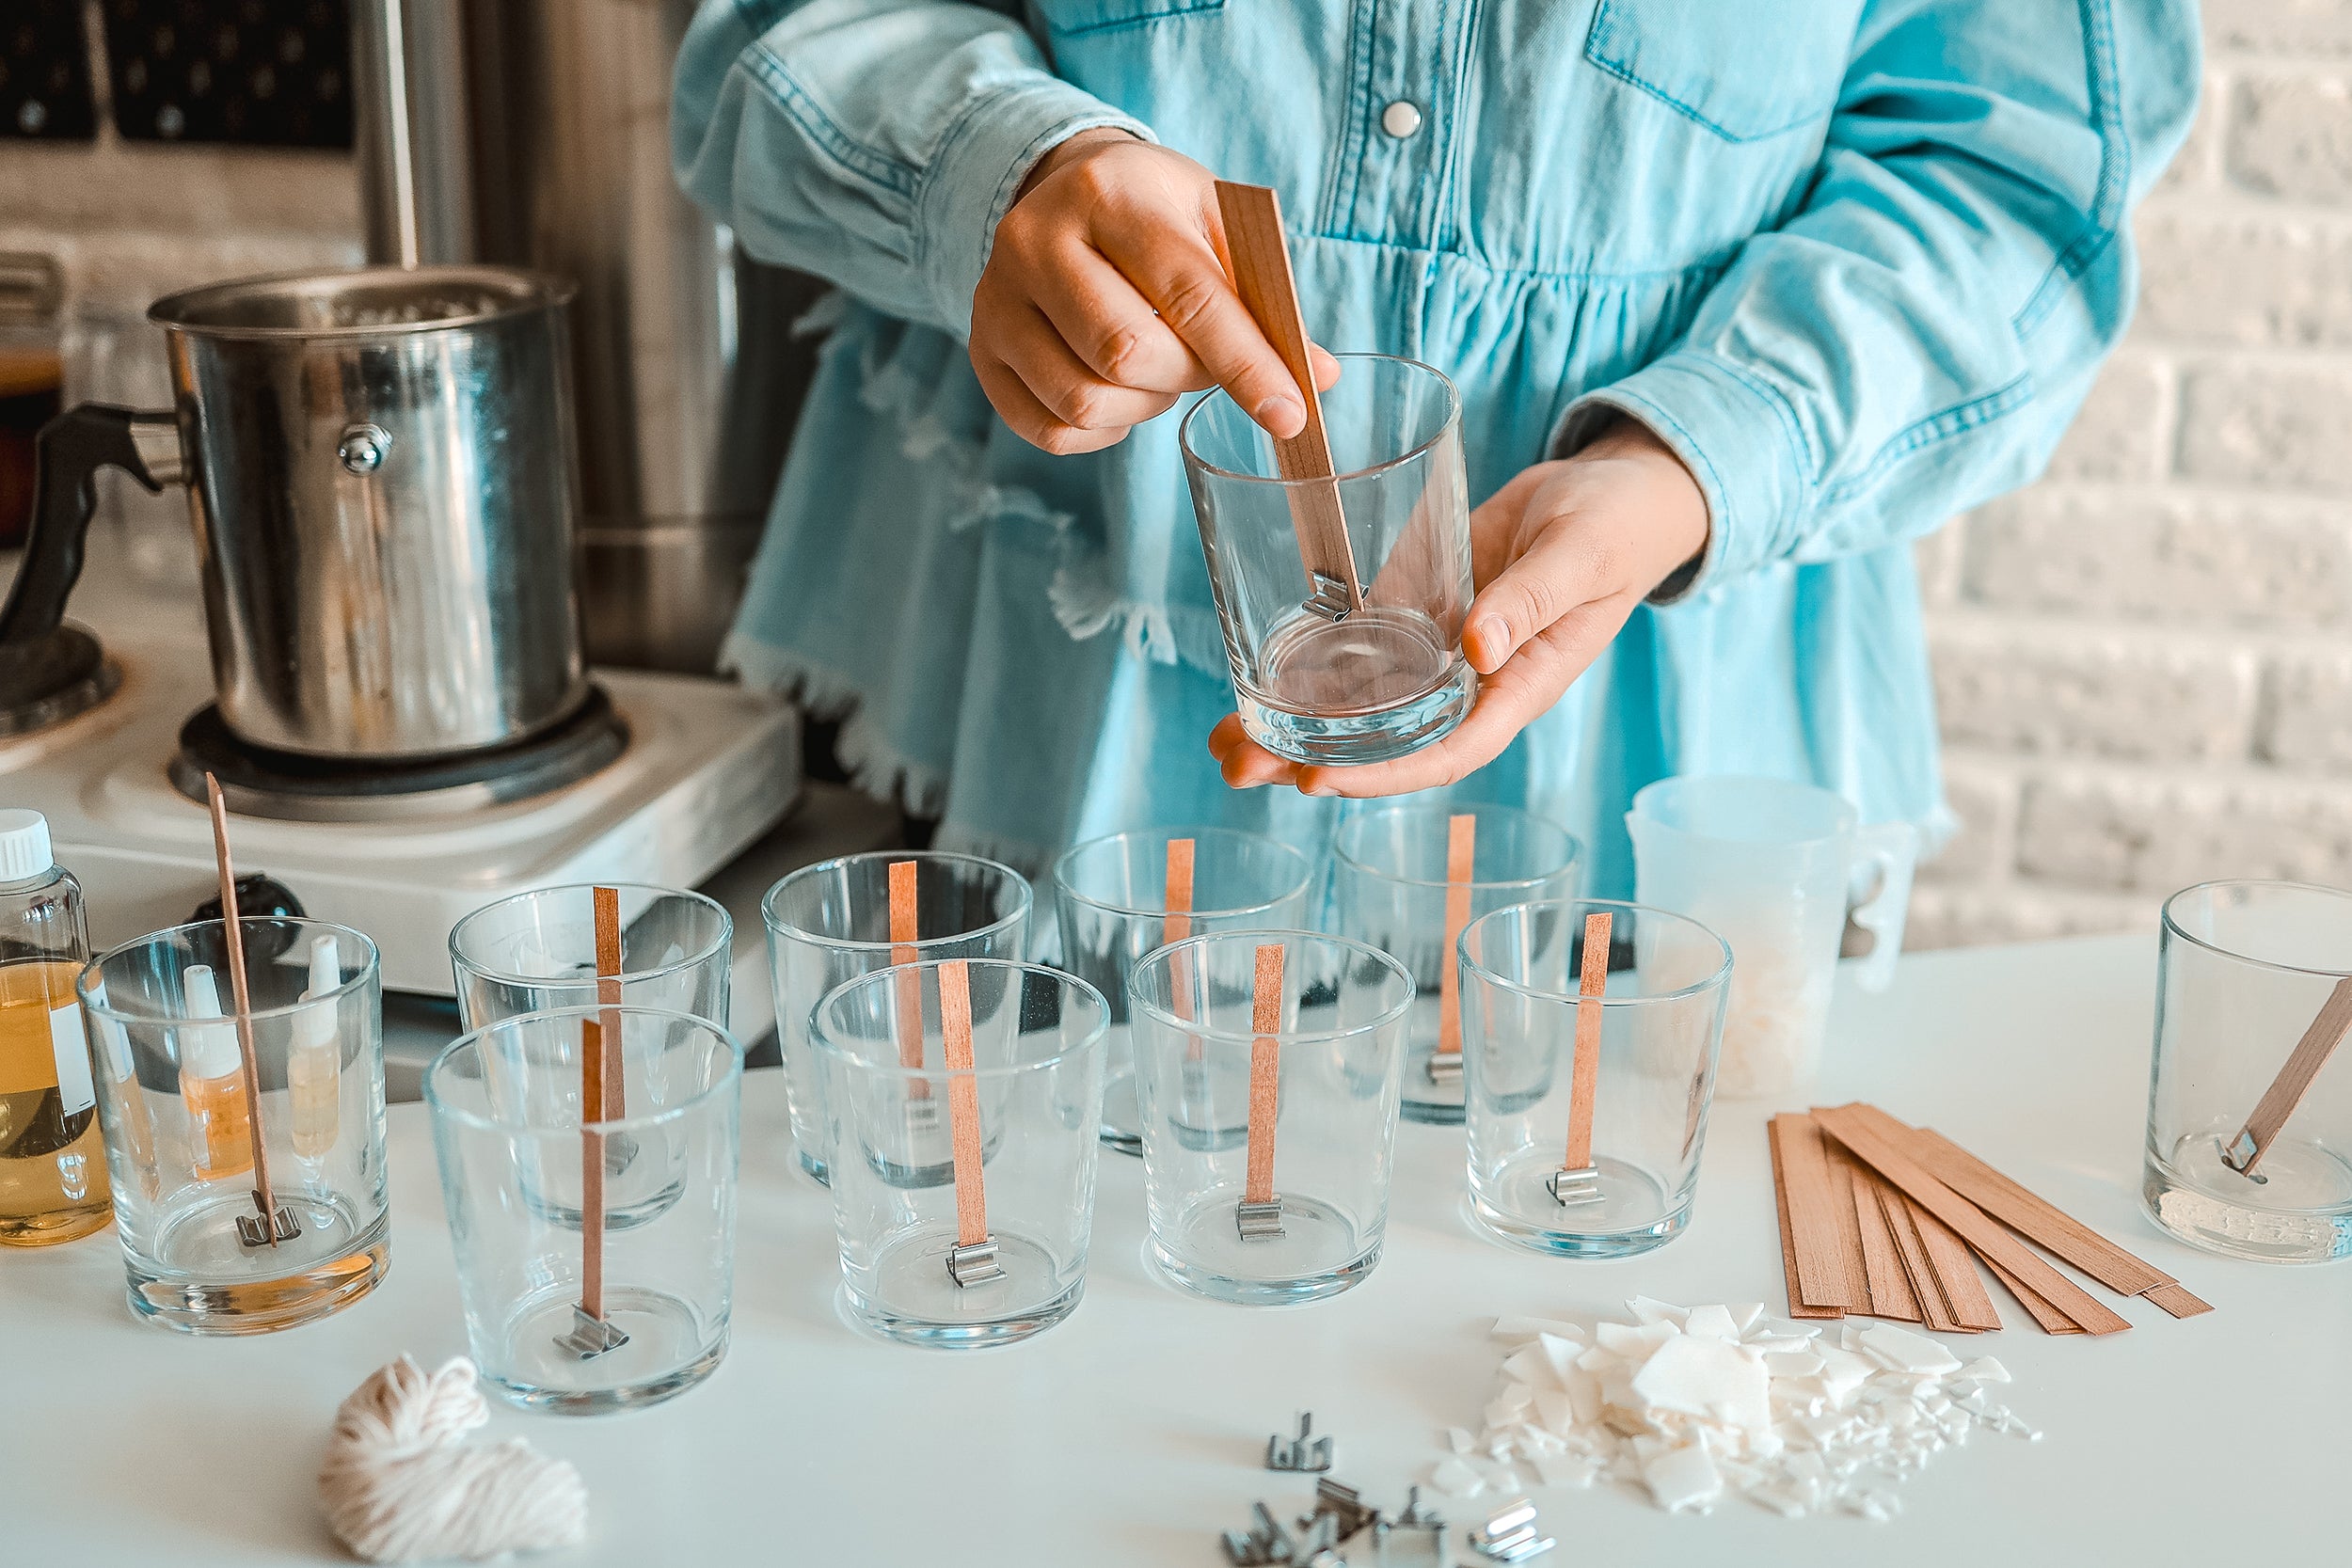
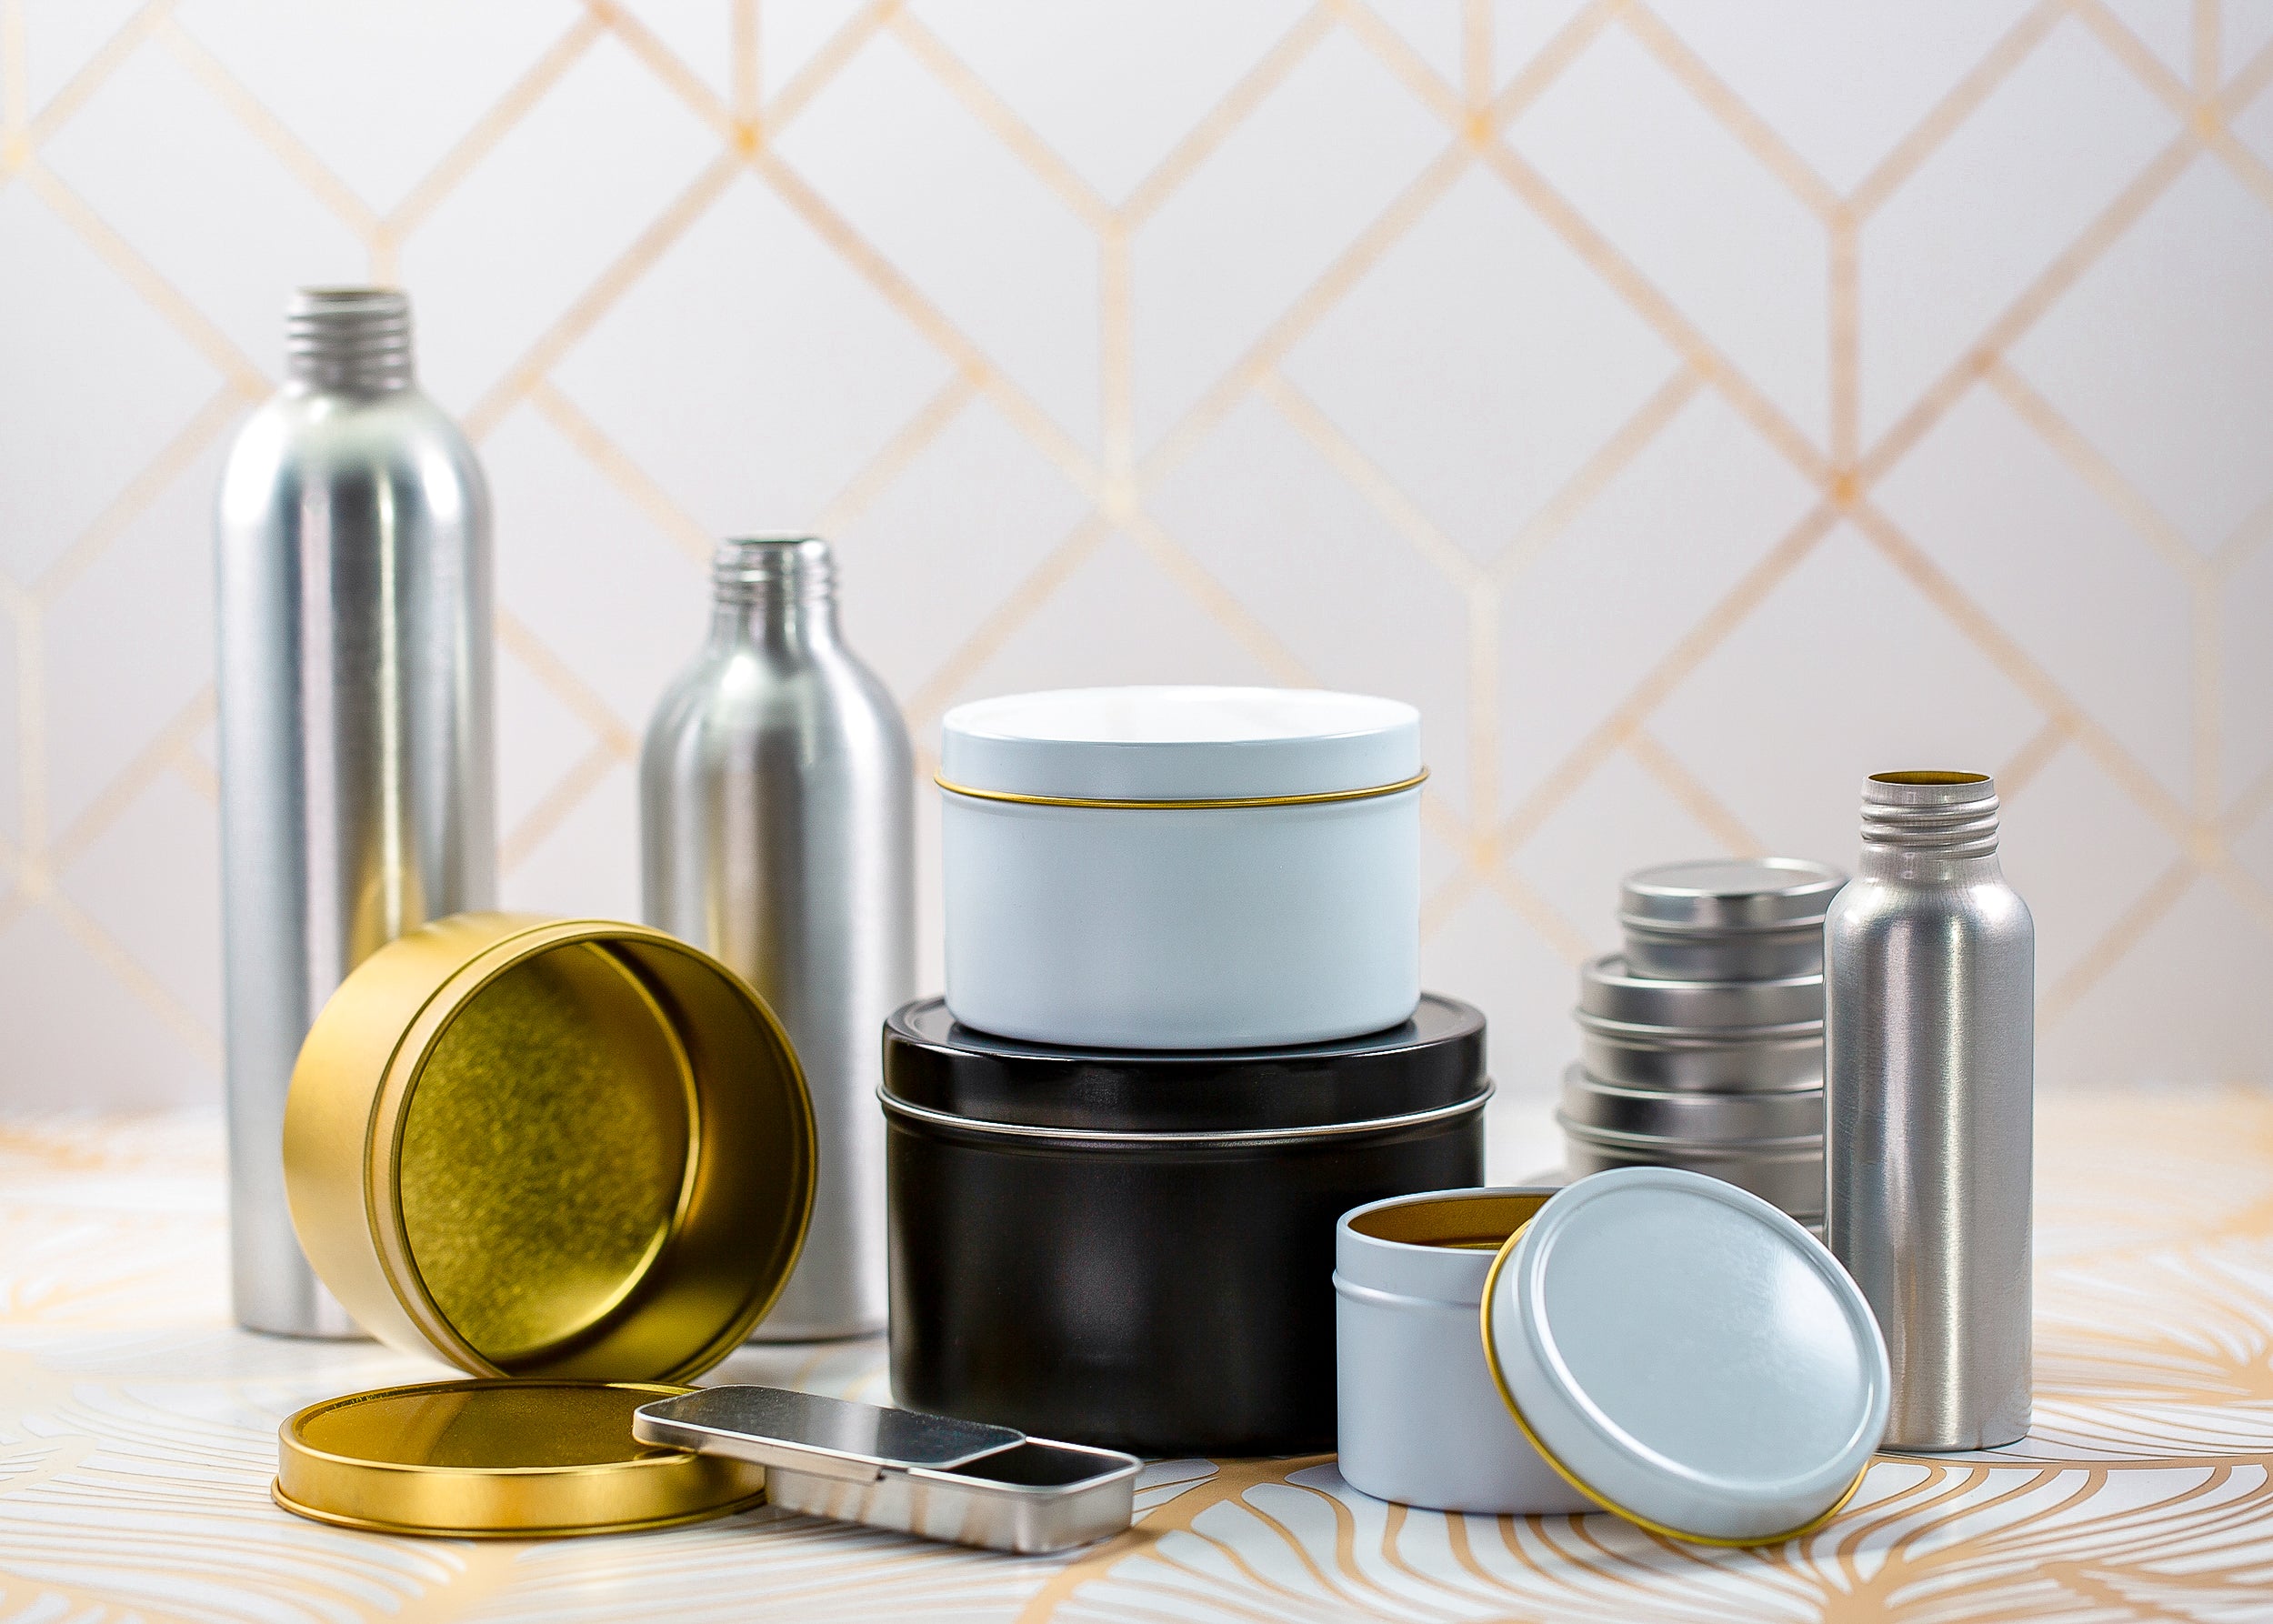
- Prepare your containers and wick. Some candle makers warm their containers in a low temp oven to aid in wax adhesion, but this is not usually necessary provided they are at an ambient room temperature. Space out the containers on your work surface so that you can easily pour without dripping onto your other candle. Spacing candle containers a few inches apart will also allow them to cool more evenly.
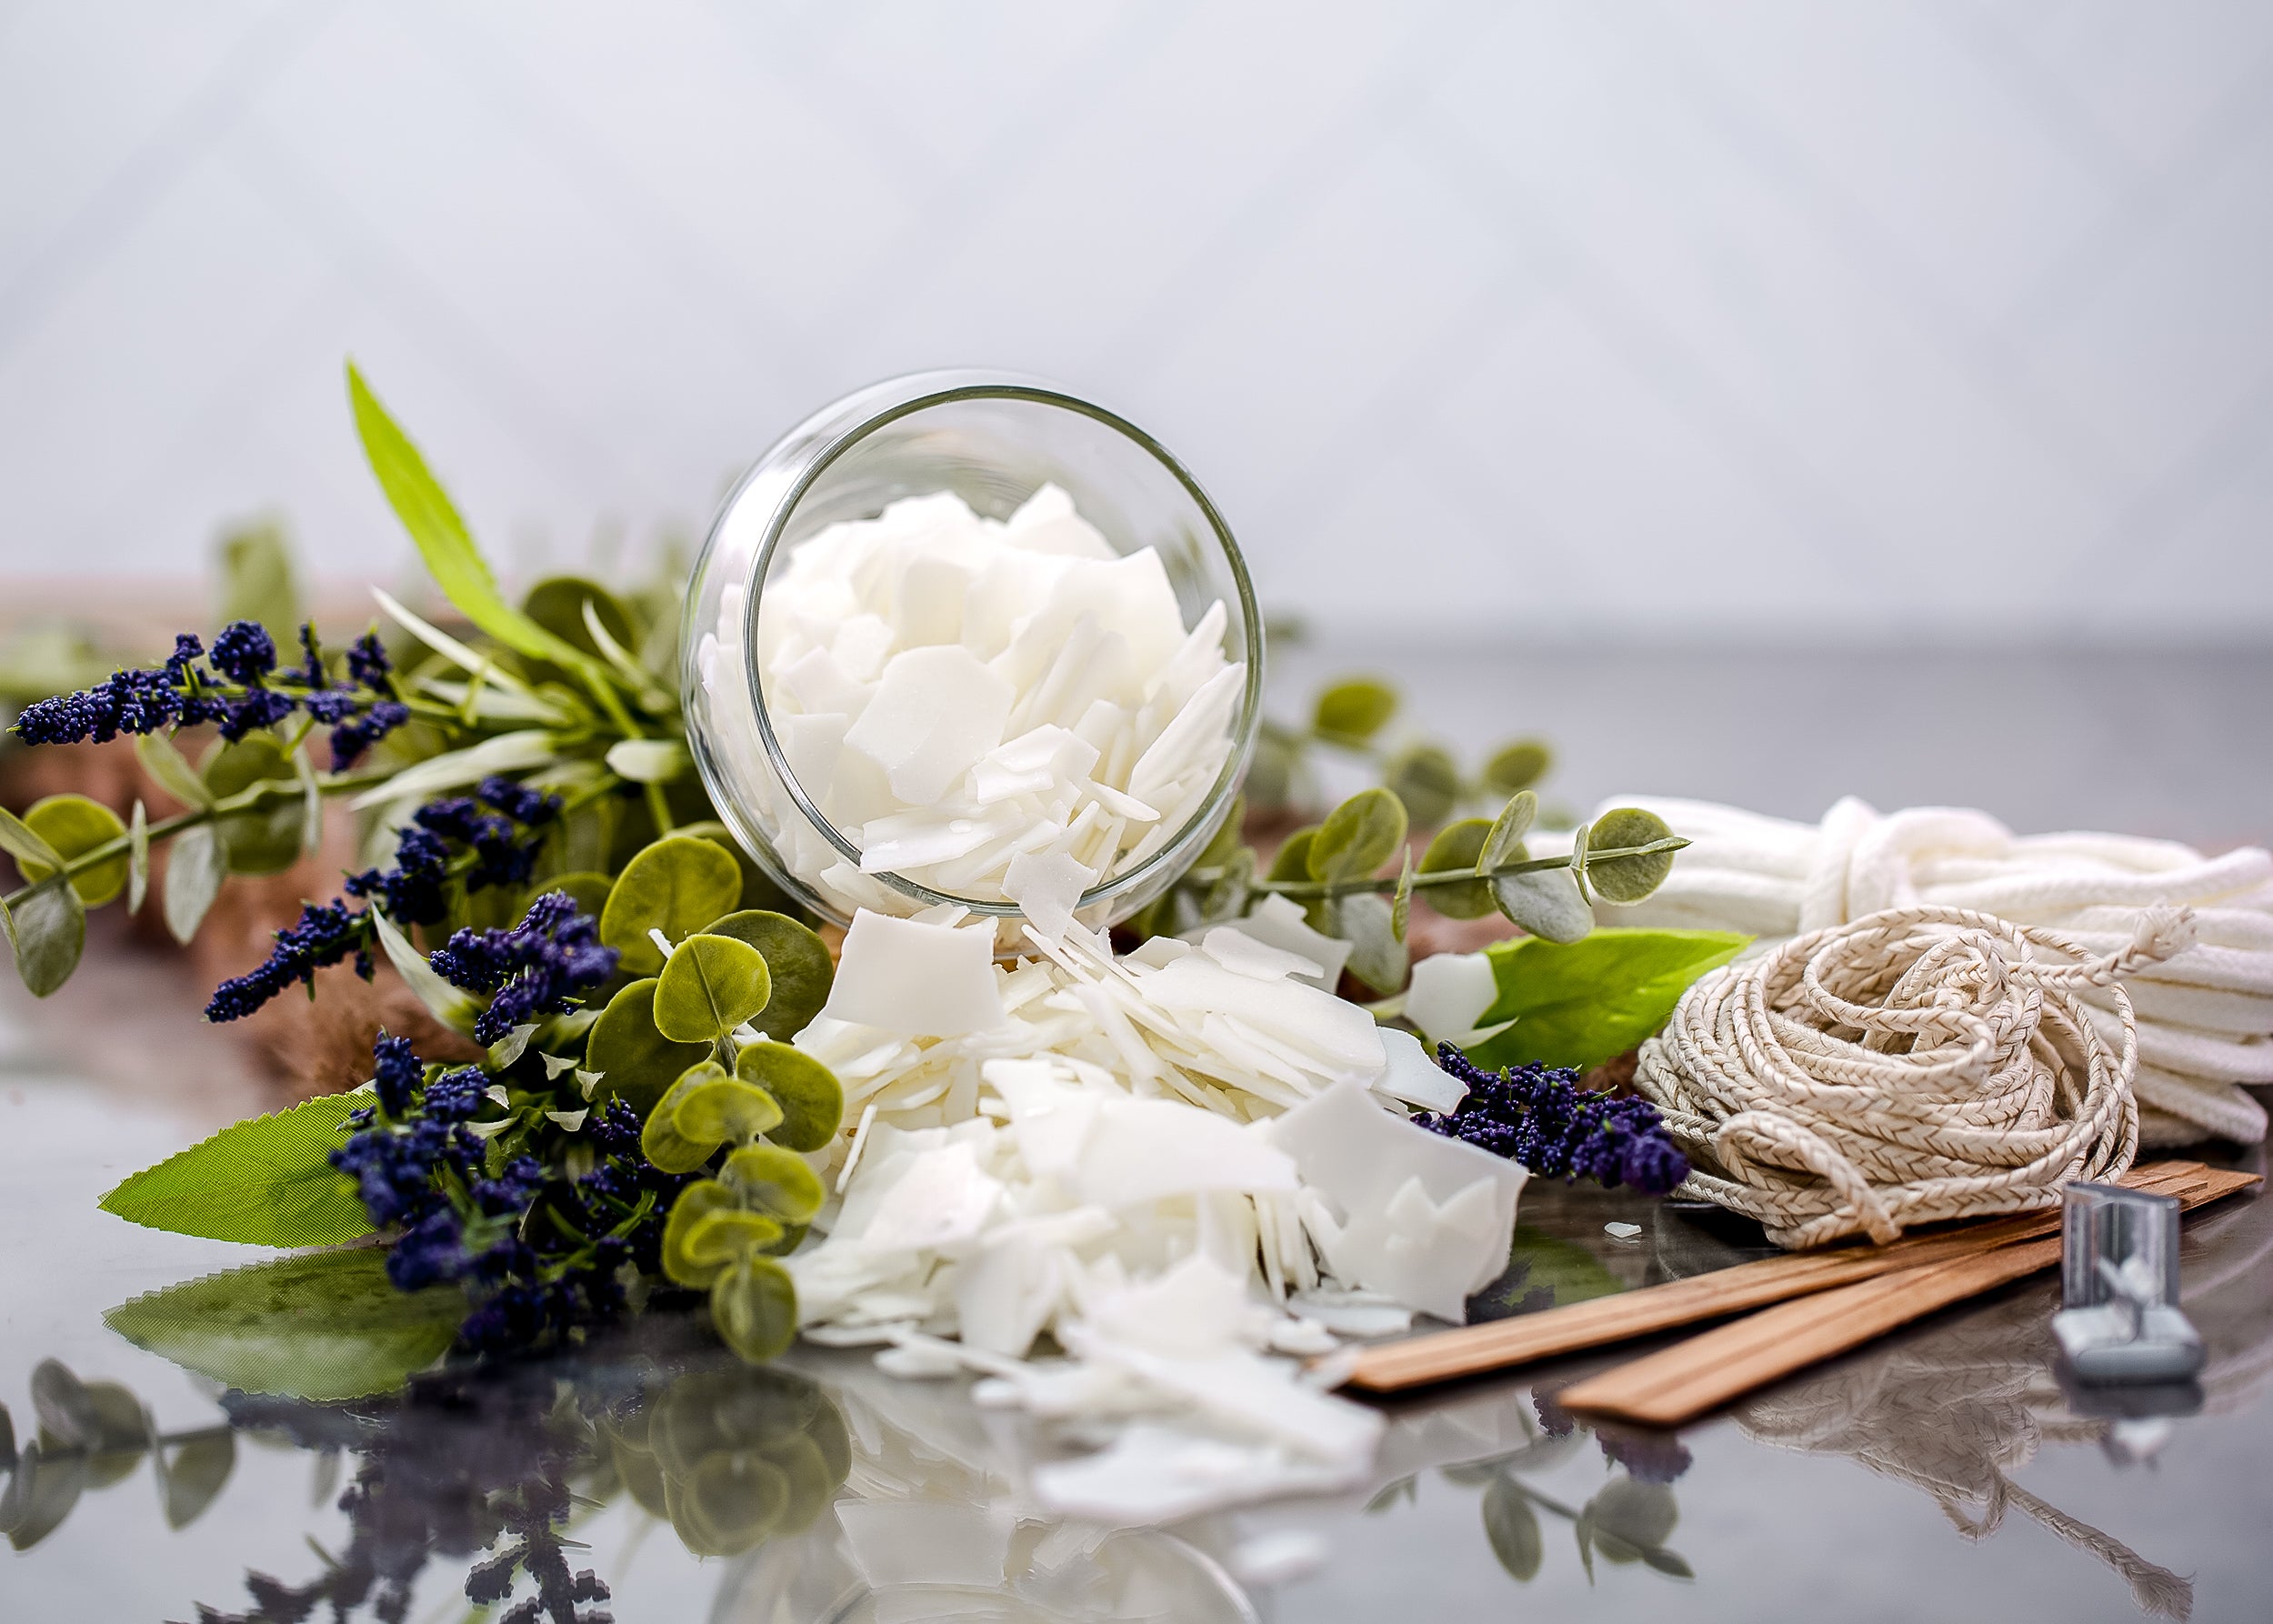
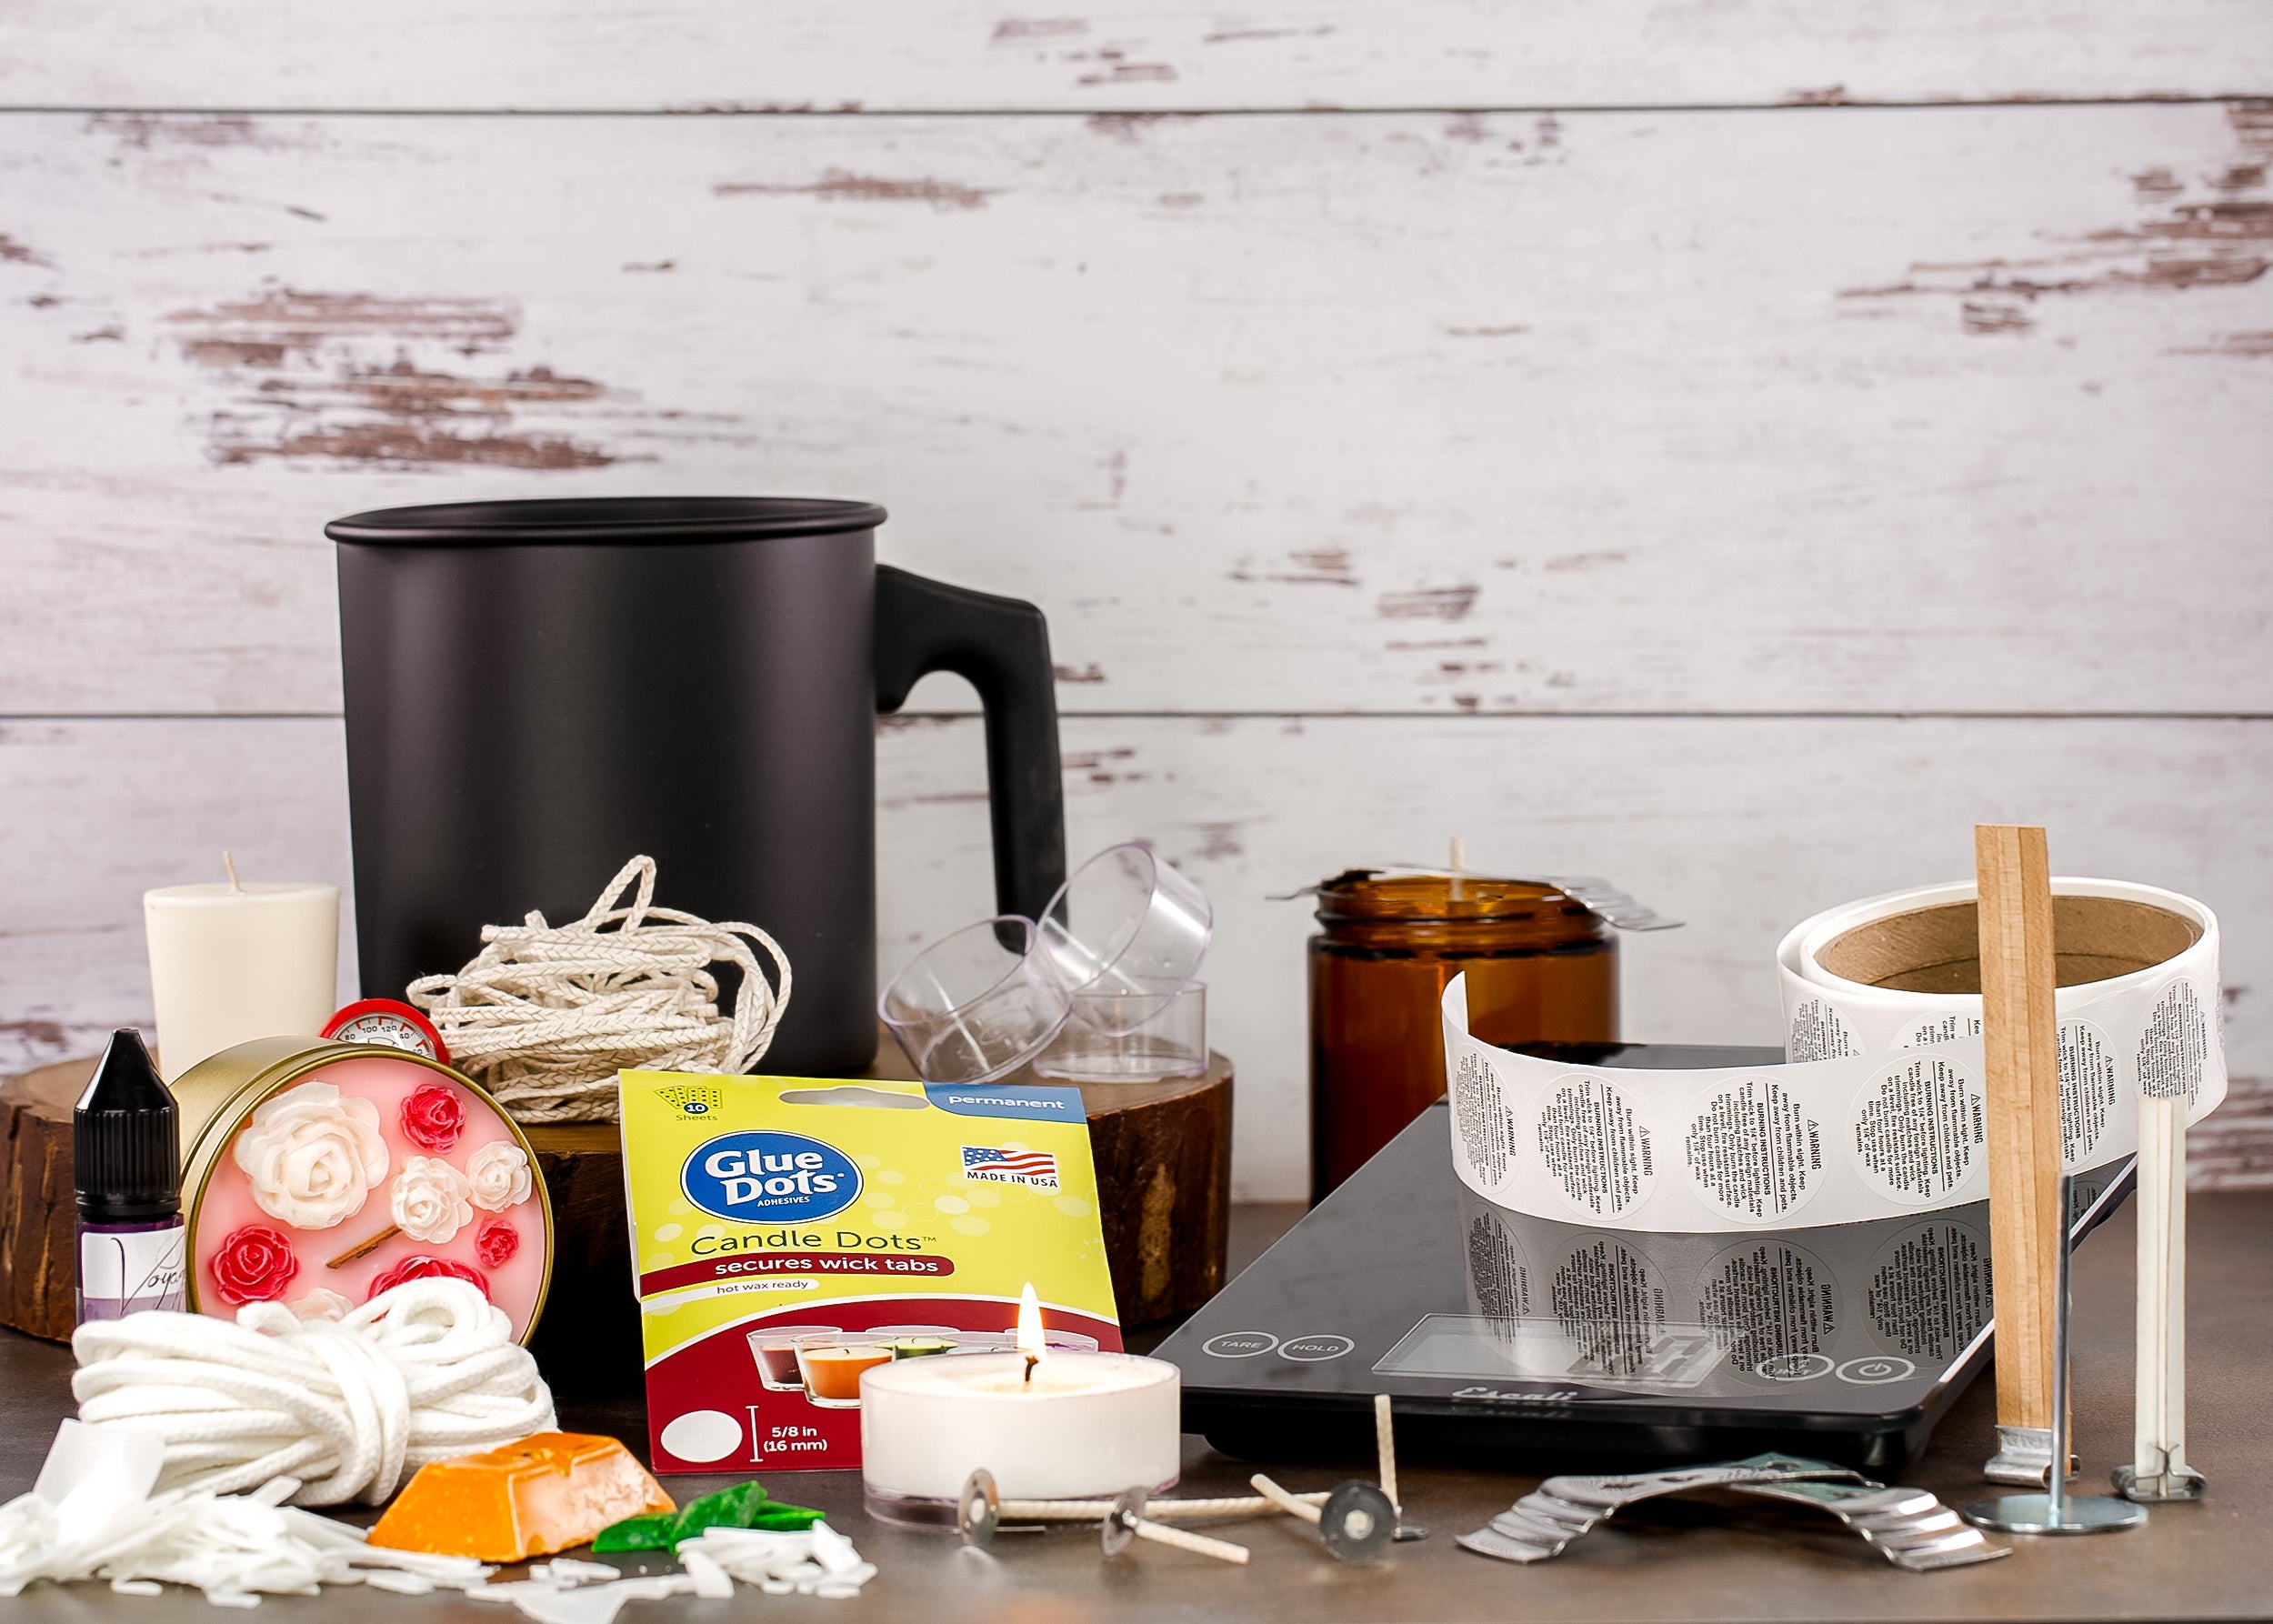
- Using a glue dot attached to the bottom of the metal wick tab, place the prepared wick into the center of the container and press firmly to attach. Use a wick bar to center the wick at the top of the container. You can trim off any excess length of wick that goes above the bar at this time if you choose or leave it until your candle has fully hardened before trimming. If your candle vessel diameter is larger than what the wick bar will work with, use a couple of pencils or chopsticks on either side of your wick to help hold it centred while your candle is cooling.
- Prepare your wax by putting the desired amount and type of wax in your pouring pot. Melt the wax in the pot by placing it in a second saucepan filled half-way with water so it creates a double boiler method. Heat over medium heat, taking the temperature and stirring occasionally to ensure even heating until the wax melts and reaches the recommended melting temperature of 185°F / 85°C
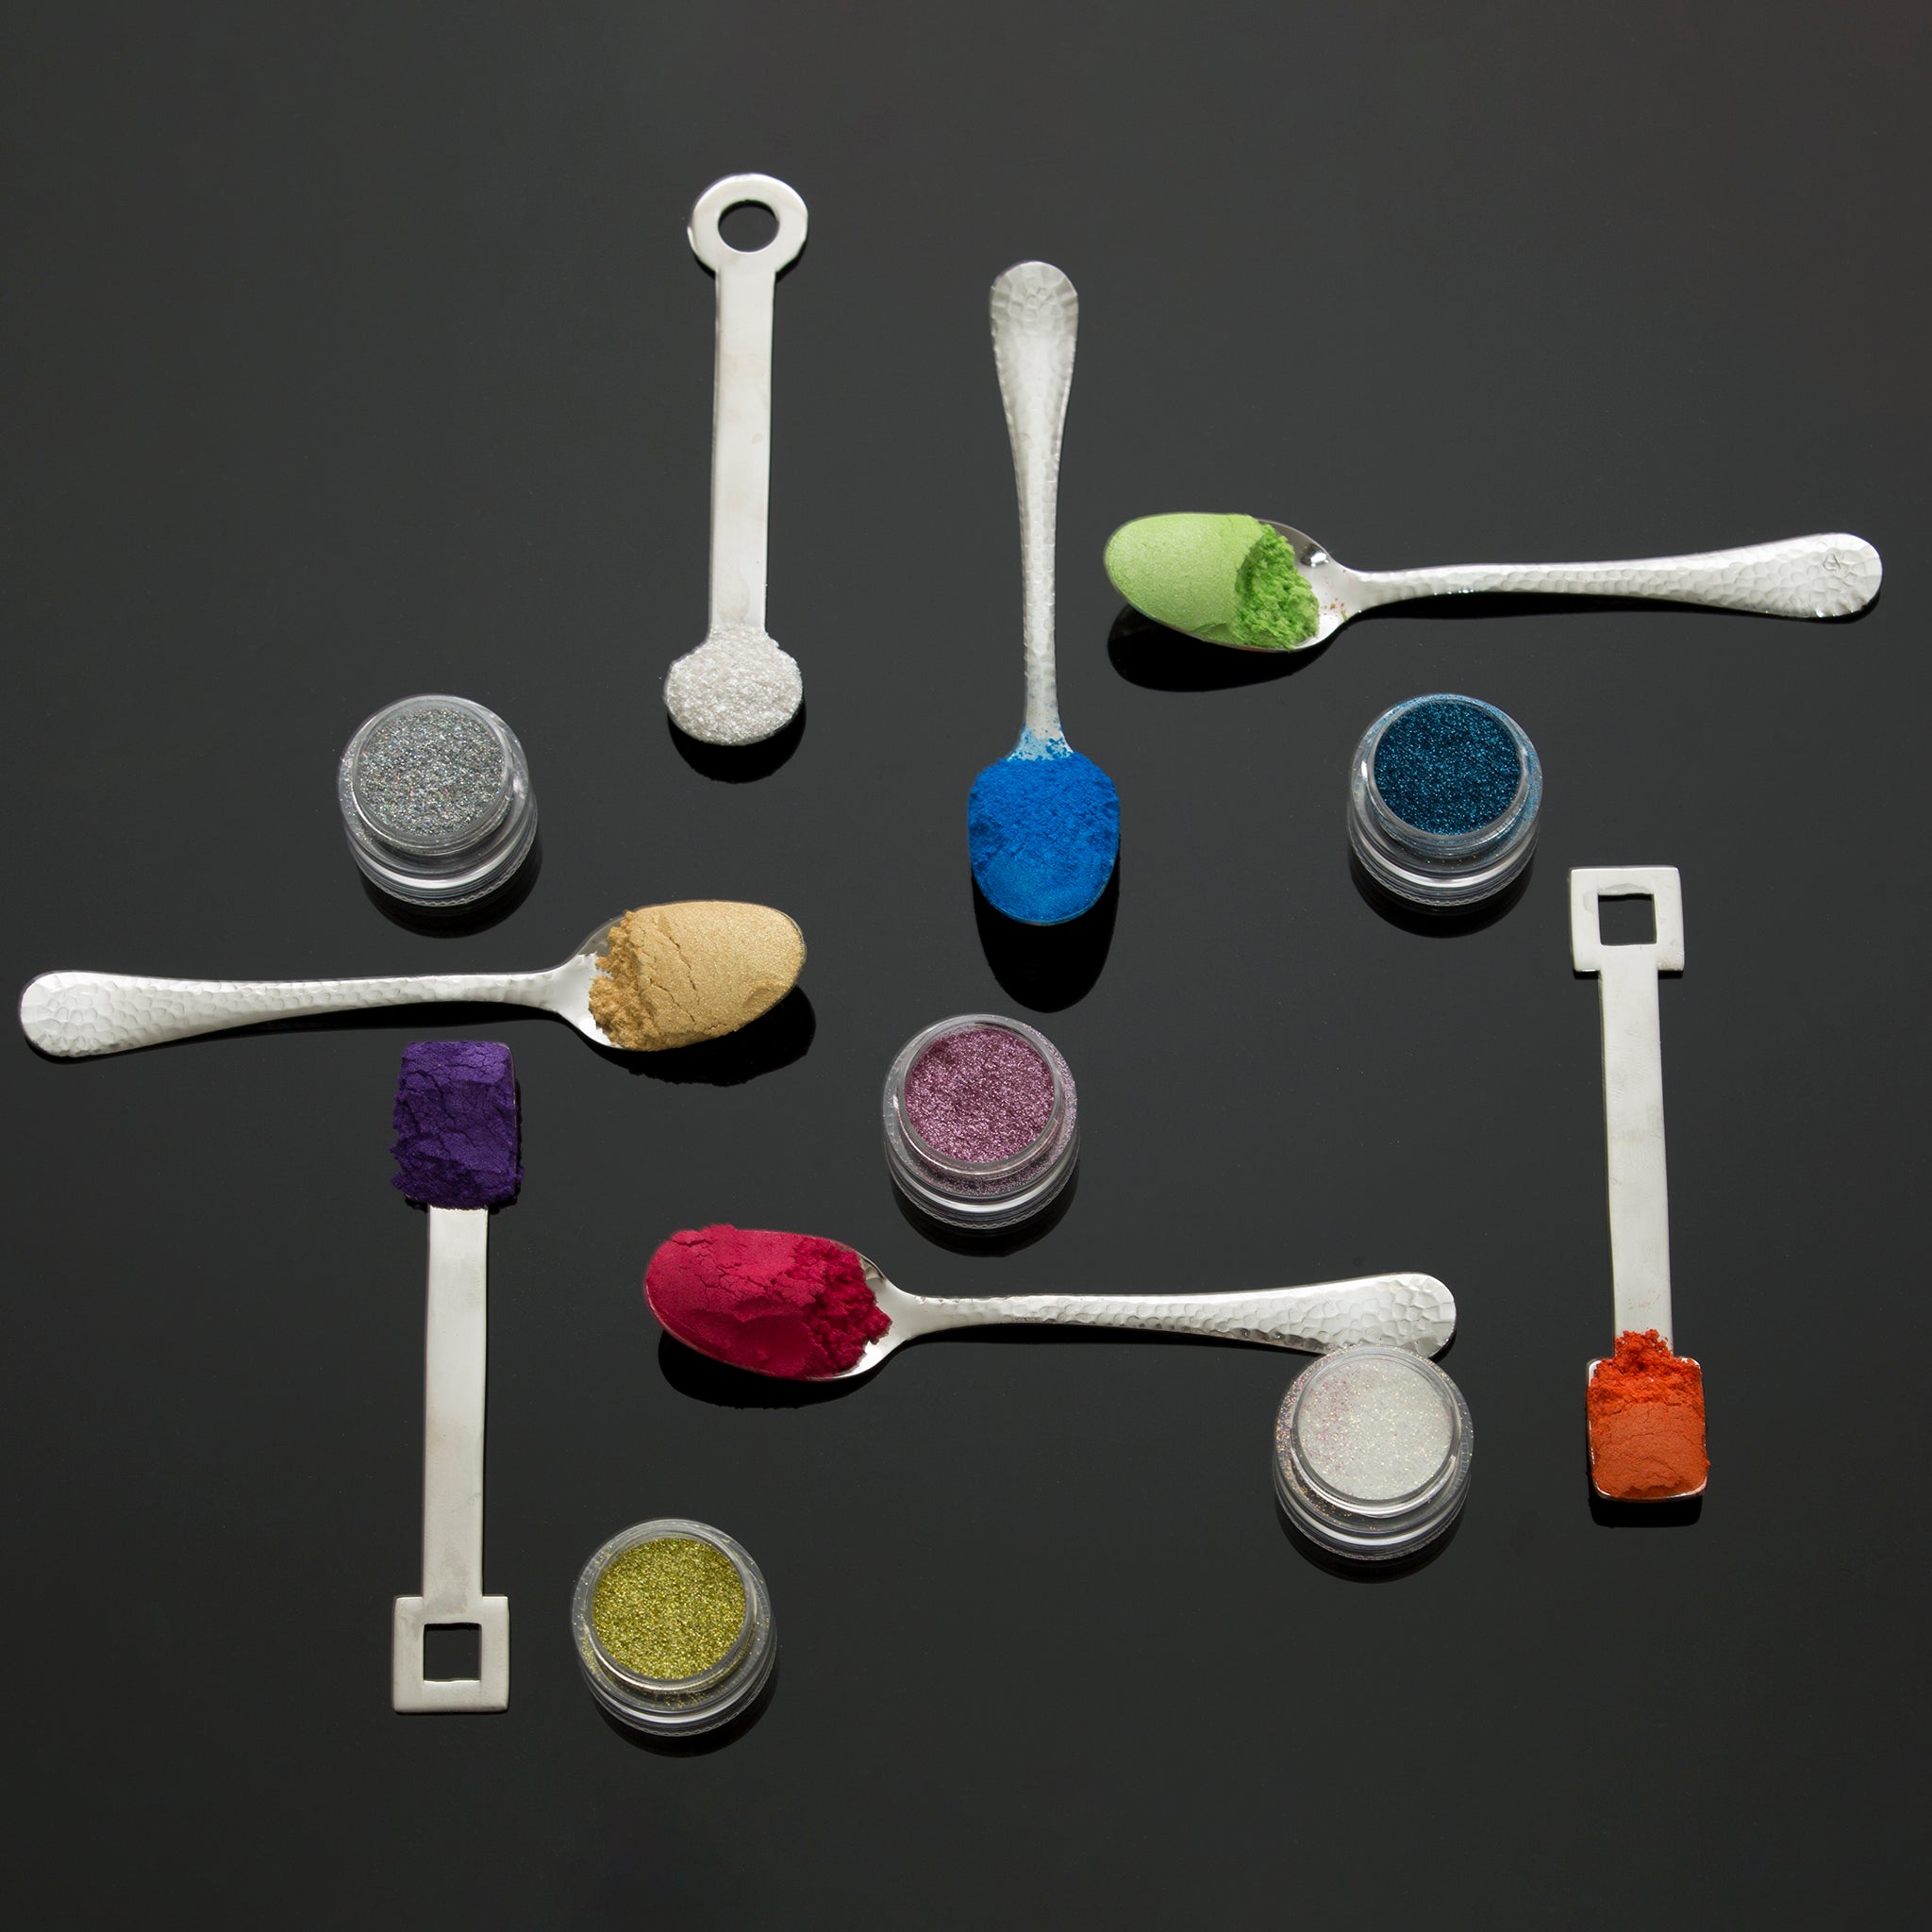
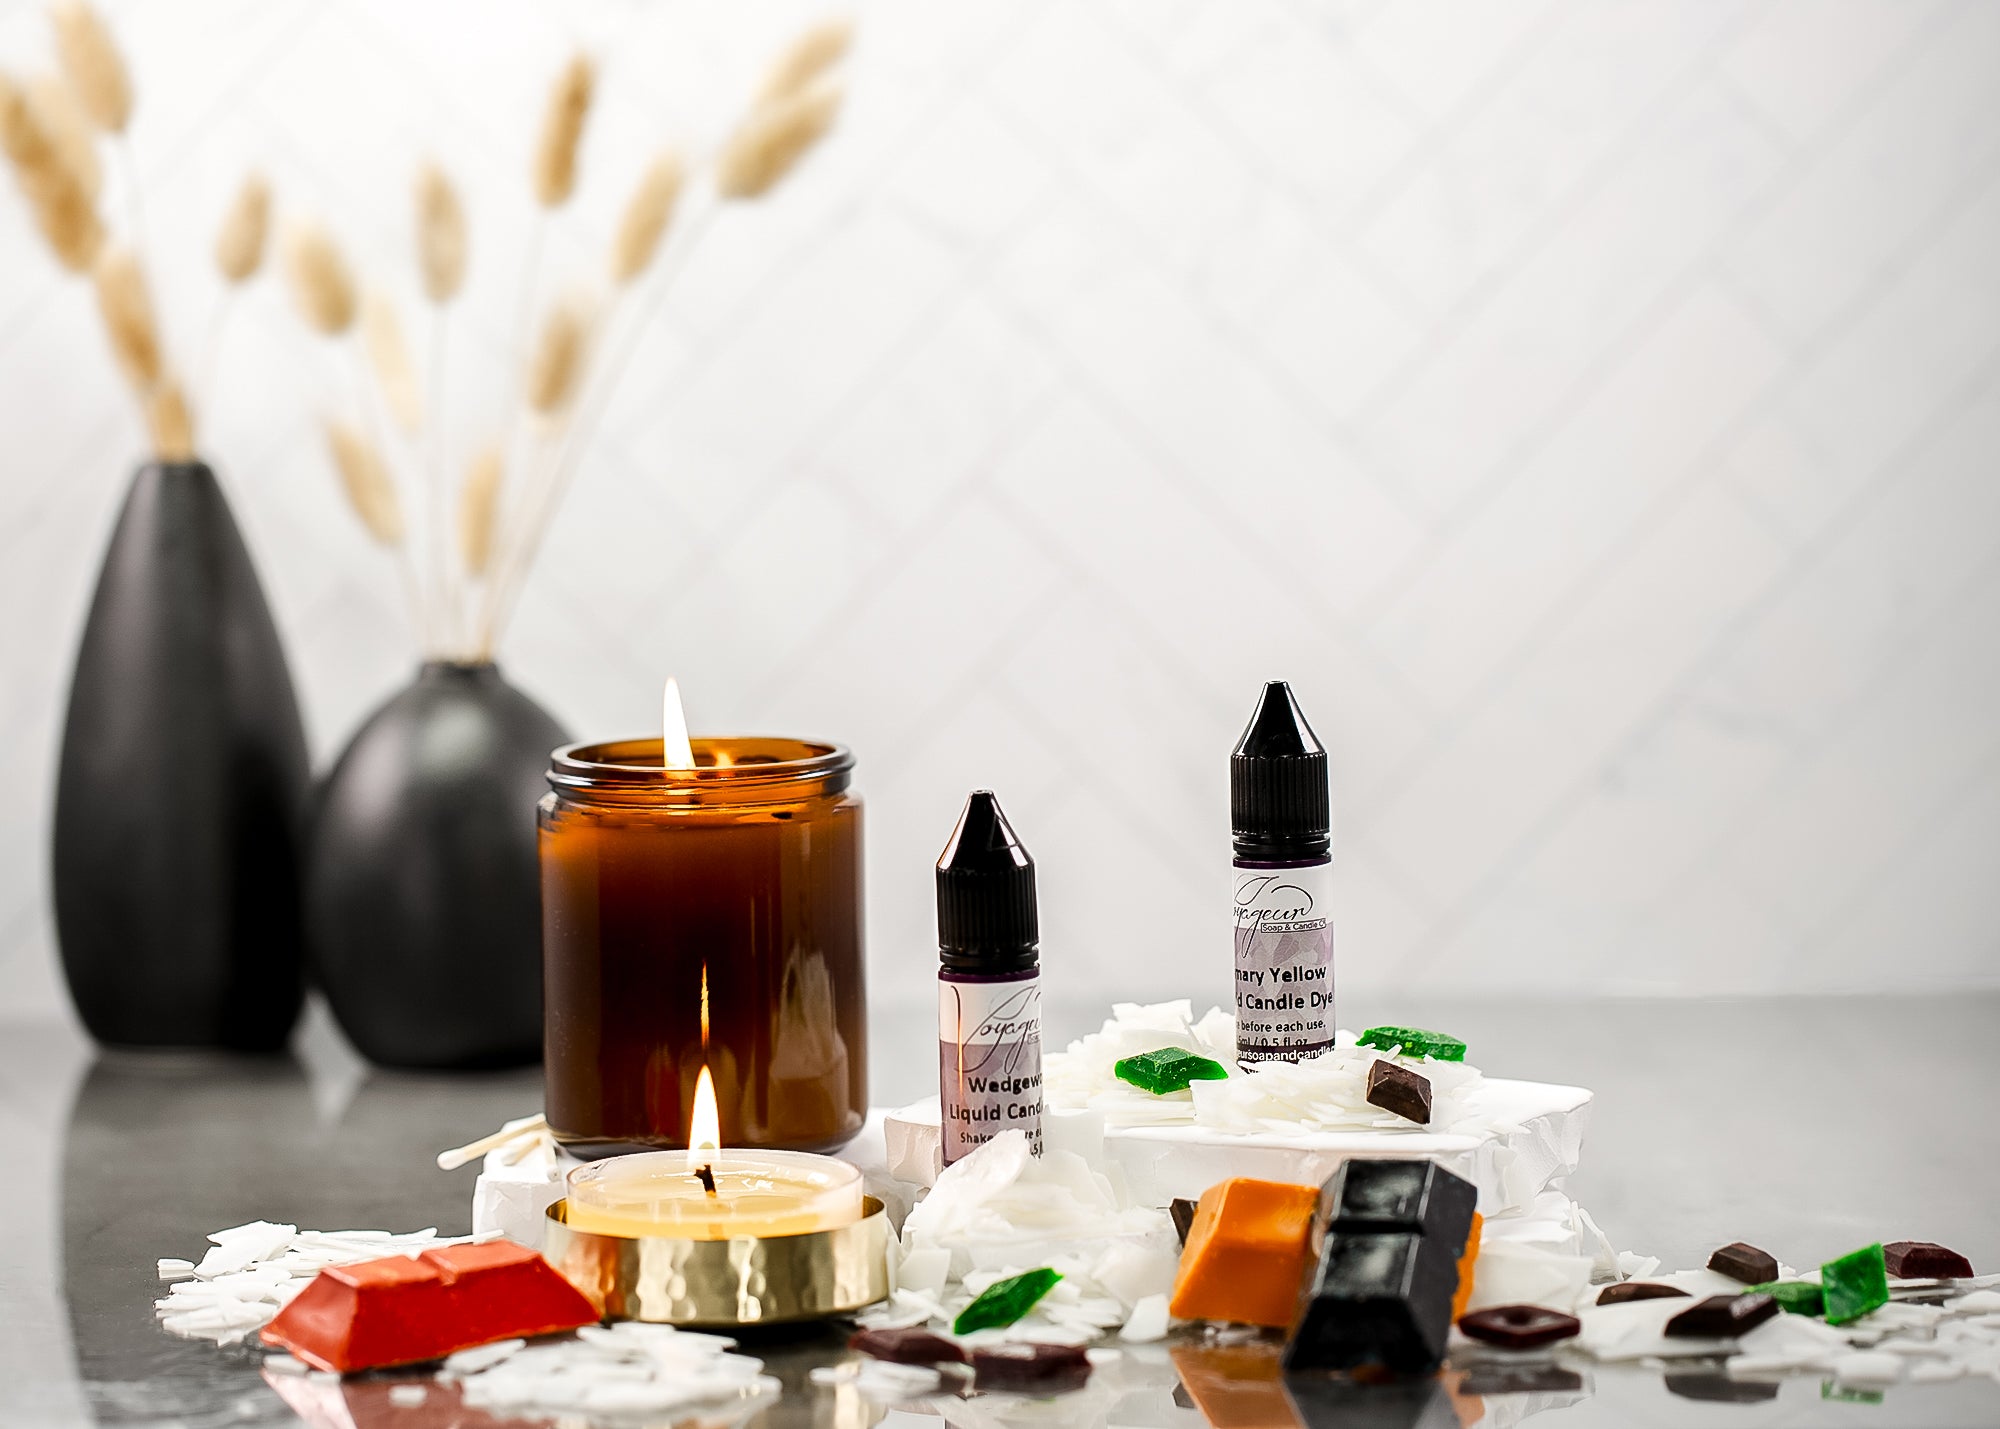
- When wax has reached this temperature, remove from heat, and add any desired dye and fragrance, stirring well for a couple minutes to blend evenly and ensure the additives are binding with the wax. Wax will always look darker when in a liquid state vs when it is in its solid opaque form. If you are wanting to test your end colour, put a small amount of liquid wax onto a spoon and place in the freezer to quickly harden. Add more dye, if necessary, until desired colour is reached.
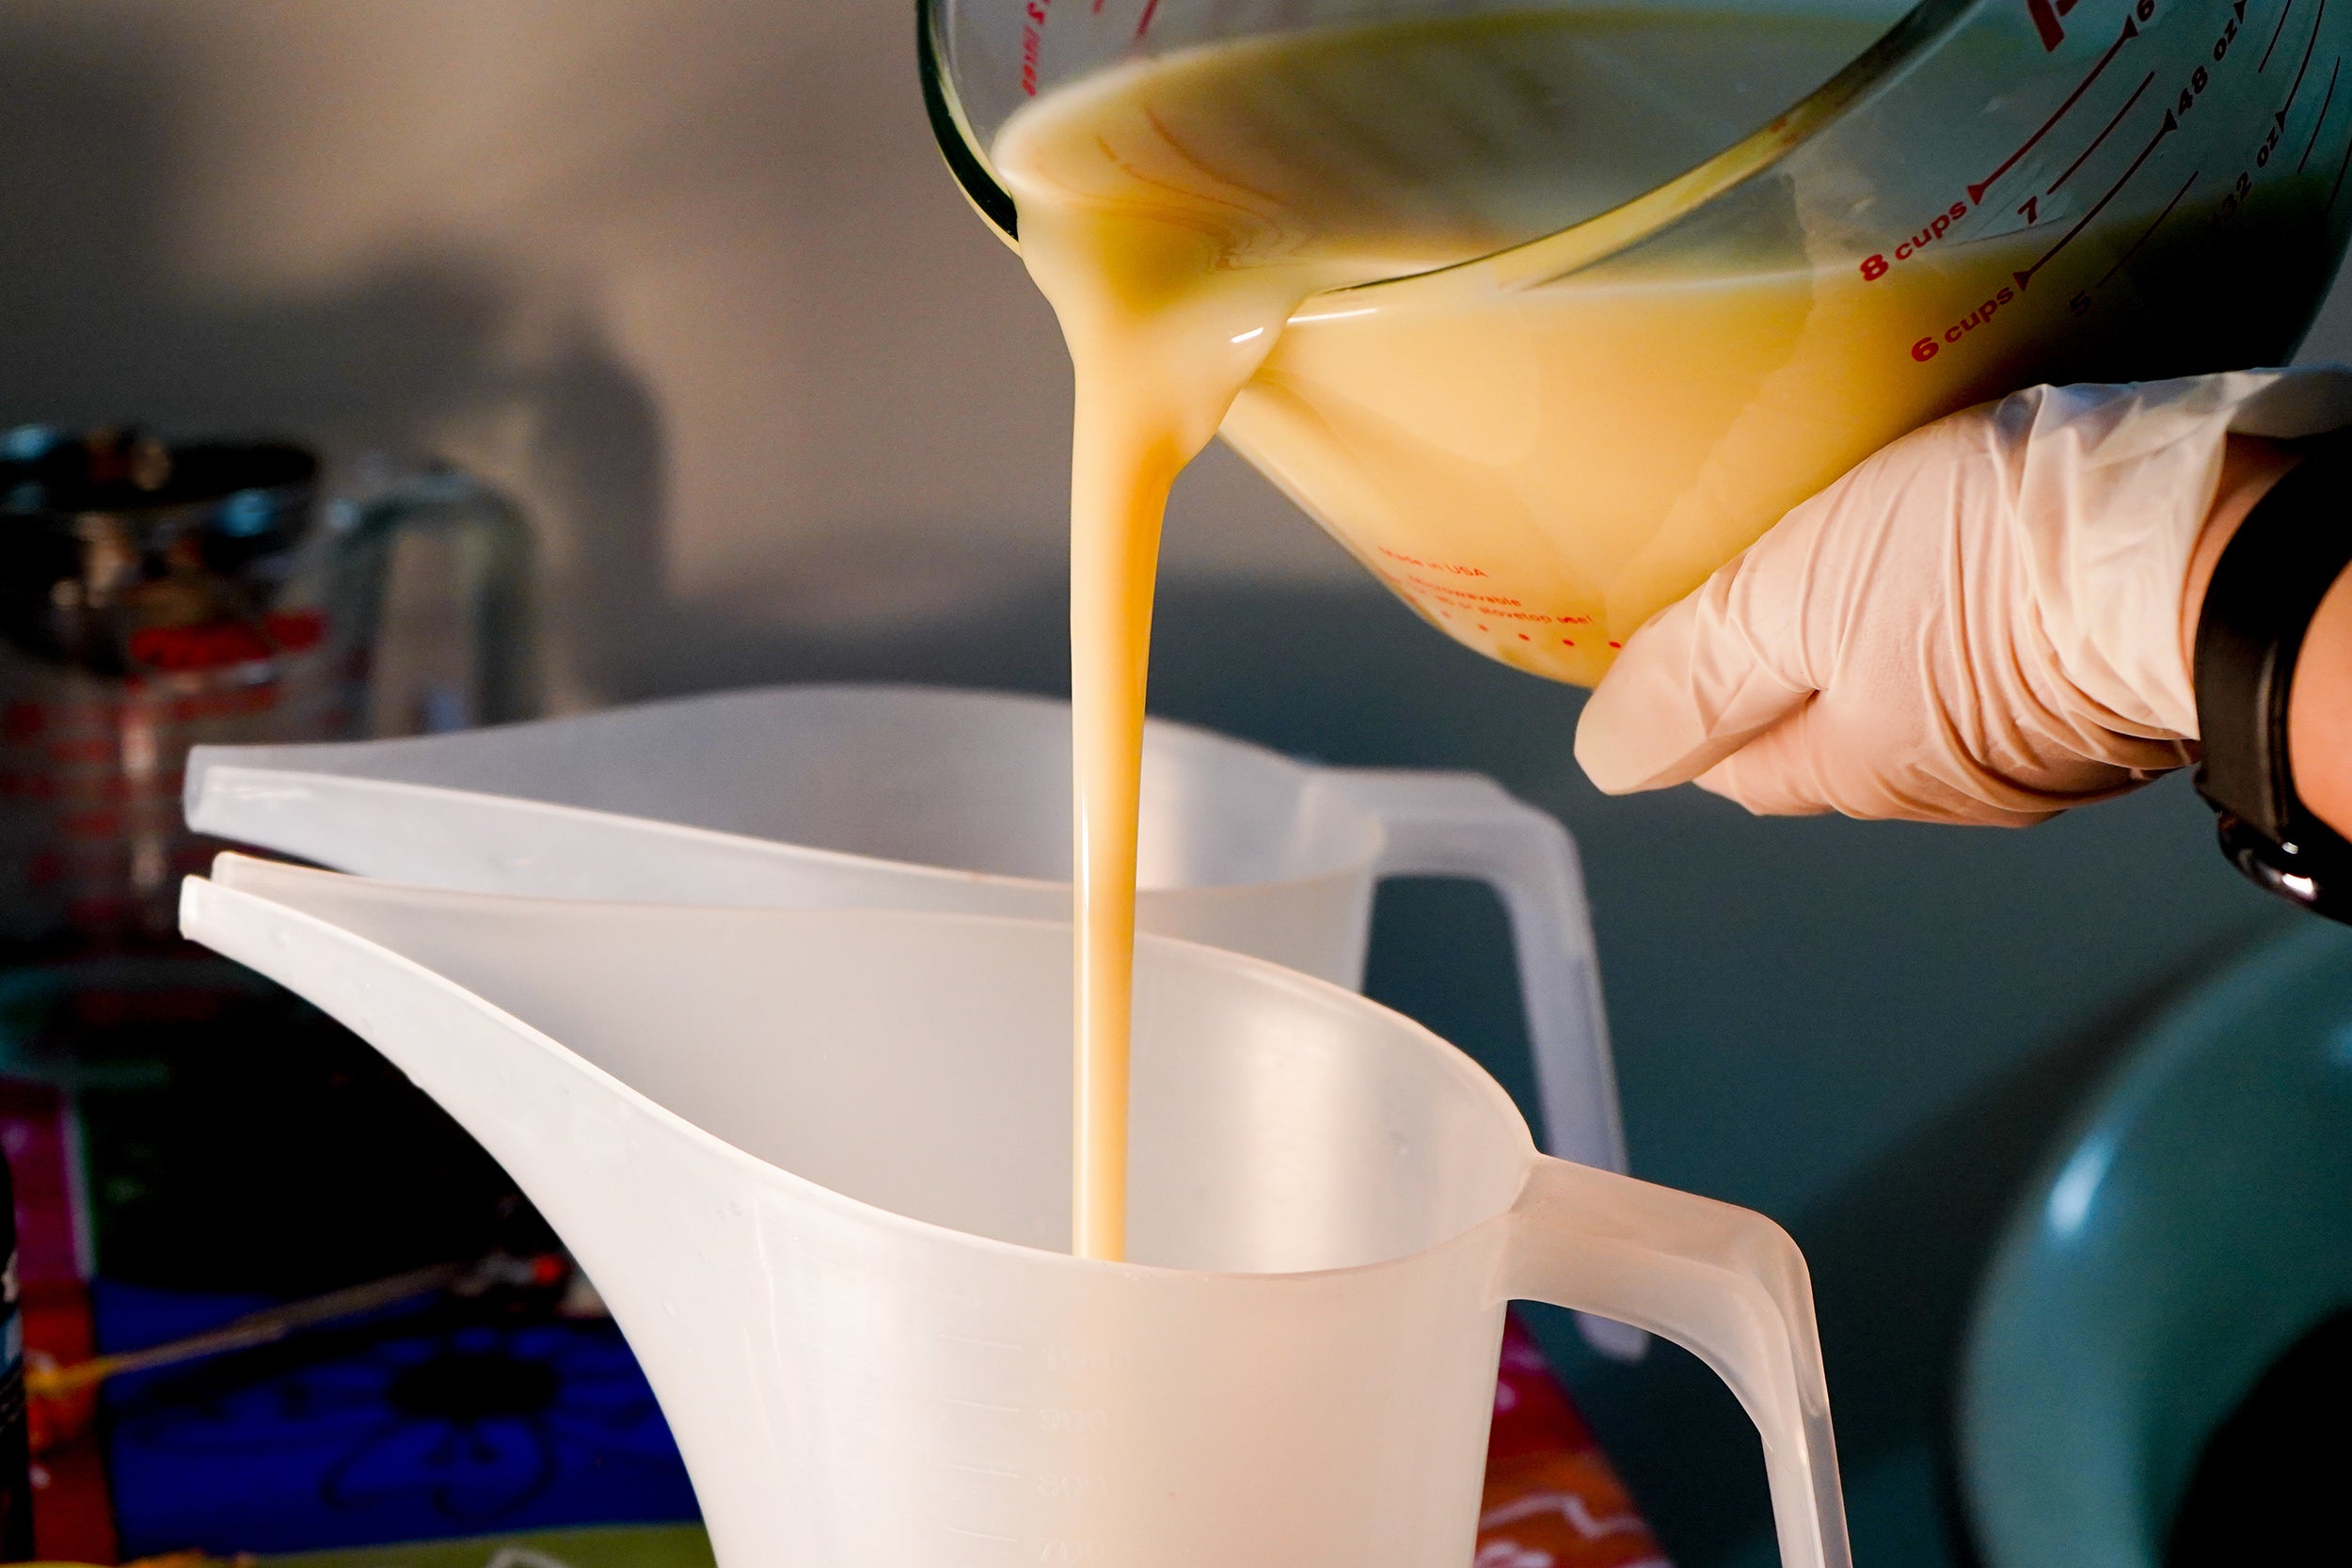
- Allow the wax to cool to the manufacturers recommended pouring temperature, stirring occasionally as it cools, then pour carefully into the container, leaving enough room at the top of the container to accommodate the height of the wick and a second top up pour if necessary. We recommend saving enough wax in the pour pot to do a second top up pour, especially if the wax is dyed, as it can be common for the first pour to sink down slightly as it cools requiring a small top up pour to give a smooth top to the candle.
- As your initial pour cools, watch for any forming sink holes or slumping that may occur. If a sink hole forms, use a chop stick or skewer to poke down into it to make sure any air pockets are exposed and then do a second pour to fill the gaps and give a nice smooth top. Your wax will be ready for its second pour when it is firm but not so hard that the wax is pulling away from the sides of the container. Ensure you have heated your wax back up to a few degrees over the original pouring temperature before doing the second pour.
- Allow candle to fully cool at an ambient temperature of approximately 70°F / 21°C. Do not try to rapid cool natural wax candles by placing in the fridge or freezer as these types of waxes can crack and create frosting when exposed to temperature fluctuations.
- Once firmly set up you can remove wick bar and then allow to fully harden before trimming the wick. Trim wick to ¼” height before burning. A wick that is longer then ¼” can cause a flame that creates more soot, jump when burning and may cause uneven burning and smoking.
- For optimal burning, especially when giving the candle as a gift or reselling, allow the candle to cure for 1 to 2 weeks before burning. This will allow the structure of the wax to set throughout the candle and will also improve hot scent throw of the candle while burning.
| Soy Wax Troubleshooting |
|
FROSTING
|
|
Frosting is a common complaint of candle makers and there is unfortunately no way to completely prevent it from occurring in natural vegetable-based waxes, especially soy. While candle wax manufacturers continue to strive to make advances in their natural candle wax blends, you can’t stop mother nature, and this whitish bloom that forms is caused by the growth of tiny crystals on the surfaces of the wax, often during natural temperature changes and can show up immediately or even weeks or months after the candles have been made. All soy wax will frost over time, and is more noticeable on coloured candles, but luckily frosting is solely an aesthetic issue and does not affect the way your candle burns or smells. Some ways to help slow its development are to ensure your containers are at an ambient or slightly warmed temperature before pouring, not mixing your melted wax too vigorously or experimenting with slightly lower pour temperatures. It is also important to cool your candles as slowly as possible, at an ambient temperature, and away from drafts. |
|
WET SPOTS
|
|
Sometimes what can appear to be wet spots on the sides of your candle are not wet spots at all but areas where the candle has pulled away slightly from the sides of your candle container. While wax manufacturers strive to create container candle waxes with great vessel adhesion, temperature and other factors can cause the wax to pull away. This is purely an aesthetic issue and does not affect the way your candle burns or smells. Some ways to help minimize this make sure your candle containers are clean before use and are at an ambient or slightly warm temperature. Pour the wax slowly into your containers to avoid the formation of air bubbles or experiment with slight variations in pour temperatures to see if a slightly cooler or hotter pour makes a difference. We recommend starting with +/- 5°F. It is also important to cool your candles as slowly as possible, at an ambient temperature, and away from drafts. If there are true Wet or Oily patches that you can see and feel at the top of the wax, this is usually fragrance that has not blended properly with the wax and is seeping out. This can be caused by the fragrance being added at too low a temperature or it can be caused by adding more fragrance than the wax can hold on to. Ensure your wax is heated up to 185°F / 85°C and add your fragrance, stirring gently for at least a couple minutes to ensure it is fully mixed with the wax. If this still occurs, you may need to decrease the amount of fragrance being used. |
| ROUGH SPOTS & SURFACE CRACKS |
|
Rough spots and surface cracks can be common when making natural Soy Wax Candles. Rough spots or a rippled top can be caused by tiny air bubbles that form and are trying to escape as the wax cools. Small cracks can also form due to this reason in combination with the wax shrinking naturally as it cools. Try to avoid over stirring your melted wax and pour slowly into your candle container. If either of these aesthetic issues should occur, you can easily fix them by doing a small second pour to create a smooth top layer or use a heat gun on low setting to slowly melt the surface layer of the wax and allow it to slowly reharden. |
|
WAX DISCOLOURING
|
|
Both natural and artificial light can affect the colour of your wax candle over time whether they are coloured with dye or left natural. To minimize or slow this natural fading/discolouring try to avoid displaying your candles being exposed to too much UV light or being displayed in a sunny storefront window. Another common cause of yellowing or browning of the wax can be due to fragrances containing high vanillin content, as well as certain citrus scents. This discolouring will often develop more quickly and will cause the wax to show yellow or brown tints often within days of being made. This is unavoidable so it is better to embrace this in your marketing plan. Market your candles in colours that match their scents. ie: Orange shades for Pumpkin or Citrus scents, Ivory to Beige shades for Vanilla scents etc. Dying the wax will ensure even colour even when your candles naturally yellow or brown lending to a more uniform coloured appearance. |


