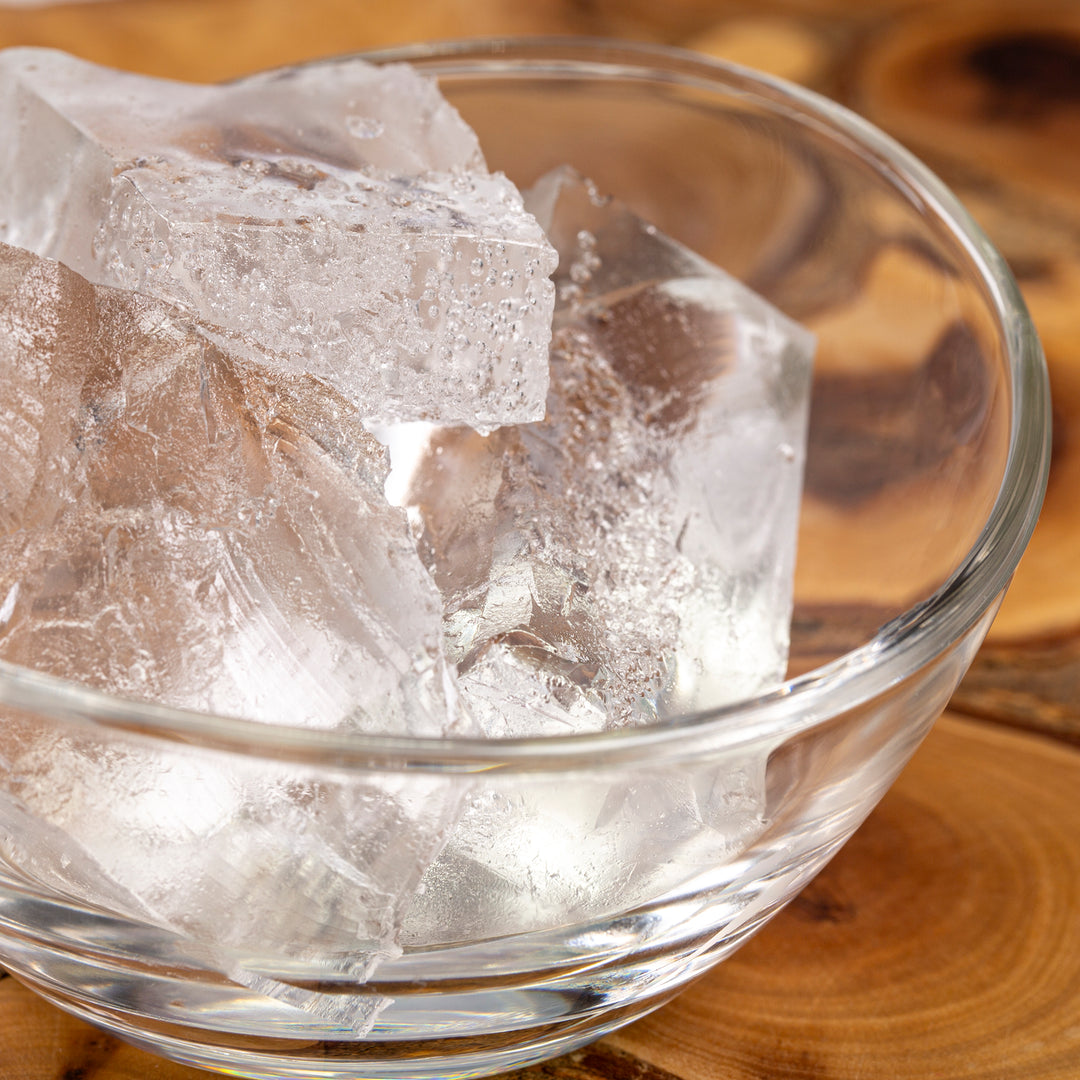
Penreco Versagel C MP Candle Gel
Fragrance: 3% - 6%
Versagel Candle Gels are specially formulated for candle making and offer flash points of 450 °F and a
(typical) sustained burn (fire point) of 500 °F. The clear Versagel is thermally reversible, offers no syneresis(oil bleed) and has excellent suspension and dispersion properties.
Usage Temperatures When Melting:
- 75 - 85 degrees Celsius - Loss of Air Bubbles
- 95 - 105 degrees Celsius - Mix Dyes or Fragrance into Gel
- 85 - 95 degrees Celsius - Pouring Temperature
- 60 - 75 degrees Celsius - Stiffens into Gel Structure
Blended Waxes – BW 911 Instructions
Blended Waxes - BW911 is a Paraffin Pillar Wax Blend that is suitable for pillar and votive candles and does not require any additional additives. BW911 works great with dyes and has excellent scent throw both cold and hot.
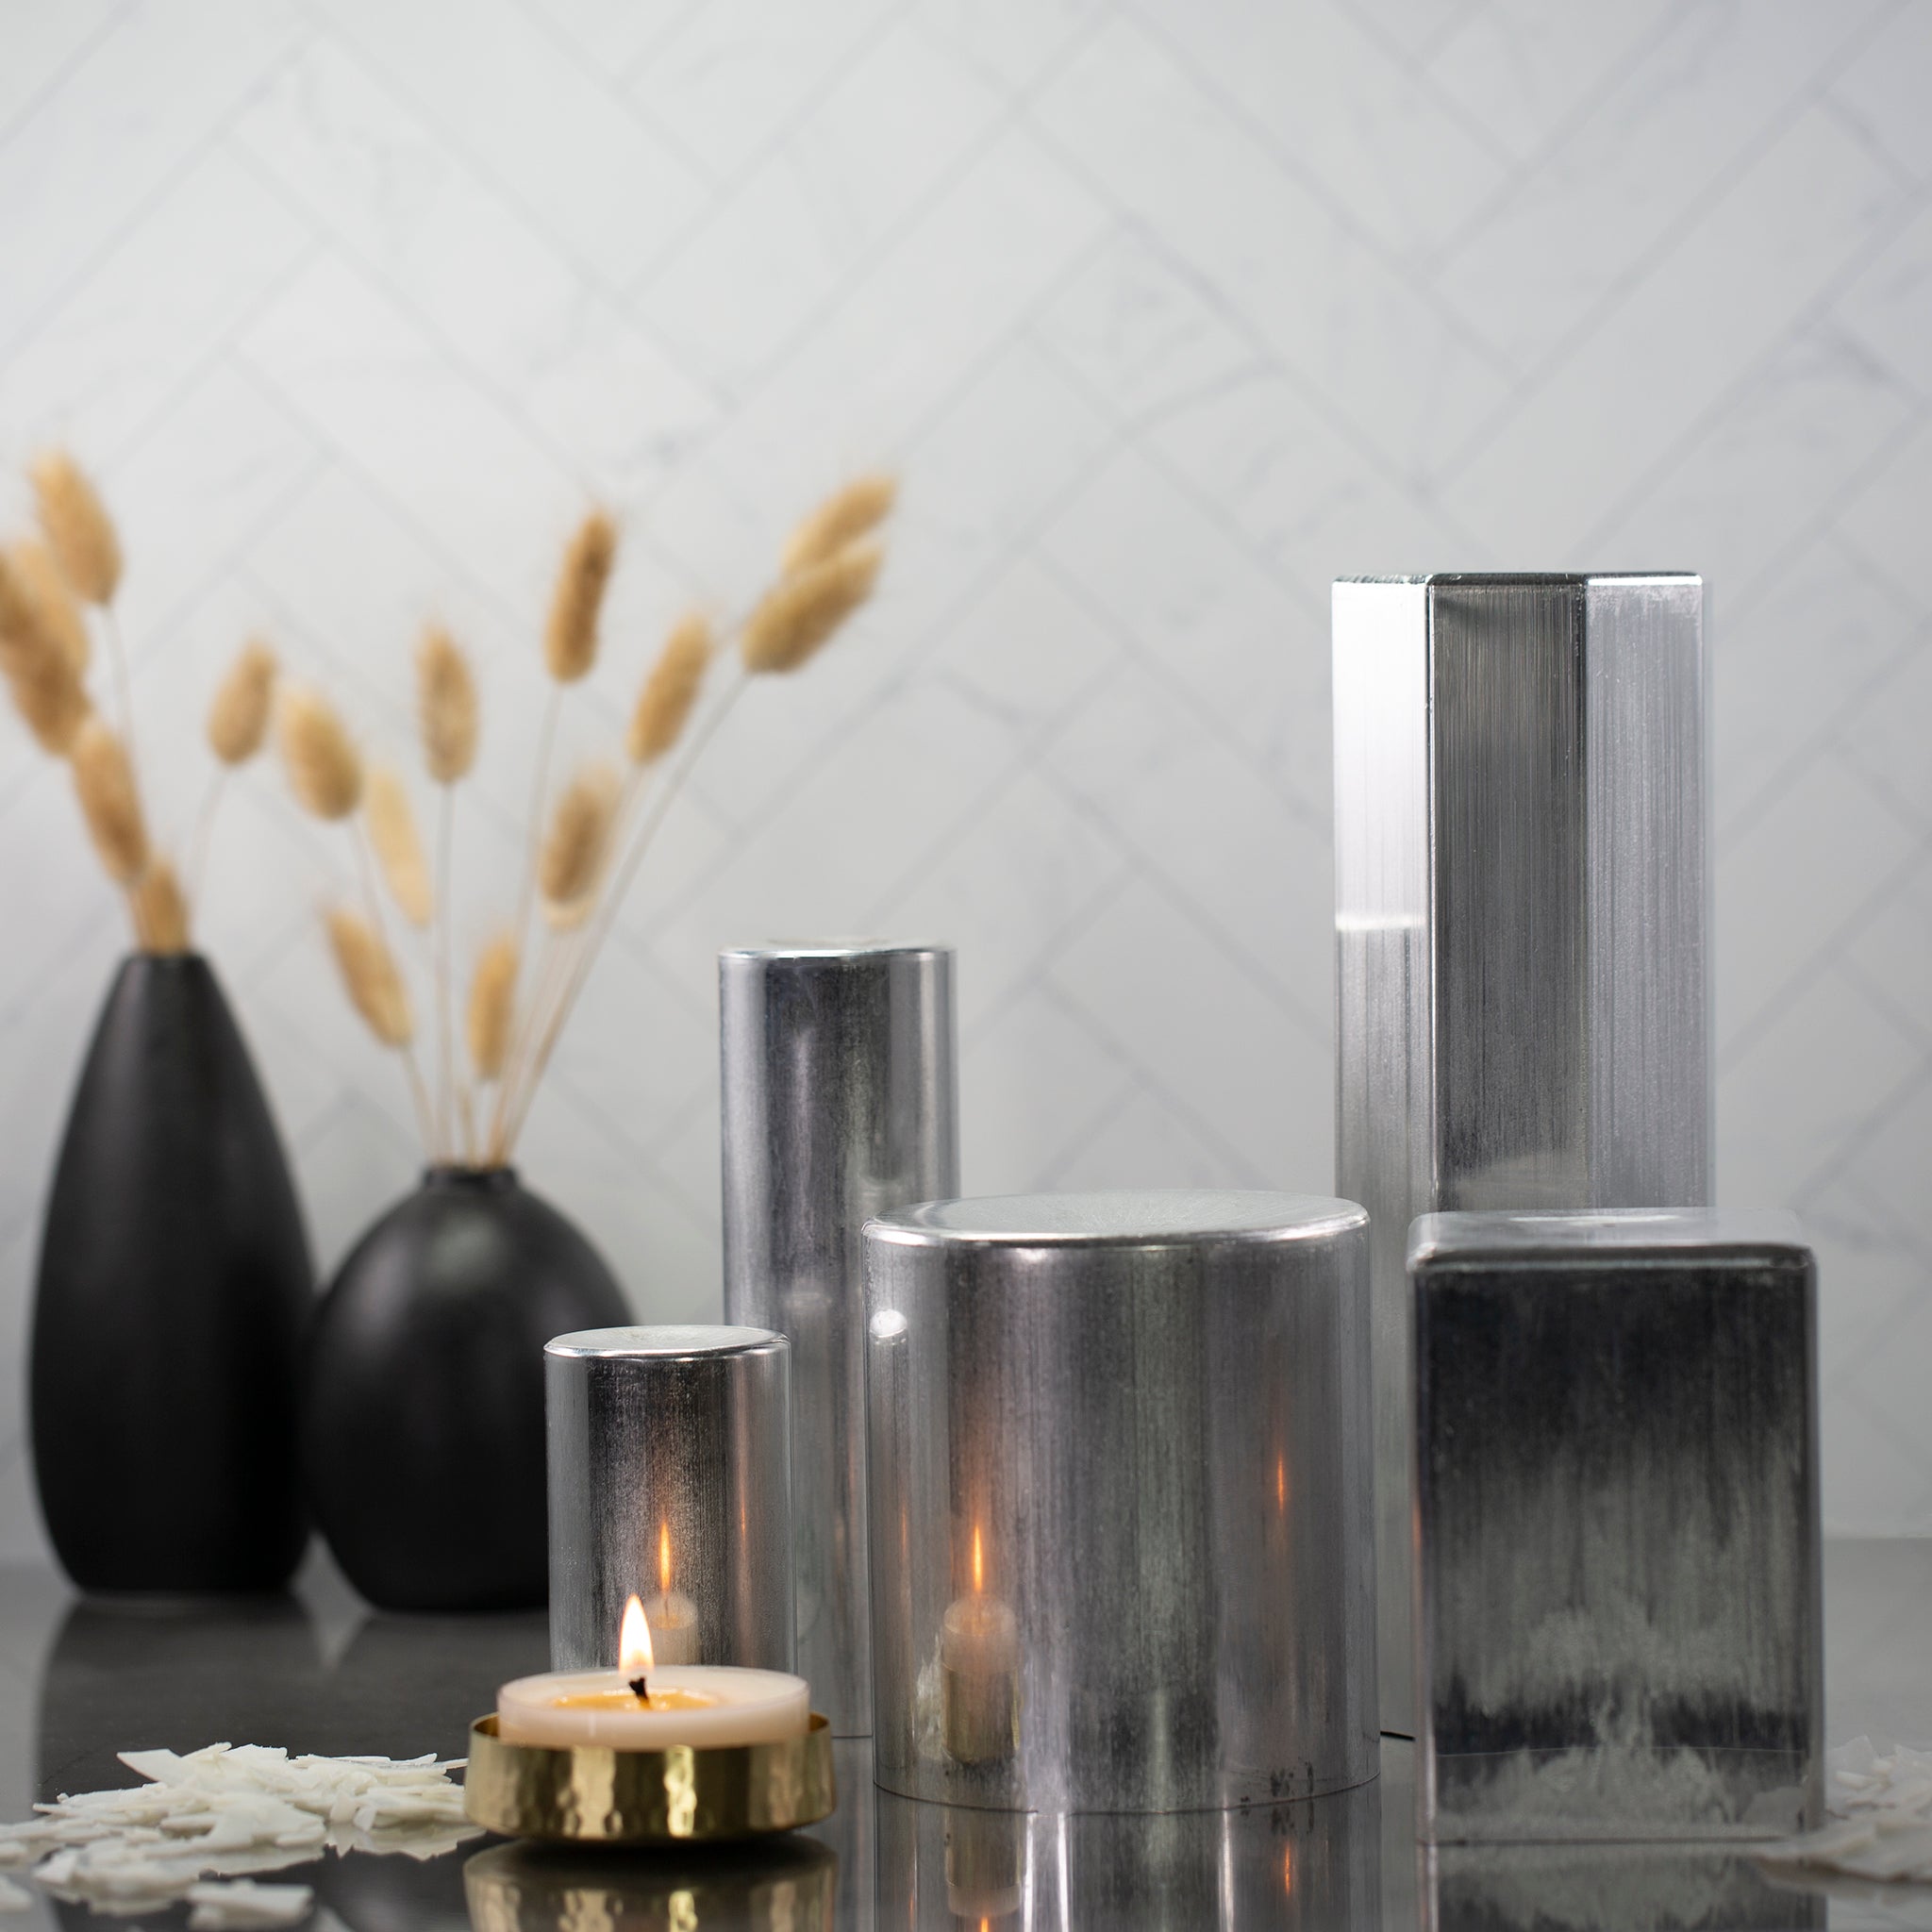
Molds: Molds should be clean and at ambient temperature. No pre-heating is necessary.
Dyes: The various dye blocks we carry work well with Blended Waxes – BW 911. When using dyes, heat the wax to ~185°F, add the dye, and mix until dissolved.
Fragrances: Recommended maximum scent load is 10%. It is recommended that after you melt your wax that you remove from heat and then add your fragrance, stirring gently for approximately 2 minutes to make sure fragrance is fully combined with the wax. If you are using a fragrance with a lower flash point, make an adjustment to your wax temperature as necessary.
Melting: Melt Blended Waxes – BW 911 to 185°F under gentle agitation to promote even heating and thorough mixing. Add any desired fragrance and dye, mixing well to incorporate. Allow the wax to cool to the 170°F - 180°F pour temperature.
Pouring:
- Pour temperatures can vary according to mold type and size, fragrance(s), essentials oils, dye(s), and the candle effects you desire but ensure pour temperature is within the manufacturers recommended range to ensure release from mold once set.
- Different mold configurations result in various cooling rates. A recommended starting pour temperature is 170°F. Pour temperatures should be checked and confirmed according to seasonal changes and adjusted as necessary for the size/type of mold using.
- As the candle is being poured, it is typical for wax to solidify at first contact with the container. Blended Waxes – BW 911 should have a pour temperature high enough so that when the mold is full, the initial solidified wax has re-melted. Please note–the temperature should not be so high that the liquid wax sits more than 30 minutes before starting to solidify.
- Depending on the size and style of your mold a second pour may be required to have a smooth top. If the candle has sunk down after the initial pour has set, then ensure there are no air pockets, heat up your wax again to approximately 5 degrees higher than your initial pour and do a second top up pour.
Candle Cooling: Cool undisturbed candles at an ambient temperature of 70° F (21.1°C). The molds should be about 1/2 inch (1.3 cm) apart to allow air circulation for even cooling. After the wax has solidified so that it is hard to the touch, you can submerge your candle mold into a cold water bath to rapid cool and for easier removal from the mold without any adverse effects to the wax. Candles should be allowed to sit undisturbed for 48 hours before test burning.
Removing from Mold: For easy release from molds clean inside of molds with mold release spray or WD-40 prior to pouring and ensure pour temperature is within the recommended range. If having difficulty removing candle from mold, place mold in freezer for approximately 10 minutes, remove and let sit for a couple minutes then gently squeeze the mold while shaking upside down. As candle starts to slide from mold, gently pull candle from mold by grasping exposed sides of candle. Avoid pulling on the wick to remove from mold.
Care of Molds: Ensure that molds are dry and cleaned immediately after use and removal of candle from mold. To ensure easy release of your next batch of candles clean molds with WD-40 or use mold release spray.
Test Burning: Test burn the candle for burn pool diameter and quality after it has setup (cured or dried) for a minimum of 48 hours. Every combination of container, wax, dye, fragrances, and wick should be tested for burn quality.
Storage: Packaged: Due to its low melt point it is important to keep wax stored in a cool dry location away from direct heat, sunlight and moisture.
General Trouble Shooting:
- Test for one variable at a time when trouble shooting to isolate the cause. Variables include (but are not limited to): the candle size and mold style, wax, dye, fragrance, wick, pour temperature, and environmental conditions such, as cooling temperature, along with manufacturing conditions.
- First make a candle with only the wick (no dye or fragrance). If it looks good and burns well then the wax is performing normally.
- Then, one at a time, change a variable. Try adding just dye without fragrance and make the candle with the same wick. If it looks good and burns well, the dye is compatible with the wax/wick combination.
- Try adding the fragrance without dye to the next test candle. If it looks good and burns well, the fragrance is compatible with the wax/wick combination.
- Try the dye and fragrance together with the same wax and wick. If it looks good and burns well the dye/fragrance combination is compatible with the wax/wick combination.
- If you are experiencing burn problems, try a different type or size of wick.
- Other variables to try are different pouring and cooling temperatures and even different mold styles.
- Ensure all equipment and materials are contaminant free.
- Test for one variable at a time when trouble shooting to isolate the cause.